


在小红书上看到的。简单处理下。
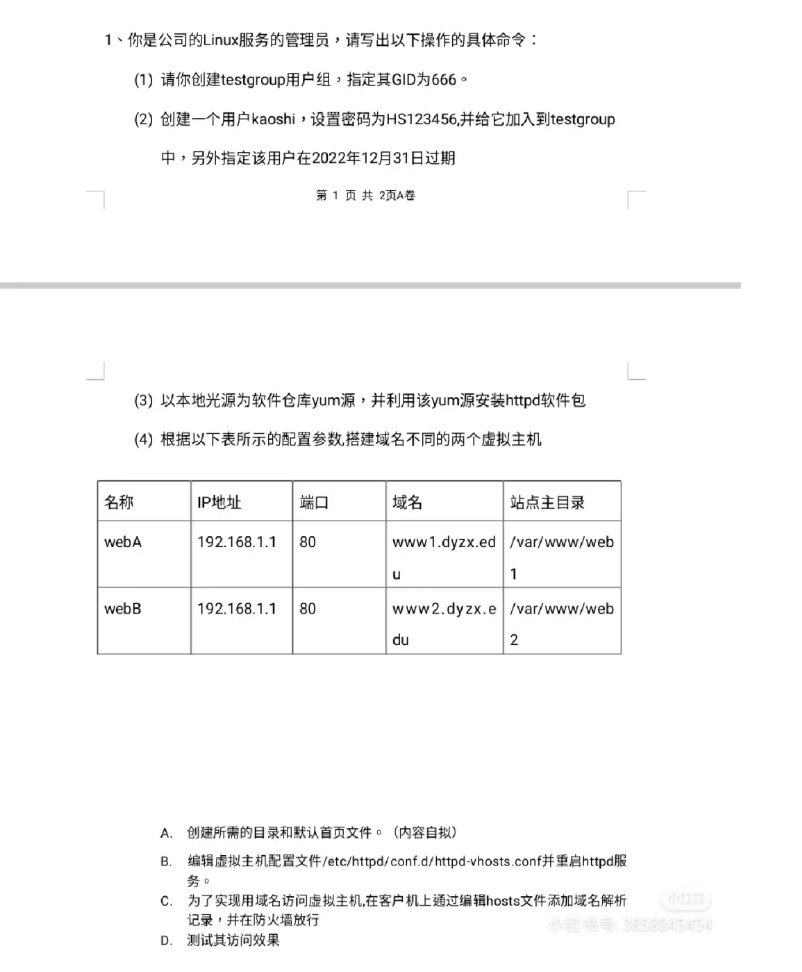
1.请你创建testgroup用户组,指定其GID为666。
[root@localhost ~]# groupadd testgroup -g 666
[root@localhost ~]# cat /etc/group|grep testgroup
testgroup:x:666:
2.创建一个用户kaoshi,设置密码为HS123456,并给它加入到testgroup中,另外指定该用户在2022年12月31日过期
[root@localhost ~]# useradd -g testgroup kaoshi
[root@localhost ~]# passwd kaoshi
更改用户 kaoshi 的密码 。
新的 密码:
无效的密码: 密码未通过字典检查 - 过于简单化/系统化
重新输入新的 密码:
passwd:所有的身份验证令牌已经成功更新。
[root@localhost ~]#
[root@localhost ~]# usermod -e 2022-12-31 kaoshi
[root@localhost ~]#
[root@localhost ~]# cat /etc/shadow
3.以本地光源为软件仓库yum源,并利用该yum源安装httpd软件包
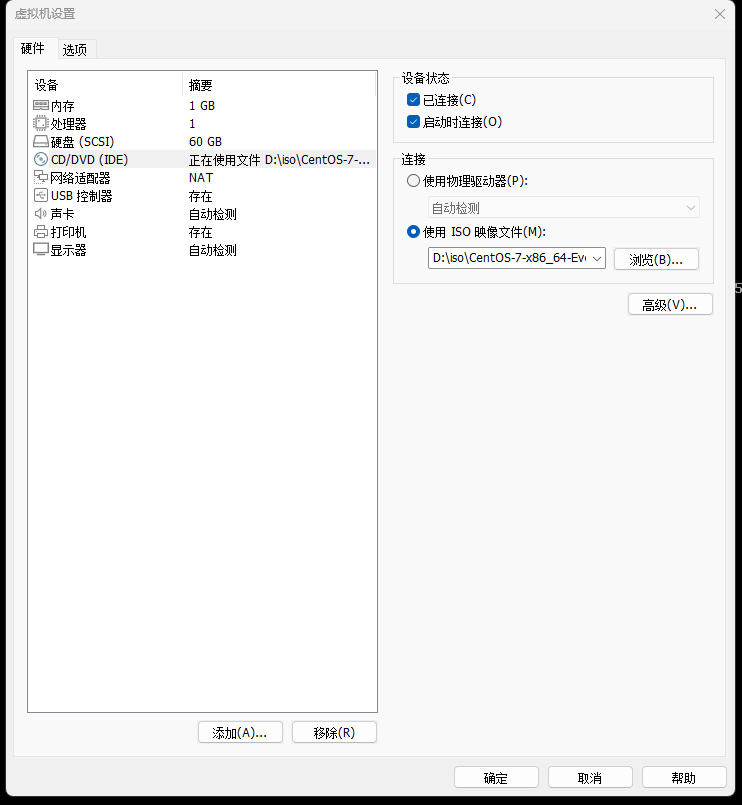
首先将iso文件放到虚拟机上。
[root@localhost ~]# mkdir -p /media/kaoshi
[root@localhost ~]# mount /dev/cdrom /media/kaoshi
mount: /dev/sr0 写保护,将以只读方式挂载
[root@localhost ~]# cd /etc/yum.repos.d/
[root@localhost yum.repos.d]# vim kaoshi.repo
[kaoshi]
name=kaoshi
baseurl=file:///media/kaoshi/
gpgcheck=0
enabled=1
#在kaoshi.repo里输入
[root@localhost yum.repos.d]# yum clean all
已加载插件:fastestmirror
正在清理软件源: kaoshi
Cleaning up list of fastest mirrors
Other repos take up 112 M of disk space (use --verbose for details)
[root@localhost yum.repos.d]# yum makecache
已加载插件:fastestmirror
Determining fastest mirrors
kaoshi                                                                                           | 3.6 kB  00:00:00
(1/4): kaoshi/group_gz                                                                           | 153 kB  00:00:00
(2/4): kaoshi/filelists_db                                                                       | 7.2 MB  00:00:04
(3/4): kaoshi/primary_db                                                                         | 6.1 MB  00:00:03
(4/4): kaoshi/other_db                                                                           | 2.6 MB  00:00:00
元数据缓存已建立
[root@localhost yum.repos.d]# yum list|wc -l
10214
[root@localhost ~]# yum -y install httpd
已加载插件:fastestmirror
Loading mirror speeds from cached hostfile
正在解决依赖关系
--> 正在检查事务
---> 软件包 httpd.x86_64.0.2.4.6-95.el7.centos 将被 安装
--> 正在处理依赖关系 httpd-tools = 2.4.6-95.el7.centos,它被软件包 httpd-2.4.6-95.el7.centos.x86_64 需要
--> 正在处理依赖关系 /etc/mime.types,它被软件包 httpd-2.4.6-95.el7.centos.x86_64 需要
--> 正在处理依赖关系 libaprutil-1.so.0()(64bit),它被软件包 httpd-2.4.6-95.el7.centos.x86_64 需要
--> 正在处理依赖关系 libapr-1.so.0()(64bit),它被软件包 httpd-2.4.6-95.el7.centos.x86_64 需要
--> 正在检查事务
---> 软件包 apr.x86_64.0.1.4.8-7.el7 将被 安装
---> 软件包 apr-util.x86_64.0.1.5.2-6.el7 将被 安装
---> 软件包 httpd-tools.x86_64.0.2.4.6-95.el7.centos 将被 安装
---> 软件包 mailcap.noarch.0.2.1.41-2.el7 将被 安装
--> 解决依赖关系完成

依赖关系解决

========================================================================================================================
 Package                     架构                   版本                                   源                      大小
========================================================================================================================
正在安装:
 httpd                       x86_64                 2.4.6-95.el7.centos                    kaoshi                 2.7 M
为依赖而安装:
 apr                         x86_64                 1.4.8-7.el7                            kaoshi                 104 k
 apr-util                    x86_64                 1.5.2-6.el7                            kaoshi                  92 k
 httpd-tools                 x86_64                 2.4.6-95.el7.centos                    kaoshi                  93 k
 mailcap                     noarch                 2.1.41-2.el7                           kaoshi                  31 k

事务概要
========================================================================================================================
安装  1 软件包 (+4 依赖软件包)

总下载量:3.0 M
安装大小:10 M
Downloading packages:
------------------------------------------------------------------------------------------------------------------------
总计                                                                                    220 kB/s | 3.0 MB  00:00:14
Running transaction check
Running transaction test
Transaction test succeeded
Running transaction
  正在安装    : apr-1.4.8-7.el7.x86_64                                                                              1/5
  正在安装    : apr-util-1.5.2-6.el7.x86_64                                                                         2/5
  正在安装    : httpd-tools-2.4.6-95.el7.centos.x86_64                                                              3/5
  正在安装    : mailcap-2.1.41-2.el7.noarch                                                                         4/5
  正在安装    : httpd-2.4.6-95.el7.centos.x86_64                                                                    5/5
  验证中      : httpd-tools-2.4.6-95.el7.centos.x86_64                                                              1/5
  验证中      : mailcap-2.1.41-2.el7.noarch                                                                         2/5
  验证中      : apr-1.4.8-7.el7.x86_64                                                                              3/5
  验证中      : httpd-2.4.6-95.el7.centos.x86_64                                                                    4/5
  验证中      : apr-util-1.5.2-6.el7.x86_64                                                                         5/5

已安装:
  httpd.x86_64 0:2.4.6-95.el7.centos

作为依赖被安装:
  apr.x86_64 0:1.4.8-7.el7            apr-util.x86_64 0:1.5.2-6.el7       httpd-tools.x86_64 0:2.4.6-95.el7.centos
  mailcap.noarch 0:2.1.41-2.el7

完毕!
[root@localhost ~]#
[root@localhost ~]# systemctl enable httpd
Created symlink from /etc/systemd/system/multi-user.target.wants/httpd.service to /usr/lib/systemd/system/httpd.service.
[root@localhost ~]# systemctl start httpd
[root@localhost ~]# firewall-cmd --add-port=80/tcp --permanent
success
[root@localhost ~]# firewall-cmd --reload
success
[root@localhost ~]# firewall-cmd --query-port=80/tcp
yes
[root@localhost ~]#
4.根据以下表所示配置参数,搭建域名不同的两个虚拟主机
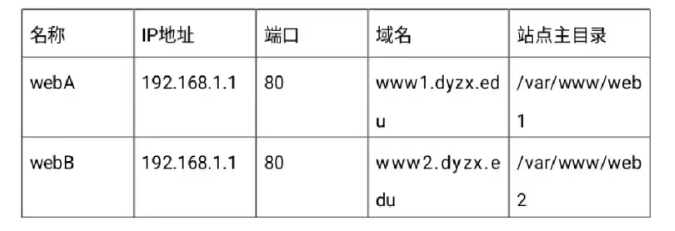
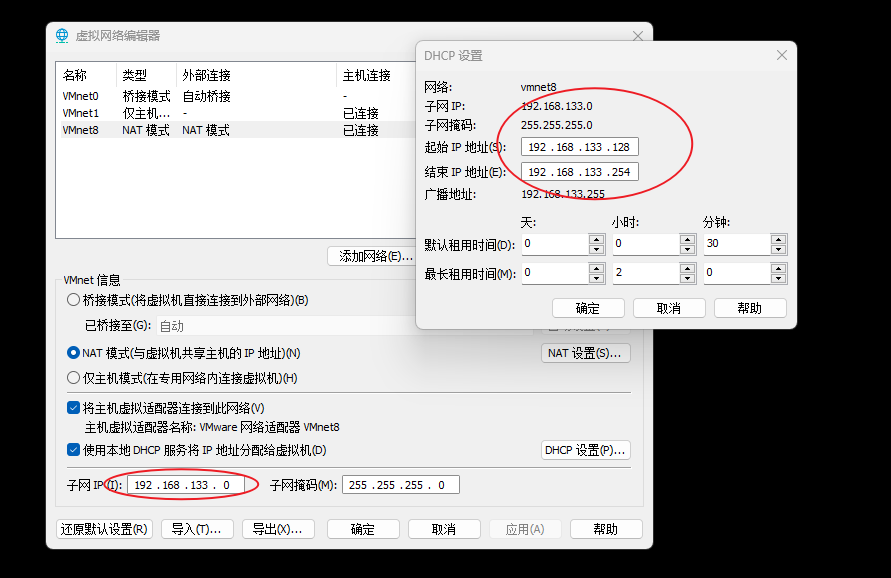
题目要求是将IP地址设置为192.168.1.1,我这里虚拟机很多就不修改了。需要更改的点击编辑>>虚拟网络编辑器,如果是灰色,点击右下角变更。把这里修改为192.168.1.0/24的IP
A.创建所需目录和默认首页文件。
[root@localhost ~]# cd /var/www/
[root@localhost www]# ls
cgi-bin html
[root@localhost www]# mkdir web1 web2
[root@localhost www]# cd web1
[root@localhost web1]# touch index.html
[root@localhost web1]# vim index.html
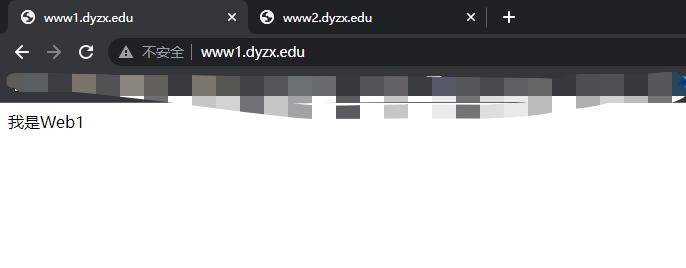
[root@localhost web1]# cat index.html
我是Web1
[root@localhost web1]# cp index.html ../web2/
[root@localhost web1]# cd ../web2
[root@localhost web2]# vim index.html
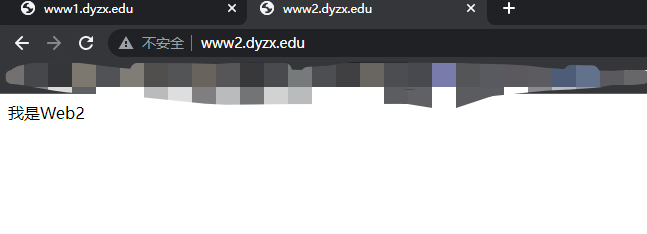
[root@localhost web2]# cat index.html
我是Web2
B.编辑虚拟主机配置文件/etc/httpd/conf.d/httpd-vhosts.conf并重启httpd服务
基于域名的虚拟主机
[root@localhost conf.d]# vim httpd-vhosts.conf
[root@localhost conf.d]# cat httpd-vhosts.conf
<VirtualHost *:80>
        ServerName www1.dyzx.edu
        DocumentRoot "/var/www/web1/"
</VirtualHost>

<VirtualHost *:80>
        ServerName www2.dyzx.edu
        DocumentRoot "/var/www/web2/"
</VirtualHost>
[root@localhost web2]# systemctl restart httpd
C.为了实现用域名访问虚拟主机,在客户机上通过编辑hosts文件添加域名解析记录,并在防火墙放行
配置物理机hosts
找到文件
"C:\Windows\System32\drivers\etc\hosts"
新增两行
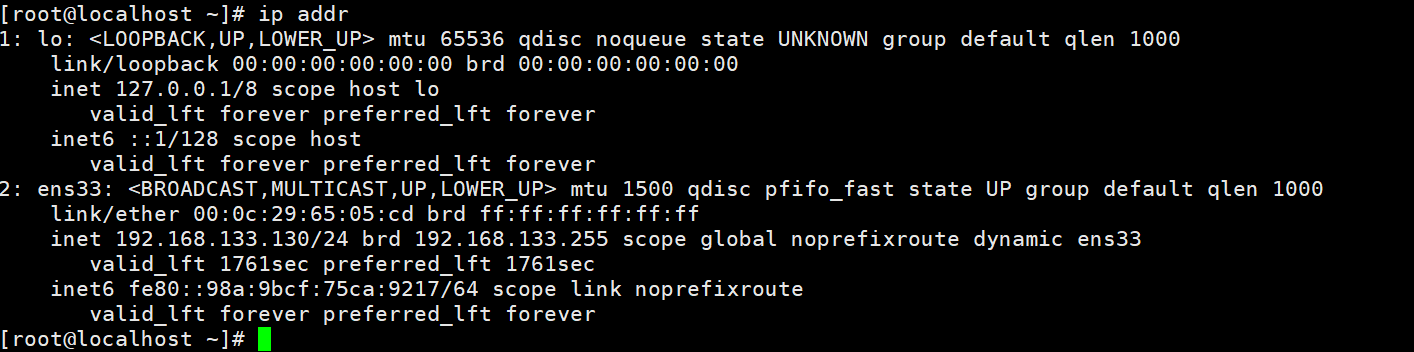
192.168.133.130     www1.dyzx.edu
192.168.133.130     www2.dyzx.edu
打开cmd执行
ipconfig /flushdns
ipconfig /displaydns
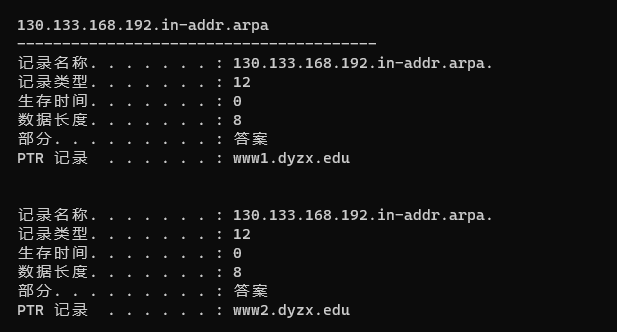
一般会有这两条记录,可以ping一下,再测试下
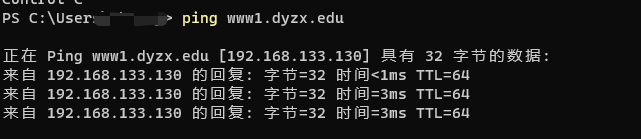
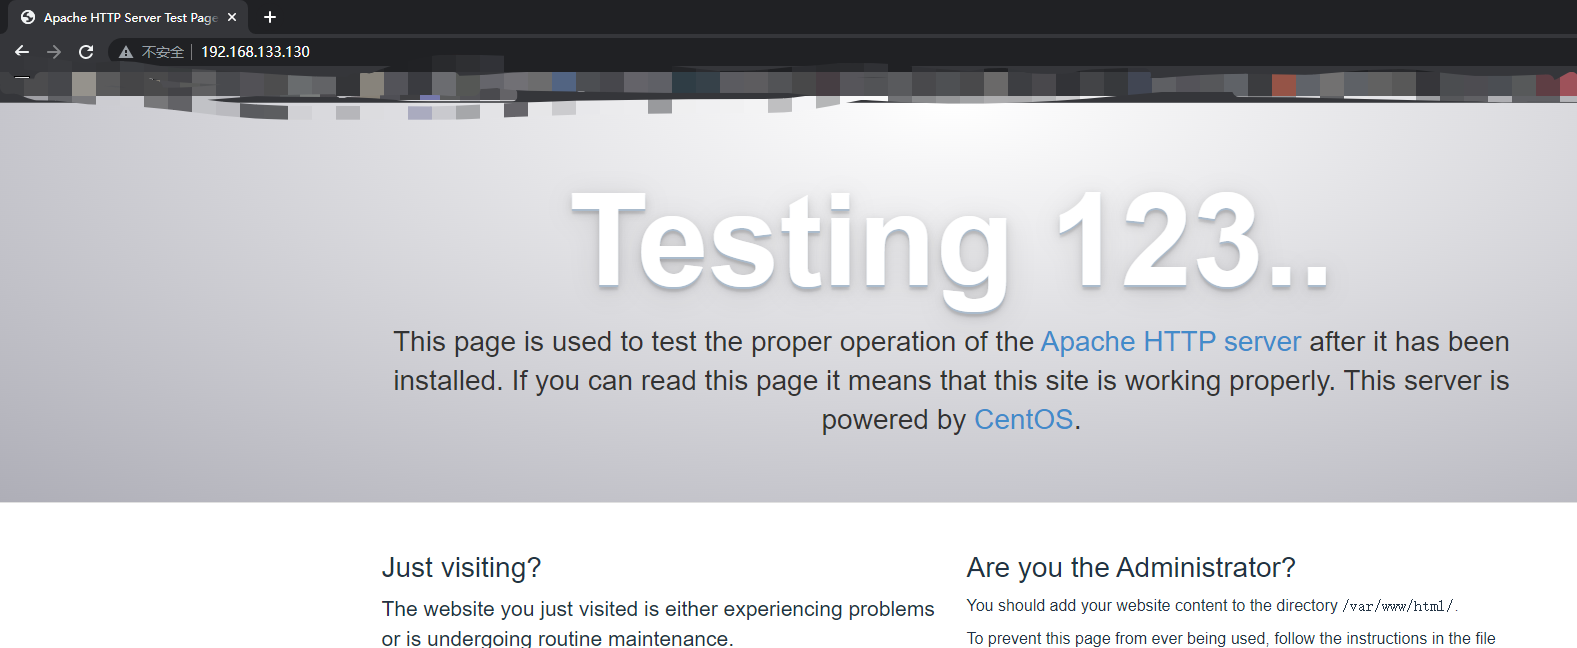
D.测试其访问效果
打开浏览器


 761
761

 被折叠的 条评论
为什么被折叠?
被折叠的 条评论
为什么被折叠?
 到【灌水乐园】发言


