


 文章描述了一个使用Vue和Element-Plus库实现的表格组件,展示了如何从后端API获取数据、处理分页以及对表格数据进行操作,如编辑和删除。重点在于表格的渲染和数据加载策略。
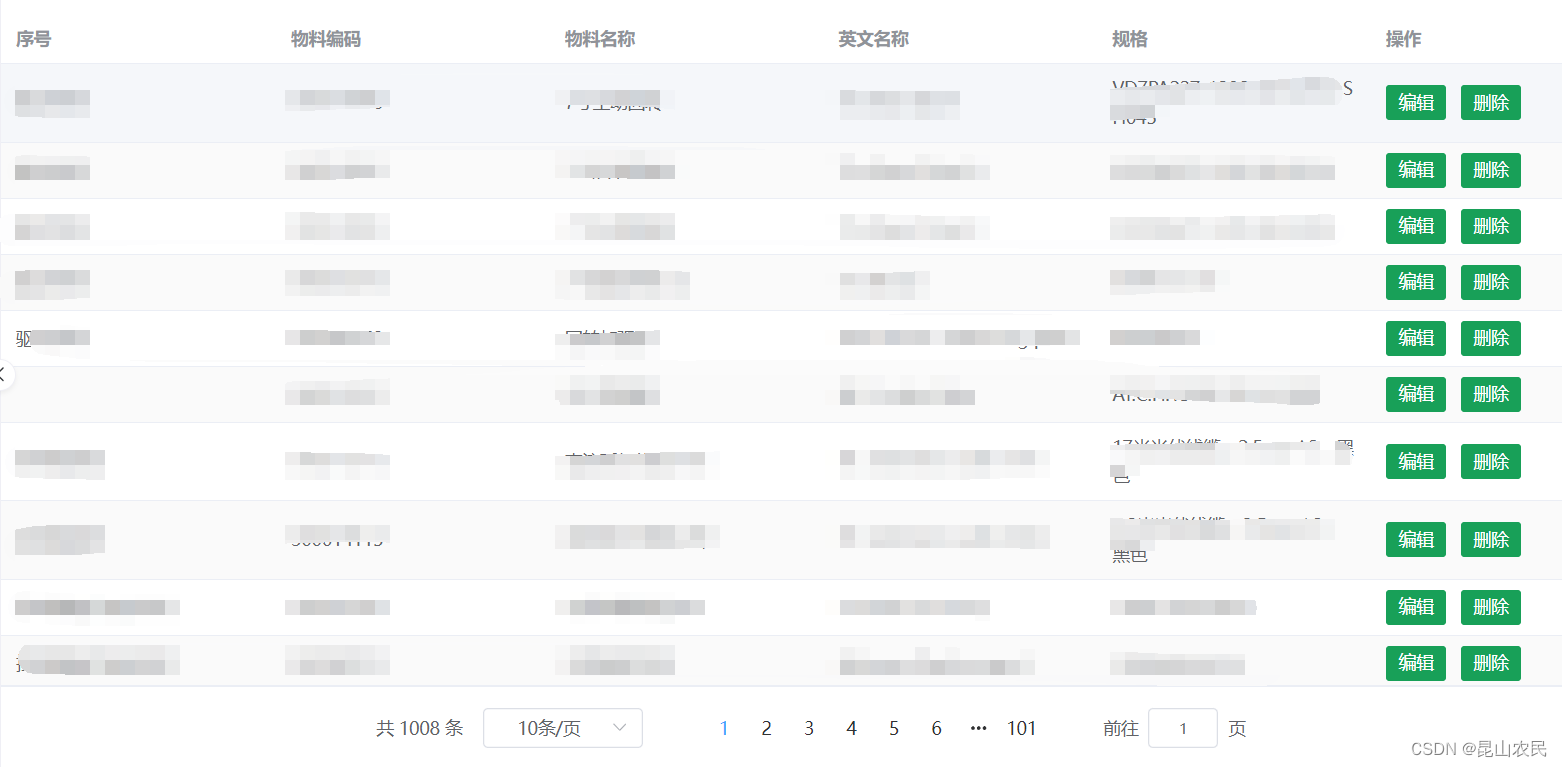
直接上效果图
代码
<template>
    <div class='con'>
        <header>

        </header>
        <section>
            <el-table :data="tableData.slice((currentPage - 1) * pageSize, currentPage * pageSize)" stripe :max-height="tbHeight"
                style="width: '100%'">
                <el-table-column label="序号" prop="No">
                </el-table-column>
                <el-table-column label="物料编码" prop="MaterialNO">
                </el-table-column>
                <el-table-column label="物料名称" prop="Name">
                </el-table-column>
                <el-table-column label="英文名称" prop="ENName">
                </el-table-column>
                <el-table-column label="规格" prop="Specification">
                </el-table-column>
                <el-table-column label="操作" width="200px">
                    <template #default="scope">
                        <n-space>
                            <n-button size="small" type="primary" @click="handleEdit(scope.$index, scope.row)">编辑</n-button>
                            <n-button size="small" type="primary" @click="handleDelete(scope.$index, scope.row)">删除</n-button>
                        </n-space>
                    </template>
                </el-table-column>

            </el-table>
            <div class="block" style="margin-top:15px;">
                <el-pagination align='center' @size-change="handleSizeChange" @current-change="handleCurrentChange"
                    layout="total, sizes, prev, pager, next, jumper" :total="tableData.length">
                </el-pagination>
            </div>
        </section>
    </div>
</template>

<script lang='ts' setup>
/** 接口 */
import { reactive, toRefs, ref, computed, onMounted } from 'vue';
import useCurrentInstance from '@/api/useCurrentInstance';
import { ElMessage, ElMessageBox } from 'element-plus';
import moment from 'moment';
import { Edit } from "@element-plus/icons";
import type { FormInstance, FormRules } from 'element-plus'
const { proxy } = useCurrentInstance()
/** prop */
/** 计算属性*/
//const xx = computed(() => [])
/** data */
const state = reactive({
    tableData: []
})
const {tableData} = toRefs(state);
const currentPage = ref(1); // 当前页码
const pageSize = ref(10); // 每页的数据条数
const tbHeight = Number(`${document.documentElement.clientHeight}`) - 200;
/** 监听 */
/** 生命周期 */
onMounted(() => {
    GetList();
})
/** methods */
const handleSizeChange=(val)=> {
    //console.log(`每页 ${val} 条`);
    currentPage.value = 1;
    pageSize.value  = val;
}

//当前页改变时触发 跳转其他页
const handleCurrentChange=(val)=>{
    //console.log(`当前页: ${val}`);
    currentPage.value  = val;
}

const GetList = () => {
    proxy.$axios.LoadClass("TrackerBom", " order by ID", 0).then(res => {
        tableData.value = res;
    })
}
/** 接口 */
</script>
<style>
</style>
GetList()中根据实际情况请求后端获取数据
如果想处理res返回的结果,这里是在res中把No的值赋值给新增的Extra:
const GetList = () => {
    proxy.$axios.LoadClass("TrackerBom", " order by ID", 0).then(res => {
        res.forEach(svalue => {
            svalue['Extra'] = svalue['No'];
        })
        tableData.value = res;
    })
}
如果在res中又嵌套了res,使用如下可以合并两个res的返回值:
const GetList = () => {
    proxy.$axios.LoadClass("TrackerBom", " order by ID offset 10 rows fetch next 5 rows only", 0).then(res => {
        proxy.$axios.LoadClass("TrackerBom", " order by ID offset 20 rows fetch next 5 rows only", 0).then(res1 => {
            res1.forEach((item) => {
                res.push(item);
            });
            tableData.value=res;
        })
    })
}


 1588
1588

 被折叠的 条评论
为什么被折叠?
被折叠的 条评论
为什么被折叠?
 到【灌水乐园】发言


