


 本文详细介绍如何使用JavaScript在微信小程序中实现视频列表切换、自动播放和随机颜色弹幕功能。通过实例演示了视频播放区域、弹幕控制与列表的交互,并分享了关键代码和操作步骤。
## **一、实验目标**
1、掌握视频列表的切换方法;2、掌握视频自动播放方法;3、掌握视频随机颜色弹幕效果。
## 二、实验步骤
列出实验的关键步骤、代码解析、截图。
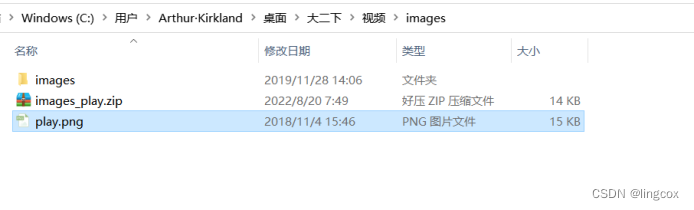
先进行前期工作的准备,把图标文件目录安置好
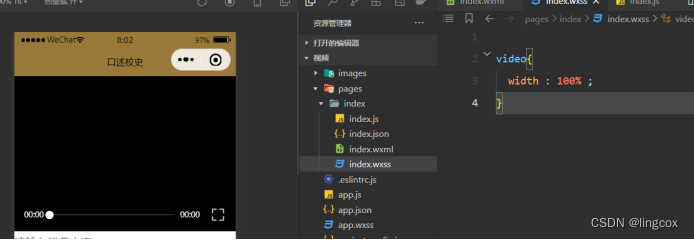
然后实现视频播放区域
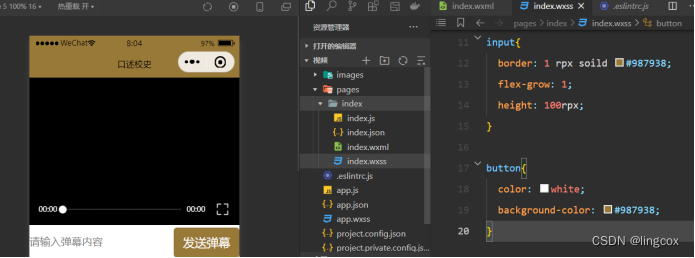
与弹幕播放区域
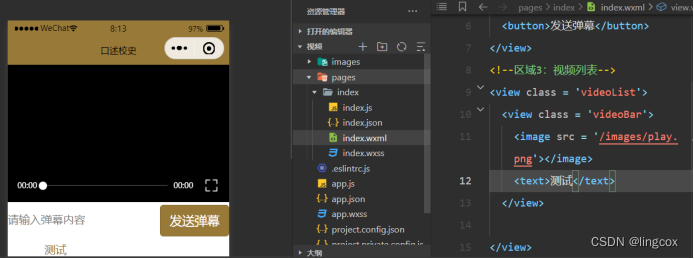
随后是视频的调用区域
将list的数据放入
实现弹幕发送的功能
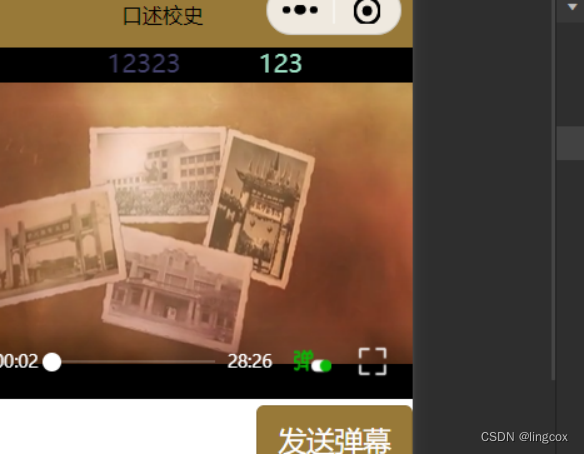
并最终实现随机颜色弹幕
## 三、程序运行结果
## 四、代码展示
图标文件地址:https://gaopursuit.oss-cn-beijing.aliyuncs.com/2022/images_play.zip
index.js
function getRandomColor() {
let rgb=[]
for(let i = 0;i<3;++i){
let color = Math.floor(Math.random()*256).toString(16)
color = color.length == 1?'0'+color:color
rgb.push(color)
}
return '#'+rgb.join('')
}
Page({
playVideo:function(e){
this.videoCtx.stop()
this.setData({
src:e.currentTarget.dataset.url
})
this.videoCtx.play()
},
/**
* 页面的初始数据
*/
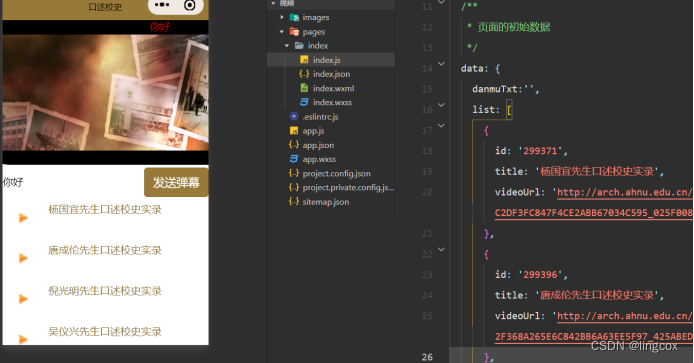
data: {
danmuTxt:'',
list: [
{
id: '299371',
title: '杨国宜先生口述校史实录',
videoUrl: 'http://arch.ahnu.edu.cn/__local/6/CB/D1/C2DF3FC847F4CE2ABB67034C595_025F0082_ABD7AE2.mp4?e=.mp4'
},
{
id: '299396',
title: '唐成伦先生口述校史实录',
videoUrl: 'http://arch.ahnu.edu.cn/__local/E/31/EB/2F368A265E6C842BB6A63EE5F97_425ABEDD_7167F22.mp4?e=.mp4'
},
{
id: '299378',
title: '倪光明先生口述校史实录',
videoUrl: 'http://arch.ahnu.edu.cn/__local/9/DC/3B/35687573BA2145023FDAEBAFE67_AAD8D222_925F3FF.mp4?e=.mp4'
},
{
id: '299392',
title: '吴仪兴先生口述校史实录',
videoUrl: 'http://arch.ahnu.edu.cn/__local/5/DA/BD/7A27865731CF2B096E90B522005_A29CB142_6525BCF.mp4?e=.mp4'
}
]
},
getDanmu:function(e){
this.setData({
danmuTxt:e.detail.value
})
},
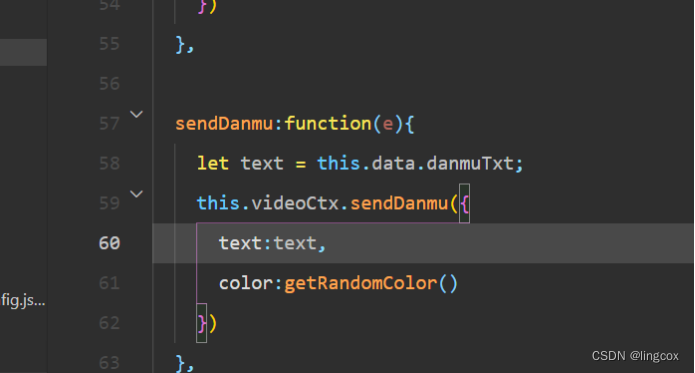
sendDanmu:function(e){
let text = this.data.danmuTxt;
this.videoCtx.sendDanmu({
text:text,
color:getRandomColor()
})
},
/**
* 生命周期函数--监听页面加载
*/
onLoad: function (options) {
this.videoCtx = wx.createVideoContext('myVideo')
},
/**
* 生命周期函数--监听页面初次渲染完成
*/
onReady: function () {
},
/**
* 生命周期函数--监听页面显示
*/
onShow: function () {
},
/**
* 生命周期函数--监听页面隐藏
*/
onHide: function () {
},
/**
* 生命周期函数--监听页面卸载
*/
onUnload: function () {
},
/**
* 页面相关事件处理函数--监听用户下拉动作
*/
onPullDownRefresh: function () {
},
/**
* 页面上拉触底事件的处理函数
*/
onReachBottom: function () {
},
/**
* 用户点击右上角分享
*/
onShareAppMessage: function () {
}
})index.wxml
<!--区域1:视频播放器-->

<video id= 'myVideo' src = '{{src}}' controls enable - danmu-btn></video>

<!--区域2:弹幕控制-->

<view class= 'danmuArea'>

  <input type = 'text'placeholder = '请输入弹幕内容'bindinput = 'getDanmu'></input>

  <button bindtap = 'sendDanmu'>发送弹幕</button>

</view>

<!--区域3:视频列表-->

<view class = 'videoList'>

  <view class = 'videoBar'wx:for = '{{list}}' wx:key = 'video{{index}}'data-url = '{{item.videoUrl}}'bindtap = 'playVideo'>

    <image src = '/images/play.png'></image>

    <text>{{item.title}}</text>

  </view>

</view>
index.wxss
video{
width : 100% ;
}
.danmuArea{
display: flex;
flex-direction: row;
}
input{
border: 1 rpx soild #987938;
flex-grow: 1;
height: 100rpx;
}
button{
color: white;
background-color: #987938;
}
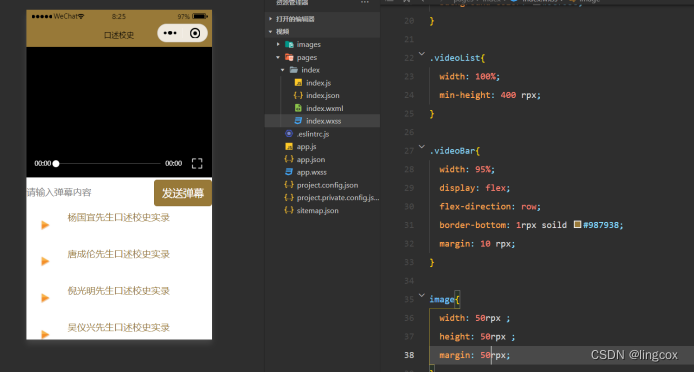
.videoList{
width: 100%;
min-height: 400 rpx;
}
.videoBar{
width: 95%;
display: flex;
flex-direction: row;
border-bottom: 1rpx soild #987938;
margin: 10 rpx;
}
image{
width: 50rpx ;
height: 50rpx ;
margin: 50rpx;
}
text{
font-size: 45 rpx;
color:#987938;
flex-grow:1;
margin: 20rpx;
}


 12万+
12万+


 被折叠的 条评论
为什么被折叠?
被折叠的 条评论
为什么被折叠?
 到【灌水乐园】发言


