


 本文详细介绍了从图片搜集到预处理,包括透明像素处理、自动裁剪、缩放及增强,再到保存为CSV文件的全过程。通过使用PIL库进行图片读取与转换,结合自定义函数实现图片格式统一与尺寸调整,最终利用Keras进行CNN分类模型的训练与评估。
最近打算弄点图片搞下CNN分类,于是通过各种渠道搜集到了A,B两批图片.
图片数量不多,A有453张,B有586张,放在各自的文件夹里.这点图片感觉做分类应该不够,但无论如何先做着吧.
Code
分析图片
A和B的图片格式都是.png
A的图片大小固定为10241024,图片中的物体与边缘间有不等的透明像素.
B的图片大小不定,图片中的物体顶着边缘,其他地方也有透明像素.
计划将所有图片裁剪成100100*3(通道),打上标签然后保存成.csv文件.
读取图片
主要使用PIL来处理图片,需要用到import有:
import os
import csv
import random

import keras
from PIL import Image
import numpy as np

from AutoCrop import AutoCrop
首先读取图片为array
Image.open的时候需要加try,因为有些图片可能是编码问题读不出来.
图片中有大量透明像素,由于图像编码原因,如果直接读成RGB其中的透明像素不会完全转换成黑色,因此需要手动将透明像素转换成黑色.
def ReadImageToArray(filename, usefilter=True):
    # 读取图片
    try:
        im = Image.open(filename)
    except(OSError, NameError):
        print("OSError On:" + filename)
        return None
    # 显示图片
    # im.show()
    im = im.convert("RGBA")
    data = np.array(im)
    # 过滤透明像素RGBA转RGB
    clear = data[:, :, 3] != 0
    data = data[:, :, 0:3]
    if usefilter:
        for i in range(data.shape[2]):
            data[:, :, i] *= clear
    return data
    # 测试
    # new_im = Image.fromarray(np.uint8(data))
    # new_im.show()
测试
data = ReadImageToArray('galo.png')
im = Image.fromarray(np.uint8(data))
im.show()

图像缩放
由于要进行图像的缩放处理,所以需要将array转换成Image.
def ArrayToImage(data):
    if data is None:
        return None
    # 灰度图像必需只有两维
    if data.shape[-1] == 1:
        data.shape = np.squeeze(data,axis=-1)
    new_im = Image.fromarray(data.astype(np.uint8))
    return new_im
找到个轮子可以进行自动透明像素裁剪,也就是可以将我的A图片裁剪成B的格式
AutoCrop.py
from PIL import Image, ImageChops


def AutoCrop(image,backgroundColor=None):
    '''Intelligent automatic image cropping.
       This functions removes the usless "white" space around an image.

       If the image has an alpha (tranparency) channel, it will be used
       to choose what to crop.

       Otherwise, this function will try to find the most popular color
       on the edges of the image and consider this color "whitespace".
       (You can override this color with the backgroundColor parameter)

       Input:
            image (a PIL Image object): The image to crop.
            backgroundColor (3 integers tuple): eg. (0,0,255)
                 The color to consider "background to crop".
                 If the image is transparent, this parameters will be ignored.
                 If the image is not transparent and this parameter is not
                 provided, it will be automatically calculated.

       Output:
            a PIL Image object : The cropped image.
    '''

    def mostPopularEdgeColor(image):
        ''' Compute who's the most popular color on the edges of an image.
            (left,right,top,bottom)

            Input:
                image: a PIL Image object

            Ouput:
                The most popular color (A tuple of integers (R,G,B))
        '''
        im = image
        if im.mode != 'RGB':
            im = image.convert("RGB")

        # Get pixels from the edges of the image:
        width,height = im.size
        left   = im.crop((0,1,1,height-1))
        right  = im.crop((width-1,1,width,height-1))
        top    = im.crop((0,0,width,1))
        bottom = im.crop((0,height-1,width,height))
        pixels = left.tobytes() + right.tobytes() + top.tobytes() + bottom.tobytes()

        # Compute who's the most popular RGB triplet
        counts = {}
        for i in range(0,len(pixels),3):
            RGB = pixels[i]+pixels[i+1]+pixels[i+2]
            if RGB in counts:
                counts[RGB] += 1
            else:
                counts[RGB] = 1

        # Get the colour which is the most popular:
        mostPopularColor = sorted([(count,rgba) for (rgba,count) in counts.items()],reverse=True)[0][1]
        return ord(mostPopularColor[0]),ord(mostPopularColor[1]),ord(mostPopularColor[2])

    bbox = None

    # If the image has an alpha (tranparency) layer, we use it to crop the image.
    # Otherwise, we look at the pixels around the image (top, left, bottom and right)
    # and use the most used color as the color to crop.

    # --- For transparent images -----------------------------------------------
    if 'A' in image.getbands(): # If the image has a transparency layer, use it.
        # This works for all modes which have transparency layer
        bbox = image.split()[list(image.getbands()).index('A')].getbbox()
    # --- For non-transparent images -------------------------------------------
    elif image.mode=='RGB':
        if not backgroundColor:
            backgroundColor = mostPopularEdgeColor(image)
        # Crop a non-transparent image.
        # .getbbox() always crops the black color.
        # So we need to substract the "background" color from our image.
        bg = Image.new("RGB", image.size, backgroundColor)
        diff = ImageChops.difference(image, bg)  # Substract background color from image
        bbox = diff.getbbox()  # Try to find the real bounding box of the image.
    else:
        raise NotImplementedError("Sorry, this function is not implemented yet for images in mode '%s'." % image.mode)

    if bbox:
        image = image.crop(bbox)

    return image
由于这个轮子也没法解决我上述提到的透明像素转化问题,所以我用的时候都会先过一遍ReadImageToArray()再用轮子进行裁剪,这时候背景已经是黑色的了所以将轮子封装一下:
from AutoCrop import AutoCrop
# 裁剪背景黑色像素
def Crop(img):
    return AutoCrop(img, backgroundColor=(0, 0, 0))
然后进行图片缩放,目标是在给定的画布大小下按比例缩放图像使得图像顶格显示.
附带随机增加黑边功能,blackedge的值为最大增加黑边占图像大小的比例.
# 图片缩放
def Scale(img, width, height, usecrop=True, blackedge=0):
    if img is None:
        return None
    # 裁剪背景黑色像素
    if usecrop:
        img = Crop(img)
    # 加随机黑边%
    if blackedge != 0:
        w, h = img.size
        img = img.crop(
            (-w * blackedge * random.random(), -h * blackedge * random.random(), w + w * blackedge * random.random(),
             h + h * blackedge * random.random()))
    # 等比例缩放
    w, h = img.size
    if w / h > width / height:
        h = int(h * width / w)
        w = width
    else:
        w = int(w * height / h)
        h = height
    img = img.resize((w, h), Image.ANTIALIAS)
    # 裁剪
    x0 = int((w - width) / 2)
    y0 = int((h - height) / 2)
    x1 = x0 + width
    y1 = y0 + height
    img = img.crop((x0, y0, x1, y1))
    return img
测试
Scale(ArrayToImage(ReadImageToArray('galo.png')),100,100).show()
Scale(ArrayToImage(ReadImageToArray('galo.png')),200,100).show()


封装函数
将上面的函数封装一下以便调用
批量缩放
# 图片缩放 file2file
def Process(filename, savename, w, h):
    img = Scale(ArrayToImage(ReadImageToArray(filename)), w, h)
    if img is not None:
        img.save(savename)

# 图片缩放 批处理folder2folder
def Processes(sorcedir, targetdir, w, h):
    print("正在扫描文件夹...")
    # 列出目录下文件和子目录
    files = os.listdir(sorcedir)
    # 筛选出文件
    files = [f for f in files if os.path.isfile(os.path.join(sorcedir, f))]
    print("正在处理文件...")
    for f in files:
        Process(os.path.join(sorcedir, f), os.path.join(targetdir, f), w, h)
    return
示例
# 将sum文件夹下所有图片转换成100*100保存到tar文件夹
Processes(r'.\A\sum\', r'.\A\tar\', 100, 100)
保存为CSV
# 读取文件夹中所有图片,输出Array
def ReadDatas(sorcedir):
    print('正在读取图片...')
    files = os.listdir(sorcedir)
    files = [f for f in files if os.path.isfile(os.path.join(sorcedir, f))]
    data = []
    for f in files:
        arr = ReadImageToArray(os.path.join(sorcedir, f))
        if arr is not None:
            data.append(arr)
    return np.array(data, dtype=int)

# 将Array保存成CSV (文件的大小大概是图片的20倍左右)
def SaveFile(label, data, path):
    print('正在保存成CSV文件...')
    # reshape
    shape = data.shape
    m = shape[0]  # 行数
    pix = np.prod(shape[1:])  # 像素
    data.shape = (m, pix)
    # 使用空格分隔
    data = np.array(data, dtype=str)
    newdata = []
    for i in range(m):
        newdata.append(' '.join(data[i]))
    # 写文件
    with open(path, 'w', newline='')as f:
        f_csv = csv.writer(f)
        f_csv.writerow(['Label', 'Feature'])  # 表头
        f_csv.writerows(np.concatenate([np.ones((m, 1), dtype=int) * label,
                                        np.array(newdata, dtype=str).reshape(m, 1)], 1))  # 内容
    print('写入完成!')
    return
示例
# 将A\tar文件夹中所有图片打上标签1保存到1.csv文件中
SaveFile(1, ReadDatas(r'.\A\tar'), r'.\1.csv')
# 将B\tar文件夹中所有图片打上标签0保存到0.csv文件中
SaveFile(0, ReadDatas(r'.\B\tar'), r'.\0.csv')
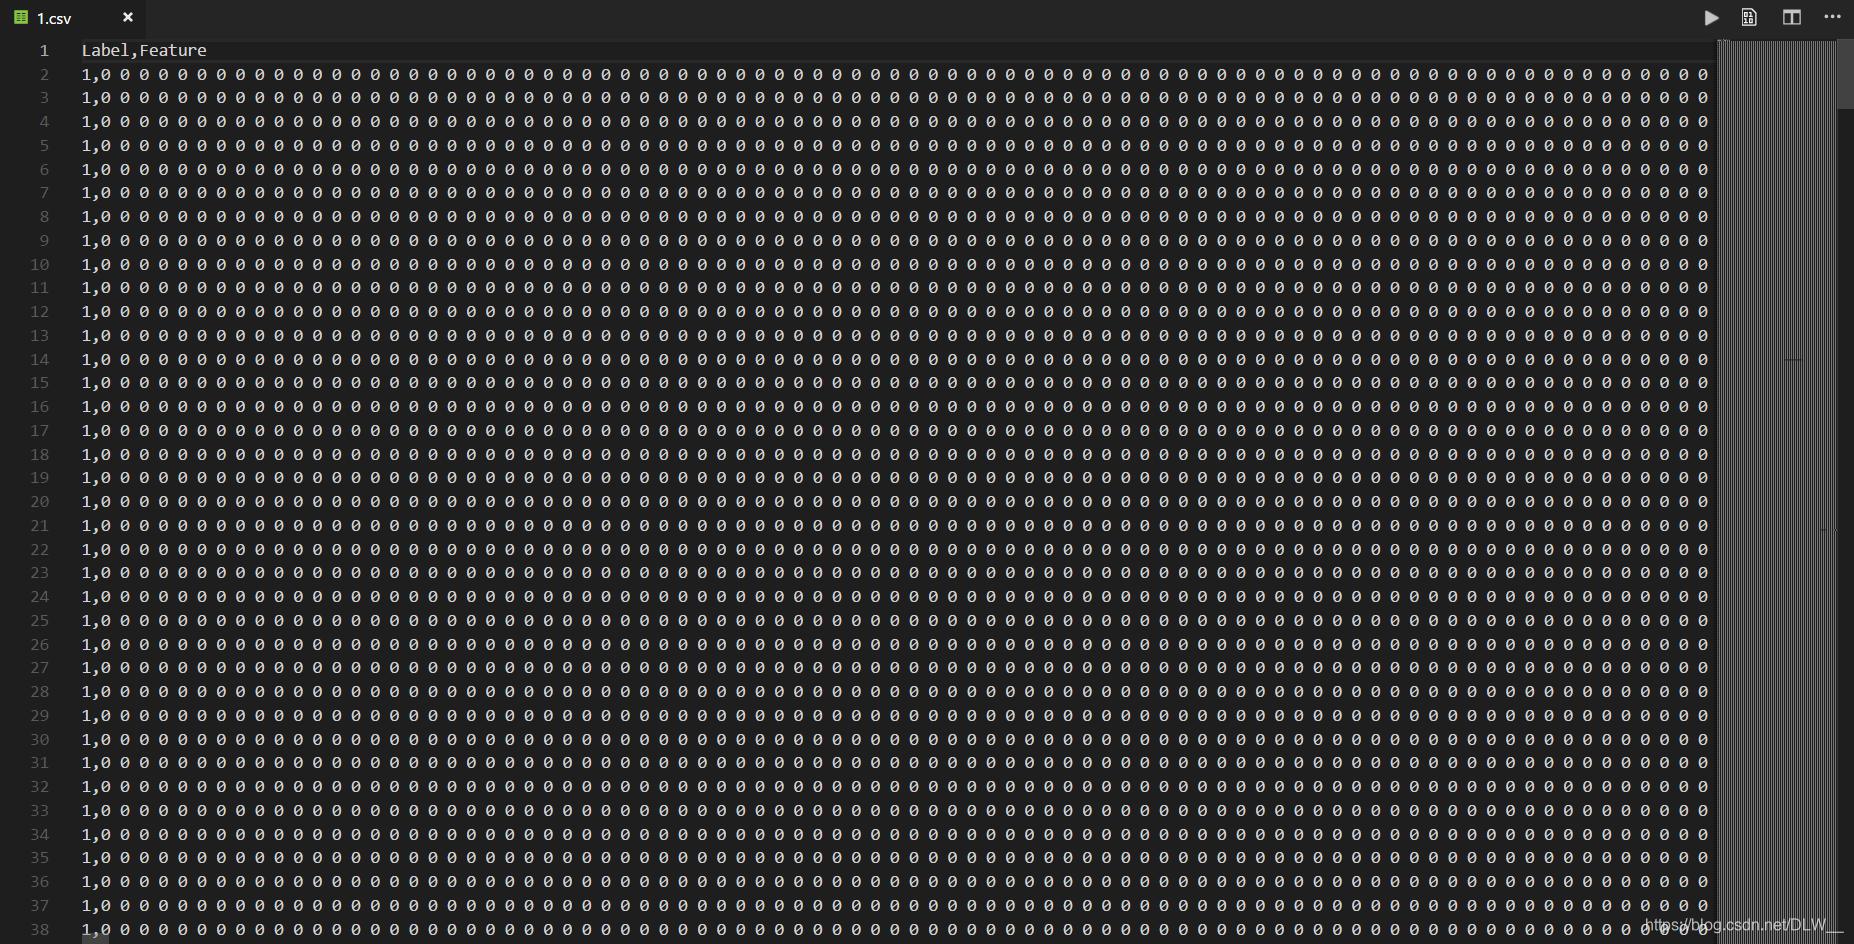
保存后的csv文件大概长这样
其他CSV操作
FileToCSV()直接将文件夹中所有图片缩放后转换成.csv文件
ReadFile()读取.csv文件并进行归一化,分割成测试集训练集等操作.
# 对文件夹中所有图片进行 图片缩放 保存成CSV文件
def FileToCSV(label, dir, path, width=0, height=0):
    if width == 0 | height == 0:
        SaveFile(label, ReadDatas(dir), path)
    else:
        print("正在扫描文件夹...")
        # 列出目录下文件和子目录
        files = os.listdir(dir)
        # 筛选出文件
        files = [f for f in files if os.path.isfile(os.path.join(dir, f))]
        print("正在处理文件...")
        data = []
        for f in files:
            img = Scale(ArrayToImage(ReadImageToArray(os.path.join(dir, f))), width, height)
            if img is not None:
                data.append(np.array(img, dtype=int))
        SaveFile(label, np.array(data, dtype=int), path)
    return


# 读取CSV
def ReadFile(path, rate=10, shape=(100,100,3)):
    print("正在读取CSV文件...")
    x_train = []
    y_train = []
    x_val = []
    y_val = []
    raw_train = np.genfromtxt(path, delimiter=',', dtype=str, skip_header=1)
    for i in range(len(raw_train)):
        tmp = np.array(raw_train[i, 1].split(' ')).reshape(shape)
        if (i % rate == 0):
            x_val.append(tmp)
            y_val.append(raw_train[i][0])
        else:
            x_train.append(tmp)
            y_train.append(raw_train[i][0])
            # x_train.append(np.flip(tmp, axis=2))  # simple example of data augmentation
            # y_train.append(raw_train[i][0])
    x_train = np.array(x_train, dtype=int)
    x_val = np.array(x_val, dtype=int)
    y_train = np.array(y_train, dtype=int)
    y_val = np.array(y_val, dtype=int)
    return x_train, y_train, x_val, y_val
rate:每rate个图片分一个图片到交叉验证集
示例
# 将sum文件夹下的所有图片缩放成100*100后保存成1.csv
FileToCSV(1, r'.\A\sum', r'.\1.csv', width=100, height=100)
# 读取1.csv
x1_train,y1_train,x1_test,y1_test = ReadFile(r'.\1.csv', shape=(100, 100, 3))
print(x1_train.shape)
print(y1_train.shape)
print(x1_test.shape)
print(y1_test.shape)
输出
(724, 100, 100, 3)
(724,)
(91, 100, 100, 3)
(91,)
训练
直接上CNN进行训练(反正我用GPU一分钟不用就跑的完).
dotrain.py
# !/usr/bin/python
# -*- coding:utf8 -*-
import random

import numpy as np
import keras
from keras.datasets import mnist
from keras.models import Sequential
from keras.layers import Dense, Dropout, Flatten, Conv2D, MaxPooling2D
from keras import backend as K
import picpro

batch_size = 20
num_classes = 2
epochs = 12

input_shape = (100,100,3)

x0_train,y0_train,x0_test,y0_test = picpro.ReadFile(r'.\B\0.csv', input_shape)
x1_train,y1_train,x1_test,y1_test = picpro.ReadFile(r'.\A\1.csv', input_shape)

print('正在处理训练集...')
# 合成训练集
x_train = np.concatenate([x1_train,x0_train], 0)
y_train = np.concatenate([y1_train,y0_train], 0)
x_test = np.concatenate([x1_test,x0_test], 0)
y_test = np.concatenate([y1_test,y0_test], 0)
del x0_train,y0_train,x0_test,y0_test
del x1_train,y1_train,x1_test,y1_test
# 打乱训练集
index = [i for i in range(len(y_train))]
random.shuffle(index)
x_train = x_train[index]
y_train = y_train[index]
# 添加噪声
# for i in x_train:
#     i += np.random.rand(input_shape)/25
# for i in x_test:
#     i += np.random.rand(input_shape)/25
# convert class vectors to binary class matrices 将类向量转换为二进制类矩阵
y_train = keras.utils.to_categorical(y_train, num_classes)
y_test = keras.utils.to_categorical(y_test, num_classes)

print('x_train shape:', x_train.shape)
print('y_train shape:', y_train.shape)
print(x_train.shape[0], 'train samples')
print(x_val.shape[0], 'val samples')

# 测试
# picpro.ArrayToImage(x_train[0]*255).show()


print("正在构建模型...")
# 构建模型
model = Sequential()
model.add(Conv2D(32, kernel_size=(3, 3),
                 activation='relu',
                 input_shape=input_shape))  # 32个过滤器,过滤器大小是3×3,32×26×26
model.add(Conv2D(64, (3, 3), activation='relu'))  # 64×24×24
model.add(MaxPooling2D(pool_size=(2, 2)))  # 向下取样
model.add(Dropout(0.25))
model.add(Flatten())  # 降维:将64×12×12降为1维(即把他们相乘起来)
model.add(Dense(128, activation='relu'))
model.add(Dropout(0.5))
model.add(Dense(num_classes, activation='softmax'))  # 全连接2层
# 显示模型
model.summary()

# compile the model 编译模型
model.compile(loss=keras.losses.categorical_crossentropy,
              optimizer=keras.optimizers.Adadelta(),
              metrics=['accuracy'])

# train the model 训练模型
model.fit(x_train, y_train,
          batch_size=batch_size,
          epochs=epochs,
          verbose=1,
          validation_data=(x_test, y_test))

# test the model 测试模型
score = model.evaluate(x_test, y_test, verbose=0)
print('Test loss:', score[0])
print('Test accuracy:', score[1])
其他操作
为了方便训练了模型之后使用其他图片进行测试写了如下函数.
# 使用模型判断图片
def Tester(model, path):
    tester = np.array(Scale(ArrayToImage(ReadImageToArray(path)), 100, 100)).reshape(1, 100, 100, 3)
    return model.predict(tester)
总结
刚开始时将两批图片直接缩放成目标大小,发现训练出来的模型在测试集上准确率高达96%,训练集上近乎百分百,在第一个epoch就有90%以上的测试集准确率.想都不用想就知道是两批图片的不同规律导致的(一个有自带黑边一个没有自带黑边)
于是在处理图片时将没有自带黑边的图片给加上了随机0%~20%的黑边.看起来好点了因为测试集准确率下降到90%左右.但我尝试手动处理了一些图片手动进行分类测试发现结果堪忧,实际准确率连50%都没有.实在想不懂为什么会这样.尝试在数据集上加高斯噪声也没有作用.
最后使用了AutoCrop那个自动裁剪,将原图的黑边裁掉再进行缩放,于是准确率下降到60%左右.也不知道这和随机加黑边有什么区别,但是就是有用.
60%的准确率看起来还是挺合理的,毕竟数据集那么少.以后有机会再弄多点图片测试下.


 689
689

 被折叠的 条评论
为什么被折叠?
被折叠的 条评论
为什么被折叠?
 到【灌水乐园】发言


