


一、简述keepalived工作原理
Keepalived官网:Keepalived
Keepalived 是一个用 C 编写的路由软件。这个软件的主要目标是为 Linux 系统和基于 Linux 的基础设施的负载平衡和高可用性提供简单高效的服务。通过vrrp协议完成节点IP的流动,以及依赖众所周知且广泛使用的Linux 虚拟服务器 (IPVS)内核模块,提供第 4 层负载均衡。Keepalived 还提供了节点健康检查功能,可以根据其健康状况动态和自适应地维护和管理负载平衡的服务器。一般搭配nginx和haproxy等软件实现服务的高可用性。
二、编译安装haproxy
haproxy需要安装lua环境,所以需要编译lua
编译lua:
yum install -y gcc readline-devel
wget http://www.lua.org/ftp/lua-5.3.5.tar.gz
tar xf lua-5.3.5.tar.gz -C /usr/local
cd /usr/local/lua-5.3.5/

make linux test
编译haproxy:
yum -y install gcc openssl-devel pcre-devel systemd-devel
wget https://src.fedoraproject.org/repo/pkgs/haproxy/haproxy-2.2.6.tar.gz/sha512/b9afa4a4112dccaf192fce07b1cdbb1547060d998801595147a41674042741b62852f65a65aa9b2d033db8808697fd3a522494097710a19071fbb0c604544de5/haproxy-2.2.6.tar.gz
tar xf haproxy-2.2.6.tar.gz
cd haproxy-2.2.6
make  ARCH=x86_64 TARGET=linux-glibc  USE_PCRE=1 USE_OPENSSL=1 USE_ZLIB=1  USE_SYSTEMD=1  USE_LUA=1 LUA_INC=/usr/local/lua-5.3.5/src/ LUA_LIB=/usr/local/lua-5.3.5/src/
make install PREFIX=/haproxy

添加变量
echo 'PATH=/haproxy/sbin:$PATH' > /etc/profile.d/haproxy.sh
source /etc/profile.d/haproxy.sh

mkdir /haproxy/log
mkdir /haproxy/pid
mkdir /haproxy/etc

添加service
vi /usr/lib/systemd/system/haproxy.service
[Unit]
Description=HAProxy Load Balancer
After=syslog.target network.target
[Service]
ExecStartPre=/haproxy/sbin/haproxy -f /haproxy/etc/haproxy.cfg  -c -q
ExecStart=/haproxy/sbin/haproxy -Ws -f /haproxy/etc/haproxy.cfg -p /haproxy/pid/haproxy.pid
ExecReload=/bin/kill -USR2 $MAINPID
[Install]
WantedBy=multi-user.target


vi /haproxy/etc/haproxy.cfg  创建配置文件
global
    maxconn 100000
    chroot /haproxy
    stats socket /haproxy/haproxy.sock mode 600 level admin
    #uid 99
    #gid 99
    user  haproxy
    group haproxy
    daemon
    #nbproc 4
    #cpu-map 1 0
    #cpu-map 2 1
    #cpu-map 3 2
    #cpu-map 4 3
    pidfile /haproxy/pid/haproxy.pid
    log 127.0.0.1 local2 info
defaults
    option http-keep-alive
    option  forwardfor
    maxconn 100000
    mode http
    timeout connect 300000ms
    timeout client  300000ms
    timeout server  300000ms
listen stats  #创建状态页面
    mode http
    bind 0.0.0.0:9999
    stats enable
    log global
    stats uri     /haproxy-status
    stats auth    admin:admin


useradd -r -s /sbin/nologin -d /haproxy/ haproxy  添加账户
chown haproxy.haproxy -R /haproxy
systemctl daemon-reload
systemctl start haproxy


开启日志记录,和rsyslog搭配使用
vi /etc/rsyslog.conf

#### MODULES ####   全局配置下开启
$ModLoad imudp
$UDPServerRun 514
$ModLoad imtcp
$InputTCPServerRun 514

#### RULES ####   定义日志记录路径
local2.*     /haproxy/log/haproxy.log

systemctl restart rsyslog   重启服务
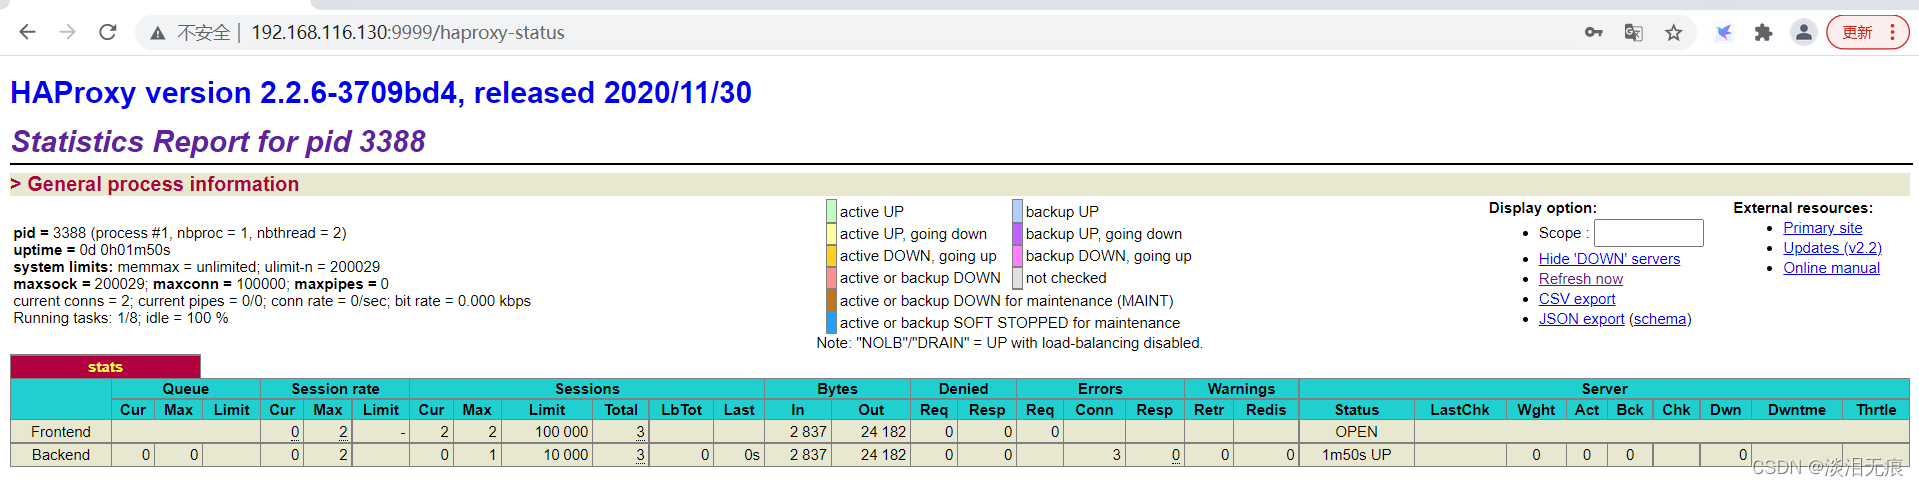
http://192.168.116.130:9999/haproxy-status 访问状态页面
输入账户admin,密码amdin
三、总结haproxy各调度算法的实现方式及其应用场景
按照上面部署haproxy
然后部署后台web服务器
web1配置:
yum install -y httpd
echo web1>/var/www/html/index.html
systemctl start httpd
web2配置:
yum install -y httpd
echo web2>/var/www/html/index.html
systemctl start httpd
haproxy开启子配置文件:
mkdir /haproxy/etc/conf.d
chown haproxy.haproxy -R /haproxy/

vi /usr/lib/systemd/system/haproxy.service 修改service

[Unit]
Description=HAProxy Load Balancer
After=syslog.target network.target
[Service]
ExecStartPre=/haproxy/sbin/haproxy -f /haproxy/etc/haproxy.cfg -f /haproxy/etc/conf.d  -c -q
ExecStart=/haproxy/sbin/haproxy -Ws -f /haproxy/etc/haproxy.cfg -f /haproxy/etc/conf.d -p /haproxy/pid/haproxy.pid
ExecReload=/bin/kill -USR2 $MAINPID
[Install]
WantedBy=multi-user.target

systemctl daemon-reload
systemctl restart haproxy
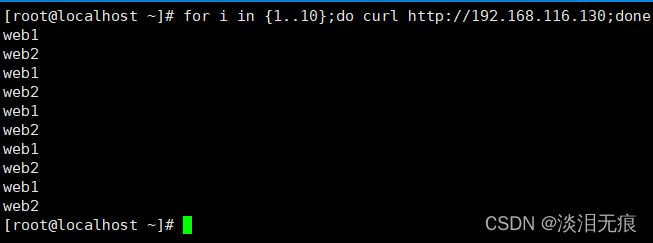
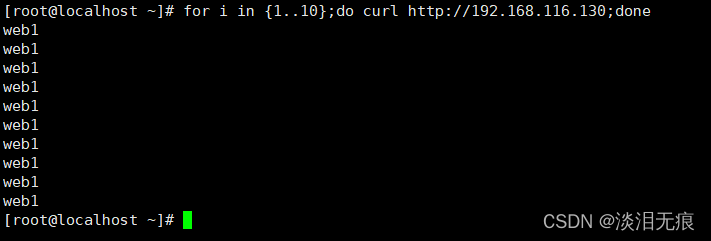
- static-rr 静态轮询算法:有多少个后台web就把网页请求都调用一遍。一台web一次。
vi /haproxy/etc/conf.d/static-rr.cfg
listen  web
    bind 192.168.116.130:80
    mode http
    log global
    balance static-rr
    server web1  192.168.116.132:80 check
    server web2  192.168.116.133:80 check

systemctl restart haproxy
客户端访问测试
for i in {1…10};do curl http://192.168.116.130;done
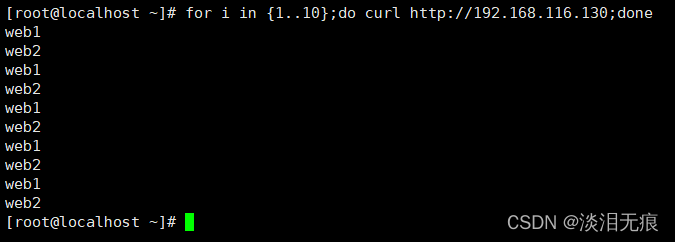
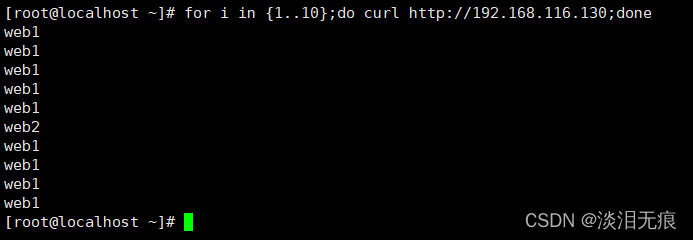
- static-wrr 权重指定算法:权重大的服务器接收更多网页请求。
vi /haproxy/etc/conf.d/static-wrr.cfg
listen  web
    bind 192.168.116.130:80
    mode http
    log global
    balance static-rr
    server web1  192.168.116.132:80 weight 5 check
    server web2  192.168.116.133:80 weight 1 check

systemctl restart haproxy
客户端访问测试
for i in {1…10};do curl http://192.168.116.130;done
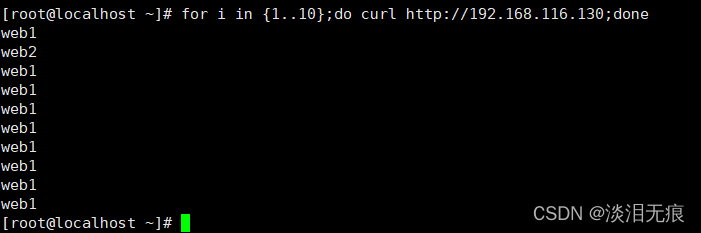
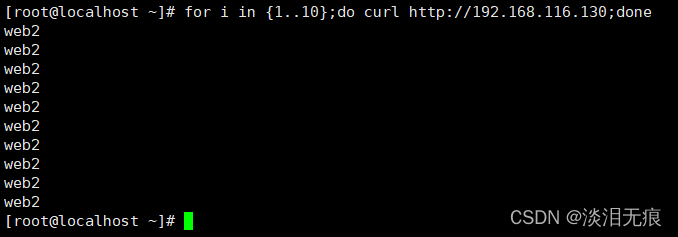
- first:自上而下算法,从配置的第一行算起,当第一台web的连接数量满了之后才把请求转发到第二台web服务器
vi /haproxy/etc/conf.d/first.cfg

listen  web
    bind 192.168.116.130:80
    mode http
    log global
    balance first
    server web1  192.168.116.132:80 check
    server web2  192.168.116.133:80 check

systemctl restart haproxy
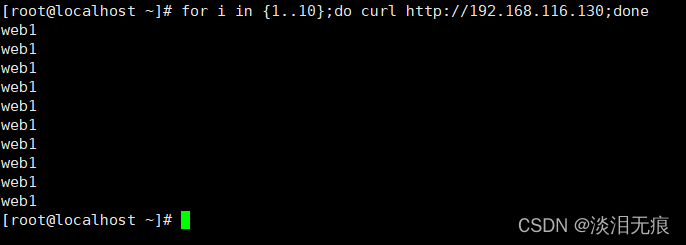
客户端访问测试
for i in {1…10};do curl http://192.168.116.130;done
因为第一台请求没满,所以都是web1
- roundrobin 动态轮询算法:有多少个后台web就把网页请求都调用一遍。一台web一次,但是可以用socat动态修改工具修改配置。静态的轮询不能修改。
vi /haproxy/etc/conf.d/roundrobin.cfg
listen  web
    bind 192.168.116.130:80
    mode http
    log global
    balance roundrobin
    server web1  192.168.116.132:80 check
    server web2  192.168.116.133:80 check


systemctl restart haproxy
客户端访问测试
for i in {1…10};do curl http://192.168.116.130;done
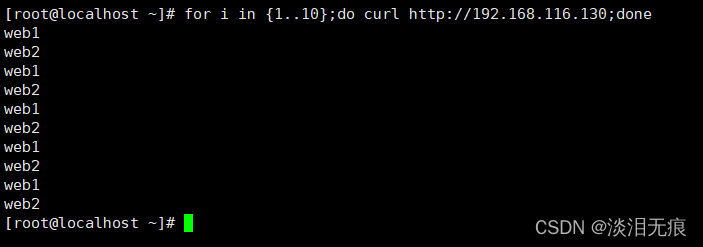
修改权重测试轮询是否变化
yum install socat -y 安装工具
修改web1权重
echo "set weight web/web1 10" | socat stdio /haproxy/haproxy.sock
echo "get weight web/web1" | socat stdio /haproxy/haproxy.sock

客户端访问测试
for i in {1…10};do curl http://192.168.116.130;done
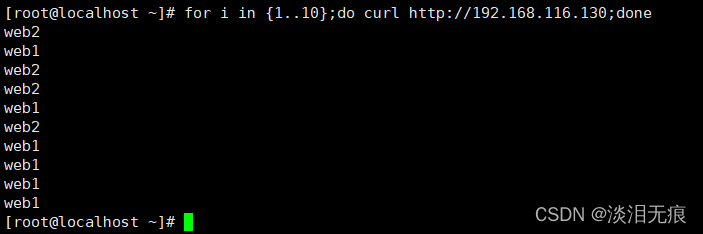
- leastconn 动态最小连接数算法:哪个web服务器访问量小就往哪个web服务器调度网站请求。支持动态工具socat修改配置。
vi /haproxy/etc/conf.d/leastconn.cfg

listen  web
    bind 192.168.116.130:80
    mode http
    log global
    balance leastconn
    server web1  192.168.116.132:80 check
    server web2  192.168.116.133:80 check


systemctl restart haproxy
客户端访问测试
for i in {1…10};do curl http://192.168.116.130;done
因为2台都是初始都是0连接,所以是轮询状态
- random 随机数动态算法,生成一个随机数进行hash运算,根据返回的key进行随机调度请求到后台web服务器上。
vi /haproxy/etc/conf.d/radom.cfg
listen  web
    bind 192.168.116.130:80
    mode http
    log global
    balance random
    server web1  192.168.116.132:80 check
    server web2  192.168.116.133:80 check

systemctl restart haproxy
客户端访问测试
for i in {1…10};do curl http://192.168.116.130;done
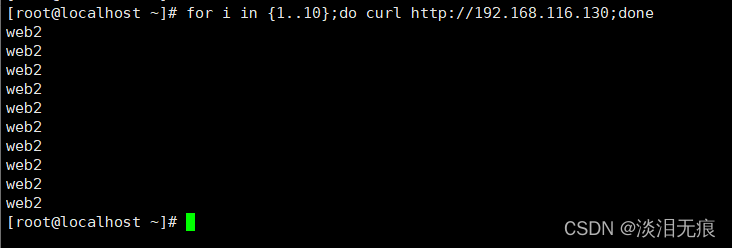
- source-map-base 源地址hash取模算法:根据客户端的源地址进行hash计算和服务器权重进行取模,得到的余数是哪个就往哪个web调度。此方法是静态的。
vi /haproxy/etc/conf.d/source.cfg

listen  web
    bind 192.168.116.130:80
    mode http
    log global
    balance source
    server web1  192.168.116.132:80 check
    server web2  192.168.116.133:80 check

systemctl restart haproxy
客户端访问测试
for i in {1…10};do curl http://192.168.116.130;done
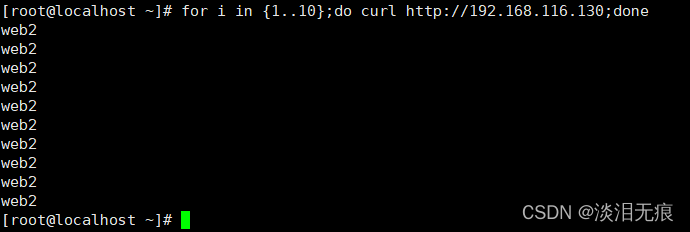
- source-consistent 一致性hash算法:根据一致性hash算法对web服务器进行调度,支持动态修改。
vi /haproxy/etc/conf.d/source.cfg
listen  web
    bind 192.168.116.130:80
    mode http
    log global
    balance source
    hash-type consistent
    server web1  192.168.116.132:80 check
    server web2  192.168.116.133:80 check


systemctl restart haproxy
客户端访问测试
for i in {1…10};do curl http://192.168.116.130;done
- uri-hash-map-based 取模算法 :根据请求的url的左半部分或者整个uri进行hash运算,然后跟服务器的权重进行取模,得到的余数是哪个就往哪个web调度。此方法是静态的。
vi /haproxy/etc/conf.d/uri.cfg

listen  web
    bind 192.168.116.130:80
    mode http
    log global
    balance uri
    hash-type map-based
    server web1  192.168.116.132:80 check
    server web2  192.168.116.133:80 check

systemctl restart haproxy
客户端访问测试
for i in {1…10};do curl http://192.168.116.130;done
- uri-hash-consistent :uri和一致性hash算法:根据一致性hash算法对web服务器进行调度,支持动态修改。
vi /haproxy/etc/conf.d/uri.cfg

listen  web
    bind 192.168.116.130:80
    mode http
    log global
    balance uri
    hash-type consistent
    server web1  192.168.116.132:80 check
    server web2  192.168.116.133:80 check

systemctl restart haproxy
客户端访问测试
for i in {1…10};do curl http://192.168.116.130;done
- hdr-map-based 浏览器响应头取模算法:针对客户端浏览器的http头部(header)请求中的指定信息做hash,然后由服务器总权重取模以后派发至某挑出的服务器,如果无有效值,则会使用默认的轮询调度。
vi /haproxy/etc/conf.d/hdr.cfg
listen  web
    bind 192.168.116.130:80
    mode http
    log global
    balance hdr(User-Agent)
    hash-type map-based
    server web1  192.168.116.132:80 check
    server web2  192.168.116.133:80 check


systemctl restart haproxy
客户端访问测试
for i in {1…10};do curl http://192.168.116.130;done
四、使用haproxy的ACL实现基于文件后缀名的动静分离
拓扑图
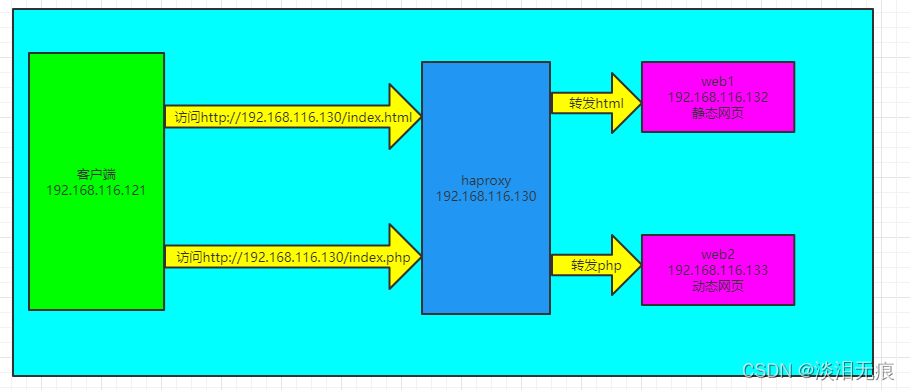
- 后台搭建静态网站web1
yum install -y httpd
echo web1>/var/www/html/index.html

systemctl start httpd
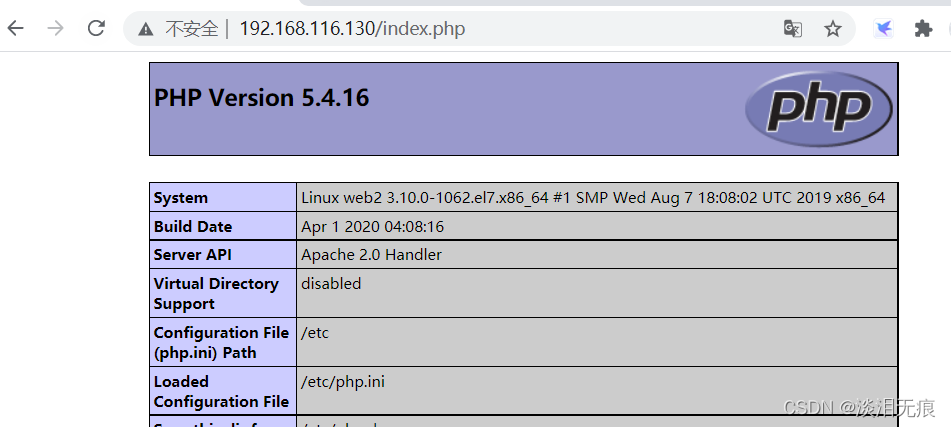
- 后台搭建动态网站web2
编译安装LAMP看这个:编译LAMP
yum安装httpd和php实现动态页面
yum -y install httpd php
echo "<?php phpinfo(); ?>" >/var/www/html/index.php
systemctl start httpd
- haproxy配置
按照上面安装好haproxy
vi /haproxy/etc/conf.d/webs.cfg  添加配置

frontend  web-hosts
    bind 192.168.116.130:80
    mode http
    log global
    acl acl_source_static path_end -i .jpg .jpeg .png .gif .css .js .html
    acl acl_source_php    path_end -i .php

    use_backend  static_web1 if acl_source_static
    use_backend  php_web2    if acl_source_php
    default_backend static_web1

backend static_web1
    server web1  192.168.116.132:80 check

backend php_web2
    server web2  192.168.116.133:80 check

systemctl restart haproxy
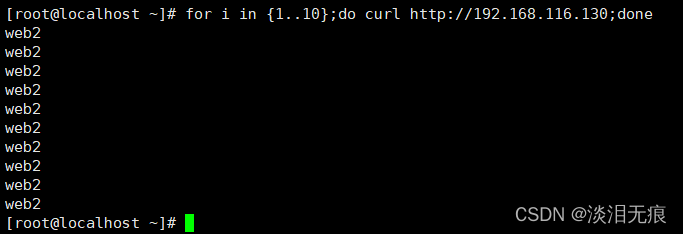
- 客户端测试
访问静态页面到了web1服务器上面
http://192.168.116.130/index.html

访问动态页面到了web2服务器上面
http://192.168.116.130/index.php


 被折叠的 条评论
为什么被折叠?
被折叠的 条评论
为什么被折叠?
 到【灌水乐园】发言


