


主要参考GIS荟公众号文章:
1.增加清华源,其他可使用公众号
conda config --add channels https://mirrors.tuna.tsinghua.edu.cn/anaconda/pkgs/main

conda config --add channels https://mirrors.tuna.tsinghua.edu.cn/anaconda/pkgs/r

conda config --add channels https://mirrors.tuna.tsinghua.edu.cn/anaconda/pkgs/msys2

conda config --add channels https://mirrors.tuna.tsinghua.edu.cn/anaconda/pkgs/pro

conda config --add channels https://mirrors.tuna.tsinghua.edu.cn/anaconda/pkgs/free

conda config --add channels https://mirrors.tuna.tsinghua.edu.cn/anaconda/cloud/conda-forge

conda config --add channels https://mirrors.tuna.tsinghua.edu.cn/anaconda/cloud/pytorch
2.克隆环境可使用绝对路径,环境名称和路径最后缀要一致
# 克隆名为 my_env 的环境到 /opt/anaconda/envs/cloned_env
conda create --name cloned_env --clone my_env --prefix /opt/anaconda/envs/cloned_env
3.Pro中激活环境 :proswap arcgispro-py3-clone0602


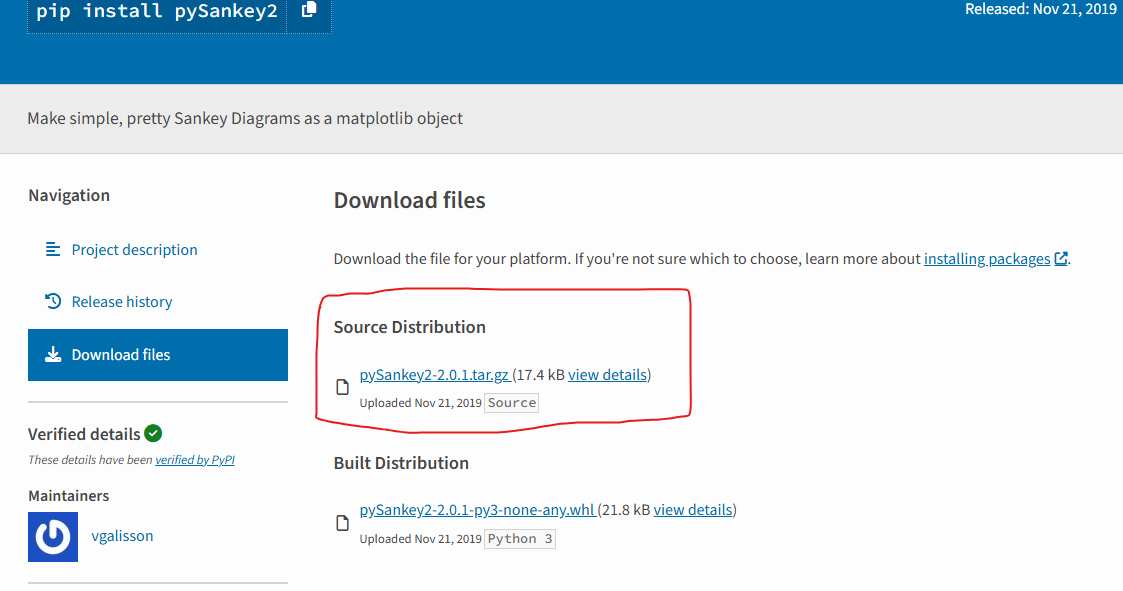
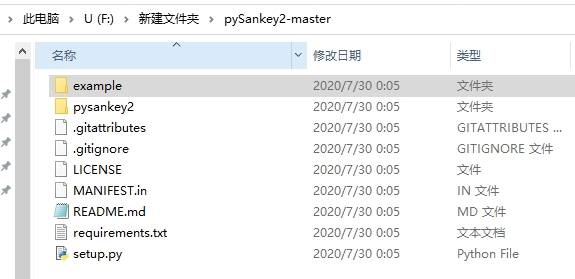
4.jupyternotebook中无法加载已安装的py包,可能是因为缺少wheel,可通过pypi官网下载源文件后,在终端使用pip或conda,导向下载的压缩包文件夹:pip install F:\新建文件夹\pySankey2-master
4.1更大的可能是Jupyter 所用的 Python 环境与安装 geatpy 的环境不一致
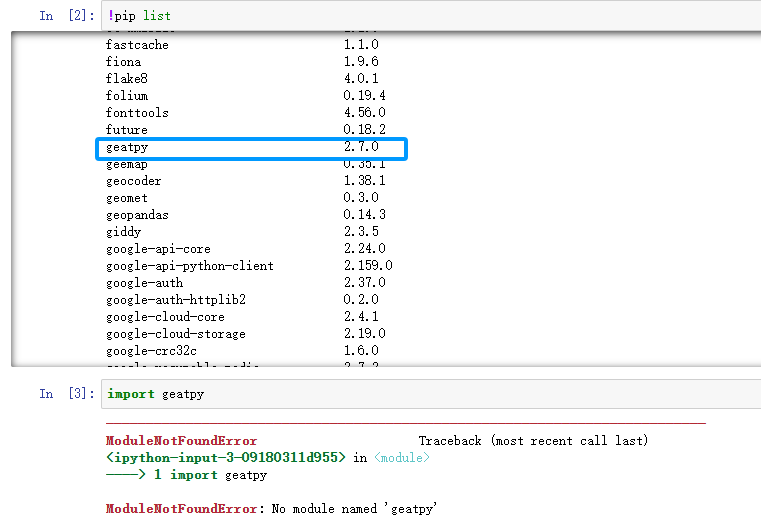
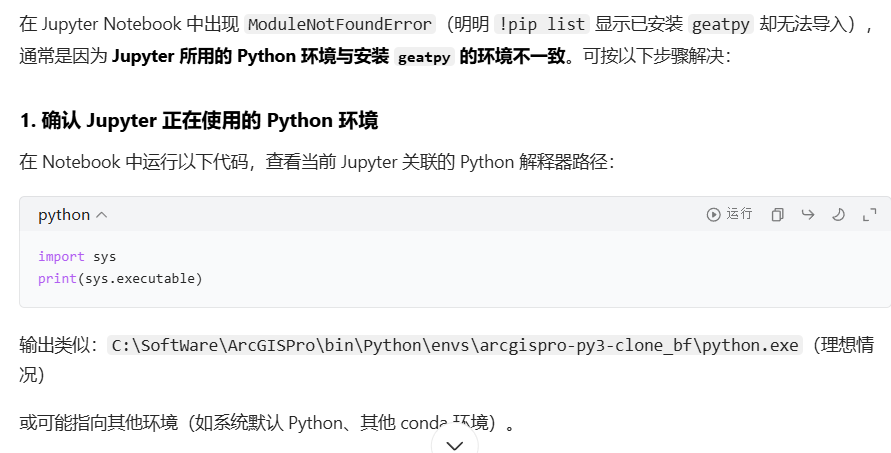
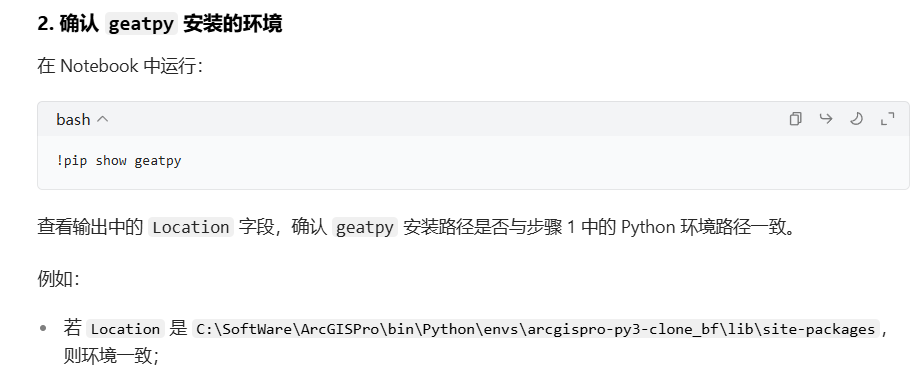
此时sys.executable是\ArcGISPro\bin\Python\envs\arcgispro-py3-clone\python.exe
与安装包的环境不一致\arcgispro-py3-clone_bf(这里可能是Jupyter的一个BUG,在激活arcgispro-py3-clone_bf的情况下使用jupyter notebook的核心并不是arcgispro-py3-clone_bf环境中的,而是arcgispro-py3-clone环境)

解决方案:
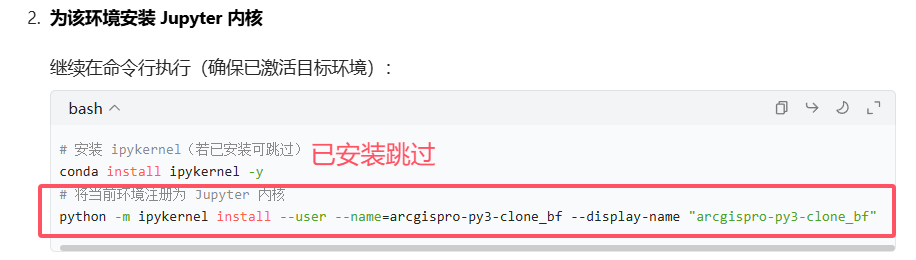

此时使用jupyter kernelspec list命令就可以看到上 上图的蓝框的jupyter核心
此时在该环境下重新打开jupyter notebook并更改核心才是正确的使用该arcgispro-py3-clone_bf环境的核心
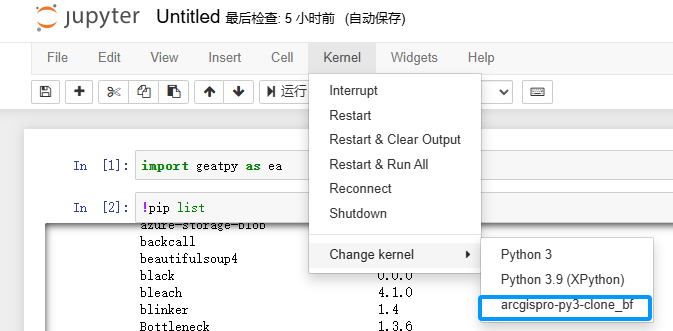
此时import sys print(sys.executable)的结果是\ArcGISPro\bin\Python\envs\arcgispro-py3-clone_bf\python.exe,能正确导入安装包
如果后续需要删除多余的内核(如 arcgispro-py3-clone),可在命令行执行:
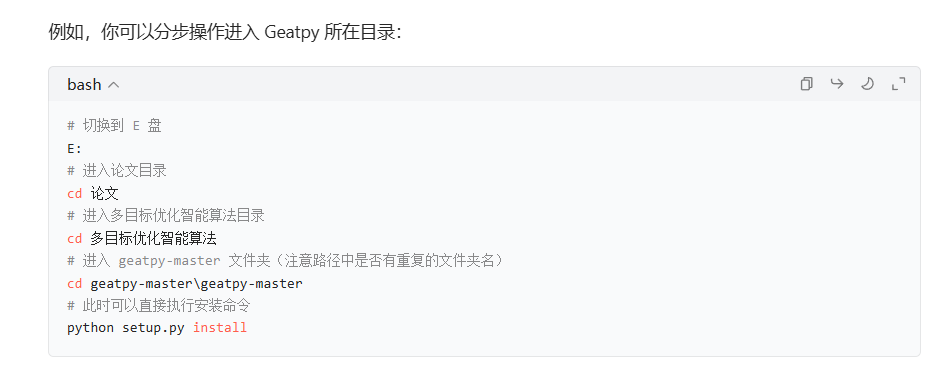
jupyter kernelspec remove arcgispro-py3-clone5.使用setup.py进行安装


 749
749

 被折叠的 条评论
为什么被折叠?
被折叠的 条评论
为什么被折叠?
 到【灌水乐园】发言


