


1.简介
Nginx是异步框架的Web服务器,也可以用作反向代理,负载平衡器 和 HTTP缓存。该软件由Igor Sysoev 创建,并于2004年首次公开发布。 同名公司成立于2011年,以提供支持。 Nginx是免费的开源软件,根据类BSD许可证的条款发布。一大部分Web服务器使用Nginx, 通常作为负载均衡器。
基本的 nginx 体系结构由 master 进程和其 worker 进程组成。master 读取配置文件,并维护 worker 进程,而 worker 则会对请求进行实际处理。
Nginx 是一个高性能的 Web 和反向代理服务器, 它具有有很多非常优越的特性:
作为 Web 服务器:相比 Apache,Nginx 使用更少的资源,支持更多的并发连接,体现更高的效率,这点使 Nginx 尤其受到虚拟主机提供商的欢迎。能够支持高达 50,000 个并发连接数的响应,Nginx 为我们选择了 epoll and kqueue 作为开发模型.
作为负载均衡服务器:Nginx 既可以在内部直接支持 Rails 和 PHP,也可以支持作为 HTTP代理服务器 对外进行服务。Nginx 用 C 编写, 不论是系统资源开销还是 CPU 使用效率都比 Perlbal 要好的多。
作为邮件代理服务器: Nginx 同时也是一个非常优秀的邮件代理服务器(最早开发这个产品的目的之一也是作为邮件代理服务器),Last.fm 描述了成功并且美妙的使用经验。Nginx 安装非常的简单,配置文件 非常简洁(还能够支持perl语法),Bugs非常少的服务器: Nginx 启动特别容易,并且几乎可以做到7*24不间断运行,即使运行数个月也不需要重新启动。你还能够在 不间断服务的情况下进行软件版本的升级。
2.安装部署
ubuntu下安装Nginx依赖库:
apt-get install build-essential
apt-get install libtool
CentOS下可使用yum安装
#安装make:
yum -y install gcc automake autoconf libtool make

#安装g++:
yum install gcc gcc-c++
安装pcre依赖库:
sudo apt-get install libpcre3 libpcre3-dev
安装zlib依赖库:
apt-get install zlib1g-dev
安装ssl依赖库:
apt-get install openssl
下载:http://nginx.org/download/
版本自选,可选最新版的,注意要下载.tar.gz文件
解压并编辑配置文件
#解压
tar -zxvf nginx-1.13.12.tar.gz
#进入目录
cd nginx-1.13.12
#配置
./configure --prefix=/usr/local/nginx
#编辑
make
安装
sudo make install
配置nginx.conf文件
#user nobody;
worker_processes 1;
#error_log logs/error.log;
#error_log logs/error.log notice;
#error_log logs/error.log info;
#pid logs/nginx.pid;
events {
worker_connections 1024;
}
http {
include mime.types;
default_type application/octet-stream;
#log_format main '$remote_addr - $remote_user [$time_local] "$request" '
# '$status $body_bytes_sent "$http_referer" '
# '"$http_user_agent" "$http_x_forwarded_for"';
#access_log logs/access.log main;
sendfile on;
#tcp_nopush on;
#keepalive_timeout 0;
keepalive_timeout 65;
#gzip on;
server {
listen 8081; #安全组内端口,并且不和其他程序冲突
server_name localhost; #服务器公网ip
#charset koi8-r;
#access_log logs/host.access.log main;
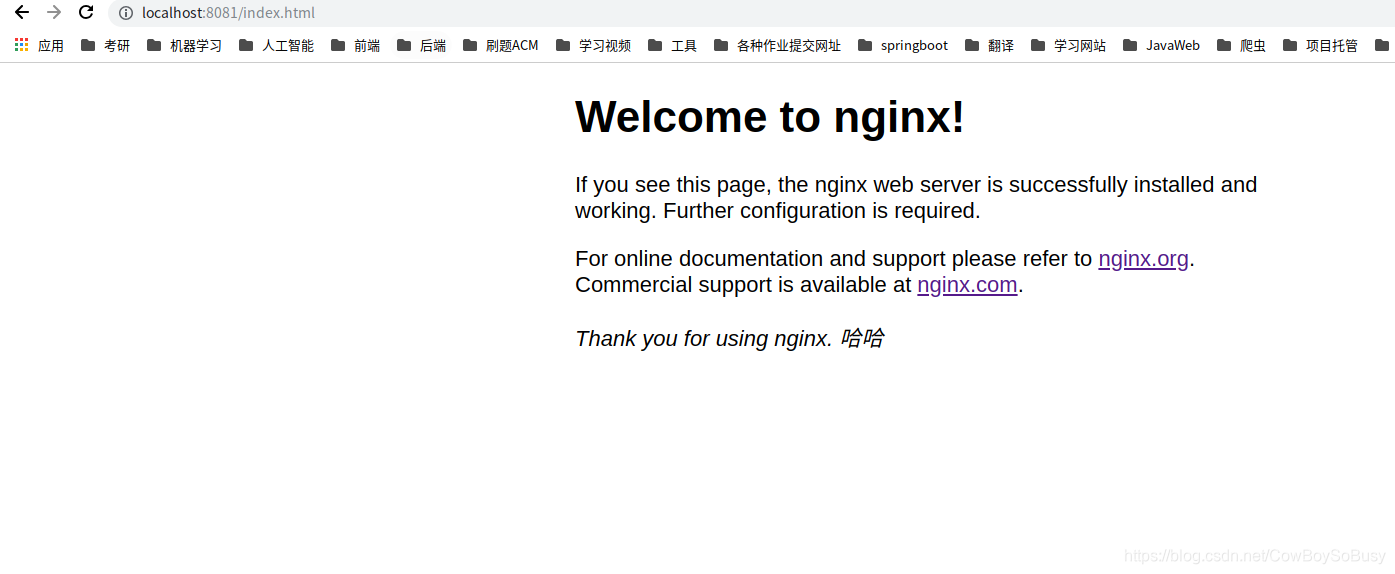
#静态页面目录 默认为Nginx下的html文件夹 可配置成其他目录的绝对路径即可
location / {
root /usr/local/nginx/html;
index index.html index.htm;
}
# redirect server error pages to the static page /50x.html
#
#自定义丢失和错误页面
error_page 500 502 503 504 404 /50x.html;
location = /50x.html {
root html;
}
# proxy the PHP scripts to Apache listening on 127.0.0.1:80
#
#location ~ \.php$ {
# proxy_pass http://127.0.0.1;
#}
# pass the PHP scripts to FastCGI server listening on 127.0.0.1:9000
#
#location ~ \.php$ {
# root html;
# fastcgi_pass 127.0.0.1:9000;
# fastcgi_index index.php;
# fastcgi_param SCRIPT_FILENAME /scripts$fastcgi_script_name;
# include fastcgi_params;
#}
# deny access to .htaccess files, if Apache's document root
# concurs with nginx's one
#
#location ~ /\.ht {
# deny all;
#}
}
# another virtual host using mix of IP-, name-, and port-based configuration
#
#server {
# listen 8000;
# listen somename:8080;
# server_name somename alias another.alias;
# location / {
# root html;
# index index.html index.htm;
# }
#}
# HTTPS server
#
#server {
# listen 443 ssl;
# server_name localhost;
# ssl_certificate cert.pem;
# ssl_certificate_key cert.key;
# ssl_session_cache shared:SSL:1m;
# ssl_session_timeout 5m;
# ssl_ciphers HIGH:!aNULL:!MD5;
# ssl_prefer_server_ciphers on;
# location / {
# root html;
# index index.html index.htm;
# }
#}
}
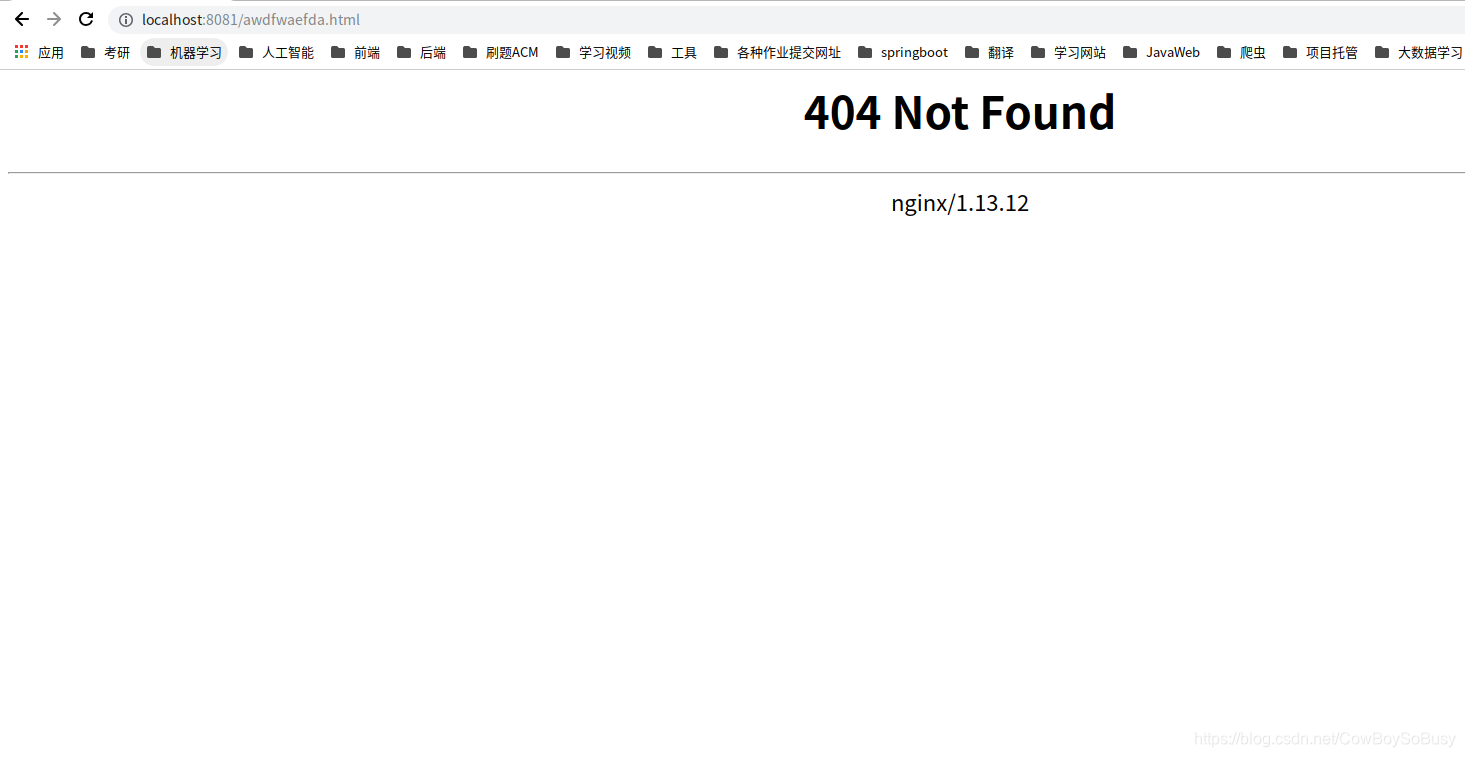
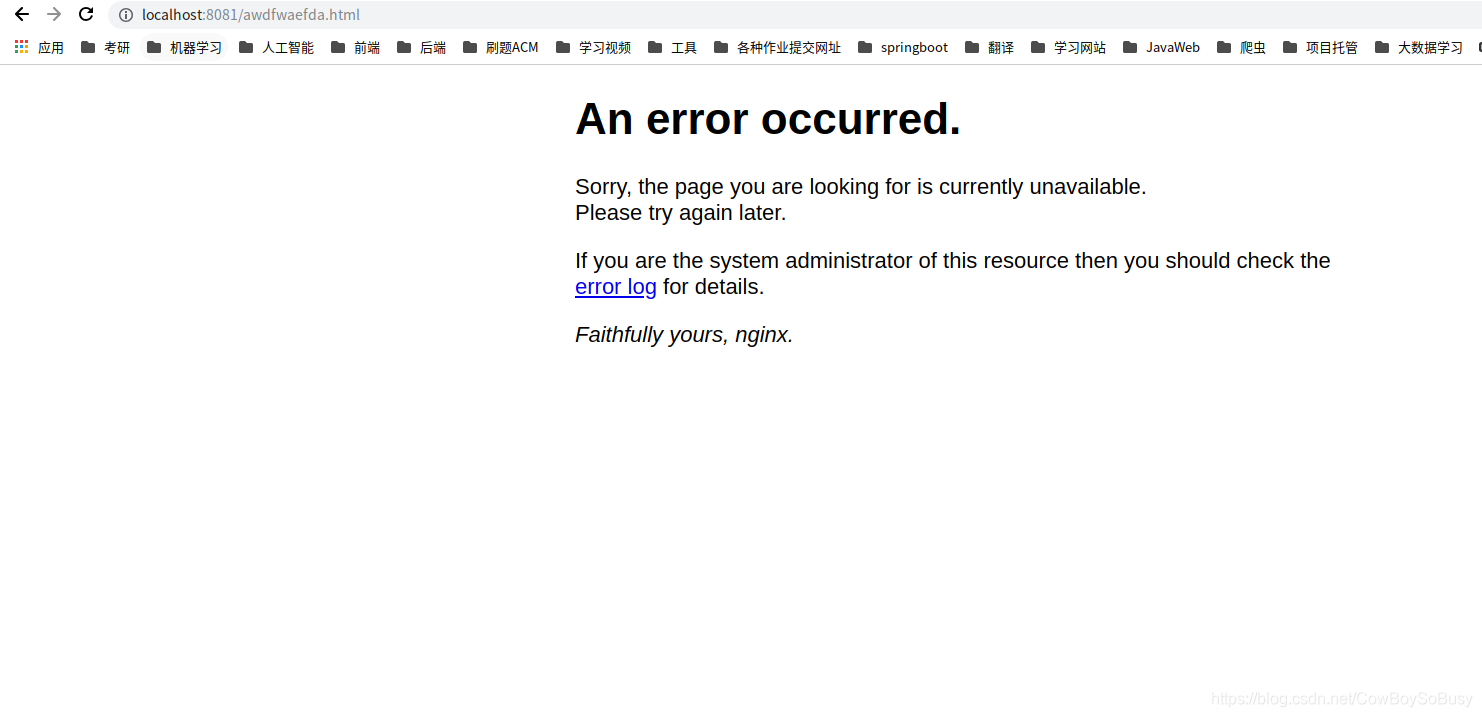
注意这里为了不让页面找不到时跳转到404页面,我们将它加入到错误页面显示,和50x服务器错误页面一起,当然你可以自定义404页面,然后加入到/usr/local/nginx/html目录即可。
     # 自定义404页面
        # error_page 404 /404.html;
        #自定义丢失和错误页面
        error_page   500 502 503 504 404 /50x.html;
        location = /50x.html {
            root   html;
        }
修改前
修改后
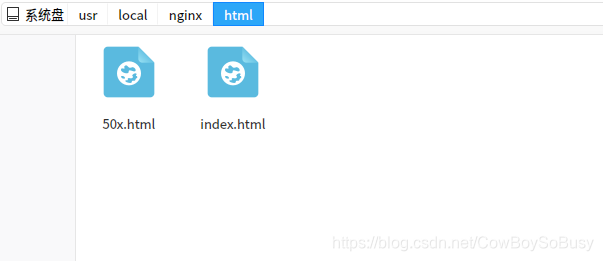
修改页面模板在/usr/local/nginx/html目录,自行增加,然后指定路径即可显示在web页面上
常用命令:
启动:
# 绝对路径启动 例如下面/usr/local为Nginx的安装目录
/usr/local/nginx/sbin/nginx

#相对路径启动 进入Nginx安装目录下执行
./sbin/nginx
停止:
./sbin/nginx -s stop
./sbin/nginx -s quit
指定一个路径下的conf为nginx的配置文件:
./sbin/nginx -c /usr/local/nginx/conf/nginx.conf
重新加载配置文件:
./sbin/nginx -s reload
查看Nginx进程:
ps -ef|grep nginx
kill进程:
# kill进程号
kill -9 进程号

# 一次Kill掉所有nginx进程
killall nginx
查看是否被占用:
netstat -aon|findstr"80"


 1392
1392

 被折叠的 条评论
为什么被折叠?
被折叠的 条评论
为什么被折叠?
 到【灌水乐园】发言


