


Flask模板练习:
Flask模板练习
项目结构以及关系
Flask/
├── app.py
├── templates/
│   ├── base.html
│   ├── index.html
│   ├── post.html
│   ├── about.html
│   └── macros.html
└── static/
    └── style.css

app.py
│
├── 定义路由和处理逻辑
├── 注册自定义过滤器
└── 提供数据给模板
   │
   └──▶ base.html (基础模板)
        │
        ├── index.html (首页)
        │   └── macros.html (使用 render_post_list 宏)
        │
        ├── post.html (文章详情页)
        │   └── macros.html (使用 render_post_content 宏)
        │
        └── about.html (关于页)
            └── macros.html (使用 render_author_info 宏)
文件的功能
1. app.py - 应用主文件
功能:
创建 Flask 应用实例
定义自定义过滤器 reverse(字符串反转)和 colorize(生成随机颜色)
创建模拟的博客文章数据
定义路由处理函数
关键点:
使用 @app.route() 装饰器定义了三个路由:首页 /、文章页 /post/int:post_id 和关于页 /about
通过 render_template() 渲染模板并传递数据
自定义过滤器注册到 Jinja2 模板引擎:reverse_filter 和 random_color
from flask import Flask, render_template, url_for
import random

app = Flask(__name__)

# 自定义过滤器:将字符串反转
def reverse_filter(s):
    return s[::-1]

# 自定义过滤器:生成随机颜色(现在接受一个参数,即使我们不使用它)
def random_color(s):
    return "#{:06x}".format(random.randint(0, 0xFFFFFF))

# 注册自定义过滤器
app.jinja_env.filters['reverse'] = reverse_filter
app.jinja_env.filters['colorize'] = random_color

# 模拟博客文章数据
posts = [
    {
        'id': 1,
        'title': 'Flask模板基础',
        'content': '学习Flask模板的基础知识,包括变量、过滤器和控制结构的使用。',
        'author': '张三'
    },
    {
        'id': 2,
        'title': '模板继承技巧',
        'content': '深入理解Flask模板继承,掌握如何创建可复用的布局模板。',
        'author': '李四'
    },
    {
        'id': 3,
        'title': '宏的高级用法',
        'content': '探索Flask模板宏的高级特性和最佳实践。',
        'author': '王五'
    }
]

@app.route('/')
def index():
    # 渲染首页模板,传递文章列表和页面标题
    return render_template('index.html', posts=posts, title='博客首页')

@app.route('/post/<int:post_id>')
def show_post(post_id):
    # 查找对应ID的文章
    post = next((p for p in posts if p['id'] == post_id), None)
    if post:
        # 渲染文章页面模板,传递文章数据和标题
        return render_template('post.html', post=post, title=post['title'])
    return '文章未找到', 404

@app.route('/about')
def about():
    # 渲染关于页面,传递标题和作者信息
    return render_template('about.html', title='关于本站', author='赵六')

if __name__ == '__main__':
    app.run(debug=True)
2. 模板文件(存放在 templates 目录)
a. base.html - 基础模板
功能:
提供网站的基本 HTML 结构
定义可被子模板继承的 block 区域
包含全局的页头、导航栏和页脚
关键点:
定义了 {% block title %} 和 {% block content %} 供子模板重写
使用 url_for(‘static’, filename=‘style.css’) 引入样式表
提供统一的导航栏,包含首页和关于页的链接
联系:
所有其他模板都通过 {% extends “base.html” %} 继承这个基础模板
<!DOCTYPE html>
<html lang="zh">
<head>
<meta charset="UTF-8">
<meta name="viewport" content="width=device-width, initial-scale=1.0">
<title>{% block title %}默认标题{% endblock %}</title>
<!-- 引入CSS样式 -->
<link rel="stylesheet" href="{{ url_for('static', filename='style.css') }}">
</head>
<body>
<!-- 页头部分 -->
<header class="blog-header">
<h1>我的Flask博客</h1>
<nav>
<ul>
<li><a href="{{ url_for('index') }}">首页</a></li>
<li><a href="{{ url_for('about') }}">关于</a></li>
</ul>
</nav>
</header>
<!-- 主要内容区域 -->
<main class="blog-content">
{% block content %}
<!-- 默认内容 -->
<p>欢迎访问我的博客!</p>
{% endblock %}
</main>
<!-- 页脚部分 -->
<footer class="blog-footer">
<p>© 2025 我的博客. 保留所有权利。</p>
</footer>
</body>
</html>
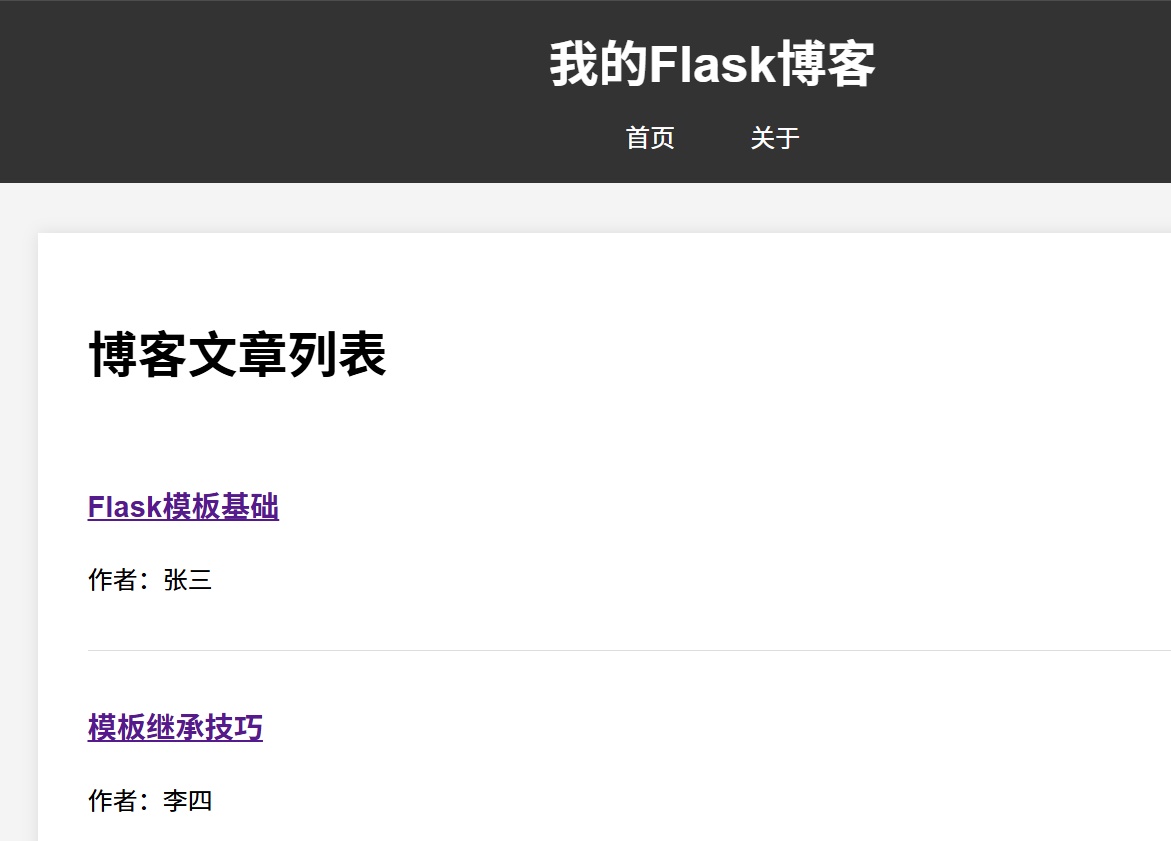
b. index.html - 首页模板
功能:
显示所有博客文章的列表
展示文章标题、作者和基本信息
关键点:
继承 base.html
使用宏 render_post_list 显示文章列表
显示文章数量和标题反转效果
通过 url_for(‘show_post’, post_id=post.id) 生成文章详情链接
联系:
通过 render_template(‘index.html’, posts=posts, title=‘博客首页’) 被 index() 路由使用
{% extends "base.html" %}

{% block title %}{{ title }}{% endblock %}

{% block content %}
    <h1>博客文章列表</h1>

    <!-- 使用宏来显示文章列表 -->
    {% from "macros.html" import render_post_list %}
    {{ render_post_list(posts) }}

    <p>当前文章数量:{{ posts|length }}</p>

    <!-- 使用自定义过滤器反转标题 -->
    <p>反转标题示例:{{ title|reverse }}</p>
{% endblock %}
c. post.html - 文章详情模板
功能:
显示单篇博客文章的详细内容
展示文章标题、作者和正文
关键点:
继承 base.html
使用宏 render_post_content 显示文章内容
显示随机颜色背景的标签
提供返回文章列表的链接
联系:
通过 render_template(‘post.html’, post=post, title=post[‘title’]) 被 show_post 路由使用
{% extends "base.html" %}

{% block title %}{{ post.title }}{% endblock %}

{% block content %}
    <article class="blog-post">
        <h2>{{ post.title }}</h2>
        <p>作者:{{ post.author }}</p>

        <!-- 使用宏来显示文章内容 -->
        {% from "macros.html" import render_post_content %}
        {{ render_post_content(post.content) }}

        <!-- 显示随机颜色背景的标签 -->
        <div class="post-tag" style="background-color: {{ ''|colorize }}">
            {{ post.title|lower }}
        </div>

        <a href="{{ url_for('index') }}">返回文章列表</a>
    </article>
{% endblock %}
d. about.html - 关于页面模板
功能:
显示网站信息和作者信息
关键点:
继承 base.html
使用宏 render_author_info 显示作者信息
显示随机颜色背景的技术标签
联系:
通过 render_template(‘about.html’, title=‘关于本站’, author=‘赵六’) 被 about 路由使用
{% extends "base.html" %}

{% block title %}{{ title }}{% endblock %}

{% block content %}
    <h1>关于本站</h1>

    <!-- 使用宏来显示作者信息 -->
    {% from "macros.html" import render_author_info %}
    {{ render_author_info(author) }}

    <p>本博客使用Flask框架构建,展示了模板继承、宏和自定义过滤器的用法。</p>

    <!-- 显示随机颜色背景的技术标签 -->
    <div class="tech-tag" style="background-color: {{ ''|colorize }}">
        Flask模板技术
    </div>
{% endblock %}
e. macros.html - 宏定义文件
功能:
定义可重用的宏,用于在多个模板中重复使用
关键点:
render_post_list(posts):渲染文章列表
render_post_content(content):渲染文章内容
render_author_info(author):渲染作者信息
联系:
这些宏在 index.html、post.html 和 about.html 中被导入和使用
{# 定义可重用的宏 #}

{# 渲染文章列表的宏 #}
{% macro render_post_list(posts) %}
  <ul class="post-list">
    {% for post in posts %}
      <li class="post-item">
        <h3>
          <!-- 使用url_for生成文章链接 -->
          <a href="{{ url_for('show_post', post_id=post.id) }}">
            {{ post.title }}
          </a>
        </h3>
        <p>作者:{{ post.author }}</p>
      </li>
    {% endfor %}
  </ul>
{% endmacro %}

{# 渲染文章内容的宏 #}
{% macro render_post_content(content) %}
  <div class="post-content">
    <!-- 转义用户输入内容,防止XSS攻击 -->
    {{ content|escape|replace('\n', '<br>') }}
  </div>
{% endmacro %}

{# 渲染作者信息的宏 #}
{% macro render_author_info(author) %}
  <div class="author-info">
    <p>本站作者:{{ author }}</p>
    <p>作者简介:这是一个Flask模板练习。</p>
  </div>
{% endmacro %}
3. 静态文件(存放在 static 目录)
a. style.css - 样式表文件
功能:
提供整个网站的样式设计
美化页面元素
关键点:
定义了整体布局、字体、颜色等样式
为不同的 HTML 元素(如标题、导航栏、文章列表等)提供样式
使用 CSS Flexbox 实现响应式导航栏
联系:
通过 url_for(‘static’, filename=‘style.css’) 在 base.html 中被引用
/* 博客整体样式 */
body {
    font-family: Arial, sans-serif;
    line-height: 1.6;
    margin: 0;
    padding: 0;
    background-color: #f4f4f4;
}

/* 页头样式 */
.blog-header {
    background-color: #333;
    color: white;
    padding: 1em;
    text-align: center;
}

.blog-header h1 {
    margin: 0;
    font-size: 2em;
}

/* 导航样式 */
.blog-header nav ul {
    list-style: none;
    padding: 0;
    margin: 0;
    display: flex;
    justify-content: center;
    gap: 1em;
    margin-top: 0.5em;
}

.blog-header nav ul li a {
    color: white;
    text-decoration: none;
    padding: 0.5em 1em;
    border-radius: 5px;
    transition: background-color 0.3s;
}

.blog-header nav ul li a:hover {
    background-color: #555;
}

/* 主要内容区域 */
.blog-content {
    max-width: 800px;
    margin: 2em auto;
    padding: 0 1em;
    background-color: white;
    box-shadow: 0 0 10px rgba(0,0,0,0.1);
    padding: 2em;
}

/* 文章列表样式 */
.post-list {
    list-style: none;
    padding: 0;
}

.post-item {
    border-bottom: 1px solid #ddd;
    padding: 1em 0;
}

.post-item:last-child {
    border-bottom: none;
}

/* 文章页面样式 */
.blog-post {
    max-width: 700px;
    margin: 0 auto;
}

.post-tag, .tech-tag {
    padding: 0.5em 1em;
    border-radius: 5px;
    color: white;
    display: inline-block;
    margin-top: 1em;
}

/* 页脚样式 */
.blog-footer {
    background-color: #333;
    color: white;
    text-align: center;
    padding: 1em;
    margin-top: 2em;
}


 913
913

 被折叠的 条评论
为什么被折叠?
被折叠的 条评论
为什么被折叠?
 到【灌水乐园】发言


