


 本文通过创建一个简单的SpringBoot项目,详细介绍了从项目搭建到数据库交互的全过程。包括使用Maven进行项目管理、配置MySQL数据库连接、定义实体类及Mapper、编写Service层及Controller层等关键步骤。
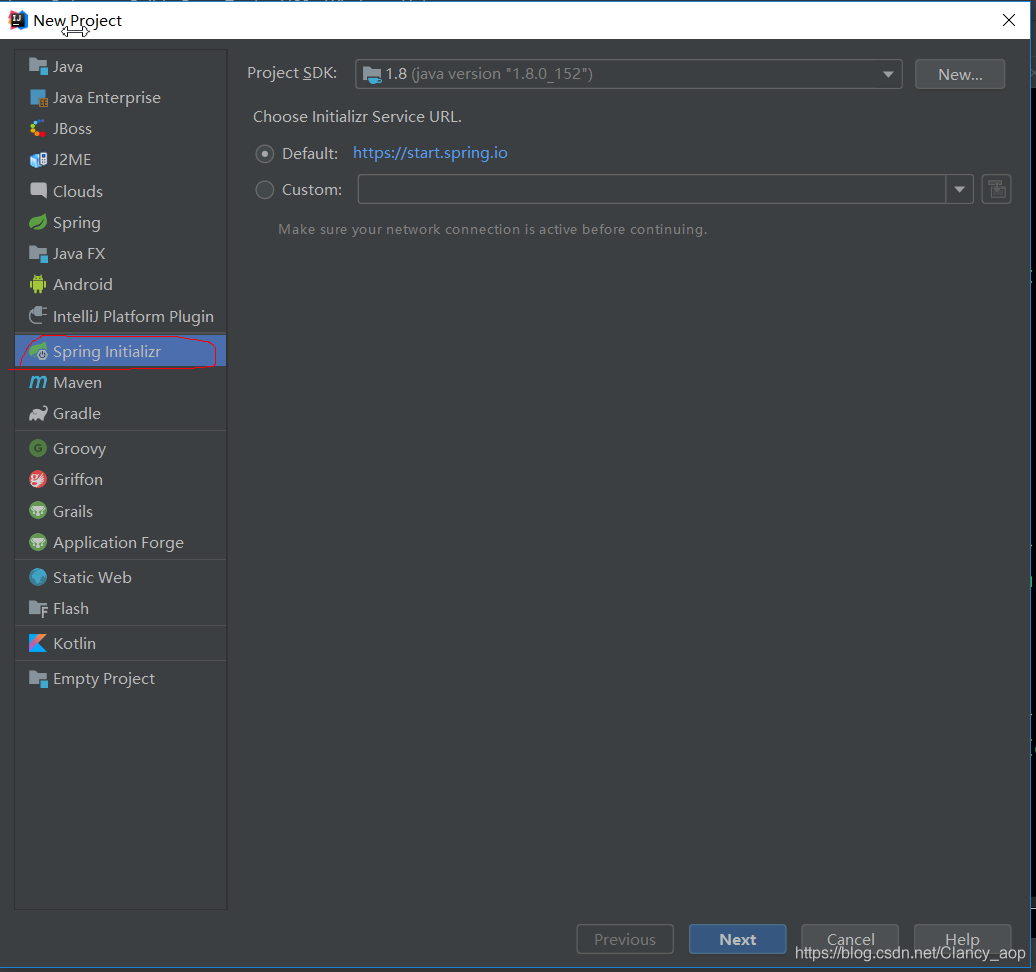
首先我们创建的是maven项目,不会maven项目的建议学习,这个很简单的呢,接下来打开开发工具,我这边用的是idea,选择File->project直接看图
继续点击next
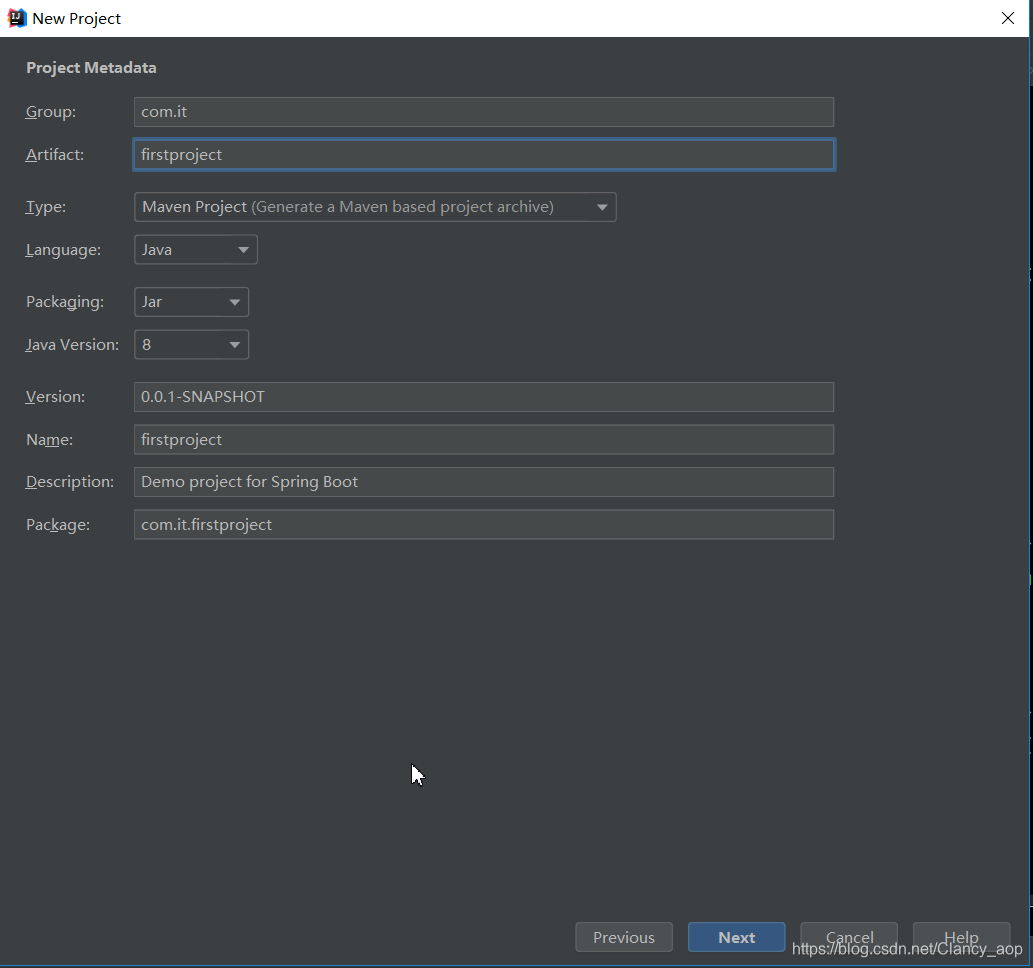
随便输入包名和项目名
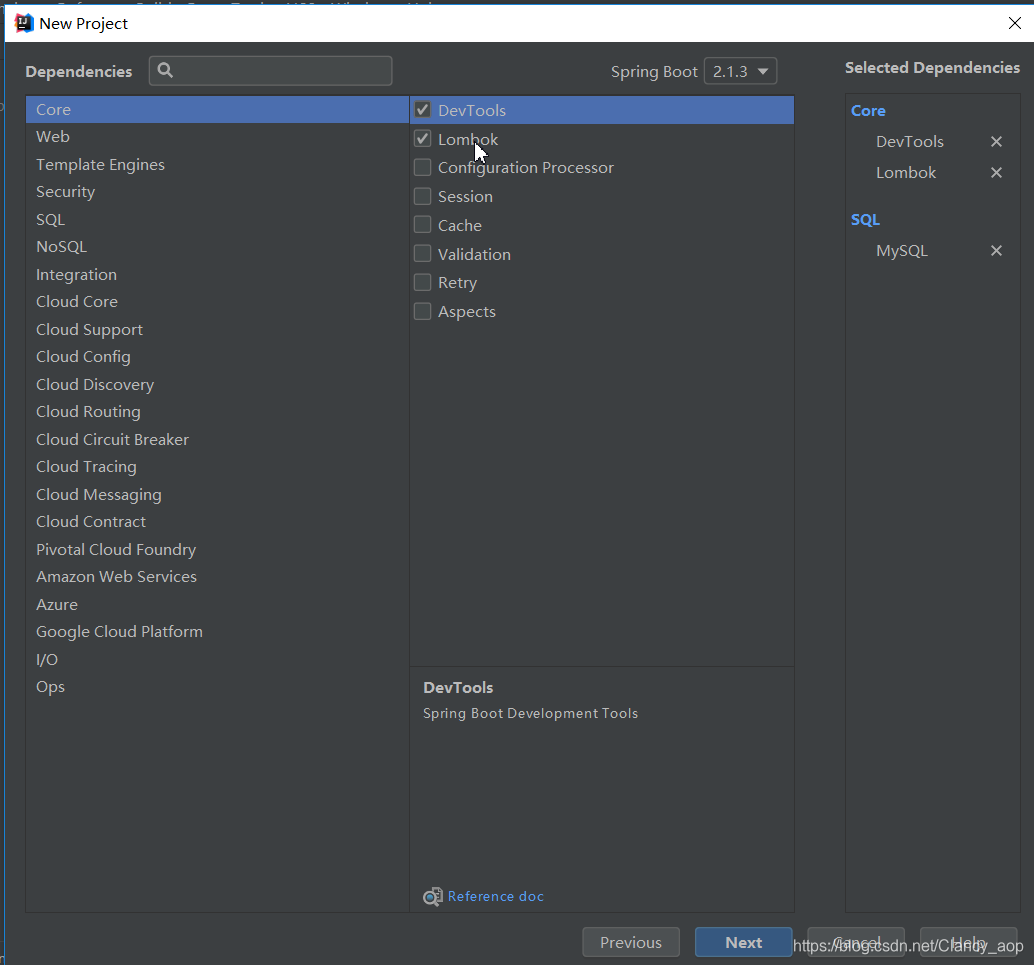
到这一步,选择几个常用的依赖,比如mysql,devtool(热启动),lombok(一个插件),在前面打勾也行,不想选不用选把之前的项目里的依赖粘过来
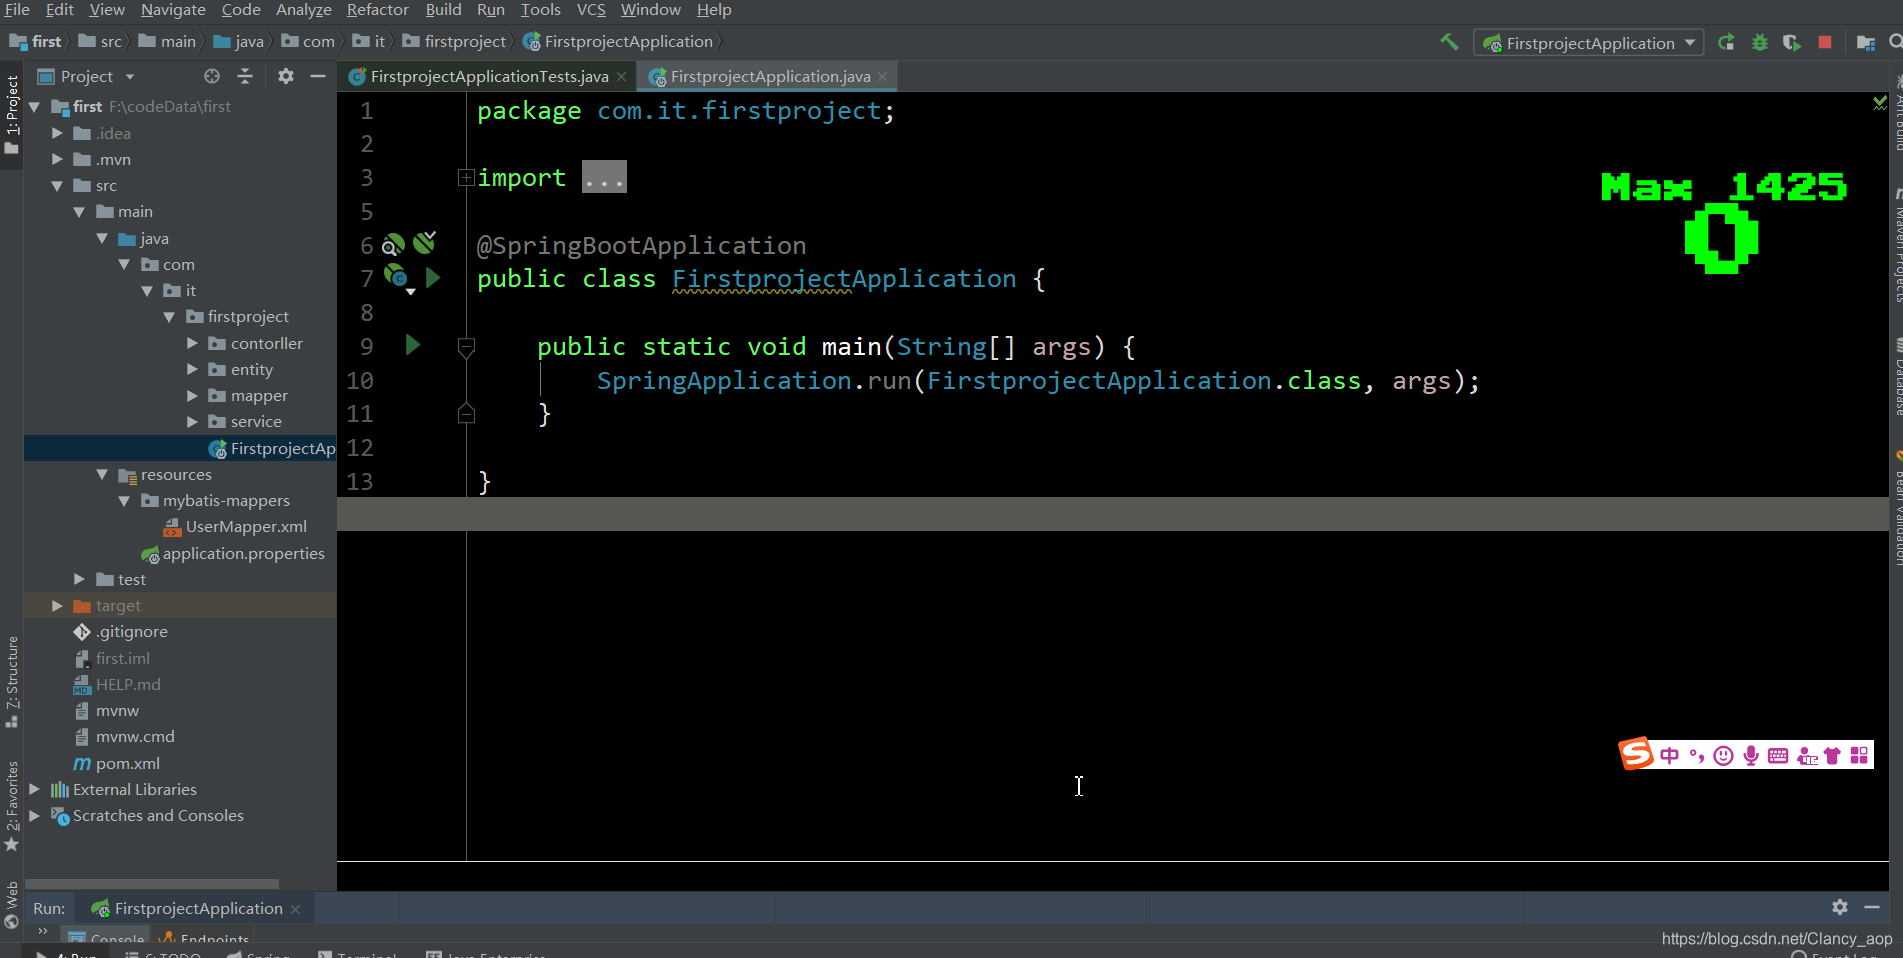
到这一步我改了一下项目名字(我的项目名用过了,现在改成了first没啥影响的)
然后在application.properties文件中加上mysql的配置和数据库连接等信息直接上代码
spring.datasource.url=jdbc:mysql://localhost:3306/testinfo?useUnicode=true&characterEncoding=utf8&serverTimezone=GMT
spring.datasource.username=root
spring.datasource.password=root
spring.datasource.driver-class-name=com.mysql.cj.jdbc.Driver

mybatis.typeAliasesPackage=com.ychd.firstproject.entity
mybatis.mapper-locations:classpath:mybatis-mappers/*
数据库脚本,执行下就行了:
CREATE TABLE `user` (
`id` int(11) NOT NULL AUTO_INCREMENT COMMENT '主键',
`name` varchar(64) NOT NULL COMMENT '姓名',
`birthday` date DEFAULT NULL COMMENT '生日',
`address` varchar(256) DEFAULT NULL COMMENT '地址',
PRIMARY KEY (`id`)
) ENGINE=InnoDB AUTO_INCREMENT=3 DEFAULT CHARSET=utf8;
接下来把自己根据自己建的数据库表,用generator分别生成实体类(工具在这个网址下载https://download.youkuaiyun.com/download/clancy_aop/11074722,不用积分的链接:https://pan.baidu.com/s/1CngoZ8tcdz7408JeDHkkUg
提取码:4pf4
复制这段内容后打开百度网盘手机App,操作更方便哦【如何使用generator看这里,适合初学者】),mapper.xml等都粘贴过来
先看下整体架构:
看service接口和实现类
package com.it.firstproject.service;


import com.it.firstproject.entity.User;

/**
 * @Auther: yuanying
 * @Date: 2019/3/27 16:05
 * @Description:
 */
public interface UserService {

    int deleteByPrimaryKey(Integer id);

    int insert(User record);

    int insertSelective(User record);

    User selectByPrimaryKey(Integer id);

    int updateByPrimaryKeySelective(User record);

    int updateByPrimaryKey(User record);
}
package com.it.firstproject.service.impl;

import com.it.firstproject.entity.User;
import com.it.firstproject.mapper.UserMapper;
import com.it.firstproject.service.UserService;
import org.springframework.beans.factory.annotation.Autowired;
import org.springframework.stereotype.Service;

/**
 * @Auther: yuanying
 * @Date: 2019/3/27 16:06
 * @Description:
 */
@Service
public class UserServiceImpl implements UserService {

    @Autowired
    private UserMapper userMapper;

    @Override
    public int deleteByPrimaryKey(Integer id) {
        return 0;
    }

    @Override
    public int insert(User record) {
        return 0;
    }

    @Override
    public int insertSelective(User record) {
        return userMapper.insertSelective(record);
    }

    @Override
    public User selectByPrimaryKey(Integer id) {
        return userMapper.selectByPrimaryKey(id);
    }

    @Override
    public int updateByPrimaryKeySelective(User record) {
        return 0;
    }

    @Override
    public int updateByPrimaryKey(User record) {
        return 0;
    }
}
mapper接口
package com.it.firstproject.mapper;
import com.it.firstproject.entity.User;
import org.apache.ibatis.annotations.Mapper;
@Mapper
public interface UserMapper {
int deleteByPrimaryKey(Integer id);
int insert(User record);
int insertSelective(User record);
User selectByPrimaryKey(Integer id);
int updateByPrimaryKeySelective(User record);
int updateByPrimaryKey(User record);
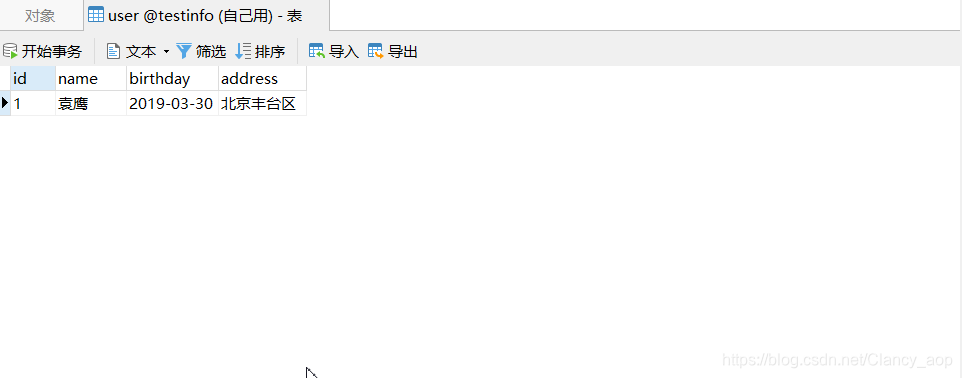
}这个是测试类,先增加一条数据
package com.it.firstproject;

import com.it.firstproject.entity.User;
import com.it.firstproject.service.UserService;
import org.junit.Test;
import org.junit.runner.RunWith;
import org.springframework.beans.factory.annotation.Autowired;
import org.springframework.boot.test.context.SpringBootTest;
import org.springframework.test.context.junit4.SpringRunner;

import java.util.Date;

@RunWith(SpringRunner.class)
@SpringBootTest
public class FirstprojectApplicationTests {

    @Autowired
    private UserService userService;

    @Test
    public void contextLoads() {
        User user = new User();
        user.setName("袁鹰");
        user.setBirthday(new Date());
        user.setAddress("北京丰台区");
        int insert = userService.insertSelective(user);
        System.out.println(insert+"*********");

    }

}
看下数据库
看contoller
package com.it.firstproject.contorller;
import com.it.firstproject.entity.User;
import com.it.firstproject.service.UserService;
import org.springframework.beans.factory.annotation.Autowired;
import org.springframework.web.bind.annotation.GetMapping;
import org.springframework.web.bind.annotation.RestController;
/**
* @Auther: yuanying
* @Date: 2019/3/27 16:07
* @Description:
*/
@RestController
public class UserController {
@Autowired
private UserService userService;
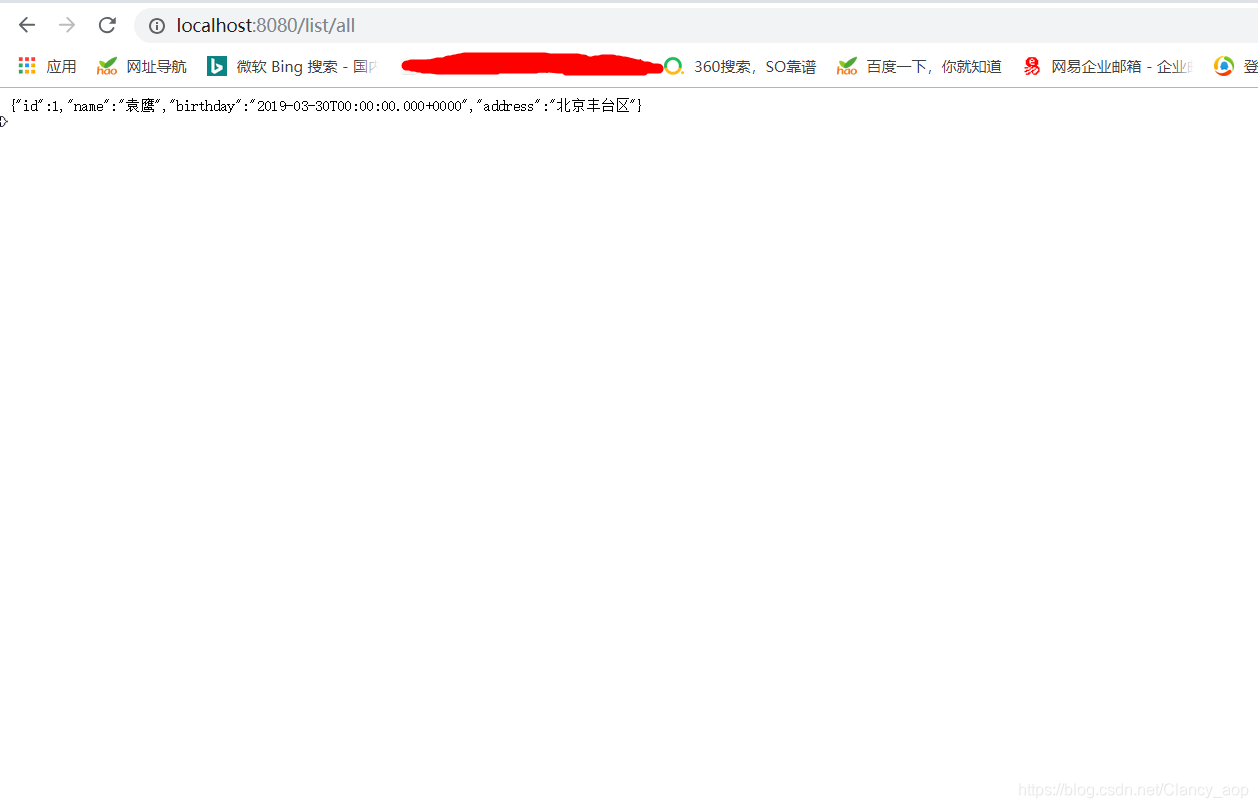
@GetMapping("/list/all")
public User listAll() {
return userService.selectByPrimaryKey(1);
}
}
启动项目,在地址栏输入http://localhost:8080/list/all
会看到数据了
好啦,一个简单的springboot项目就完成啦,欢迎批评!希望能帮到你哦!


 955
955

 被折叠的 条评论
为什么被折叠?
被折叠的 条评论
为什么被折叠?
 到【灌水乐园】发言


