


 本文详细介绍了如何在SpringBoot项目中创建一个RESTfulAPI控制器,包括GET、POST、PUT、DELETE等HTTP方法的使用,以及通过Postman和浏览器进行测试的过程。
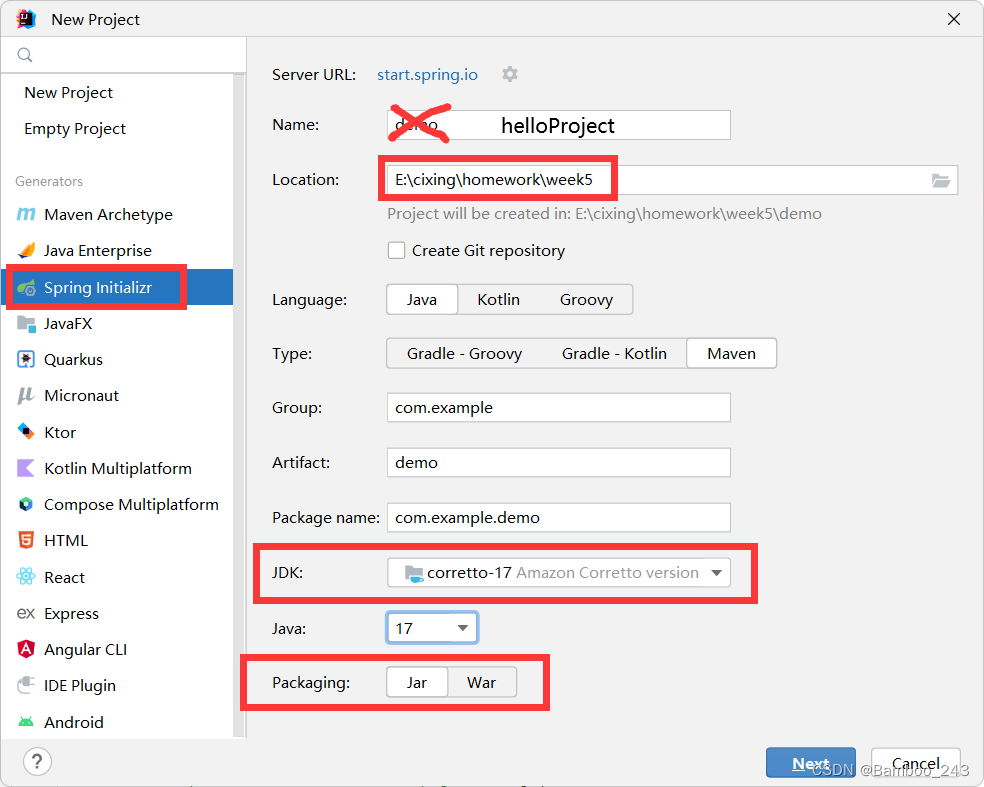
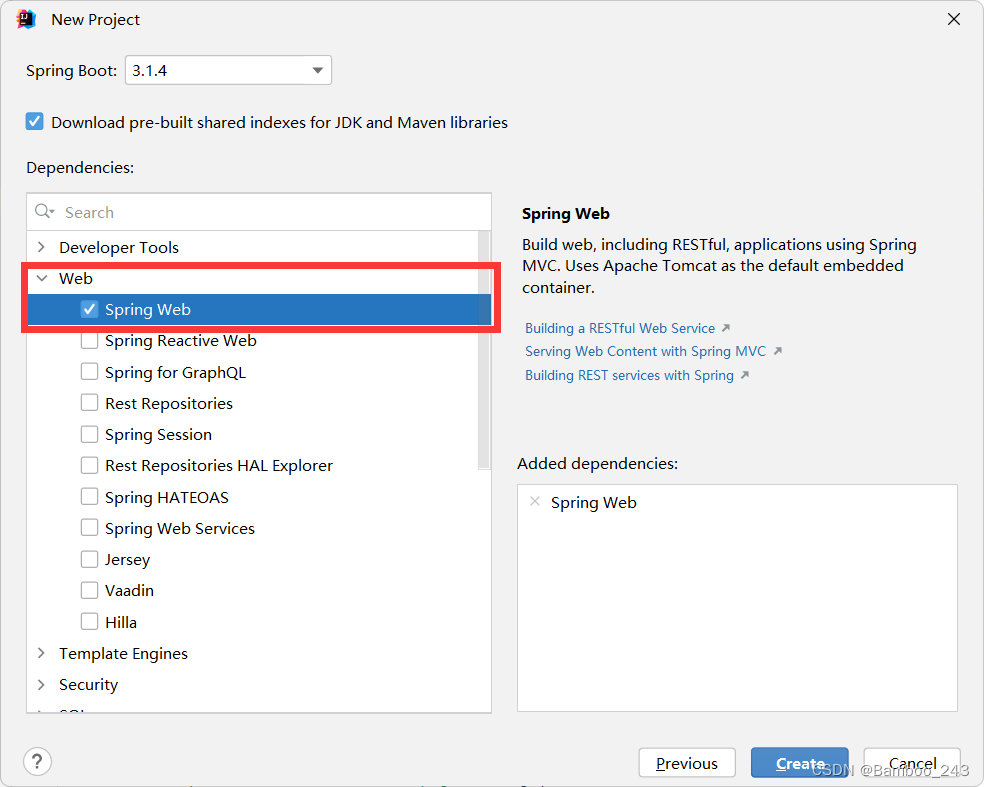
新建SpringBoot项目
编写代码
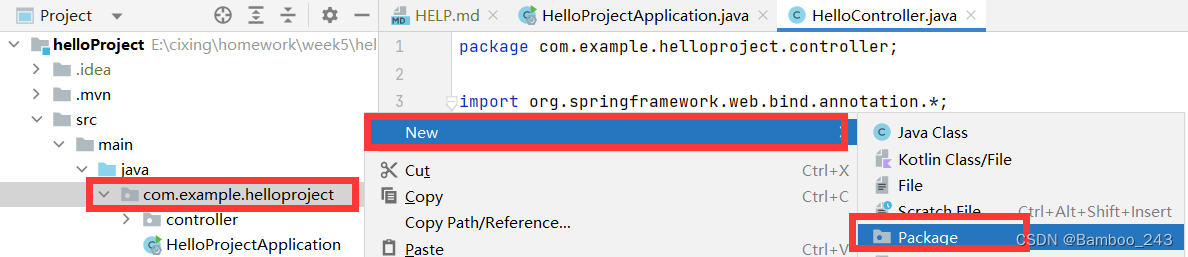


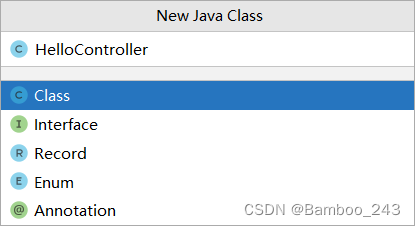
HelloController中代码如下:
package com.example.helloproject.controller;
import org.springframework.web.bind.annotation.*;
import java.util.HashMap;
@RestController
public class HelloController {
@GetMapping("/hello")
public String hello()
{
return "Hello SpringBoot: "+ nameAges.toString();
}
private static HashMap<String, Integer> nameAges = new HashMap<>();
@PostMapping("/hello")
public String helloPost(String name, int age)
{
nameAges.put(name, age);
return "add name: "+ name + ", age= "+ age;
}
@PutMapping("/hello")
public String helloPut(String name, int age)
{
nameAges.replace(name, age);
return "update name: "+ name + ",age= "+ age;
}
@DeleteMapping("/hello/{name}")
public String helloDel(@PathVariable String name)
{
nameAges.remove(name);
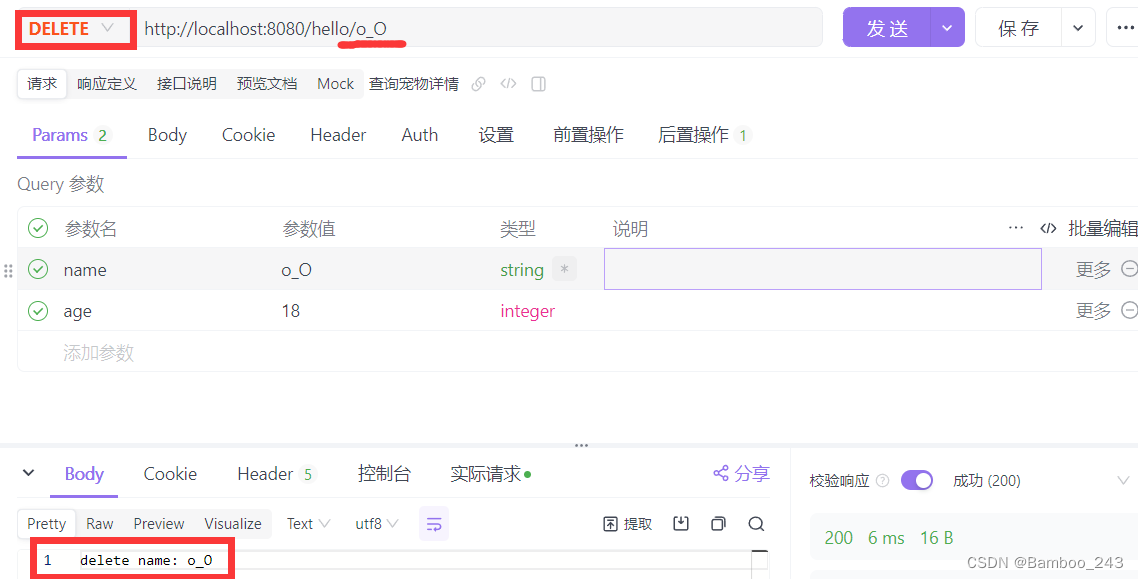
return "delete name: "+ name;
}
}
HelloProjectApplication中的代码如下:
package com.example.helloproject;

import org.springframework.boot.SpringApplication;
import org.springframework.boot.autoconfigure.SpringBootApplication;

@SpringBootApplication
public class HelloProjectApplication {

    public static void main(String[] args) {
        SpringApplication.run(HelloProjectApplication.class, args);
    }

}
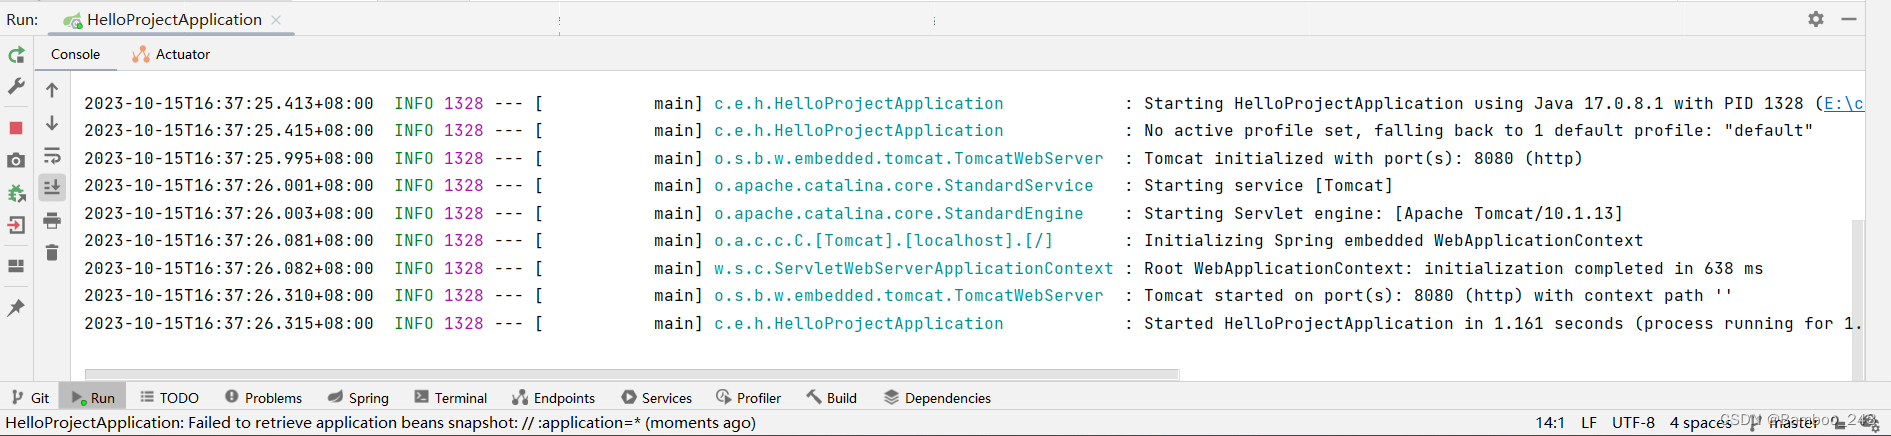
编译并运行
编译、运行后,控制台会显示日志
在浏览器(Edge)中输入URL并单击回车
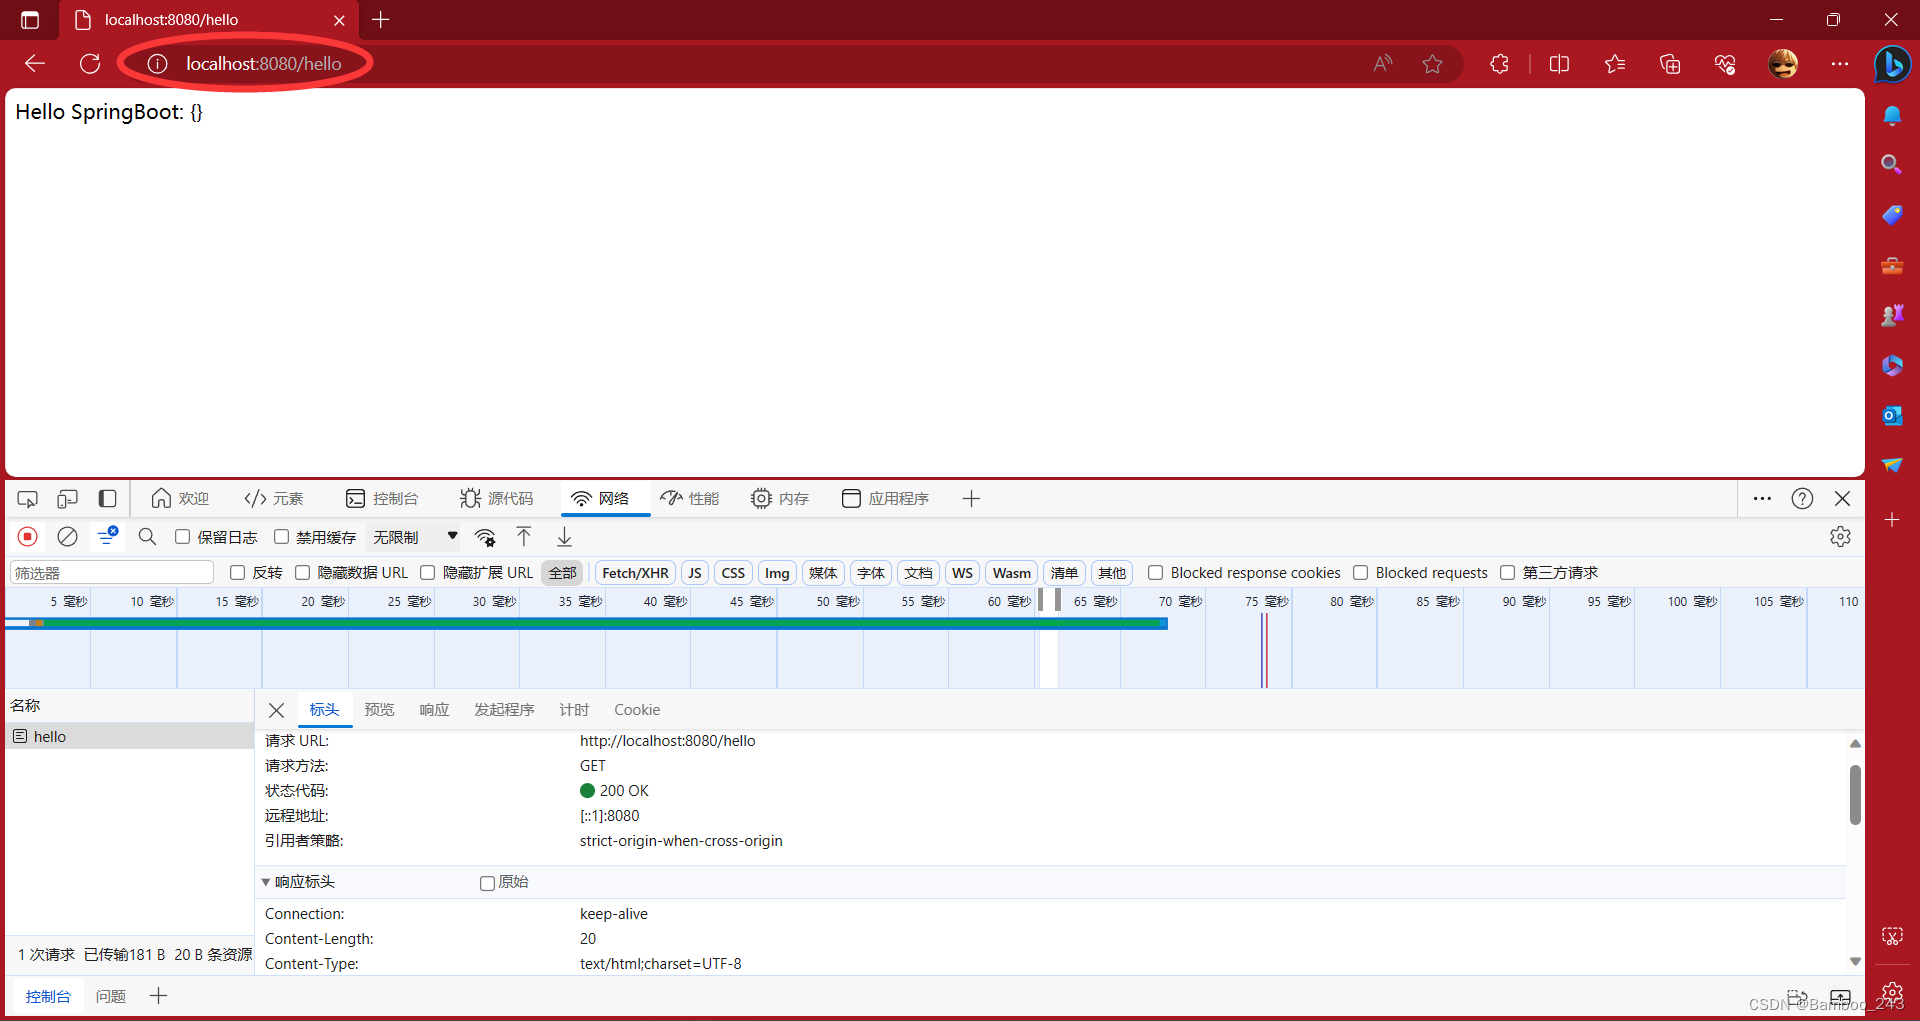
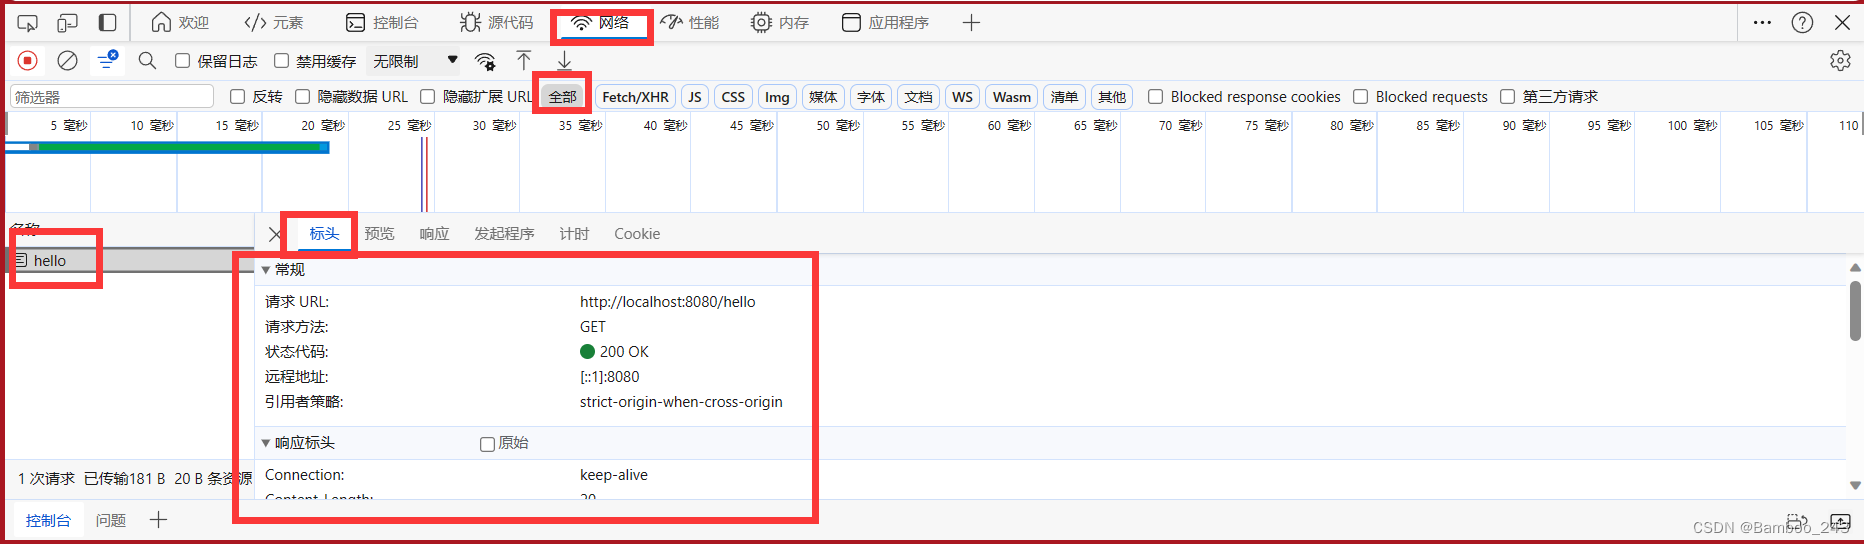
通过按键Ctrl+Shift+I使用Edge浏览器自带的开发人员工具,查看详情
 Postman测试(Apifox)
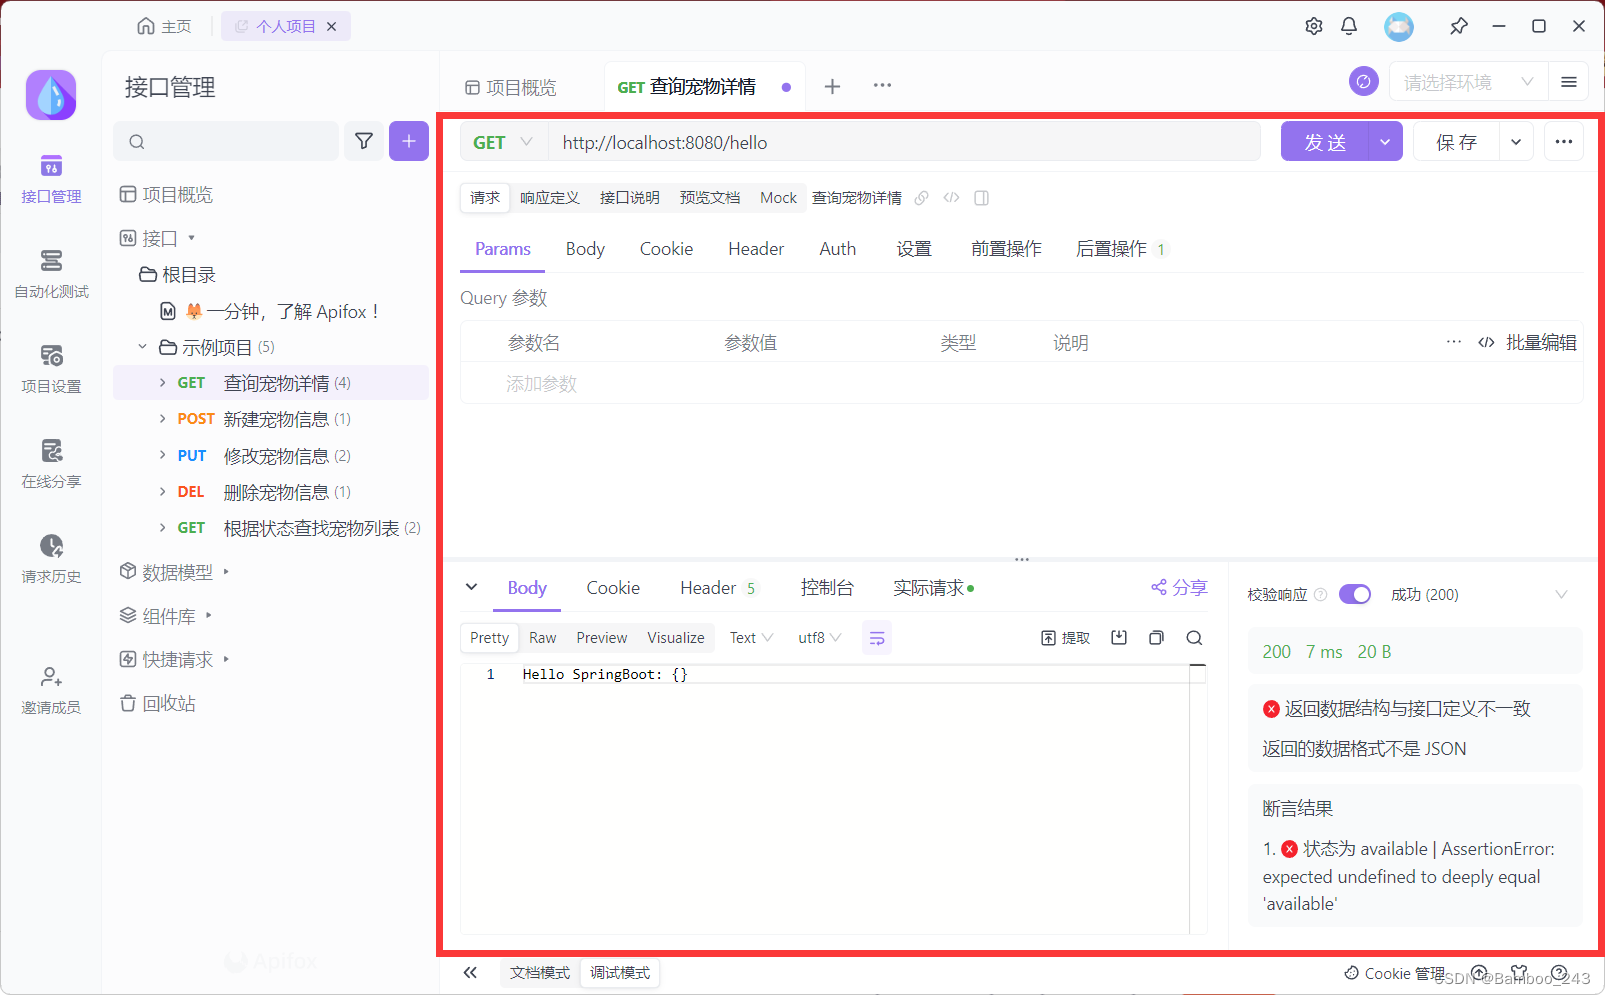 按下图提示输入URL并确认请求类型,然后单击发送
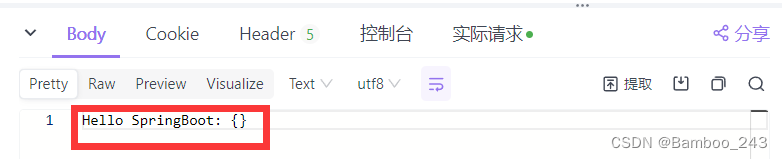
GET
第一个请求选择GET
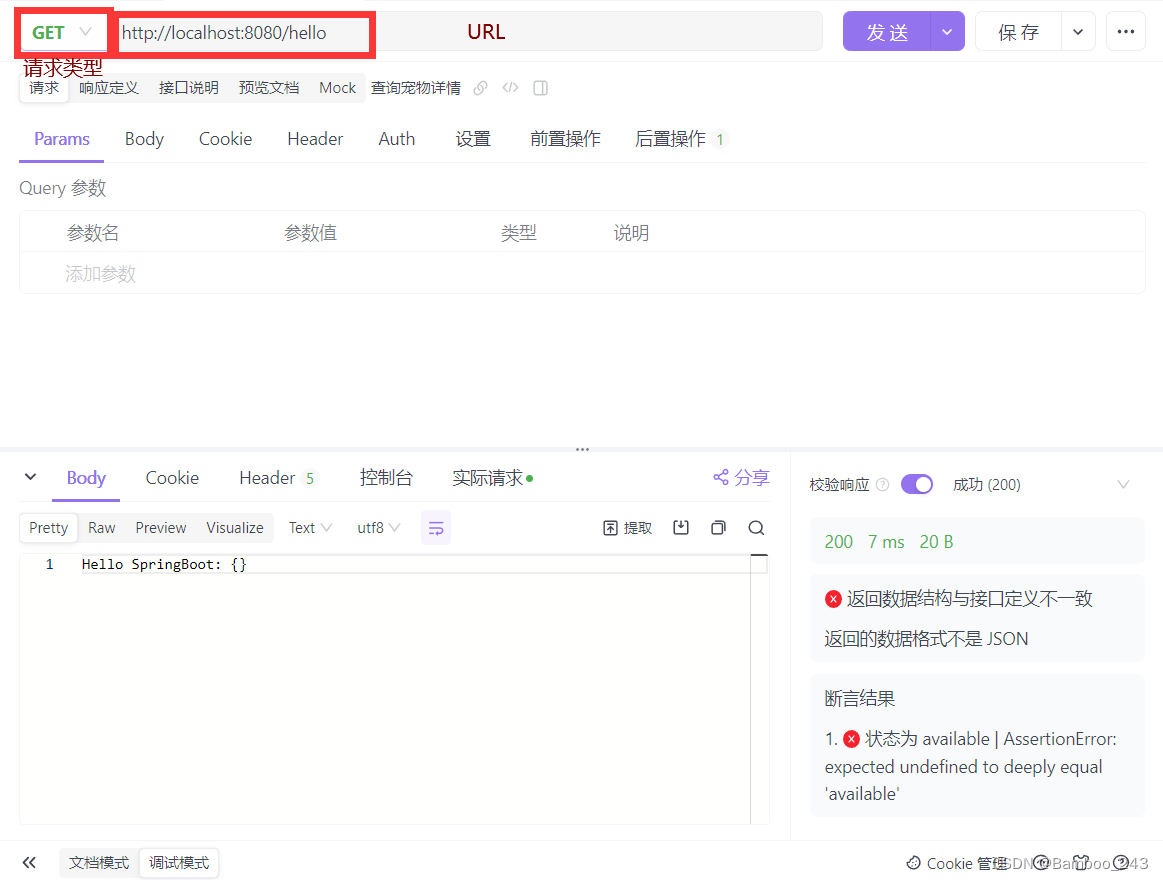
由于下方参数为空,所以返回结果也为空
POST
接下来发送POST请求,并且需要在下方参数表内输入对应参数名,参数值,参数类型
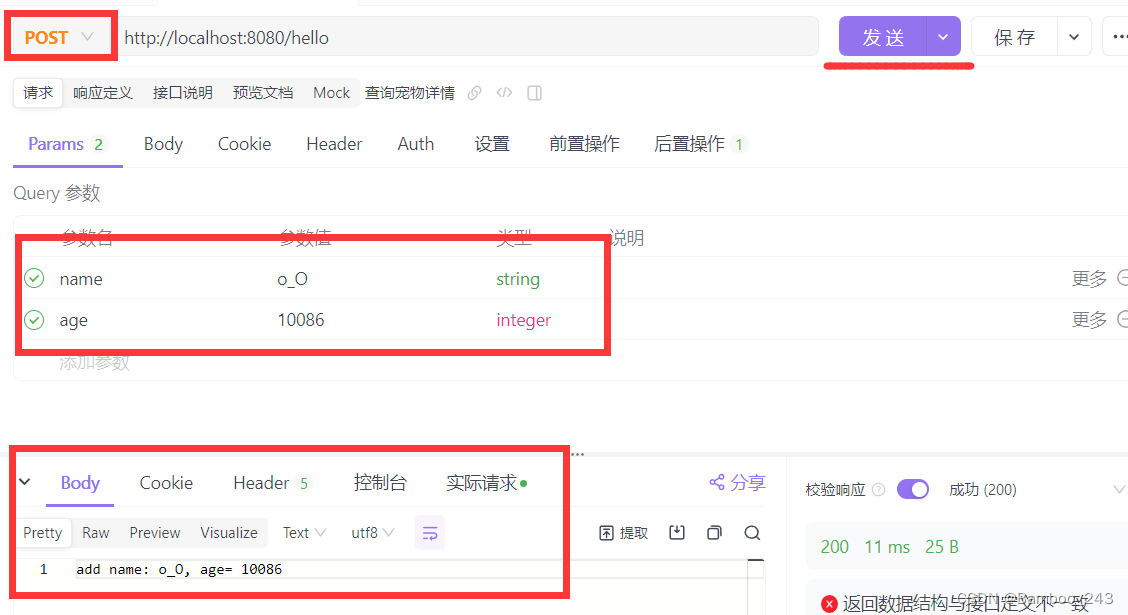
根据http回应,Map成功读入了数据
再次发送GET请求,检查一次
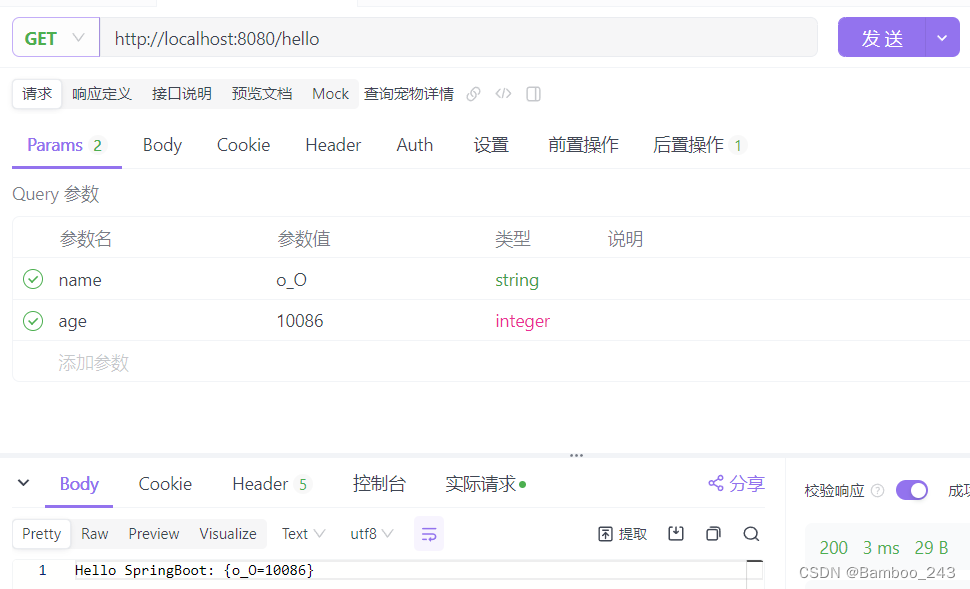
结果正确
PUT
选择PUT请求,并修改下方参数表内名为“age”的数值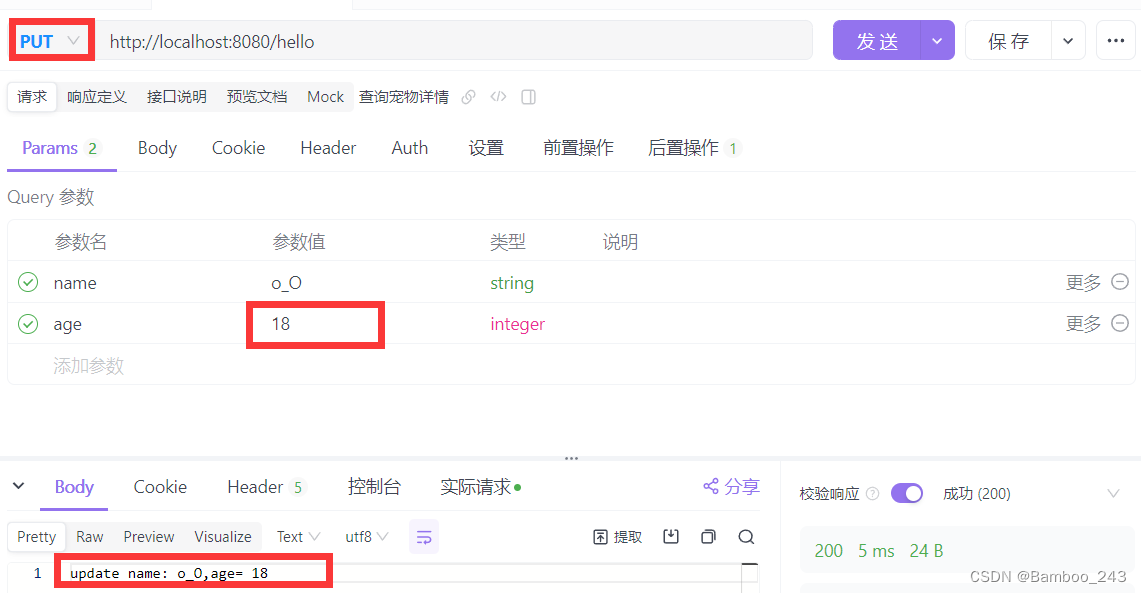
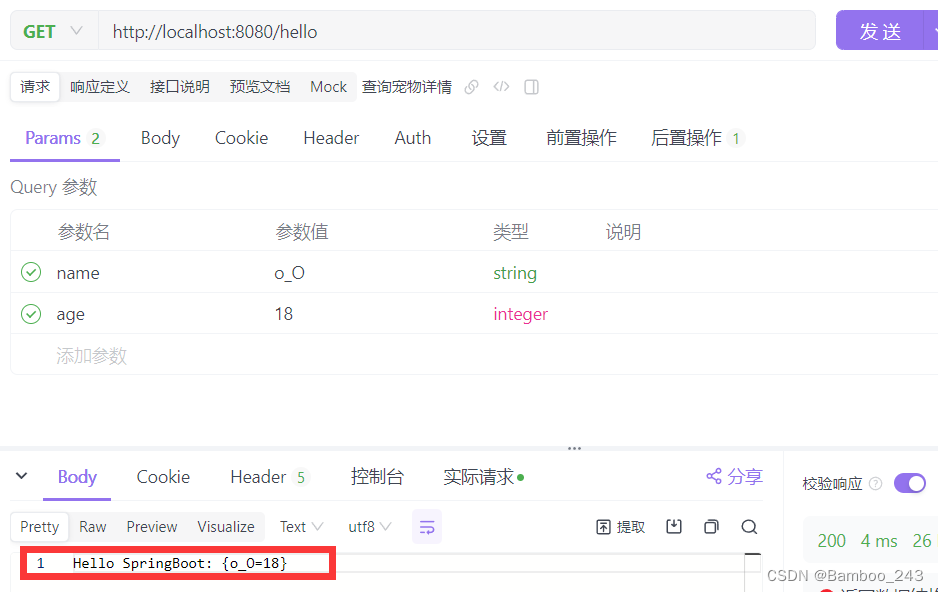
发送GET请求来检验结果
DELETE
与上面操作类似,但要注意URL此时需要更改,否则会报错
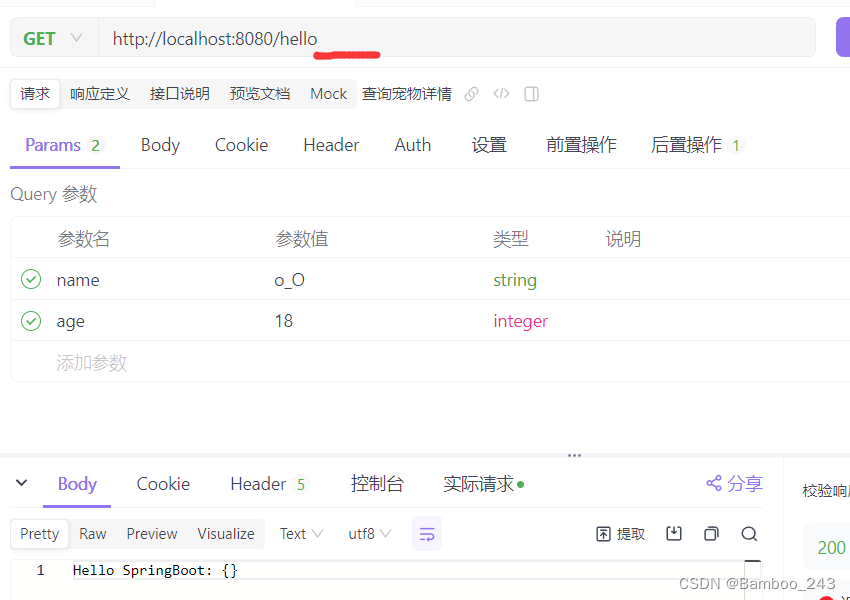
删除成功,检验一下(别忘了再次修改URL,毕竟“o_O”已经被删了)
测试结束


 被折叠的 条评论
为什么被折叠?
被折叠的 条评论
为什么被折叠?
 到【灌水乐园】发言


