


 本文介绍了新版Spring Boot Test的使用,它结合JUnit 5提供便捷高效的测试手段。先介绍JUnit简介与常用注解,接着阐述基本使用,包括集成、简单测试、指定顺序等,最后结合项目进行Dao、Service、Controller层测试,体现其无需启动整个项目就能进行单元测试的优势。
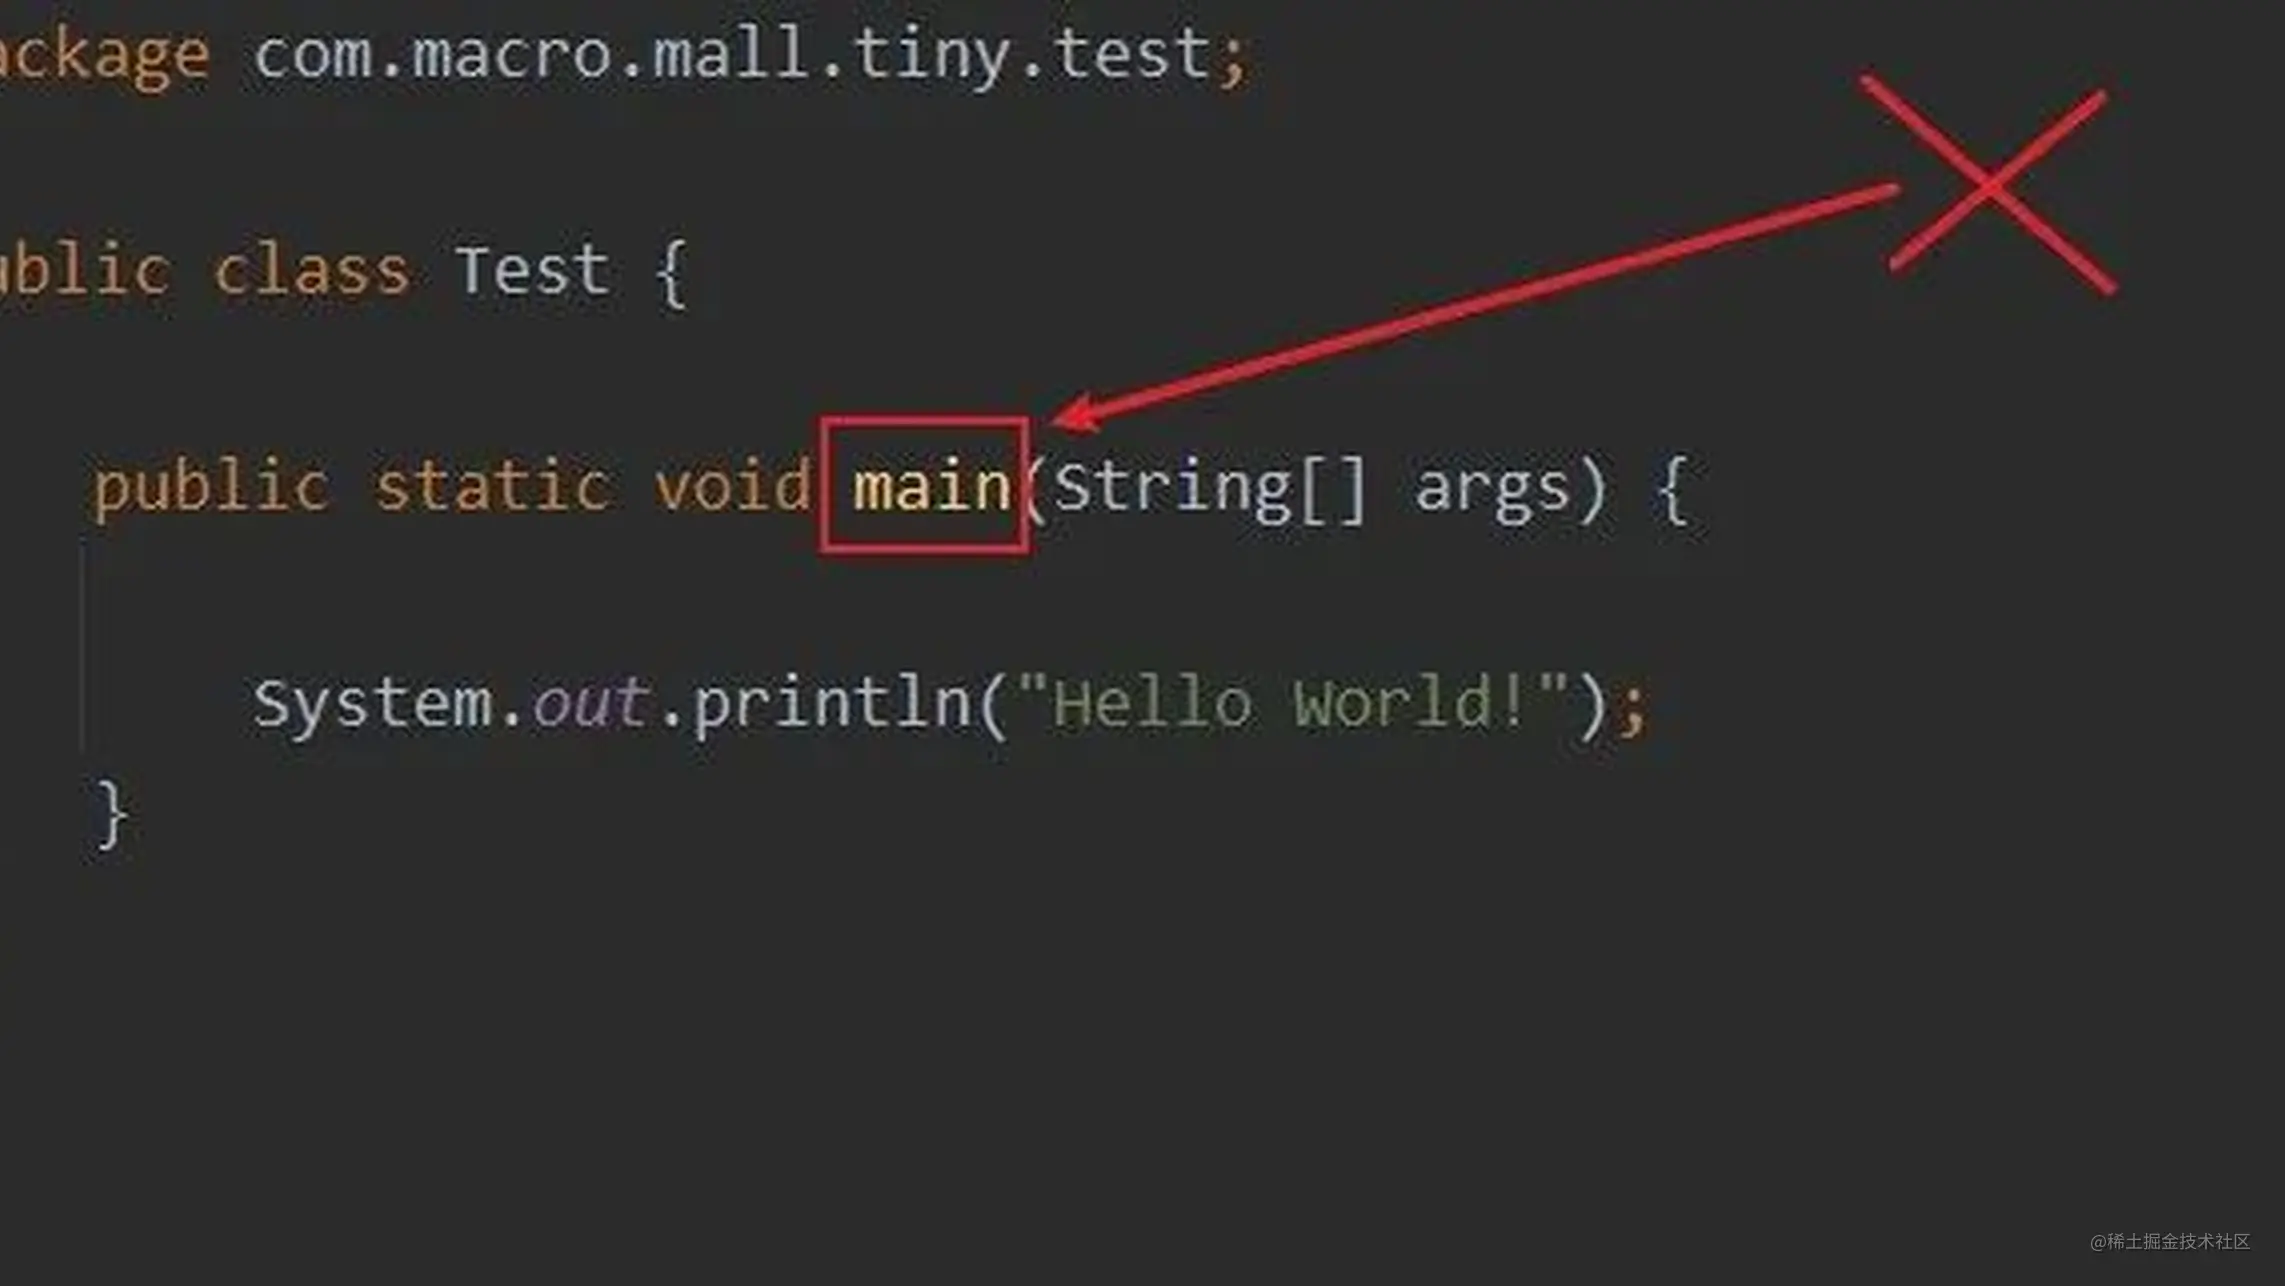
之前把我的mall项目升级到Spring Boot 2.7的时候,很多之前的测试方法都不能用了,原来是Spring Boot Test已经升级支持JUnit 5了。今天我们来聊聊新版Spring Boot Test的使用,有了它,我们就不需要再使用main方法来测试了!
SpringBoot实战电商项目mall(50k+star)地址:github.com/macrozheng/…
JUnit 简介
JUnit是一款Java语言的单元测试框架,目前大多数Java开发环境都已经支持它了。JUnit测试也就是所谓的白盒测试,在程序员知道程序内部逻辑的基础上进行的测试,使用JUnit能让我们快速地完成单元测试。Spring Boot Test将JUnit和其他测试框架结合起来,提供了便捷高效的测试手段,目前Spring Boot 2.7版本采用的是JUnit 5。
常用注解
在使用Spring Boot Test之前,我们先来了解下它常用的注解,这对使用它很有帮助,具体参考下表即可!
| 注解 | 作用 |
|---|---|
| @SpringBootTest | 用于指定测试类启用Spring Boot Test,默认会提供Mock环境 |
| @ExtendWith | 如果只想启用Spring环境进行简单测试,不想启用Spring Boot环境,可以配置扩展为:SpringExtension |
| @Test | 指定方法为测试方法 |
| @TestMethodOrder | 用于配置测试类中方法的执行顺序策略,配置为OrderAnnotation时,按@Order顺序执行 |
| @Order | 用于配置方法的执行顺序,数字越低执行顺序越高 |
| @DisplayName | 用于指定测试类和测试方法的别名 |
| @BeforeAll | 在测试类的所有测试方法前执行一次,可用于全局初始化 |
| @AfterAll | 在测试类的所有测试方法后执行一次,可用于全局销毁资源 |
| @BeforeEach | 在测试类的每个测试方法前都执行一次 |
| @AfterEach | 在测试类的每个测试方法后都执行一次 |
| @Disabled | 禁用测试方法 |
| @RepeatedTest | 指定测试方法重复执行 |
| @ParameterizedTest | 指定参数化测试方法,类似重复执行,从@ValueSource中获取参数 |
| @ValueSource | 用于参数化测试指定参数 |
| @AutoConfigureMockMvc | 启用MockMvc的自动配置,可用于测试接口 |
基本使用
下面我们来聊聊这些注解的基本使用,通过它们可以实现一些基本的单元测试。
集成Spring Boot Test
如果你想在项目中集成Spring Boot Test的话,需要先在pom.xml中添加如下依赖。
<dependency>
    <groupId>org.springframework.boot</groupId>
    <artifactId>spring-boot-starter-test</artifactId>
    <scope>test</scope>
</dependency>
复制代码
最简单的测试
- 我们先来一个最简单的单元测试,使用
@SpringBootTest注解启用单元测试,使用@Test指定测试方法,使用Assertions类的方法来断言结果是否符合预期,具体代码如下。
/**
 * JUnit基本测试
 * Created by macro on 2022/10/11.
 */
@SpringBootTest
public class FirstTest {
    @Test
    public void test() {
        int a=1;
        Assertions.assertEquals(1,a);
    }
}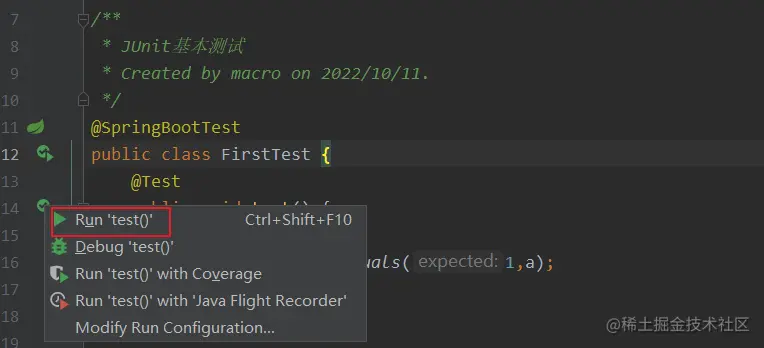
复制代码- 然后点击测试方法左侧按钮即可进行测试。
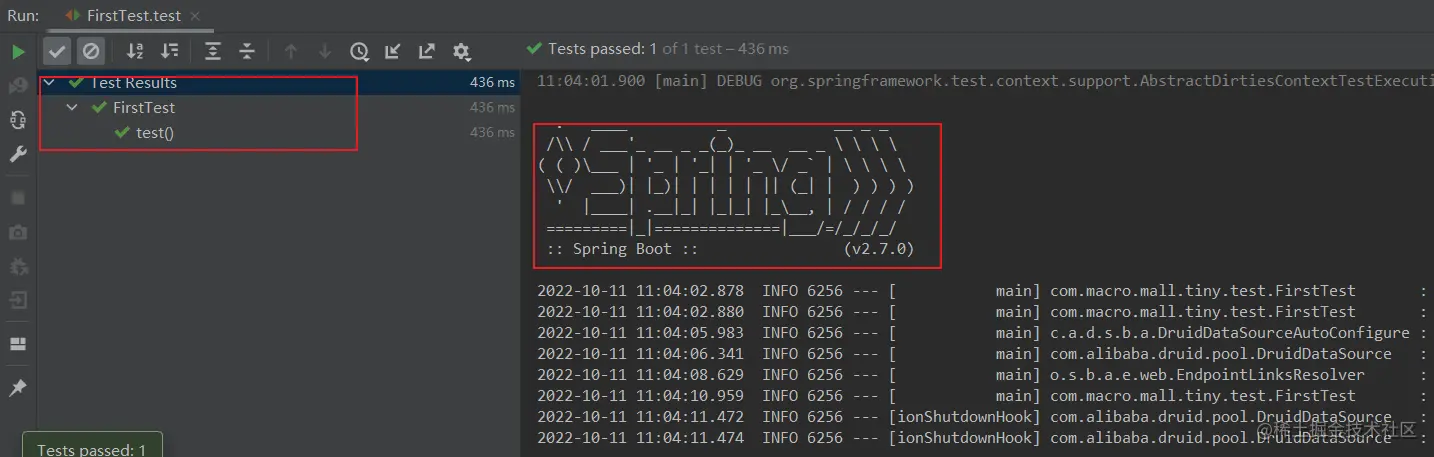
- 执行完成后我们在IDEA的执行窗口中就可以看到方法测试通过了,由于使用
@SpringBootTest启用了Spring Boot环境,日志中会输出Spring Boot的banner。
指定测试方法顺序
- 我们可以通过
@TestMethodOrder注解和@Order注解来指定所有测试方法的执行顺序,具体代码如下。
/**
* JUnit指定方法测试顺序
* Created by macro on 2022/10/10.
*/
@ExtendWith(SpringExtension.class)
@TestMethodOrder(MethodOrderer.OrderAnnotation.class)
public class MethodOrderTest {
private static final Logger LOGGER = LoggerFactory.getLogger(MethodOrderTest.class);
@Test
@Order(1)
@DisplayName("order为1的方法")
void lowOrder(){
LOGGER.info("lowOrder method");
}
@Test
@Order(10)
@DisplayName("order为10的方法")
void highOrder(){
LOGGER.info("highOrder method");
}
}
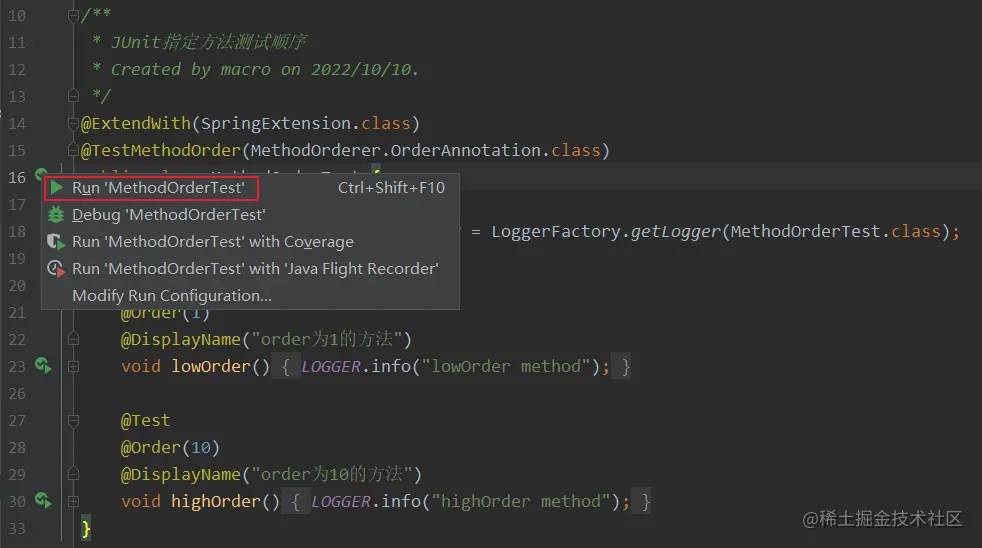
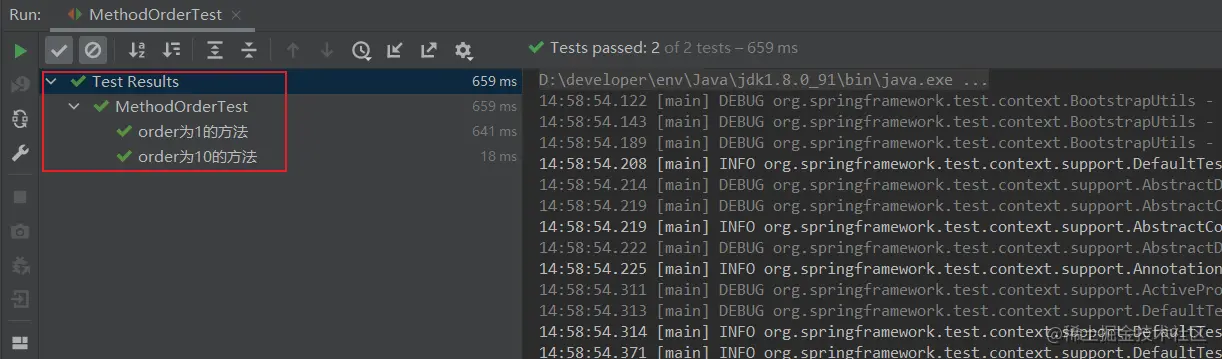
复制代码- 点击类左侧测试按钮,可以直接运行该类中的所有测试方法。
- 这里由于我们使用了
@DisplayName注解给测试方法取了个别名,而且我们使用了@ExtendWith指定了运行环境为Spring而不是Spring Boot,所以日志中不会出现Spring Boot的banner,执行速度也更快。
生命周期测试
- 我们还可以通过JUnit 5的生命周期注解来执行测试方法,比如在
@BeforeAll注解指定的方法中做全局初始化,在@AfterAll注解指定的方法中做资源的销毁,具体代码如下。
/**
 * JUnit生命周期测试
 * Created by macro on 2022/10/10.
 */
@ExtendWith(SpringExtension.class)
public class LifecycleTest {

    private static final Logger LOGGER = LoggerFactory.getLogger(LifecycleTest.class);

    @BeforeAll
    static void allInit(){
        LOGGER.info("allInit():在所有方法前执行,只执行一次");
    }

    @BeforeEach
    void eachInit(){
        LOGGER.info("eachInit():在测试方法前执行,每个测试方法前都执行");
    }

    @Test
    void successTest() {
        LOGGER.info("successTest():方法执行成功");
    }

    @AfterEach
    void eachDown(){
        LOGGER.info("eachDown():在测试方法后执行,每个测试方法后都执行");
    }

    @AfterAll
    static void allDown(){
        LOGGER.info("allDown():在测试方法后执行,每个测试方法后都执行");
    }

}
复制代码- 测试完成后,控制台输出日志如下。

断言的使用
我们可以通过
Assertions类中提供的断言API来断言测试结果。
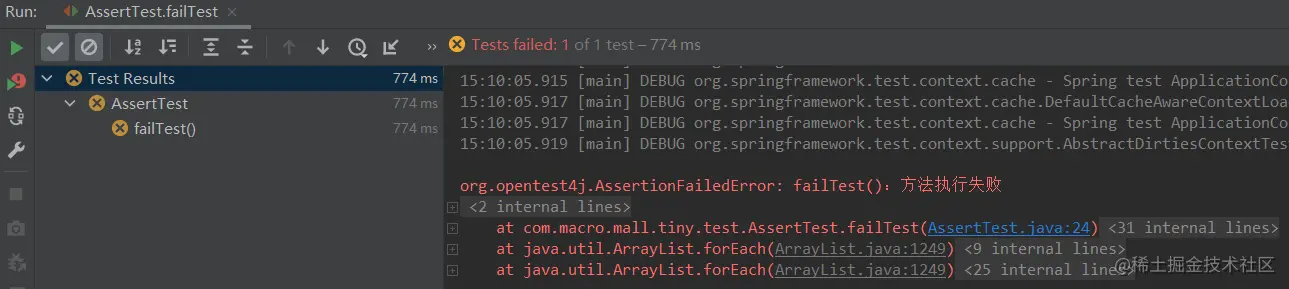
- 例如我们可以使用
fail方法直接断言方法执行失败并输出提示信息。
/**
 * JUnit断言测试
 * Created by macro on 2022/10/11.
 */
@ExtendWith(SpringExtension.class)
public class AssertTest {

    @Test
    void failTest() {
        Assertions.fail("failTest():方法执行失败");
    }
}
复制代码- 测试方法执行后会直接抛出异常信息。
- 还可以通过
assertTrue、assertNull、assertEquals这类方法来断言结果是否符合预期。
/**
 * JUnit断言测试
 * Created by macro on 2022/10/11.
 */
@ExtendWith(SpringExtension.class)
public class AssertTest {

    @Test
    void failTest() {
        Assertions.fail("failTest():方法执行失败");
    }

    @Test
    void trueTest(){
        Assertions.assertTrue(1==1);
    }

    @Test
    void trueFalse(){
        Assertions.assertFalse(3<=2);
    }

    @Test
    void nullTest(){
        String str = null;
        Assertions.assertNull(str);
    }

    @Test
    void notNullTest(){
        String str = "test";
        Assertions.assertNotNull(str);
    }

    @Test
    void equalsTest(){
        String str1 = "test";
        String str2 = "test";
        Assertions.assertEquals(str1,str2);
    }

    @Test
    void notEqualsTest(){
        String str1 = "test";
        String str2 = "test";
        Assertions.assertNotEquals(str1,str2);
    }
}
复制代码- 也可以使用
assertThrows方法来断言方法中抛出的异常。
/**
 * JUnit断言测试
 * Created by macro on 2022/10/11.
 */
@ExtendWith(SpringExtension.class)
public class AssertTest {

    private static final Logger LOGGER = LoggerFactory.getLogger(LifecycleTest.class);
    @Test
    void throwsTest(){
        Assertions.assertThrows(NullPointerException.class,()->{
            String str = null;
            LOGGER.info(str.toLowerCase());
        });
    }
}
复制代码- 还可通过
assertTimeout方法断言方法的执行时间。
/**
 * JUnit断言测试
 * Created by macro on 2022/10/11.
 */
@ExtendWith(SpringExtension.class)
public class AssertTest {
    @Test
    void timeoutTest(){
        Assertions.assertTimeout(Duration.ofMillis(1000),()->{
            long sleepTime = 2000;
            ThreadUtil.sleep(sleepTime);
            LOGGER.info("timeoutTest():休眠{}毫秒",sleepTime);
        });
    }
}
复制代码- 或者通过
assertAll方法将几个断言结合起来使用,Assertions类中提供的工具方法很多,具体可以参考它的代码。
/**
 * JUnit断言测试
 * Created by macro on 2022/10/11.
 */
@ExtendWith(SpringExtension.class)
public class AssertTest {
    @Test
    void assertAllTest(){
        Assertions.assertAll(()->{
            trueTest();
        },()->{
            nullTest();
        },()->{
            equalsTest();
        });
    }
}
复制代码
其他测试
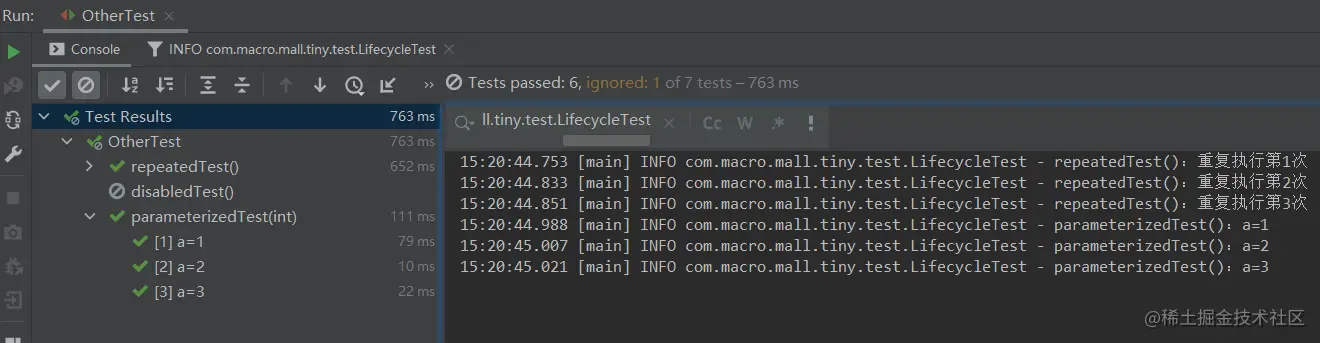
- Spring Boot Test除了上述测试功能,还可以使用
@Disabled来禁用某个测试方法。
/**
 * JUnit其他测试
 * Created by macro on 2022/10/10.
 */
@ExtendWith(SpringExtension.class)
public class OtherTest {
    @Test
    @Disabled("用于测试@Disabled注解")
    void disabledTest() {
        LOGGER.info("disabledTest():方法被执行");
    }
}
复制代码- 也可以使用
@RepeatedTest来实现循环测试。
/**
 * JUnit其他测试
 * Created by macro on 2022/10/10.
 */
@ExtendWith(SpringExtension.class)
public class OtherTest {

    private static final Logger LOGGER = LoggerFactory.getLogger(LifecycleTest.class);
    private static int count = 0;

    @RepeatedTest(3)
    void repeatedTest() {
        count++;
        LOGGER.info("repeatedTest():重复执行第{}次",count);
    }
}
复制代码- 还可以通过
@ParameterizedTest来进行参数化测试。
/**
 * JUnit其他测试
 * Created by macro on 2022/10/10.
 */
@ExtendWith(SpringExtension.class)
public class OtherTest {

    private static final Logger LOGGER = LoggerFactory.getLogger(LifecycleTest.class);

    @ParameterizedTest
    @ValueSource(ints = {1,2,3})
    public void parameterizedTest(int a){
        LOGGER.info("parameterizedTest():a={}",a);
    }
}
复制代码- 运行以上测试方法后,具体测试结果如下。
项目实战
上面介绍了Spring Boot Test的基本使用,下面我们结合项目来使用下它。
Dao层测试
如果我们的项目需要对数据访问层Dao中的方法进行测试的话,直接注入Mapper接口,在测试方法中直接调用即可,这里对根据ID查询品牌的Mapper方法进行测试。
/**
 * Dao层方法测试
 * Created by macro on 2022/10/11.
 */
@SpringBootTest
public class MapperTest {

    private static final Logger LOGGER = LoggerFactory.getLogger(MapperTest.class);

    @Autowired
    private PmsBrandMapper brandMapper;

    @Test
    void testGetById(){
        long id = 6;
        PmsBrand pmsBrand = brandMapper.selectByPrimaryKey(id);
        LOGGER.info("brand name:{}",pmsBrand.getName());
        Assertions.assertEquals("小米",pmsBrand.getName());
    }
}
复制代码
Service层测试
对业务层Service中的方法测试也是一样的,直接注入Service接口,在测试方法中直接调用即可,这里对根据ID查询品牌的Service方法进行测试。
/**
 * Service层方法测试
 * Created by macro on 2022/10/11.
 */
@SpringBootTest
public class ServiceTest {
    private static final Logger LOGGER = LoggerFactory.getLogger(ServiceTest.class);
    @Autowired
    private PmsBrandService brandService;

    @Test
    void testGetById(){
        long id = 6;
        PmsBrand pmsBrand = brandService.getBrand(id);
        LOGGER.info("brand name:{}",pmsBrand.getName());
        Assertions.assertEquals("小米",pmsBrand.getName());
    }
}
复制代码
Controller层测试
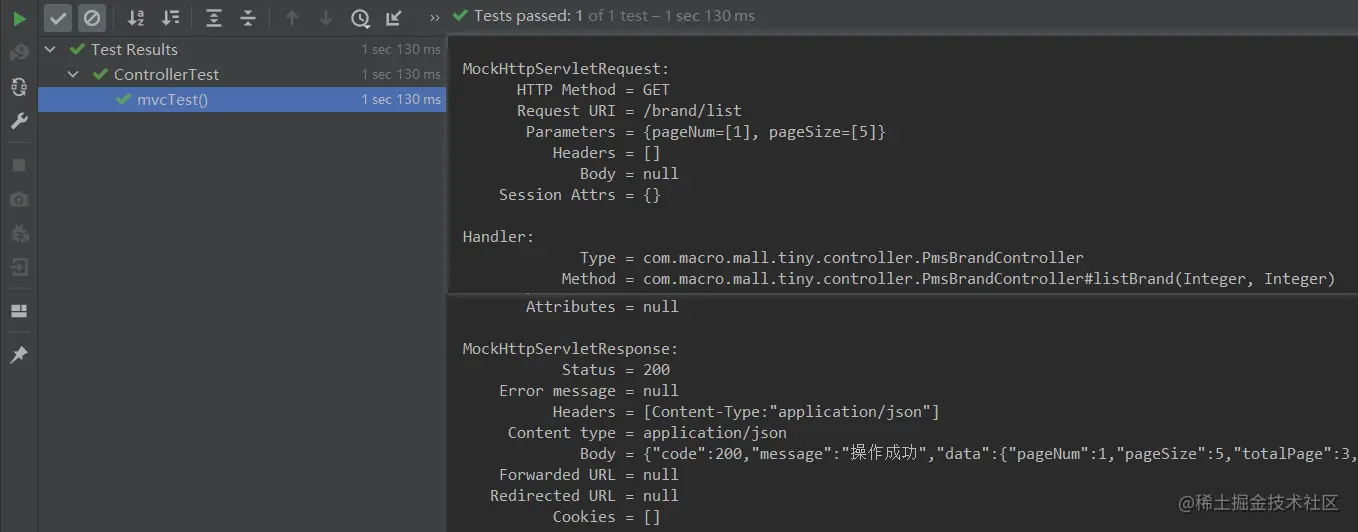
对于Controller层方法进行测试,有时我们需要模拟请求,使用MockMvc即可,这里模拟测试下分页查询品牌列表的接口。
/**
 * Controller层方法测试
 * Created by macro on 2022/10/11.
 */
@SpringBootTest
@AutoConfigureMockMvc
public class ControllerTest {

    @Autowired
    private MockMvc mockMvc;

    @Test
    void mvcTest() throws Exception{
        //模拟发送一个请求访问分页查询品牌列表的接口
        mockMvc.perform(MockMvcRequestBuilders.get("/brand/list") //设置请求地址
                .param("pageNum","1") //设置请求参数
                .param("pageSize","5"))
                .andExpect(MockMvcResultMatchers.status().isOk()) //断言返回状态码为200
                .andDo(MockMvcResultHandlers.print()) //在控制台打印日志
                .andReturn(); //返回请求结果
    }
}
复制代码
由于我们选择了在控制台输出日志,控制台将输出如下信息。
总结
今天带大家体验了一把Spring Boot Test,作为Spring Boot官方测试框架,确实功能很强大。由于其主要基于JUnit 5,和JUnit 5的用法基本一致。使用它进行单元测试,无需启动整个项目,更快更好用!


 1822
1822

 被折叠的 条评论
为什么被折叠?
被折叠的 条评论
为什么被折叠?
 到【灌水乐园】发言


