


 本文介绍SpringBoot中事件监听器的实现方式,包括定义事件、监听器及发布事件的过程。支持通过不同方式注册监听器,并介绍了如何使用注解简化监听器的定义。
spring boot内置的事件监听器已经说明了在spring boot里添加事件监听器,发布事件,执行对应动作流程。
首先,一个完整的事件监听过程涉及到四个对象:
1、发送事件的主体
2、事件的类型定义
3、发布事件的发布器
4、事件的监听器
先来定义一个简单的事件:
package com.example.demo.listener;

import org.springframework.context.ApplicationEvent;

public class BlackListEvent extends ApplicationEvent {
    private String address;
    public BlackListEvent(Object source, String address) {
        super(source);
        this.address = address;
    }

    public String getAddress() {
        return address;
    }

    public void setAddress(String address) {
        this.address = address;
    }
}
再来定义一个简单的事件监听器:
package com.example.demo.listener;

import org.springframework.context.ApplicationListener;

public class BlackListListener implements ApplicationListener<BlackListEvent> {
    @Override
    public void onApplicationEvent(BlackListEvent event) {
        String threadName = Thread.currentThread().getName();
        System.out.println(threadName + "收到黑名单事件:" + event.getAddress());
    }
}
然后把监听器注册到spring boot里面:
package com.example.demo;

import com.example.demo.listener.BlackListListener;
import org.springframework.boot.SpringApplication;
import org.springframework.boot.autoconfigure.SpringBootApplication;

@SpringBootApplication
public class DemoApplication {

    public static void main(String[] args) {
//        SpringApplication.run(DemoApplication.class, args);
        SpringApplication app = new SpringApplication(DemoApplication.class);
        app.addListeners(new BlackListListener());
        app.run(args);
    }

}
此时,只要在其他地方发布这个事件,马上就会执行对应的代码了。这个事件要怎么发布呢?
如下是一段简单的接口代码,在里面发布了事件:
package com.example.demo.controller;

import com.example.demo.listener.BlackListEvent;
import com.example.demo.model.Greeting;
import org.springframework.beans.factory.annotation.Autowired;
import org.springframework.context.ApplicationContext;
import org.springframework.web.bind.annotation.RequestMapping;
import org.springframework.web.bind.annotation.RestController;

import java.util.concurrent.atomic.AtomicLong;

@RestController
public class GreetingController {

    private static final String temlate = "hello,%s!";

    private final AtomicLong counter = new AtomicLong();

    @Autowired
    private ApplicationContext context;

    @RequestMapping("/greeting")
   public Greeting greeting(String name){
        //发布事件
        context.publishEvent(new BlackListEvent(this, "greeting"));
       return new Greeting(counter.getAndIncrement(), String.format(temlate, name));
   }


}
package com.example.demo.model;

import lombok.Data;

@Data
public class Greeting {
    private final long id ;
    private final String content;

    public Greeting(long id, String content) {
        this.id = id;
        this.content = content;
    }
}
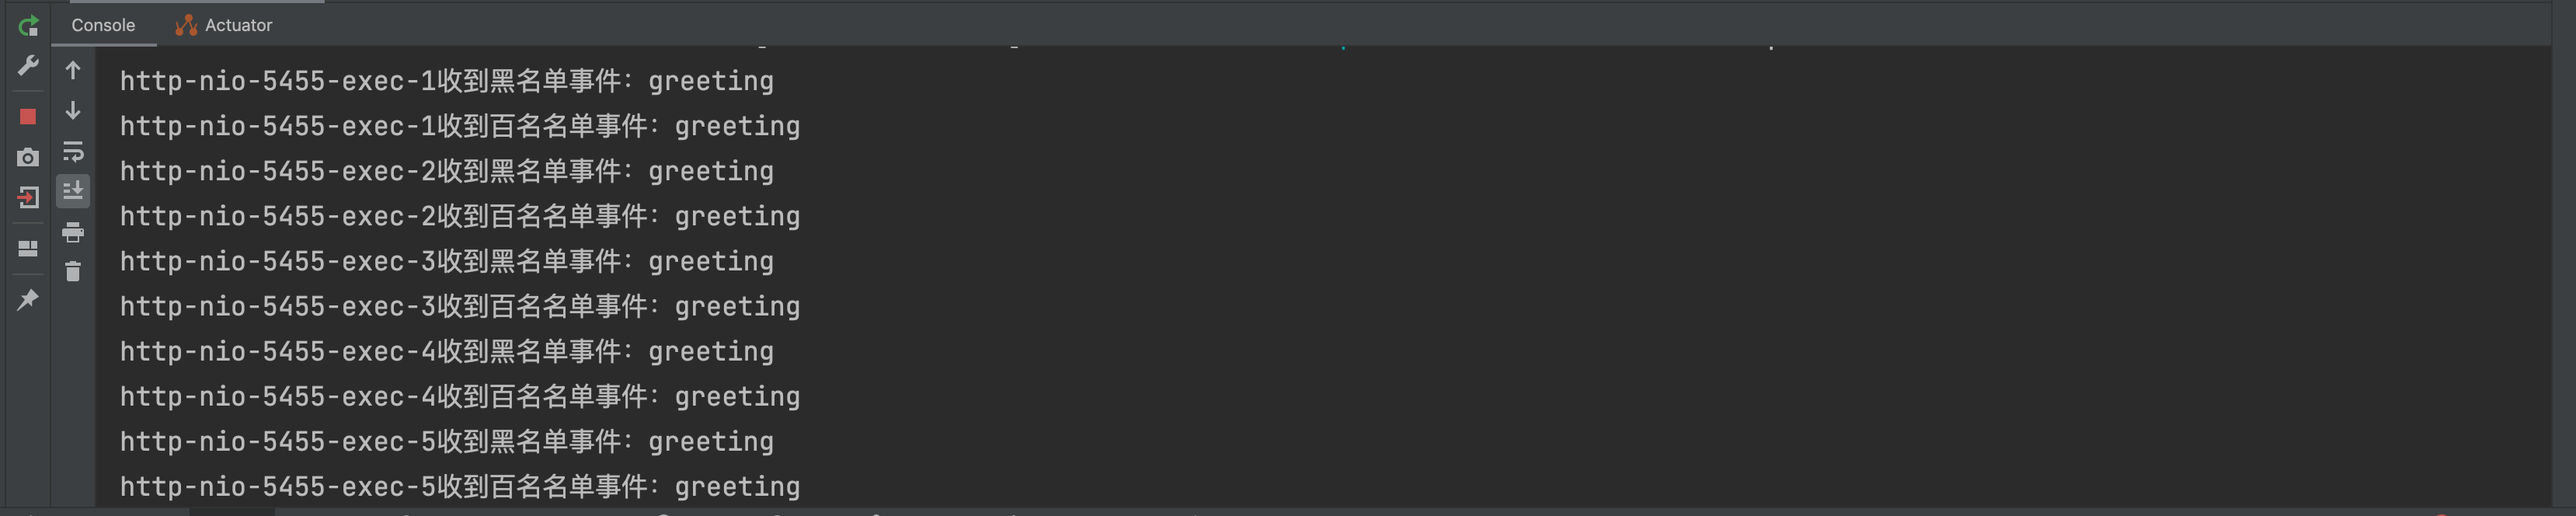
此时,只要把整个项目运行起来,然后访问:http://localhost:8080/greeting 就能看到console打出【收到了黑名单事件】几个字了。
如上的方式定义一个事件监听器还是复杂了点,而且需要写好多个类。Spring boot还支持某个类的方法成为监听器,如下即是:
package com.example.demo.listener;

import org.springframework.context.event.EventListener;
import org.springframework.stereotype.Component;

@Component
public class AnnotationListener {
    @EventListener
    public void processBlackListEvent(BlackListEvent event) {
        String theadname = Thread.currentThread().getName();
        System.out.println("annotation listener------------------" + theadname);
    }
}
通过加上@Component 和 @EventListener 两个注解,就可以让一个方法成为监听器。
spring boot的事件执行有两种方式,一种是在主线程里面顺序执行,一种是新起一个线程来执行。加上@Async 这个注解,在主类上加上@EnableAsync这个注解。
代码如下:
package com.example.demo.listener;

import org.springframework.context.event.EventListener;
import org.springframework.scheduling.annotation.Async;
import org.springframework.stereotype.Component;

@Component
public class AnnotationListener {
    @EventListener
    @Async
    public void processBlackListEvent(BlackListEvent event) {
        String theadname = Thread.currentThread().getName();
        System.out.println("annotation listener------------------" + theadname);
    }
}
package com.example.demo;
import com.example.demo.listener.BlackListListener;
import org.springframework.boot.SpringApplication;
import org.springframework.boot.autoconfigure.SpringBootApplication;
import org.springframework.scheduling.annotation.EnableAsync;
@SpringBootApplication
@EnableAsync
public class DemoApplication {
public static void main(String[] args) {
SpringApplication.run(DemoApplication.class, args);
// SpringApplication app = new SpringApplication(DemoApplication.class);
// app.addListeners(new BlackListListener());
// app.run(args);
}
}
这样子每次事件到来都是新起一个线程来执行了。

除了上述两种方式注册监听器,还可以通过properties文件里面配置监听器,由spring boot在启动的时候加载。
首先,在src/resources下的application.properties(如果没有就创建一个)加上这么一行:
context.listener.classes=\
  com.example.demo.listener.BlackListListener
这个BackListListener 就会在启动的时候,由org.springframework.boot.context.config.DelegatingApplicationListener 加载并注册到spring boot里面了。如果有多个监听器,可以这样写:
context.listener.classes=\
  com.shahuwang.bootsample.listener.BlackListListener,\
  com.shahuwang.bootsample.listener.WhiteListListener2
package com.example.demo.controller;
import com.example.demo.listener.BlackListEvent;
import com.example.demo.listener.WhiteListEvent;
import com.example.demo.model.Greeting;
import org.springframework.beans.factory.annotation.Autowired;
import org.springframework.context.ApplicationContext;
import org.springframework.web.bind.annotation.RequestMapping;
import org.springframework.web.bind.annotation.RestController;
import java.util.concurrent.atomic.AtomicLong;
@RestController
public class GreetingController {
private static final String temlate = "hello,%s!";
private final AtomicLong counter = new AtomicLong();
@Autowired
private ApplicationContext context;
@RequestMapping("/greeting")
public Greeting greeting(String name){
//发布事件
context.publishEvent(new BlackListEvent(this, "greeting"));
context.publishEvent(new WhiteListEvent(this, "greeting"));
return new Greeting(counter.getAndIncrement(), String.format(temlate, name));
}
}
DelegatingApplicationListener 由spring boot初始化时启动,然后监听ApplicationEnvironmentPreparedEvent事件,收到事件后,就找当前项目的properties文件,并加载里面context.listener.classes对应的监听器


 8600
8600

 被折叠的 条评论
为什么被折叠?
被折叠的 条评论
为什么被折叠?
 到【灌水乐园】发言


