


 本文介绍了如何使用Ansible配置一台主控服务器和两台被控服务器,包括设置IP、主机名、免密登录、配置yum源以及安装Ansible。通过配置/etc/ansible/hosts文件并验证节点连接,确保Ansible环境的正确建立。
ansible配置一台主控服务器,两台被控服务器,搭建:
(1)准备三台机器:
配置IP,主机名,/etc/hosts然后去配置免密登录
server.example.com
node1.example.com
node2.example.com
#:免密登录需要让控制主机登录到其他的被控主机上,所以要在控制主机上生成公私钥,然后发送给被控主机,实现免密登录,还要配置被控主机地址到域名的映射关系:
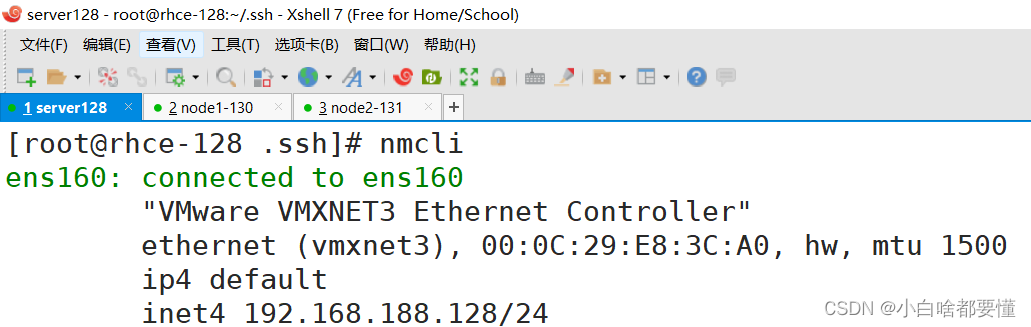
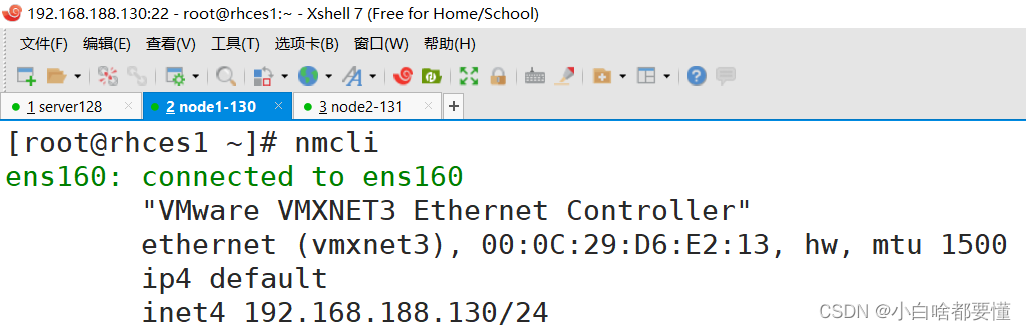
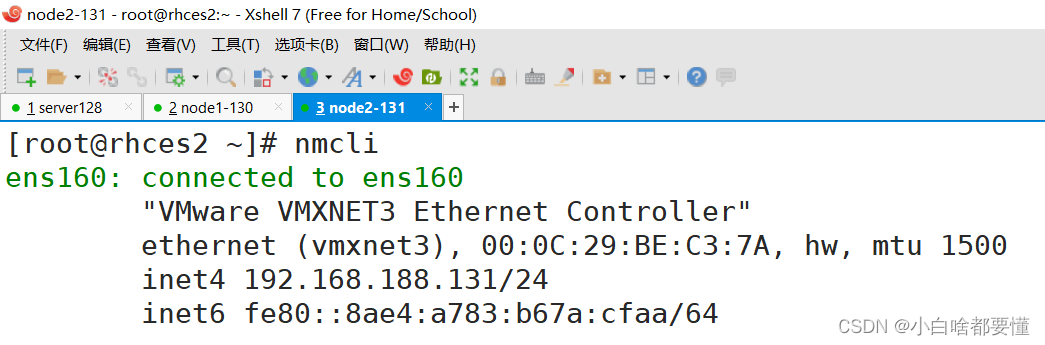
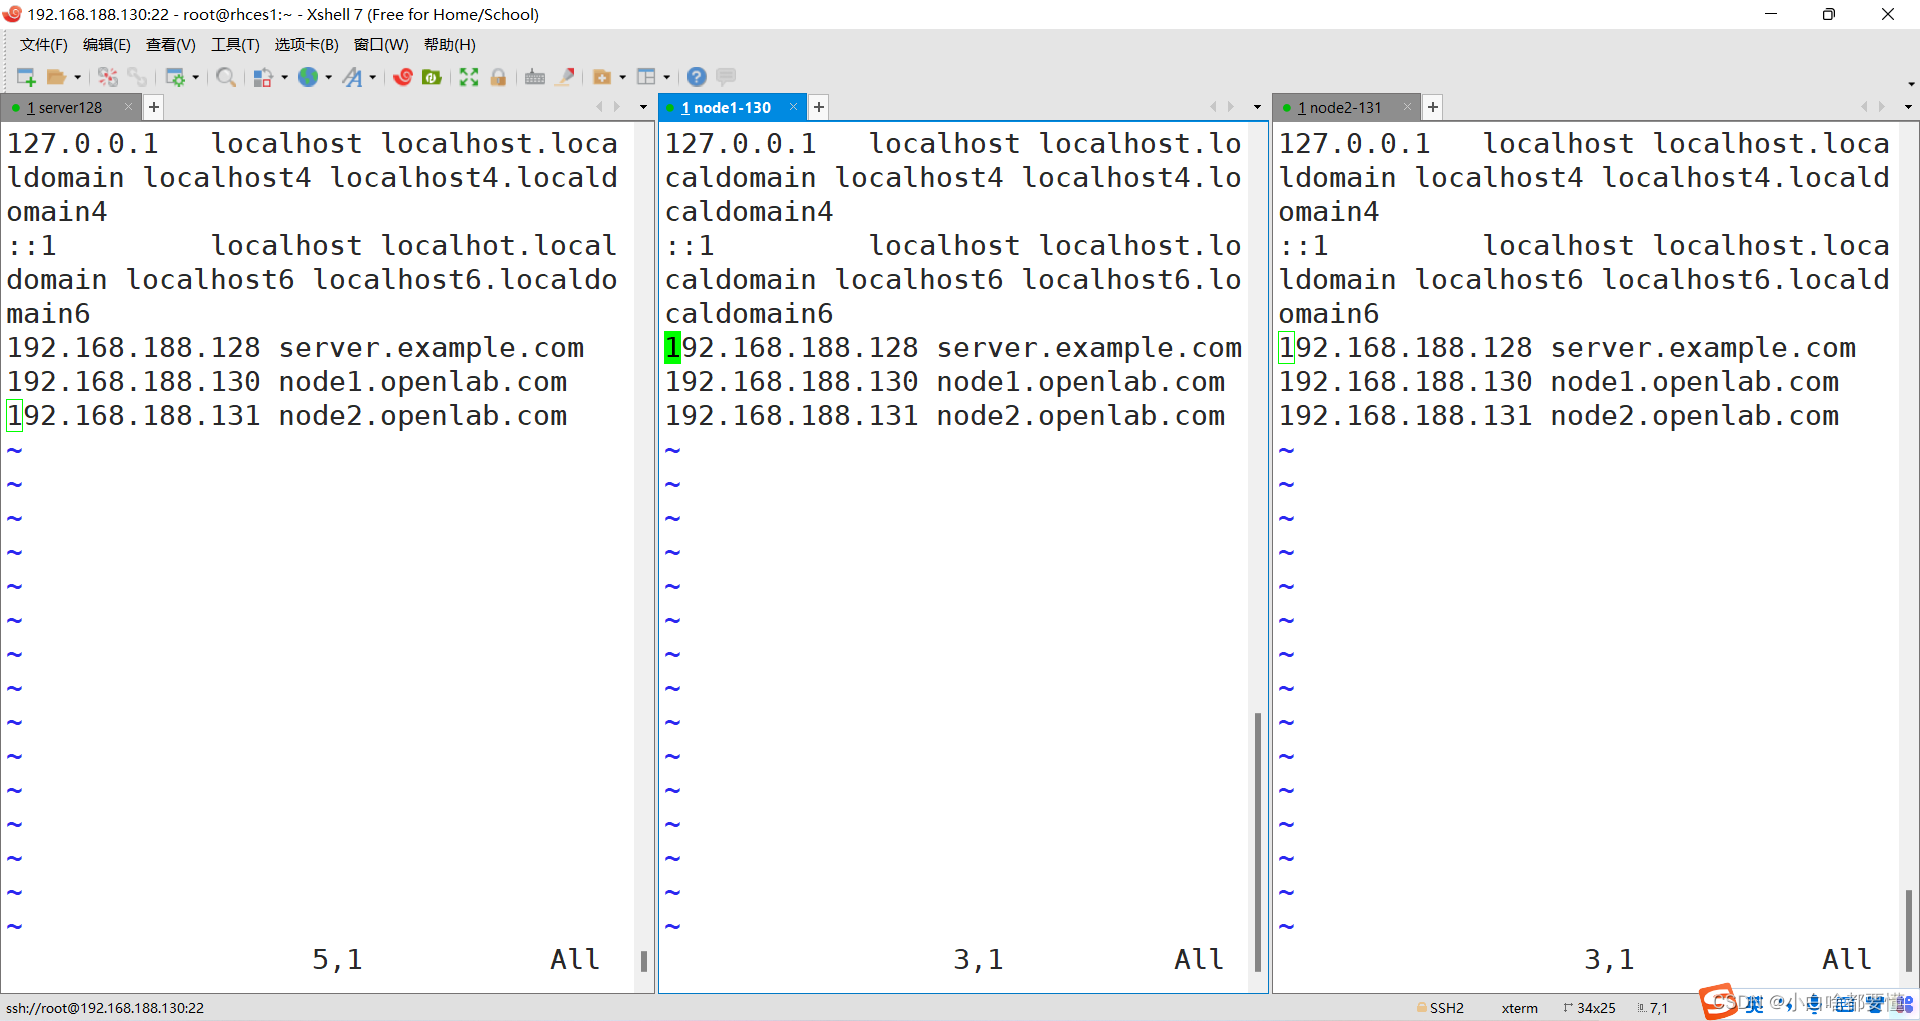
[root@rhce-128 ~]# ssh-keygen -t rsa
[root@rhce-128 ~]# cd /root/.ssh/
[root@rhce-128 .ssh]# ll
total 12
-rw-------. 1 root root 1679 Aug  2 14:19 id_rsa
-rw-r--r--. 1 root root  395 Aug  2 14:19 id_rsa.pub
[root@rhce-128 .ssh]# vim /etc/hosts
--------------------------------------------------------------
127.0.0.1   localhost localhost.localdomain localhost4 localhost4.localdomain4
::1         localhost localhot.localdomain localhost6 localhost6.localdomain6
192.168.188.128	server.example.com
192.168.188.130 node1.example.com
192.168.188.131	node2.example.com
--------------------------------------------------------------
配置如下所示结果:
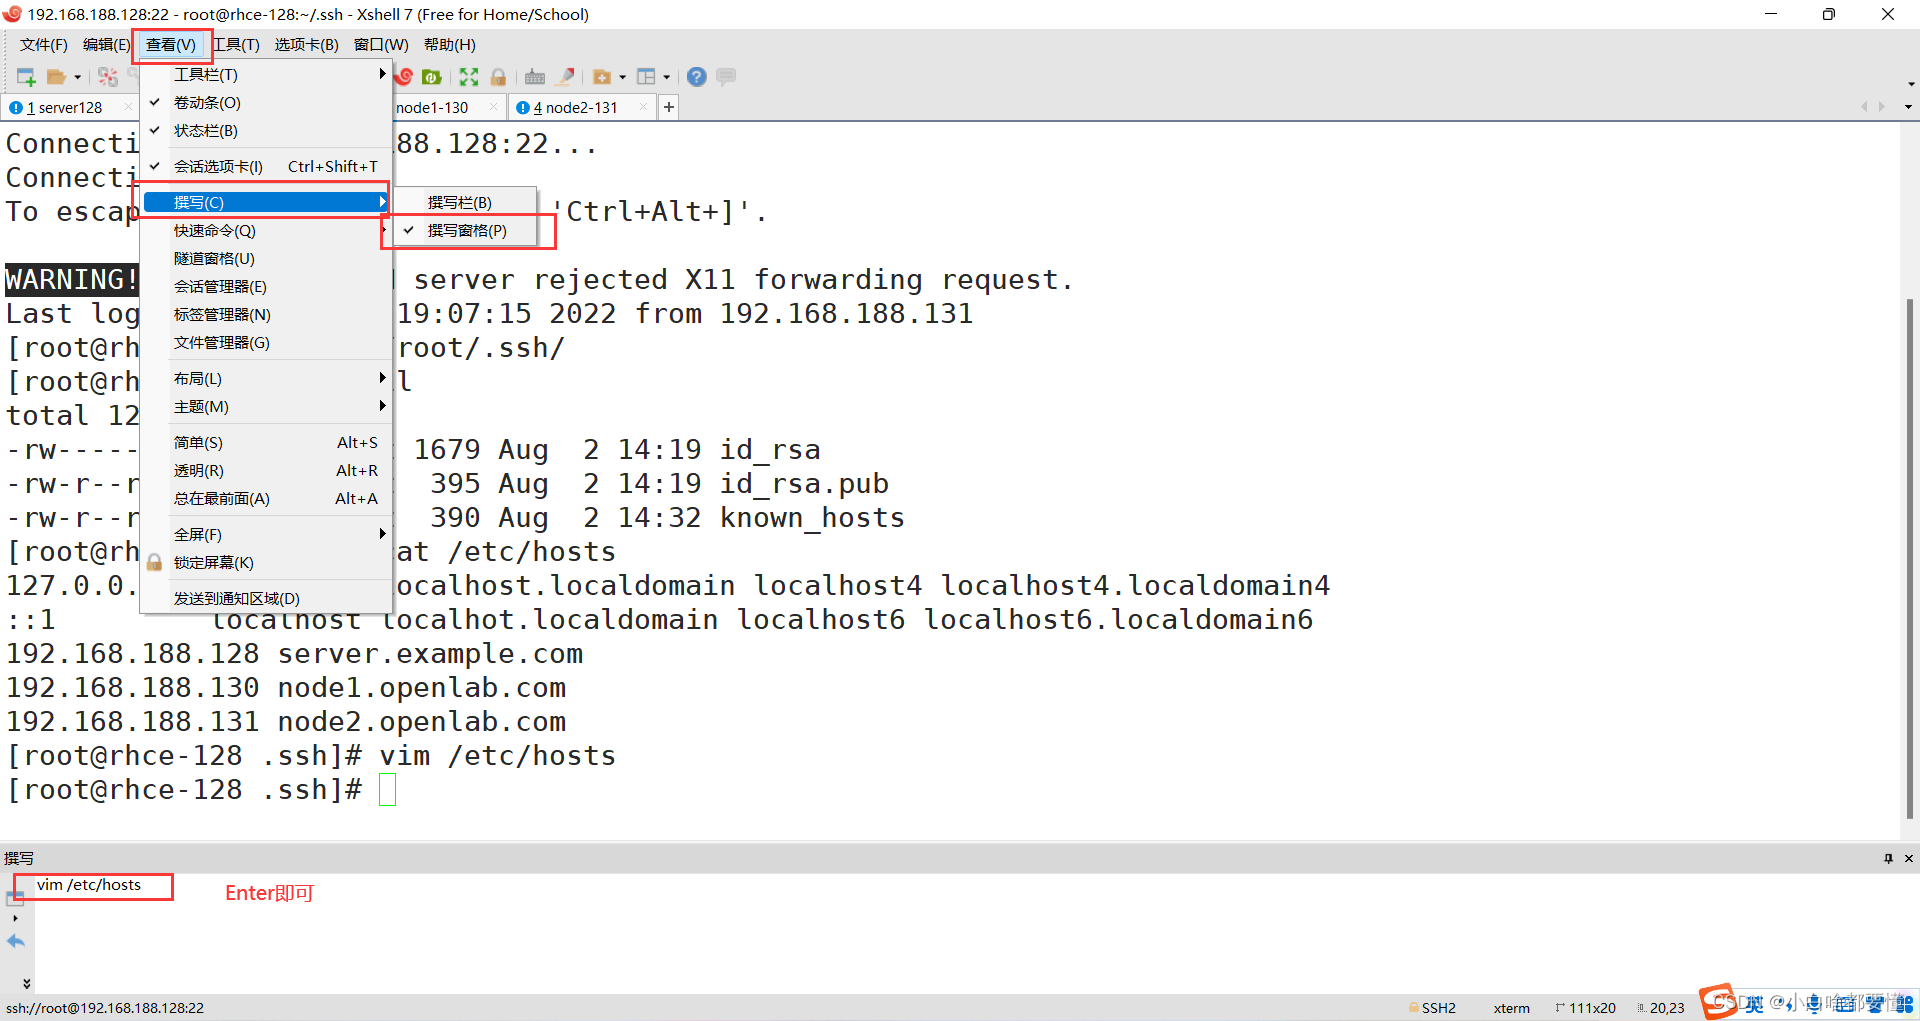
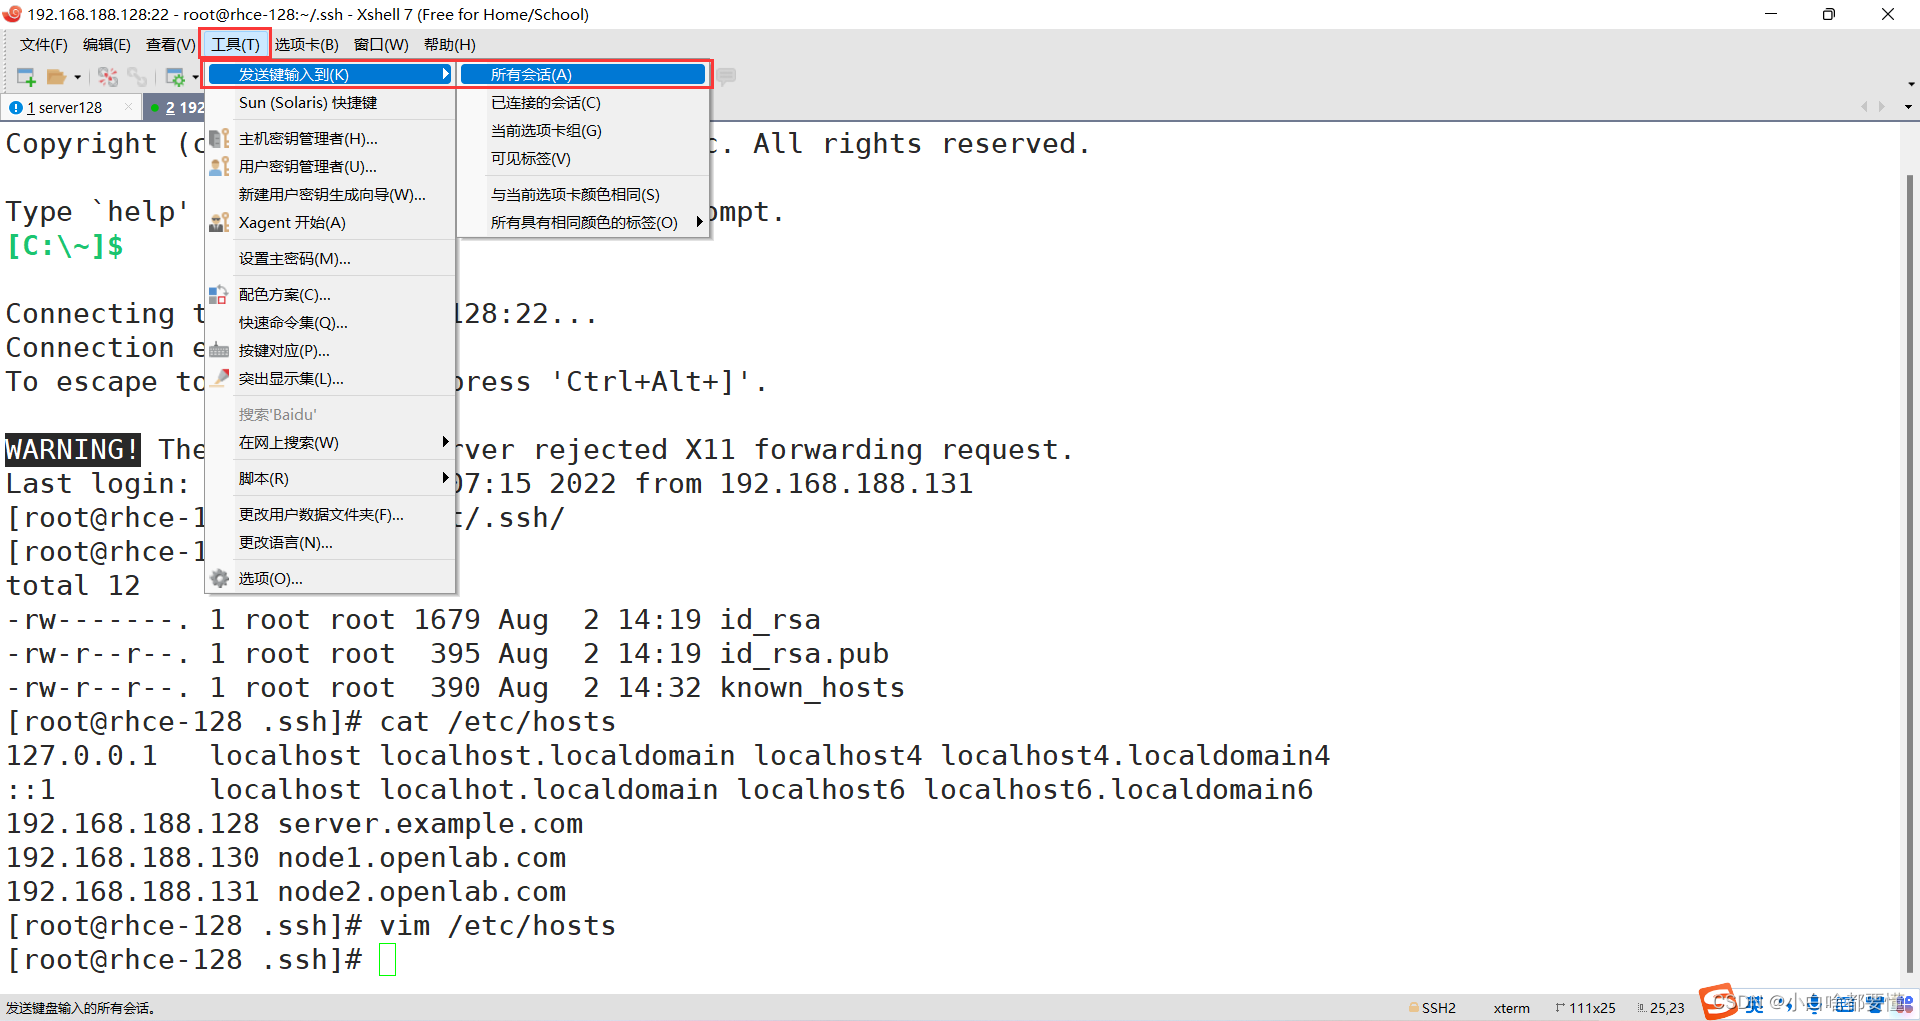
#:在同步配置主机到域名的映射时,可以通过XSHELL一次操作多台虚拟机点击如下所示工具,即可实现:有两种方式:
第一种:
第二种:
#:配置完主机到域名的映射之后将控制服务器的公钥进行转发:免密登录
[root@rhce-128 ~]# ssh-copy-id root@node1.example.com
[root@rhce-128 ~]# ssh-copy-id root@node2.example.com
[root@rhce-128 ~]# ssh root@node1.example.com        // 第一次登录需要密码
[root@rhce-128 ~]# ssh root@node2.example.com        //与上同理,第一次需要密码
(2)配置yum源使用Centos-stream.repo安装ansible
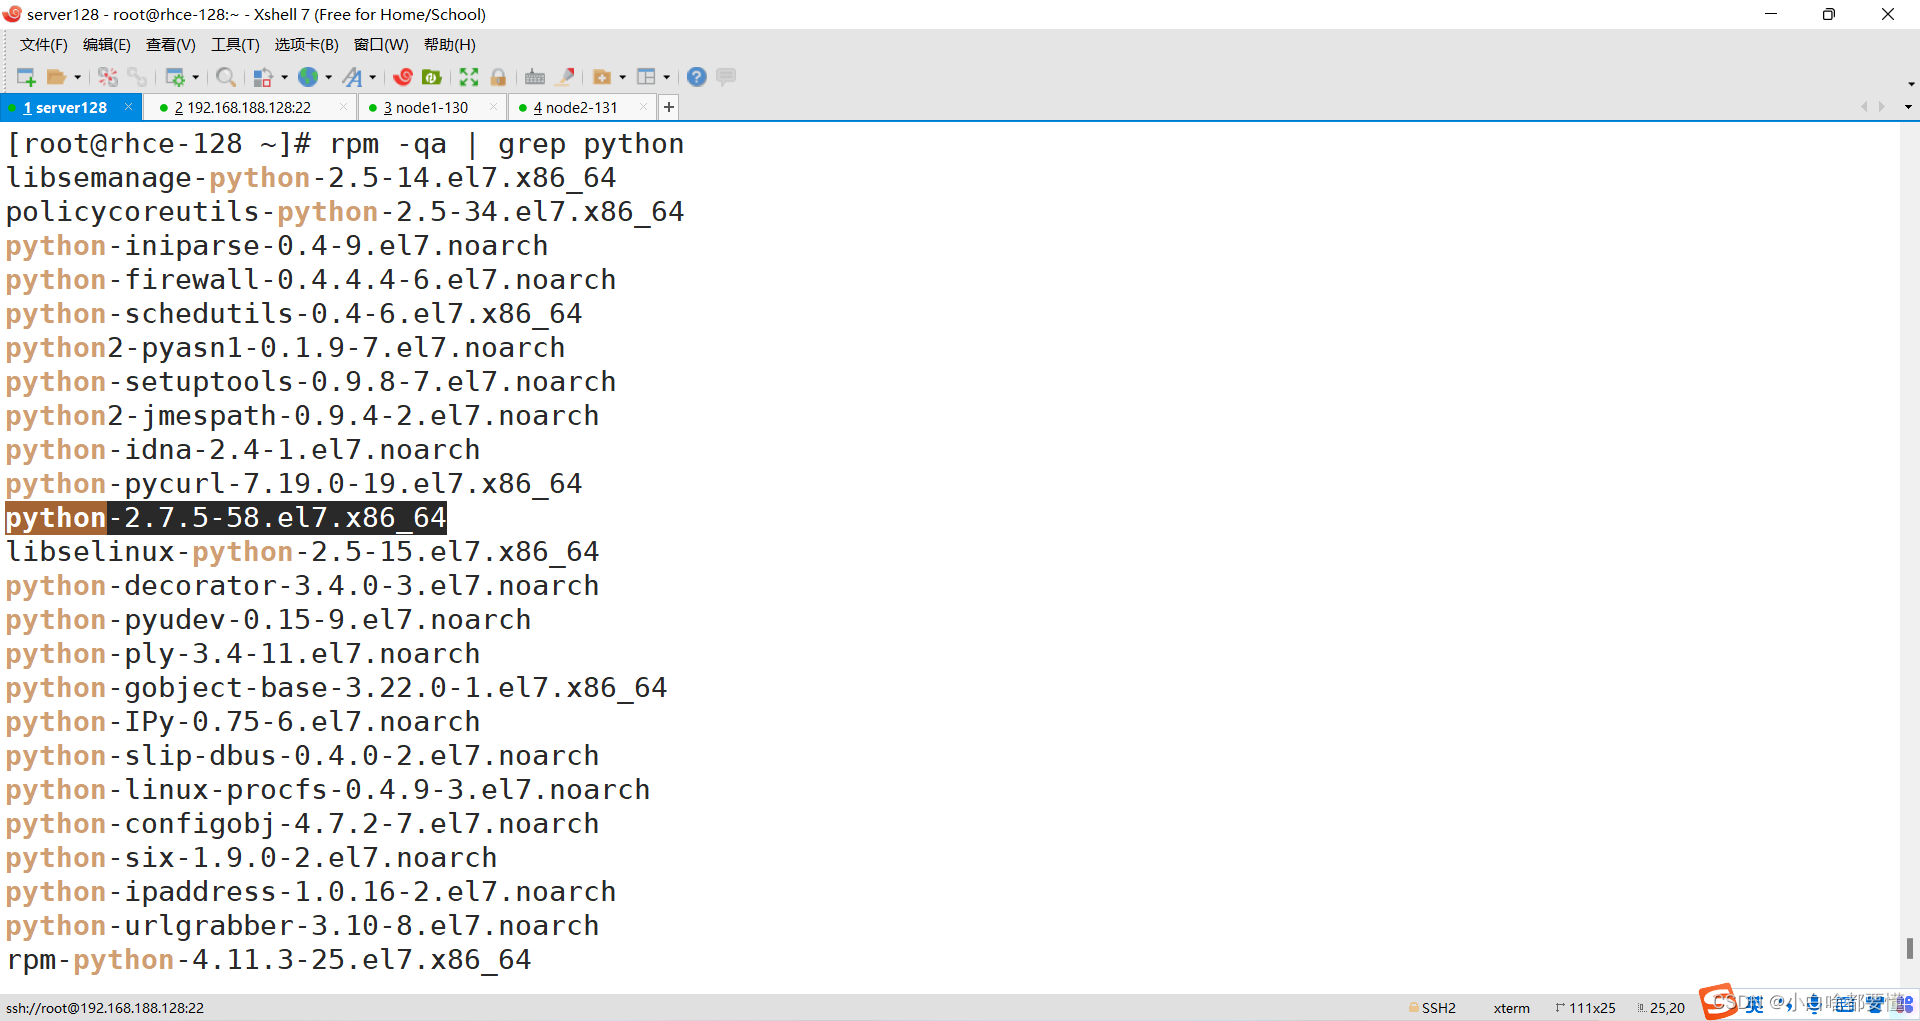
# :安装ansible必须还要安装python,所以检查一下是否有python:没有可以下载一下
#:下面来安装ansible:
在CentOS7中,安装需要借助扩展源,进行如下所示配置:
[root@rhce-128 ~]# yum install epel-release -y
[root@rhce-128 ~]# cd /etc/yum.repos.d/
[root@rhce-128 yum.repos.d]# ls
CentOS-Base.repo       CentOS-Sources.repo
CentOS-CR.repo         CentOS-Vault.repo
CentOS-Debuginfo.repo  epel.repo
CentOS-fasttrack.repo  epel-testing.repo
CentOS-Media.repo
[root@rhce-128 yum.repos.d]#
[root@rhce-128 ~]# yum install ansible -y
[root@rhce-128 ~]# ansible --version
ansible 2.9.27
  config file = /etc/ansible/ansible.cfg
  configured module search path = [u'/root/.ansible/plugins/modules', u'/usr/share/ansible/plugins/modules']
  ansible python module location = /usr/lib/python2.7/site-packages/ansible
  executable location = /usr/bin/ansible
  python version = 2.7.5 (default, Aug  4 2017, 00:39:18) [GCC 4.8.5 20150623 (Red Hat 4.8.5-16)]
[root@rhce-128 ~]#
#:如上所示即为安装成功;
(3)使用ansible --version去验证配置清单:
[root@rhce-128 ~]# ansible --version
ansible 2.9.27
  config file = /etc/ansible/ansible.cfg
  configured module search path = [u'/root/.ansible/plugins/modules', u'/usr/share/ansible/plugins/modules']
  ansible python module location = /usr/lib/python2.7/site-packages/ansible
  executable location = /usr/bin/ansible
  python version = 2.7.5 (default, Aug  4 2017, 00:39:18) [GCC 4.8.5 20150623 (Red Hat 4.8.5-16)]
[root@rhce-128 ~]#
配置/etc/ansible/hosts
[node]
node1.example.com
node2.example.com
[root@rhce-128 ~]# vim /etc/ansible/hosts
------------------------------------------------
## db-[99:101]-node.example.com
[node]
node1.example.com
node2.example.com
------------------------------------------------
使用ansible node -m ping去验证
[root@rhce-128 .ssh]# ansible -m ping node
node2.example.com | SUCCESS => {
    "ansible_facts": {
        "discovered_interpreter_python": "/usr/bin/python"
    },
    "changed": false,
    "ping": "pong"
}
node1.example.com | SUCCESS => {
    "ansible_facts": {
        "discovered_interpreter_python": "/usr/bin/python"
    },
    "changed": false,
    "ping": "pong"
}
[root@rhce-128 .ssh]#


 373
373

 被折叠的 条评论
为什么被折叠?
被折叠的 条评论
为什么被折叠?
 到【灌水乐园】发言


