


 本文详细介绍了在Linux环境下从源码安装Asterisk PBX系统的全过程,包括获取安装包、解压配置、解决依赖错误及最终的安装步骤。通过遵循这些步骤,读者将能成功搭建自己的Asterisk电话交换平台。
一、获取asterisk安装包
  1.  sudo apt-get install wget (如果有可以忽略这一步)
 2.  wget http://downloads.asterisk.org/pub/telephony/asterisk/asterisk-17-current.tar.gz( 目前最新版本为17.1.0)
        想要其他版本可以去  https://downloads.asterisk.org/pub/telephony/asterisk  参考
二、解压配置
1. [root@~]# tar -zxvf asterisk-17-current.tar.gz // 解压asterisk安装包
2.[root@~]# cd cd asterisk-17.1.0/ // 进入asterisk安装包
3.[root@asterisk asterisk-17.1.0]# ./configure // 环境检测和预配置
下面是我出现的错误 ,可能有所不同 但一般来说就是缺少工具,提示你安装工具包罢了

4.[root@asterisk asterisk-17.1.0]#  ./configure
    [root@asterisk asterisk-17.1.0]# Please install the ‘libedit’ development package
                        解决方法  :          apt-get install libedit-dev
5.[root@asterisk asterisk-17.1.0]#  ./configure
    [root@asterisk asterisk-17.1.0]#   configure: error: *** uuid support not found (this typically means the uuid development package is missing)
                        解决方法:            apt-get install uuid-dev
6.[root@asterisk asterisk-17.1.0]#  ./configure
    [root@asterisk asterisk-17.1.0]# configure: *** Asterisk requires libjansson >= 2.11 and no system copy was found.
                                                 configure: *** Please install the 'libjansson' development package or
                                                 configure: *** use './configure --with-jansson-bundled'

                        解决方法:            ./configure --with-jansson-bundled (这个错误可能后面还会出现几次 出现就用这个解决方法就可以了)

 7.[root@asterisk asterisk-17.1.0]#  ./configure --with-jansson-bundled
   [root@asterisk asterisk-17.1.0]# configure: *** The Asterisk menuselect tool requires the 'libxml2' development package.
                                                configure: *** Please install the 'libxml2' development package.

                        解决方法:            apt-get install libxml2-dev


8.[root@asterisk asterisk-17.1.0]#   ./configure --with-jansson-bundled
    [root@asterisk asterisk-17.1.0]# configure: error: *** Asterisk now uses SQLite3 for the internal Asterisk database.

                        解决方法:               apt-get install libsqlite3-dev
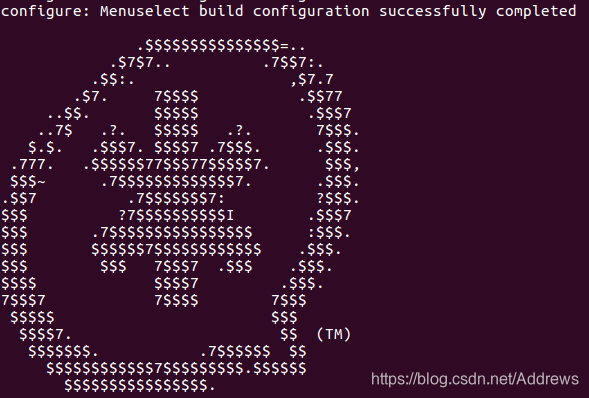
出现如下图就代表配置成功了
三、安装asterisk
1.[root@asterisk asterisk-17.1.0]# make

make 成功后提示你输入make install
2.[root@asterisk asterisk-17.1.0]# make install
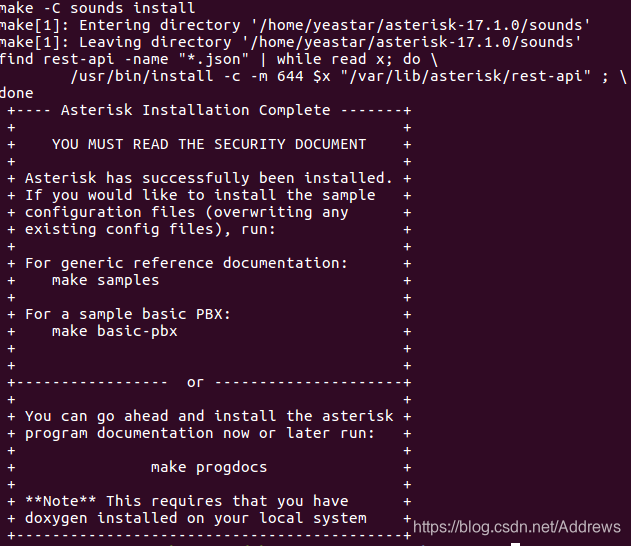
这里提示用户还能够有2种可选的操作分别是通过“make samples”来安装配置模版,以及通过“make progdocs”来安装一些程序文档。
2.[root@asterisk asterisk-17.1.0]# make samples
这个时候,在/etc/asterisk目录下会建立一些文件,最主要的有sip.conf、extensions.conf 这两个。
至此安装完成!!!


 595
595


 到【灌水乐园】发言


