 微信授权开发指南


对接微信授权,由于之前没有这方面经验,开发完成便写下博客记录开发过程
公众号中微信授权开发步骤:
1.准备内网穿透工具 ngrok
原因: 开发测试过程中,每次修改都需要打包然后翻到服务器上看效果,非常不方便,当然,不用这个工具也可以
下载地址: https://dashboard.ngrok.com/get-started
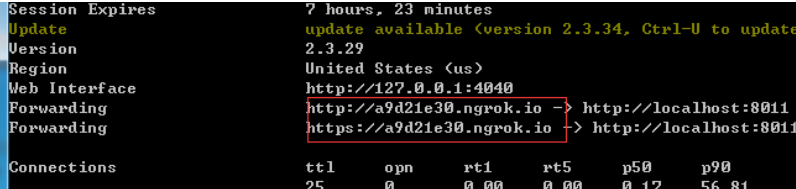
如何使用: 解压后会得到一个ngrok.exe文件 ,然后在当前目录下打开cmd窗口 执行指令
nrgok http 8080 //8080改成 你的项目跑的端口
效果如下,我们可以得到一个公网可以访问的临时域名, 窗口勿关闭,因为每次的分配的域名不同
2.测试环境
微信有提供接口测试环境 ,进入以下域名,申请一个测试号,并关注
https://mp.weixin.qq.com/debug/cgi-bin/sandboxinfo?action=showinfo&t=sandbox/index
找到 网页服务-网页账号-修改
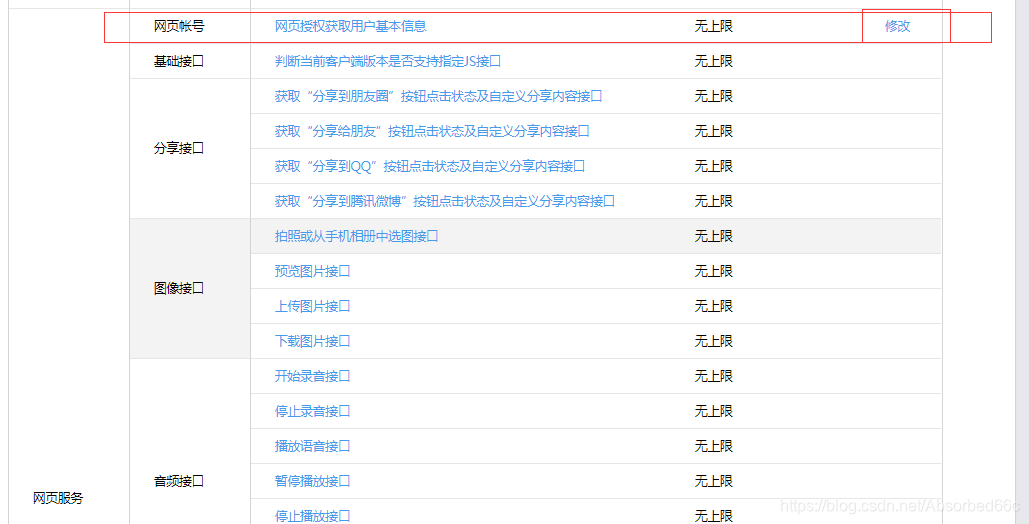
点击修改
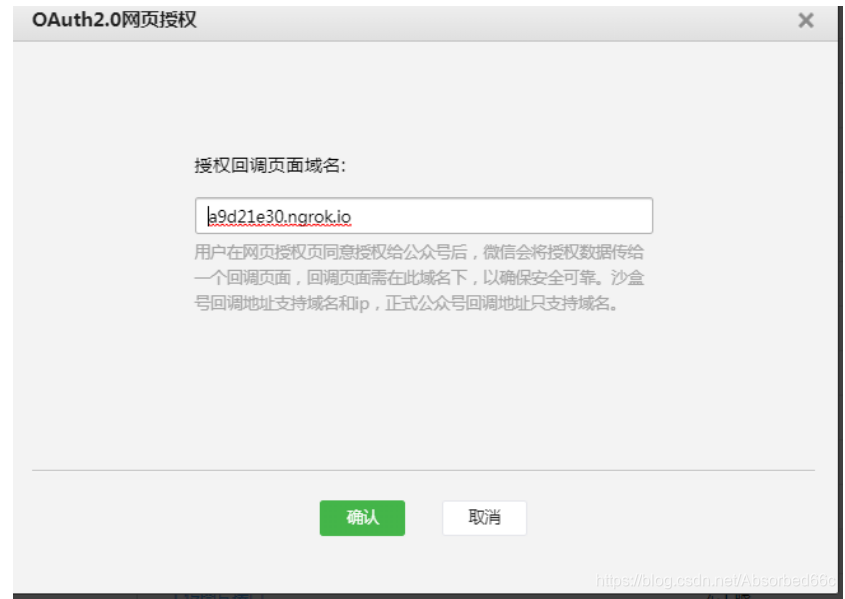
改成ngrok中分配的域名
3.码代码
参考官方文档,结合以下代码
https://developers.weixin.qq.com/doc/offiaccount/OA_Web_Apps/Wechat_webpage_authorization.html
编写工具类,用于发起请求
public class WeixinUtil {
	public static final String APPID="你的appid";
	public static final String APPSECRET="你的appscret";

    //用于发起get请求
	public static JSONObject doGetStr(String url) {
			DefaultHttpClient httpClient = new DefaultHttpClient();
			HttpGet httpGet = new HttpGet(url);
			JSONObject jsonObject=null;
			try {
				HttpResponse respone = httpClient.execute(httpGet);
				HttpEntity entity = respone.getEntity();
				if(entity!=null) {
					String result = EntityUtils.toString(entity,"UTF-8");
					jsonObject = JSONObject.fromObject(result);
				}
			} catch (ClientProtocolException e) {
				e.printStackTrace();
			} catch (IOException e) {
				e.printStackTrace();
			}
			return jsonObject;
	}
   //用于发起post请求
   public static JSONObject doPostStr(String url,String outStr) {
	   DefaultHttpClient httpClient = new DefaultHttpClient();
	   HttpPost httpPost = new HttpPost(url);
	   JSONObject jsonObject  = null;
	   try {
		   httpPost.setEntity(new StringEntity(outStr, "UTF-8"));
		   HttpResponse respone = httpClient.execute(httpPost);
		   HttpEntity entity = respone.getEntity();
			if(entity!=null) {
				String result = EntityUtils.toString(entity,"UTF-8");
				jsonObject = JSONObject.fromObject(result);
			}
	   } catch (Exception e) {
			e.printStackTrace();
		}
	   return jsonObject;
   }


}
按照步骤来
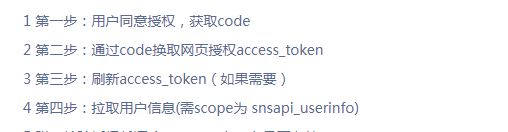
·1.获取code
向这个地址发起请求,将其中的各项参数替换掉,重定向过去
  @RequestMapping("login")
    public String login(HttpServletRequest request,HttpServletResponse response) throws IOException {
        String url = "https://open.weixin.qq.com/connect/oauth2/authorize?appid=APPID&redirect_uri=REDIRECT_URI&response_type=code&scope=SCOPE&state=STATE#wechat_redirect";
        String sendUrl = url.replace("APPID", WeixinUtil.APPID)
                .replace("REDIRECT_URI", URLEncoder.encode("http://a9d21e30.ngrok.io/call", "utf-8"))
                .replace("SCOPE", "snsapi_userinfo").replace("STATE", "1");
       return "redirect:"+sendUrl;
    }
上述方法执行后,前端悔跳到一个页面,让用户确定授权
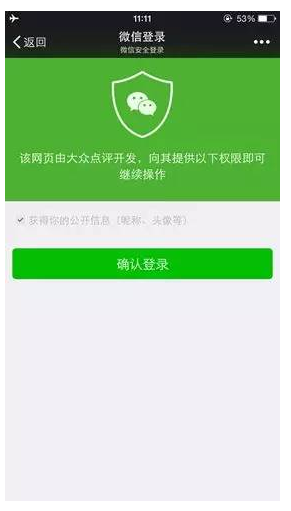
当用户点击确定后,则需要进行,我们就可以来获取用户的信息了
代码如下
    @RequestMapping("call")
    public void callback(HttpServletRequest request){
        String access_Url = "https://api.weixin.qq.com/sns/oauth2/access_token?appid=APPID&secret=SECRET&code=CODE&grant_type=authorization_code";
        access_Url = access_Url.replace("APPID", WeixinUtil.APPID).replace("SECRET", WeixinUtil.APPSECRET ).replace("CODE", request.getParameter("code"));
        JSONObject token_data = WeixinUtil.doGetStr(access_Url); //获取access_token 这个是可以access_token无限制获取的
        if(token_data.getString("openid")!=null && token_data.getString("openid").length()>0) {
            String userinfo_Url="https://api.weixin.qq.com/sns/userinfo?access_token=ACCESS_TOKEN&openid=OPENID&lang=zh_CN";
            userinfo_Url = userinfo_Url.replace("ACCESS_TOKEN", token_data.getString("access_token")).replace("OPENID", token_data.getString("openid"));
            JSONObject  userinfo = WeixinUtil.doGetStr(userinfo_Url); //获取用户信息
            System.out.println(userinfo);

        }else{
    System.out.println("信息获取失败");
       }

    }
至此,用户授权就差不多了


 4695
4695

 被折叠的 条评论
为什么被折叠?
被折叠的 条评论
为什么被折叠?
 到【灌水乐园】发言


