


一:struts文件上传与SpringMVC文件上传步骤对比:
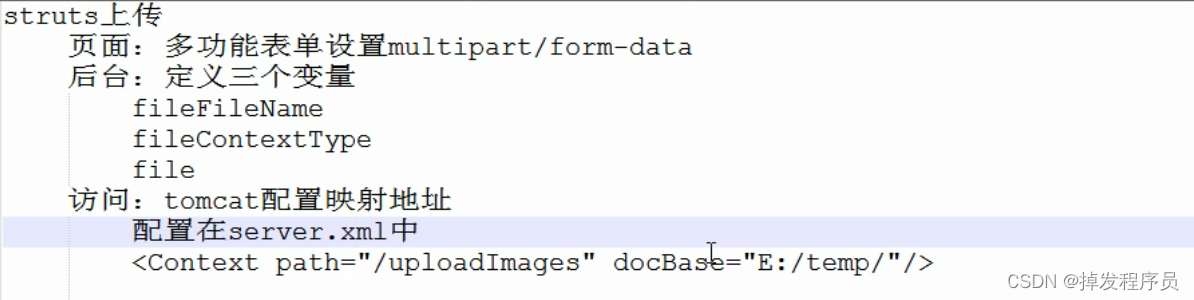
struts文件上传
SpringMVC文件上传

二:SpringMVC文件上传
第一步:导入pom依赖
<dependency>
      <groupId>commons-fileupload</groupId>
      <artifactId>commons-fileupload</artifactId>
      <version>1.3.3</version>
</dependency>
第二步:在spring-mvc.xml文件中添加配置
<bean id="multipartResolver" class="org.springframework.web.multipart.commons.CommonsMultipartResolver">
        <!-- 必须和用户JSP 的pageEncoding属性一致,以便正确解析表单的内容 -->
        <property name="defaultEncoding" value="UTF-8"></property>
        <!-- 文件最大大小(字节) 1024*1024*50=50M-->
        <property name="maxUploadSize" value="52428800"></property>
        <!--resolveLazily属性启用是为了推迟文件解析,以便捕获文件大小异常-->
        <property name="resolveLazily" value="true"/>
</bean>
第三步:新建jsp页面导入多功能表单
<%--
  Created by IntelliJ IDEA.
  User: T440s
  Date: 2021/12/20
  Time: 16:36
  To change this template use File | Settings | File Templates.
--%>
<%@ page contentType="text/html;charset=UTF-8" language="java" %>
<html>
<head>
    <title>Title</title>
</head>
<body>
<form action="${pageContext.request.contextPath}/book/upload" method="post" enctype="multipart/form-data">
  <input type="file" name="xxx">
  <input type="submit" value="上传">
</form>
</body>
</html>
第四步:在BookController中追加后台代码用于接受页面传过来的参数
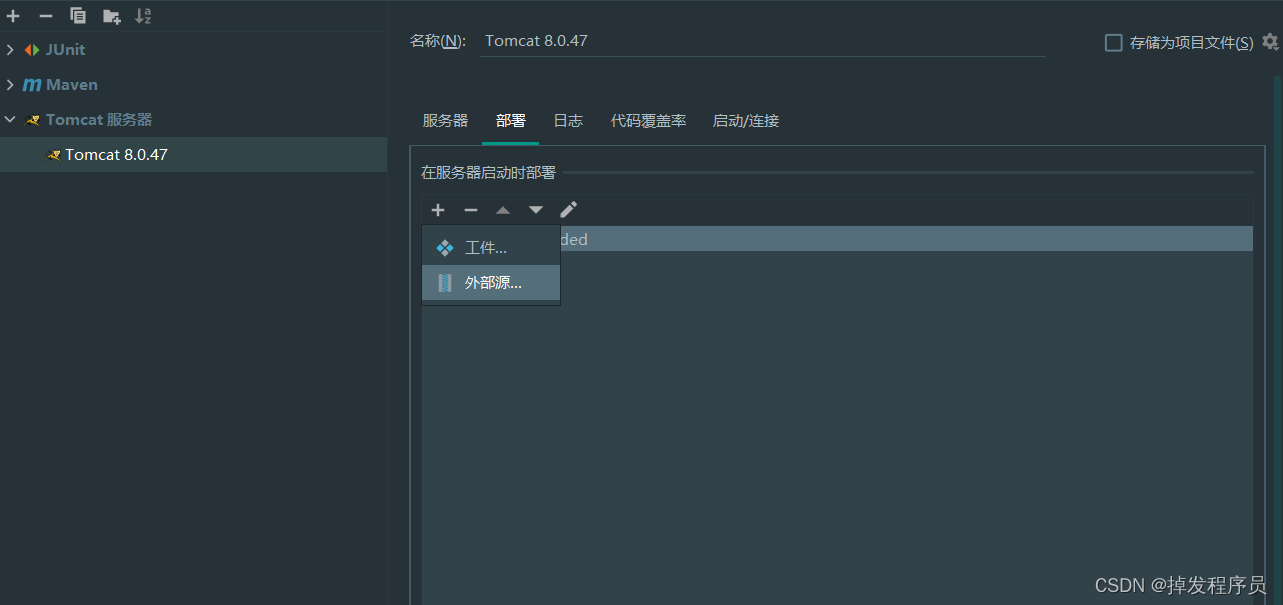
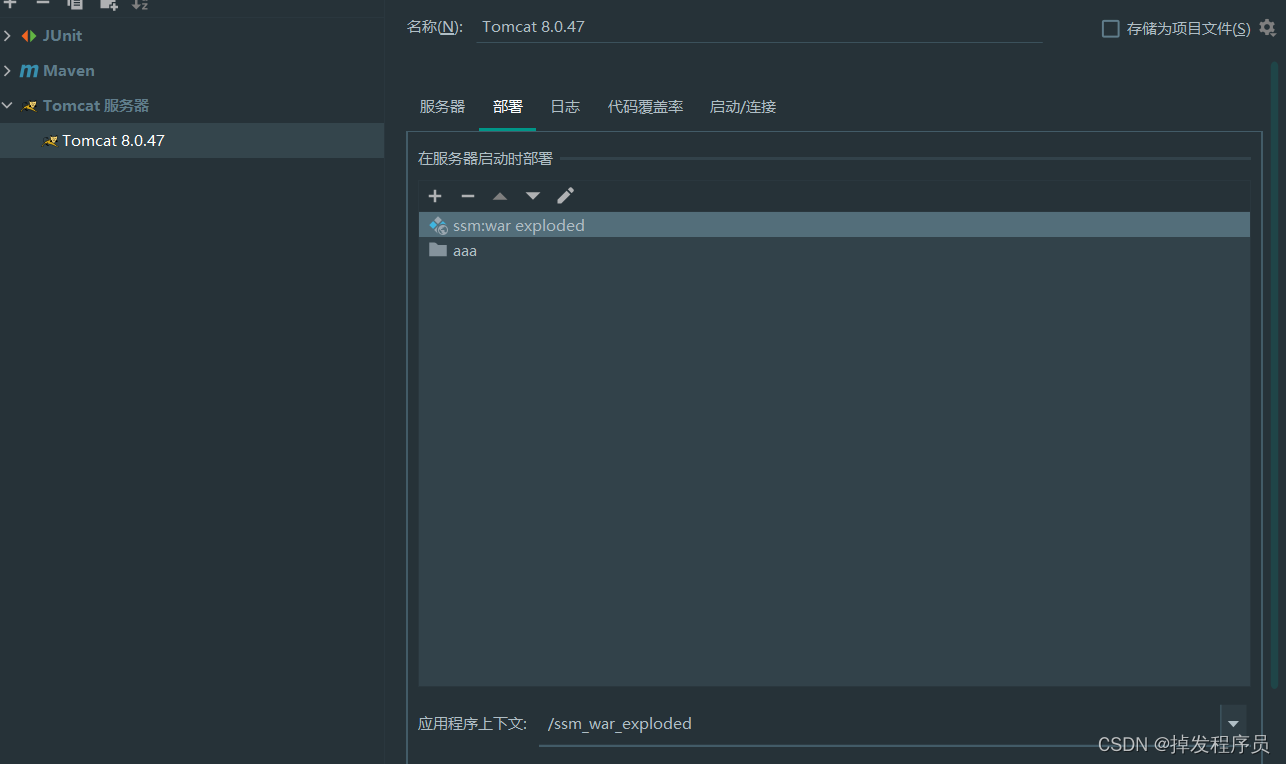
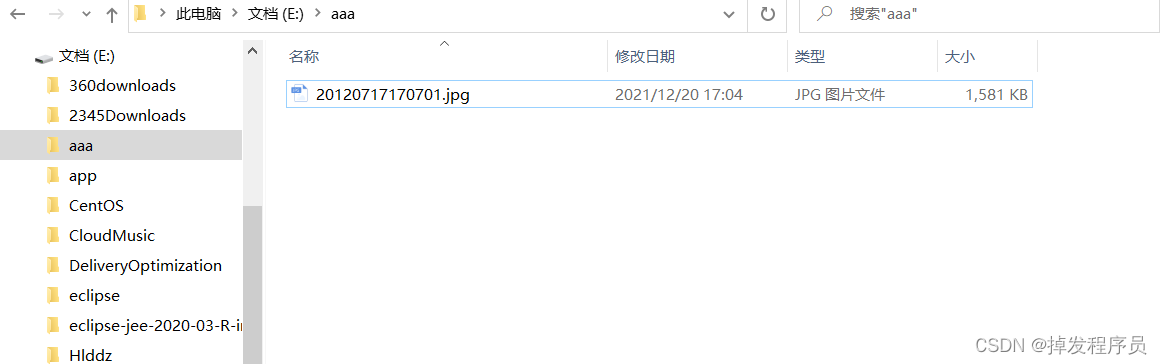
    @RequestMapping("/upload")
    public String upload(HttpServletRequest request, MultipartFile xxx){
        try {
            FileUtils.copyInputStreamToFile(xxx.getInputStream(),new File("E:/aaa/"+xxx.getOriginalFilename()));
        } catch (IOException e) {
            e.printStackTrace();
        }
        return "bookList";
    }
第五步:添加Tomcat部署外部源
选择自己在后台代码中用来存放图片的路径
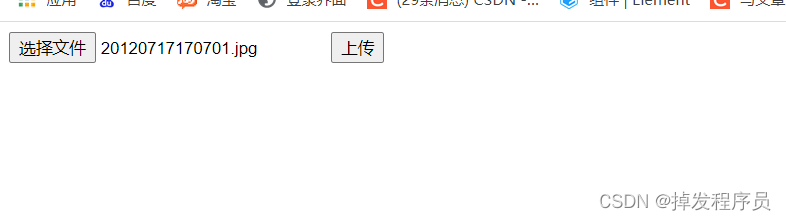
结果展示:
拜拜了各位!!!


 1221
1221

 被折叠的 条评论
为什么被折叠?
被折叠的 条评论
为什么被折叠?
 到【灌水乐园】发言


