


- 再发POST /ok,403了。。
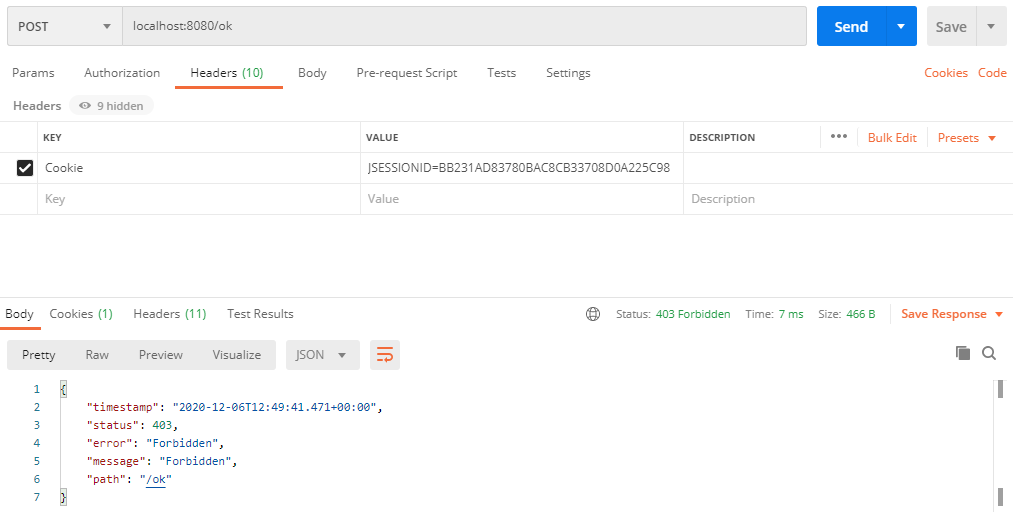
那么,问题来了,两个请求都是在登录状态下进行的,为什么GET成功,POST返回403了?
其实SpringSecurity默认就开启了CSRF防护,这在上一篇及官网中关于SpringBoot自动配置项那里可以看到。并且SpringSecurity默认忽略"GET", “HEAD”, “TRACE”, "OPTIONS"等请求,源码如下:
/**
-
Specify the {@link RequestMatcher} to use for determining when CSRF should be
-
applied. The default is to ignore GET, HEAD, TRACE, OPTIONS and process all other
-
requests.
-
@param requireCsrfProtectionMatcher the {@link RequestMatcher} to use
-
@return the {@link CsrfConfigurer} for further customizations
*/
public CsrfConfigurer requireCsrfProtectionMatcher(
RequestMatcher requireCsrfProtectionMatcher) {
Assert.notNull(requireCsrfProtectionMatcher,
“requireCsrfProtectionMatcher cannot be null”);
this.requireCsrfProtectionMatcher = requireCsrfProtectionMatcher;
return this;
}
private static final class DefaultRequiresCsrfMatcher implements RequestMatcher {
private final HashSet allowedMethods = new HashSet<>(
Arrays.asList(“GET”, “HEAD”, “TRACE”, “OPTIONS”));
/*
-
(non-Javadoc)
-
@see
-
org.springframework.security.web.util.matcher.RequestMatcher#matches(javax.
-
servlet.http.HttpServletRequest)
*/
@Override
public boolean matches(HttpServletRequest request) {
return !this.allowedMethods.contains(request.getMethod());
}
}
实验1:CSRF GET攻击
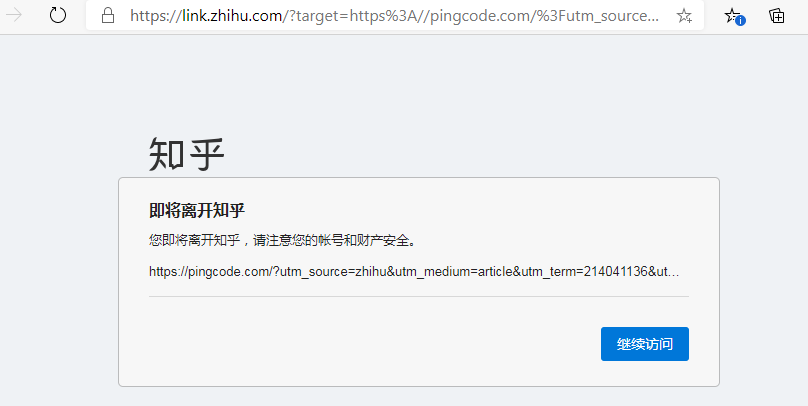
CSRF: Cross-Site Request Forgery 跨站请求伪造。一些网站比如知乎、简书中的外部链接,点击之后会有提示(免责声明),此操作有风险是否继续,这便与CSRF密切相关。
结合上篇文章,新建一个SpringBoot项目,起名spring-security-csrf,核心依赖为Web与Thymeleaf,模拟一个钓鱼网站。
org.springframework.boot
spring-boot-starter-web
org.springframework.boot
spring-boot-starter-thymeleaf
org.springframework.boot
spring-boot-devtools
runtime
true
org.projectlombok
lombok
true
org.springframework.boot
spring-boot-starter-test
test
建好项目后,创建一个简单的HelloController.java,包含一个/的GET请求,返回一个页面index.html:
- 后端接口
@Controller
public class HelloController {
@RequestMapping(“/”)
public String hello(){
return “index”;
}
}
- 前端模板
Fishing: 
Note:
-
以下步骤在Firefox浏览器完成;
-
修改
springboot-security的后端接口,增加输出打印,方便后续确定请求是否进入后端;
@RestController
@Slf4j
public class HelloController {
@GetMapping(“/hello”)
public String hello(){
log.info("Hello ");
return “hello”;
}
@PostMapping(“/ok”)
public String ok(){
log.info(“ok”);
return “ok”;
}
}
- 前提:为了模拟不同域名下的请求(即CSRF),我们在本地的
hosts文件添加如下内容:
127.0.0.1 hello
127.0.0.1 world
实验步骤:
-
启动两个项目:
springboot-security在8080端口、spring-security-csrf在8081端口; -
打开浏览器,访问
http://hello:8080,并完成登录,访问https://img-home.csdnimg.cn/images/20230724024159.png?origin_url=http%3A%2F%2Fhello%3A8080%2Fhello&pos_id=img-g1cJRUXh-1737330358212)接口,观察项目springboot-security后台打印输出; -
在同一个浏览器,访问
http://world:8081,默认进入index.html,同时观察项目springboot-security后台打印输出;
实验结果:
-
在同一个浏览器(此处为Firefox,Chrome内核的浏览器未成功)的不同Tab下,在
world域名下请求hello域名下的GET接口/hello:<img src="https://img-home.csdnimg.cn/images/20230724024159.png?origin_url=http%3A%2F%2Fhello%3A8080%2Fhello&pos_id=img-g1cJRUXh-1737330358212)">,请求成功到达源站后端,实现了CSRF:跨站请求伪造。 -
验证了
SpringSecurity虽然默认开启CSRF防护,但是幂等请求诸如"GET", “HEAD”, “TRACE”, "OPTIONS"被忽略。
实验2:CSRF POST攻击
在spring-security-csrf项目中模拟一个按钮操作,发起POST请求,这里采用原生JavaScript发起Ajax的POST请求:http://hello:8080/ok
Fishing:
实验步骤:
-
启动两个项目:
springboot-security在8080端口、spring-security-csrf在8081端口; -
打开浏览器,访问
http://hello:8080,并完成登录,PostMan访问http://hello:8080/ok接口,观察项目springboot-security后台打印输出; -
在同一个浏览器,访问
http://world:8081,默认进入index.html,同时观察项目springboot-security后台打印输出;

实验结果:


 1190
1190

 被折叠的 条评论
为什么被折叠?
被折叠的 条评论
为什么被折叠?
 到【灌水乐园】发言


