


app:title=“标题”
app:titleMarginStart=“90dp”
app:titleTextColor=“#ffff0000”>
<TextView
android:layout_width=“wrap_content”
android:layout_height=“wrap_content”
android:layout_gravity=“center”
android:textSize=“20sp”
android:text=“标题2” />
</androidx.appcompat.widget.Toolbar>
可以看一下效果
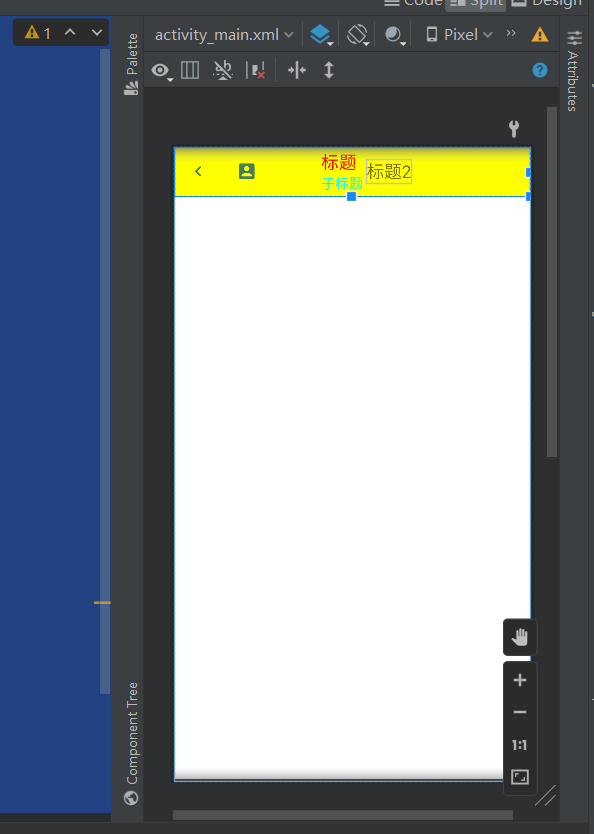
蛮好的。
## AlertDialog
这个就是弹出对话框的。
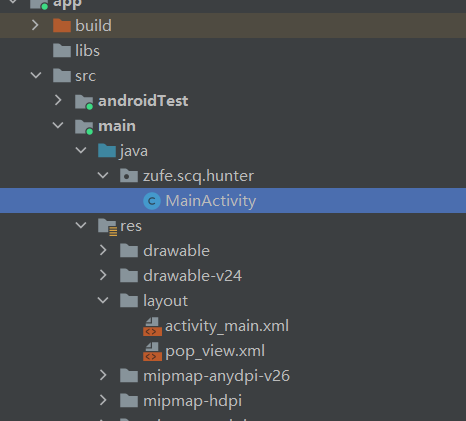
### 主要文件目录

#### activity\_main.xml
<LinearLayout xmlns:android=“http://schemas.android.com/apk/res/android”
android:layout_width=“match_parent”
android:layout_height=“match_parent”
xmlns:app=“http://schemas.android.com/apk/res-auto”
android:orientation=“vertical”>
<Button
android:layout_width=“wrap_content”
android:layout_height=“wrap_content”
android:onClick=“hunterClick”
android:text=“显示对话框”
/>
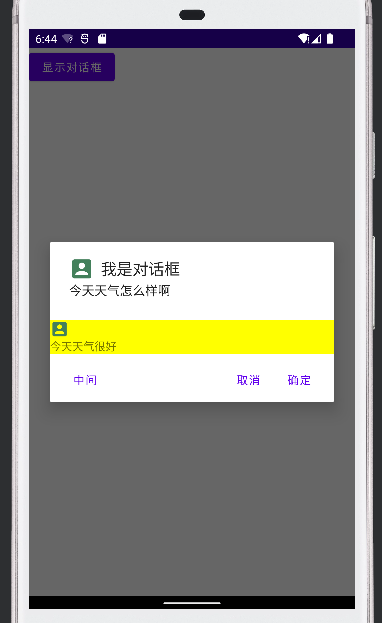
#### dialog\_view.xml


用于放在对话框里的界面
<LinearLayout xmlns:android=“http://schemas.android.com/apk/res/android”
android:layout_width=“match_parent”
android:layout_height=“match_parent”
xmlns:app=“http://schemas.android.com/apk/res-auto”
android:background=“#ffff00”
android:orientation=“vertical”>
<ImageView
android:src=“@drawable/ic_baseline_account_box_24”
android:layout_width=“wrap_content”
android:layout_height=“wrap_content”/>
<TextView
android:layout_width=“95dp”
android:layout_height=“wrap_content”
android:text=“今天天气很好” />
#### MainActivity
package zufe.scq.hunter;
import androidx.appcompat.app.AppCompatActivity;
import androidx.appcompat.widget.Toolbar;
import android.app.AlertDialog;
import android.app.Notification;
import android.app.NotificationManager;
import android.content.DialogInterface;
import android.os.Bundle;
import android.util.Log;
import android.view.View;
import android.widget.EditText;
import android.widget.ProgressBar;
public class MainActivity extends AppCompatActivity {
@Override
protected void onCreate(Bundle savedInstanceState) {
super.onCreate(savedInstanceState);
setContentView(R.layout.activity_main);
}
public void hunterClick(View view){
View dialog_view = getLayoutInflater().inflate(R.layout.dialog_view, null);
AlertDialog.Builder builder = new AlertDialog.Builder(this);
builder.setIcon(R.drawable.ic_baseline_account_box_24)
.setTitle(“我是对话框”)
.setMessage(“今天天气怎么样啊”)
.setView(dialog_view)
.setPositiveButton(“确定”, new DialogInterface.OnClickListener() {
@Override
public void onClick(DialogInterface dialog, int which) {
Log.e(“TAG”, “点击了确定”);
}
})
.setNegativeButton(“取消”, new DialogInterface.OnClickListener() {
@Override
public void onClick(DialogInterface dialog, int which) {
Log.e(“TAG”, “点击了取消”);
}
})
.setNeutralButton(“中间”, new DialogInterface.OnClickListener() {
@Override
public void onClick(DialogInterface dialog, int which) {
Log.e(“TAG”, “点击了中间”);
}
})
.create()
.show();
}
}
点击运行
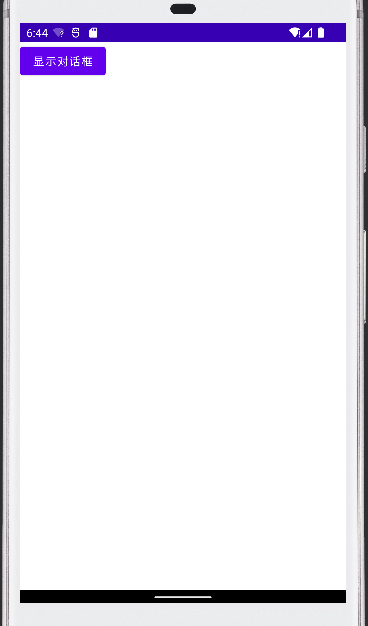
点击按钮:
点击里面的按钮会出现对应的打印:
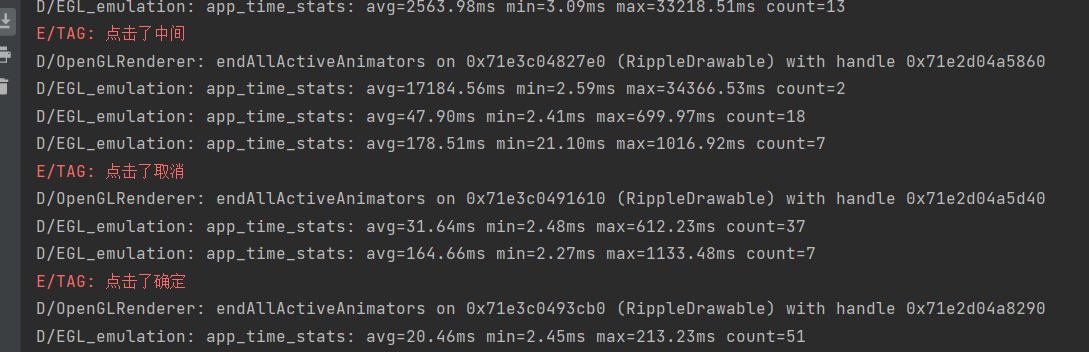
说明按钮设置成功。
那么一个简单的对话框就完成了。
## popupWindow
实现弹窗功能
### 主要文件目录
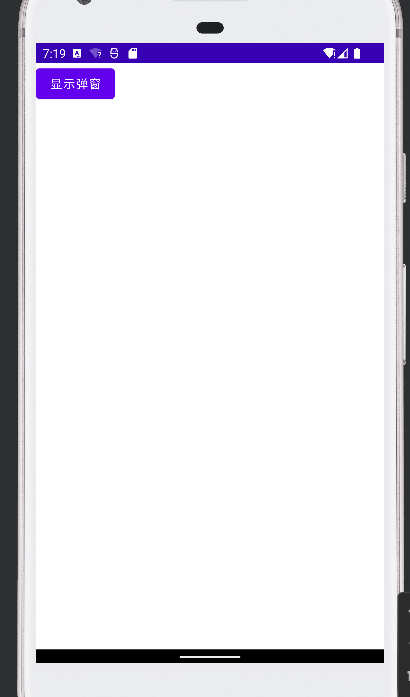
#### activity\_main.xml
主界面是一个按钮,点击得到弹窗
<LinearLayout xmlns:android=“http://schemas.android.com/apk/res/android”
android:layout_width=“match_parent”
android:layout_height=“match_parent”
xmlns:app=“http://schemas.android.com/apk/res-auto”
android:orientation=“vertical”>
<Button
android:layout_width=“wrap_content”
android:layout_height=“wrap_content”
android:onClick=“hunterClick”
android:text=“显示对话框”
/>
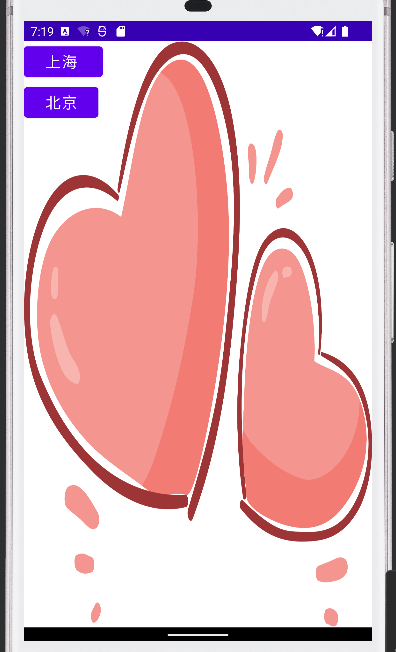
#### pop\_view.xml


弹窗出来两个按钮
<LinearLayout xmlns:android=“http://schemas.android.com/apk/res/android”
android:layout_width=“match_parent”
android:layout_height=“match_parent”
xmlns:app=“http://schemas.android.com/apk/res-auto”
android:orientation=“vertical”>
<Button
android:id=“@+id/btn1”
android:padding=“5dp”
android:text=“上海”
android:textSize=“18sp”
android:layout_width=“wrap_content”
android:layout_height=“wrap_content”/>
<Button
android:id=“@+id/btn2”
android:padding=“5dp”
android:text=“北京”
android:textSize=“18sp”
android:layout_width=“wrap_content”
android:layout_height=“wrap_content”/>
#### MainActivity
package zufe.scq.hunter;
import androidx.appcompat.app.AppCompatActivity;
import android.app.AlertDialog;
import android.content.DialogInterface;
import android.os.Bundle;
import android.util.Log;
import android.view.View;
import android.view.ViewGroup;
import android.widget.Button;
import android.widget.PopupWindow;
public class MainActivity extends AppCompatActivity {
@Override
protected void onCreate(Bundle savedInstanceState) {
super.onCreate(savedInstanceState);
setContentView(R.layout.activity_main);
}
public void hunterClick(View view){
View pop_view = getLayoutInflater().inflate(R.layout.pop_view, null);
Button btn1 = pop_view.findViewById(R.id.btn1);
Button btn2 = pop_view.findViewById(R.id.btn2);
PopupWindow popupWindow = new PopupWindow(pop_view,
ViewGroup.LayoutParams.MATCH_PARENT,
ViewGroup.LayoutParams.MATCH_PARENT,
true);
// 设置背景图
popupWindow.setBackgroundDrawable(getResources().getDrawable(R.drawable.a));
popupWindow.showAsDropDown(view, 10, 10);
    btn1.setOnClickListener(new View.OnClickListener() {
        @Override
        public void onClick(View v) {
            Log.e("TAG", "你是住在上海吗");
            popupWindow.dismiss();
        }
    });

    btn2.setOnClickListener(new View.OnClickListener() {
        @Override
        public void onClick(View v) {
            Log.e("TAG", "你是住在北京吗");
            popupWindow.dismiss();
        }
    });

  }
}
运行
点击按钮
点击上海
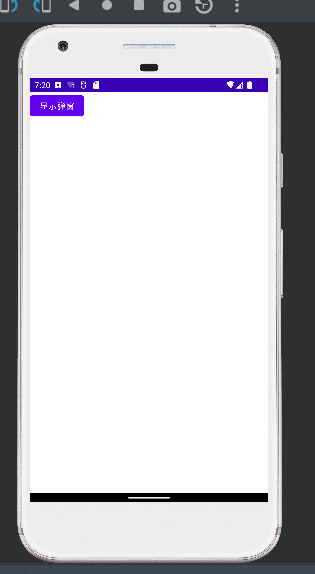
弹窗消失

控制台输出
按下北京按钮亦是如此。


 436
436

 被折叠的 条评论
为什么被折叠?
被折叠的 条评论
为什么被折叠?
 到【灌水乐园】发言


