


2、编写数据库表对应的实体类,并使用JPA相关注解配置映射关系
package com.hardy.springbootdatacache.entity;
import org.springframework.data.annotation.Id;
import javax.persistence.*;
/**
-
@Author: HardyYao
-
@Date: 2021/6/19
*/
@Entity(name = “t_comment”) // 设置ORM实体类,并指定映射的表名
public class Comment {
@Id // 映射对应的主键id
@GeneratedValue(strategy = GenerationType.IDENTITY) // 设置主键自增策略
private Integer id;
private String content;
private String author;
@Column(name = “a_id”) // 指定映射的表字段名
private Integer aId;
public Integer getId() {
return id;
}
public void setId(Integer id) {
this.id = id;
}
public String getContent() {
return content;
}
public void setContent(String content) {
this.content = content;
}
public String getAuthor() {
return author;
}
public void setAuthor(String author) {
this.author = author;
}
public Integer getaId() {
return aId;
}
public void setaId(Integer aId) {
this.aId = aId;
}
@Override
public String toString() {
return “Comment{” +
“id=” + id +
“, content='” + content + ‘’’ +
“, author='” + author + ‘’’ +
“, aId=” + aId +
‘}’;
}
}
3、编写数据库操作的Repository接口文件
package com.hardy.springbootdatacache.repository;
import com.hardy.springbootdatacache.entity.Comment;
import org.springframework.data.jpa.repository.JpaRepository;
import org.springframework.data.jpa.repository.Modifying;
import org.springframework.data.jpa.repository.Query;
import org.springframework.transaction.annotation.Transactional;
/**
-
@Author: HardyYao
-
@Date: 2021/6/19
*/
public interface CommentRepository extends JpaRepository<Comment, Integer> {
/**
-
根据评论id修改评论作者author
-
@param author
-
@param id
-
@return
*/
@Transactional
@Modifying
@Query(“update t_comment c set c.author = ?1 where c.id=?2”)
int updateComment(String author,Integer id);
}
4、编写service层
package com.hardy.springbootdatacache.service;
import com.hardy.springbootdatacache.entity.Comment;
import com.hardy.springbootdatacache.repository.CommentRepository;
import org.springframework.beans.factory.annotation.Autowired;
import org.springframework.cache.annotation.Cacheable;
import org.springframework.stereotype.Service;
import java.util.Optional;
/**
-
@Author: HardyYao
-
@Date: 2021/6/19
*/
@Service
public class CommentService {
@Autowired
private CommentRepository commentRepository;
/**
-
根据评论id查询评论
-
@Cacheable:将该方法的查询结果comment存放在SpringBoot默认缓存中
-
cacheNames:起一个缓存命名空间,对应缓存唯一标识
-
@param id
-
@return
*/
@Cacheable(cacheNames = “comment”)
public Comment findCommentById(Integer id){
Optional comment = commentRepository.findById(id);
if(comment.isPresent()){
Comment comment1 = comment.get();
return comment1;
}
return null;
}
}
5、编写controller层
package com.hardy.springbootdatacache.controller;
import com.hardy.springbootdatacache.entity.Comment;
import com.hardy.springbootdatacache.service.CommentService;
import org.springframework.beans.factory.annotation.Autowired;
import org.springframework.web.bind.annotation.RequestMapping;
import org.springframework.web.bind.annotation.RestController;
/**
-
@Author: HardyYao
-
@Date: 2021/6/19
*/
@RestController
public class CommentController {
@Autowired
private CommentService commentService;
@RequestMapping(value = “/findCommentById”)
public Comment findCommentById(Integer id){
Comment comment = commentService.findCommentById(id);
return comment;
}
}
6、编写配置文件
在全局配置文件application.properties中编写对应的数据库连接配置
MySQL数据库连接配置
spring.datasource.url=jdbc:mysql://localhost:3306/springbootdata?serverTimezone=UTC
spring.datasource.username=root
spring.datasource.password=root
显示使用JPA进行数据库查询的SQL语句
spring.jpa.show-sql=true
开启驼峰命名匹配映射
mybatis.configuration.map-underscore-to-camel-case=true
解决中文乱码问题
spring.http.encoding.force-response=true
7、测试
在浏览器中输入:http://localhost:8080/findCommentById?id=1 进行访问(连续访问三次):
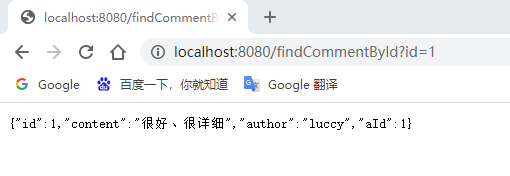
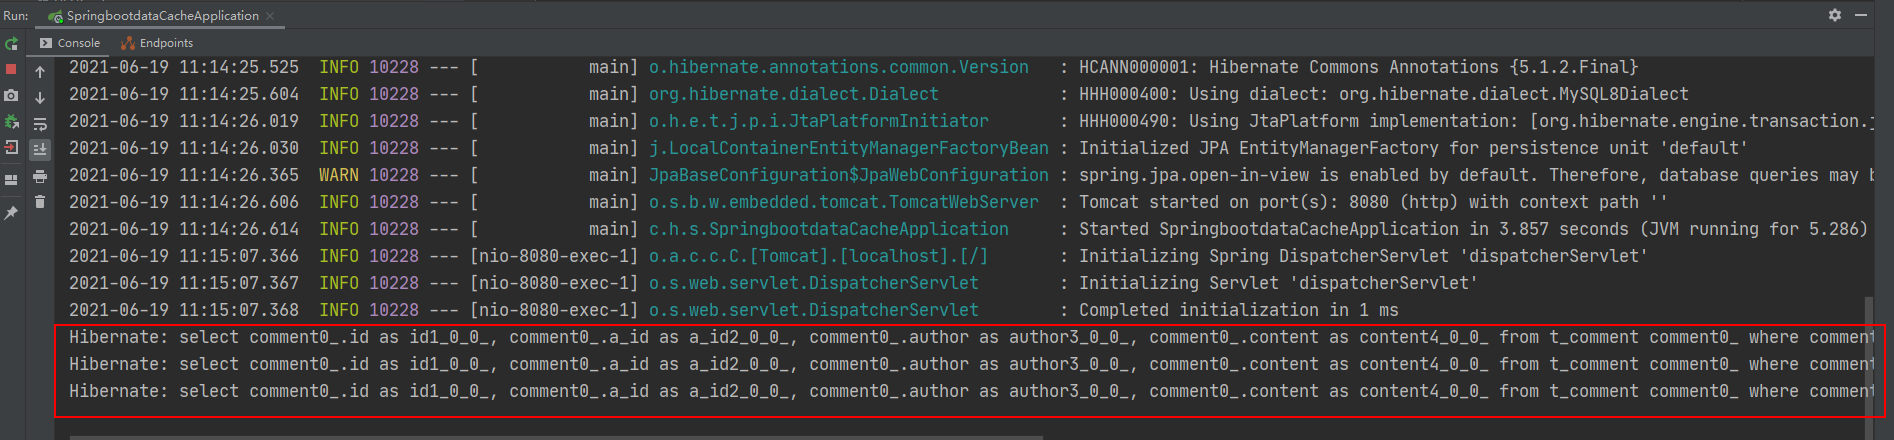
在上图中,因为没有在SpringBoot项目中开启缓存管理,故虽然数据表中的数据没有任何变化,但是每执行一次查询操作,即便执行的是相同的SQL语句,都还是会访问一次数据库。
2、默认缓存使用
========
在前面搭建的Web应用的基础上,开启SpringBoot默认支持的缓存,以使用SpringBoot默认缓存。
1、在项目启动类的类名上方使用@EnableCaching注解开启基于注解的缓存支持
==========================================
package com.hardy.springbootdatacache;
import org.springframework.boot.SpringApplication;
import org.springframework.boot.autoconfigure.SpringBootApplication;
import org.springframework.cache.annotation.EnableCaching;
@EnableCaching // 开启SpringBoot基于注解的缓存管理支持
@SpringBootApplication
public class SpringbootdataCacheApplication {
public static void main(String[] args) {
SpringApplication.run(SpringbootdataCacheApplication.class, args);
}
}
2、使用@Cacheable注解对数据操作方法进行缓存管理
=============================
将@Cacheable注解标注在Service类的查询方法上,对查询结果进行缓存:
package com.hardy.springbootdatacache.service;
import com.hardy.springbootdatacache.entity.Comment;
import com.hardy.springbootdatacache.repository.CommentRepository;
import org.springframework.beans.factory.annotation.Autowired;
import org.springframework.cache.annotation.Cacheable;
import org.springframework.stereotype.Service;
import java.util.Optional;
/**
-
@Author: HardyYao
-
@Date: 2021/6/19
*/
@Service
public class CommentService {
@Autowired
private CommentRepository commentRepository;
/**
-
根据评论id查询评论
-
@param id
-
@return
*/
@Cacheable(cacheNames = “comment”)
public Comment findCommentById(Integer id){
Optional comment = commentRepository.findById(id);
if(comment.isPresent()){
Comment comment1 = comment.get();
return comment1;
}
return null;
}
}
3、测试访问
======
在浏览器中输入:http://localhost:8080/findCommentById?id=1 进行访问(连续访问三次):
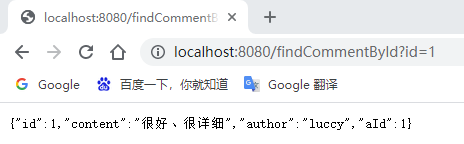
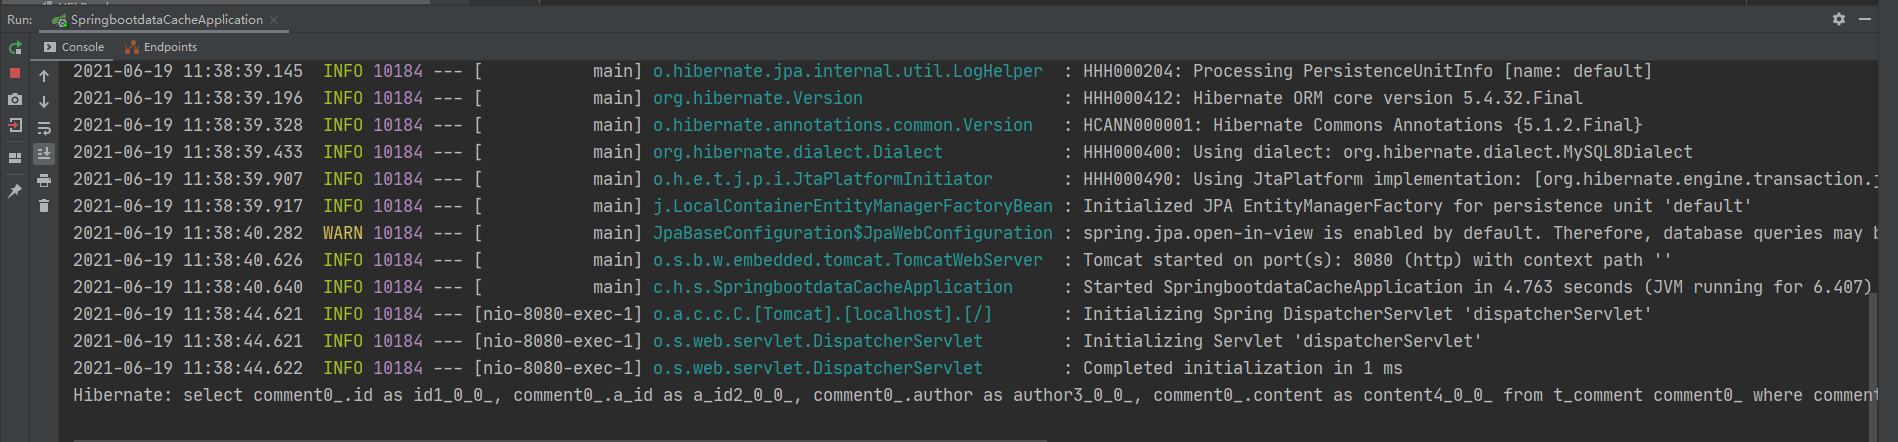
可以看到,在使用SpringBoot默认缓存注解后,重复进行同样的查询操作,数据库只执行了一次SQL查询语句,说明项目开启的默认缓存支持已生效。
SpringBoot默认缓存底层结构:在诸多的缓存自动配置类中,SpringBoot默认装配的是SimpleCacheConfiguration,它使用的CacheManager是ConcurrentMapCacheManager,使用ConcurrentMap作为底层的数据结构,根据Cache的名字查询出Cache,每一个Cache中存在多个key-value键值对、缓存值。
4、缓存注解介绍


 1240
1240

 被折叠的 条评论
为什么被折叠?
被折叠的 条评论
为什么被折叠?
 到【灌水乐园】发言


