1.点图层
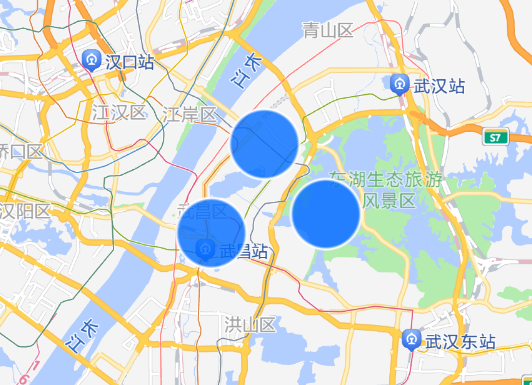
2、代码实现
const data = {
  "type": "FeatureCollection",
  "features": [
    {
      "type": "Feature",
      "properties": {
        height: 40,
        name: "汉口"
      },
      "geometry": {
        "type": "Point",
        "coordinates": [114.349938, 30.584176]
      }
    },
    {
      "type": "Feature",
      "properties": {
        height: 70,
        name: "武昌"
      },
      "geometry": {
        "type": "Point",
        "coordinates": [114.320813, 30.542043]
      }
    },
    {
      "type": "Feature",
      "properties": {
        height: 90,
        name: "汉阳"
      },
      "geometry": {
        "type": "Point",
        "coordinates": [114.383724, 30.551073]
      }
    }
  ]
};

scene.on("loaded", () => {
  const pointLayer = new L7.PointLayer({
    //可以设置图层的堆叠顺序
    zIndex: 6
  })
    .source(data)
    .color('#006CFF')
    .shape('circle')
    .size(30)
    .style({
      opacity: 0.8,
      strokeWidth: 3
    })
    .active(true)
    .scene.addLayer(pointLayer);
});
2-1、size 获取设置为动态值
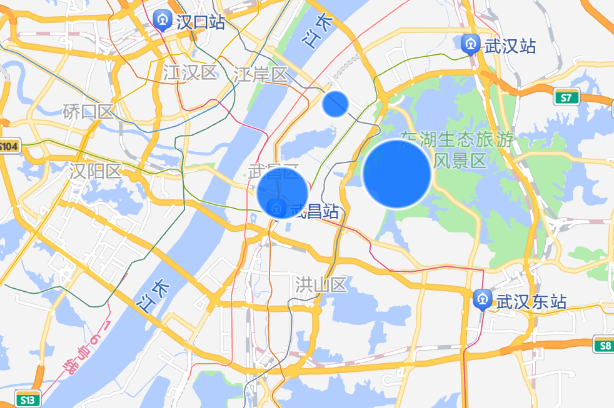
.size("height", h => { console.log(h) return h / 3
})
2-2、点击图层Popup弹窗
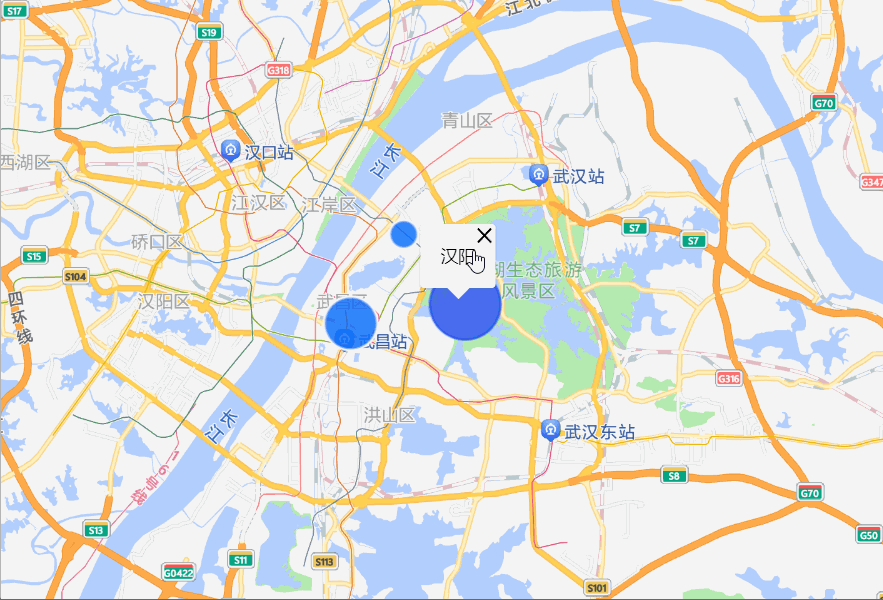
pointLayer.on("click",evt=>{
let {name} = evt.feature.properties; const popup = new L7.Popup({
lngLat:evt.lngLat,
html:`<p>${name}</p>`
})
scene.addPopup(popup)
})
3.散点动画
1、效果
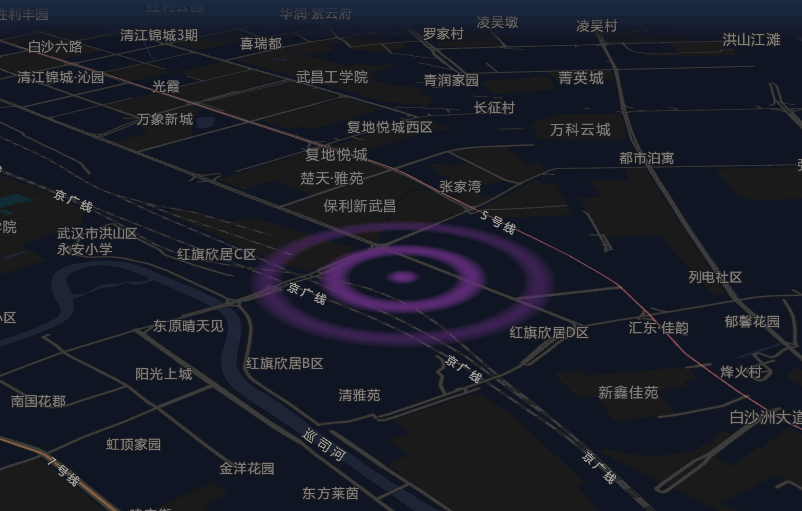
2、代码
const pointLayer = new L7.PointLayer({ //可以设置图层的堆叠顺序
zIndex: 6
})
.source(data)
.color('#006CFF')
.shape('circle')
.size("height", h => {
return h
})
.active(true)
.animate(true)
scene.addLayer(pointLayer);


 被折叠的 条评论
为什么被折叠?
被折叠的 条评论
为什么被折叠?
 到【灌水乐园】发言


