


实验环境
Rocky9.5
一、安装ansible(192.168.10.40)
需要epel源
dnf -y install epel-release
将epel源替换为阿里云镜像站
sed -i 's|^#baseurl=https://download.example/pub|baseurl=https://mirrors.aliyun.com|' /etc/yum.repos.d/epel*
sed -i 's|^metalink|#metalink|' /etc/yum.repos.d/epel*
安装ansible工具
dnf -y install ansible
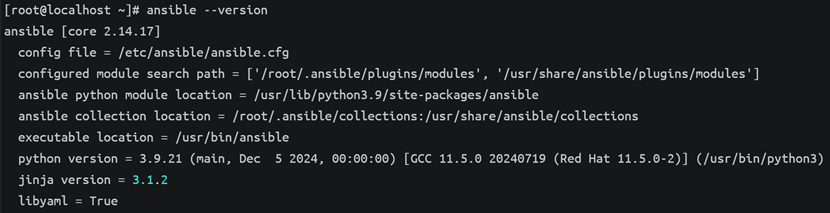
查看ansible版本信息
ansible --version
二、使用ansible管理(192.168.10.40)
1、查看帮助
ansible --help
查看模块文档帮助
ansible-doc --help
列出所有模块
ansible-doc -l
显示模块的快速使用示例
ansible-doc -s command
2、生成ansible配置文件
cd /etc/ansible/
vim ansible.cfg
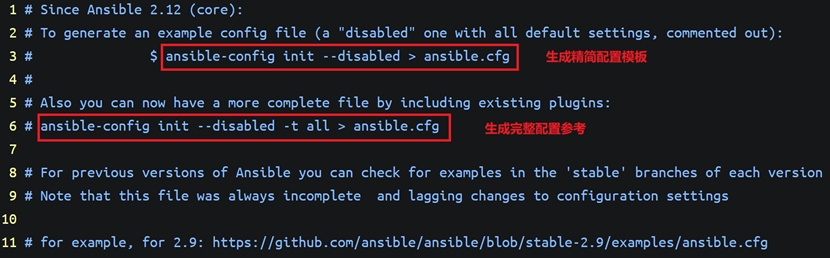
ansible-config init --disabled > ansible.cfg
![]()
3、修改ansible配置文件
vim ansible.cfg
修改:
关闭主机密钥检查

4、创建主机清单文件
vim myremotehost

添加:
192.168.10.41
5、练习
(1)通过密码使用 Ansible 对 192.168.10.41 执行 ping 模块测试连通性(192.168.10.40)
ansible -i myremotehost -u root -k -m ping 192.168.10.41
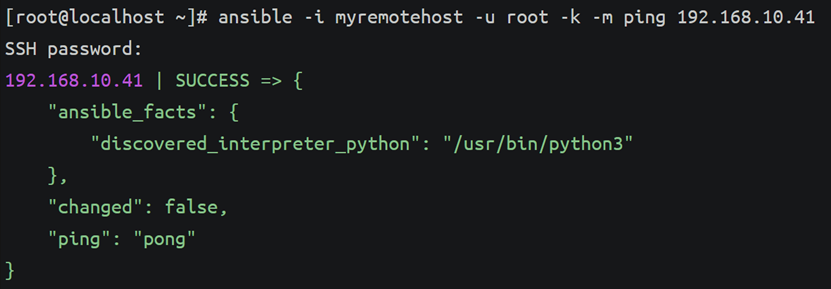
命令解析:
-i:指定主机清单文件
-k:让 Ansible 询问 SSH 密码
-m ping:执行 ping 模块
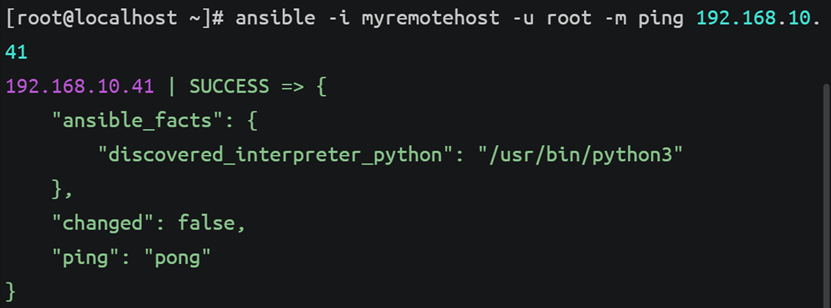
(2)通过密钥使用 Ansible 对 192.168.10.41 执行 ping 模块测试连通性(192.168.10.40)
生成密钥并拷贝
ssh-keygen
ssh-copy-id root@192.168.10.41
ansible -i myremotehost -u root -m ping 192.168.10.41
(3)使用 Ansible在 192.168.10.41 上以 root 用户执行 cat /root/a.txt
192.168.10.41:
echo "hello" > a.txt
192.168.10.40:
ansible -i myremotehost -u root -m command -a "cat /root/a.txt" 192.168.10.41

命令解析:
-a "cat /root/a.txt" 执行命令(command 模块是默认的,可以省略 -m command)
(4)使用 Ansible在 192.168.10.41 上以 user1 用户执行 cat /root/a.txt
192.168.10.41:
创建user1用户并设置密码
useradd user1
passwd user1
192.168.10.40:
ansible -i myremotehost -u user1 -k -b -K -m command -a 'cat /root/a.txt' 192.168.10.41
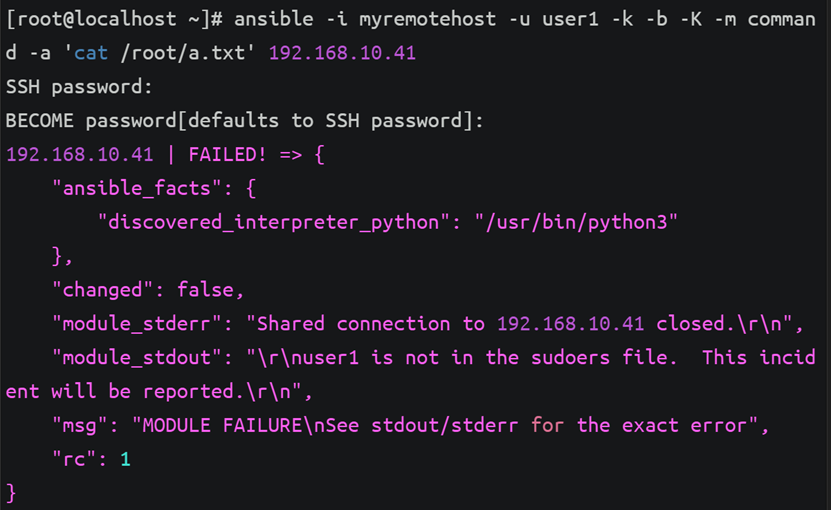
命令解析:
-b(--become):让 Ansible 尝试 sudo 提权
-K:提权密码
因为user1用户没有sudo权限
192.168.10.41:
将user1用户添加到wheel组中
usermod -aG wheel user1
groups user1

192.168.10.40:
ansible -i myremotehost -u user1 -k -b -K -m command -a 'cat /root/a.txt' 192.168.10.41

192.168.10.41:
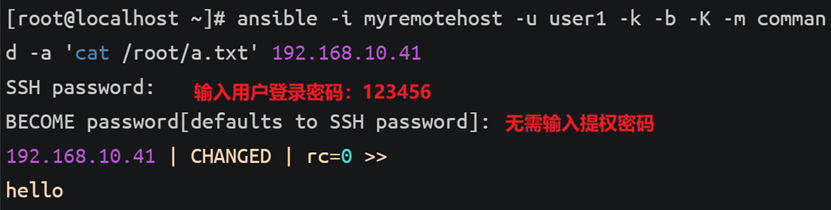
让 user1 能够无需密码使用 sudo 执行cat /root/a.txt
visudo
取消注释

192.168.10.40:
ansible -i myremotehost -u user1 -k -b -K -m command -a 'cat /root/a.txt' 192.168.10.41
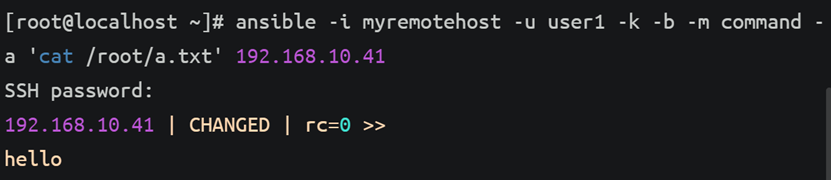
或
ansible -i myremotehost -u user1 -k -b -m command -a 'cat /root/a.txt' 192.168.10.41
(5)使用ansible默认主机清单文件执行命令(192.168.10.40)
在主机清单文件中添加主机
vim /etc/ansible/hosts
末尾添加:
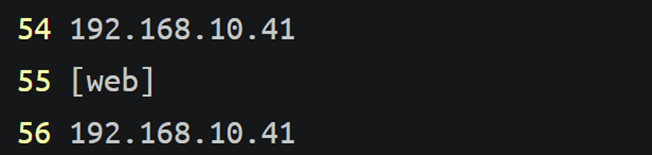
#单台主机语法
192.168.10.41
#分组主机语法
[web]
192.168.10.41
#添加多台连续的主机范围语法
[webservices]
192.168.10.[41:50]
以 root 用户身份在 192.168.10.41 主机上执行 cat /root/a.txt
ansible -u root -a "cat /root/a.txt" 192.168.10.41

以 root 用户身份在 web 主机组上执行 cat /root/a.txt
ansible -u root -a "cat /root/a.txt" web

三、扩展无交互ssh免密
(1)删除之前的密钥(192.168.10.40、192.168.10.41)
rm -rf .ssh/
(2)生成密钥(192.168.10.40)
ssh-keygen
(3)创建主机清单文件添加主机(192.168.10.40)
vim hosts

添加:
[all]
192.168.10.41
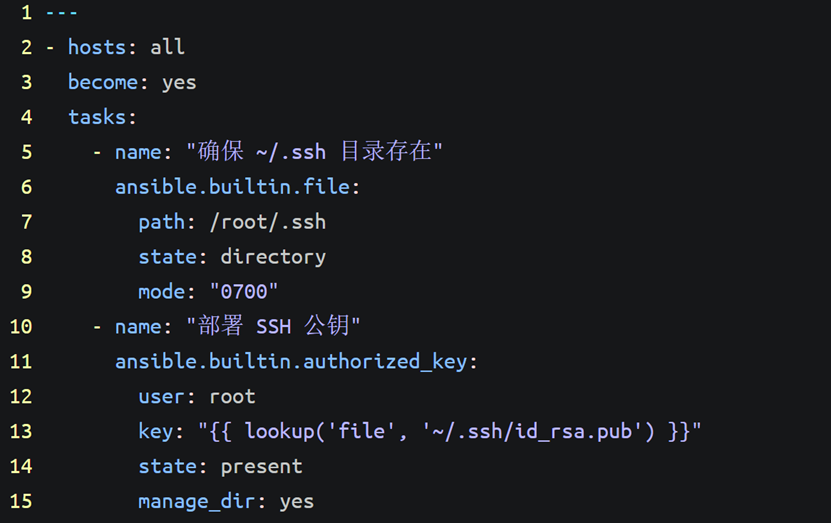
(4)编写Ansible Playbook 文件用于在远程主机上配置 SSH 免密登录(公钥认证)(192.168.10.40)
vim ssh.yml

添加:
---
- hosts: all
become: yes
tasks:
- name: "确保 ~/.ssh 目录存在"
ansible.builtin.file:
path: /root/.ssh
state: directory
mode: "0700"
- name: "部署 SSH 公钥"
ansible.builtin.authorized_key:
user: root
key: "{{ lookup('file', '~/.ssh/id_rsa.pub') }}"
state: present
manage_dir: yes
(5)运行 Ansible Playbook(192.168.10.40)
ansible-playbook -i hosts ssh.yml -k
首次运行时输入 SSH 密码

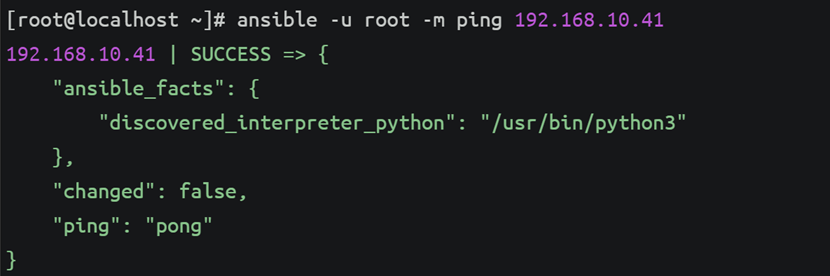
(6)验证(192.168.10.40)
ansible -u root -m ping 192.168.10.41


 778
778

 被折叠的 条评论
为什么被折叠?
被折叠的 条评论
为什么被折叠?
 到【灌水乐园】发言


