


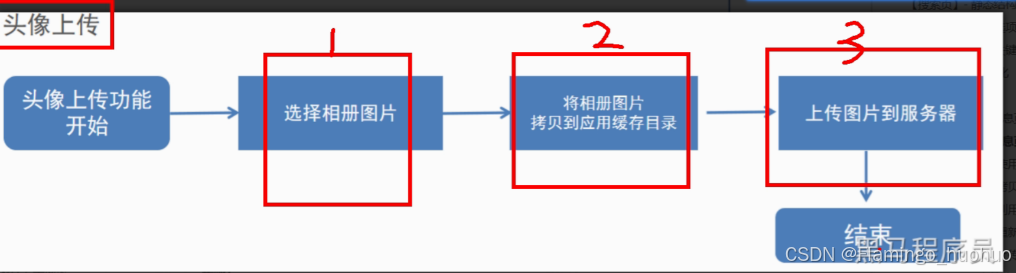
1.选择系统相册的图片
1.定义打开系统相册的相关参数

2.打开和选择
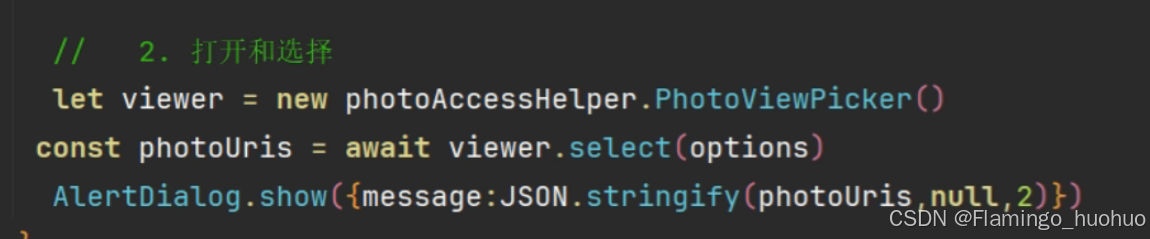
在UI里面调用该选择图片的方法.因为这个选择图片的方法是async,所以默认返回的是Promise,故需要在调用的时候前面写await.
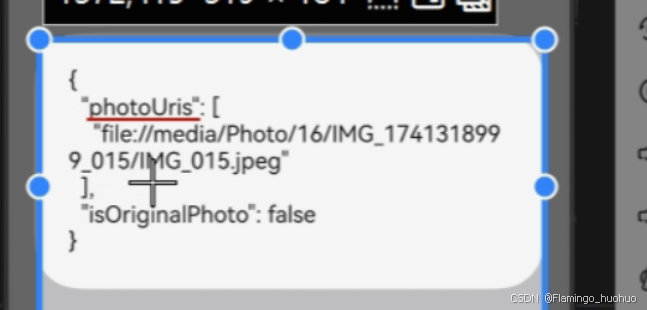
得到的photoUris,所选图片的地址
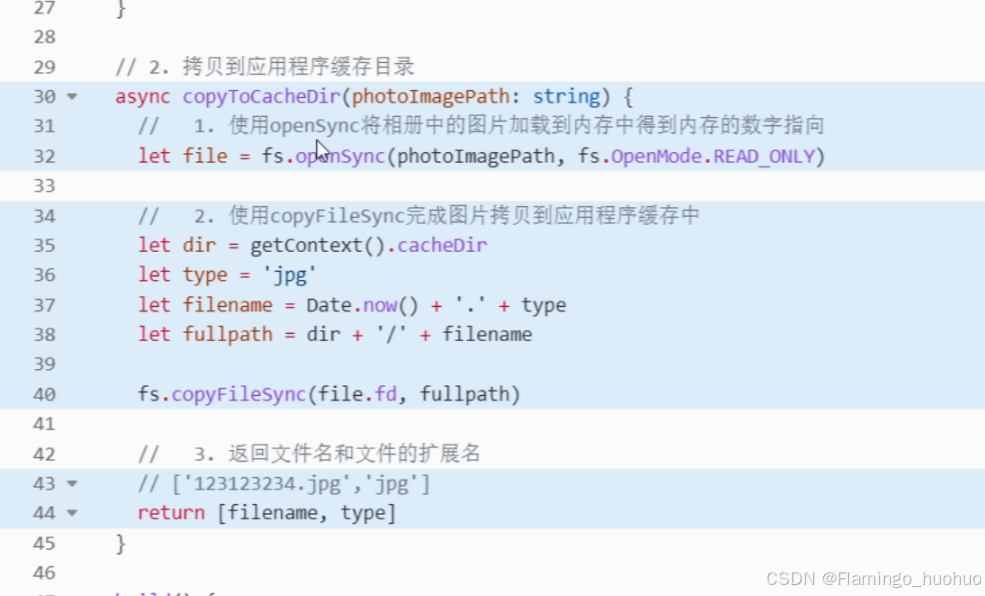
2.将选择的图片缓存
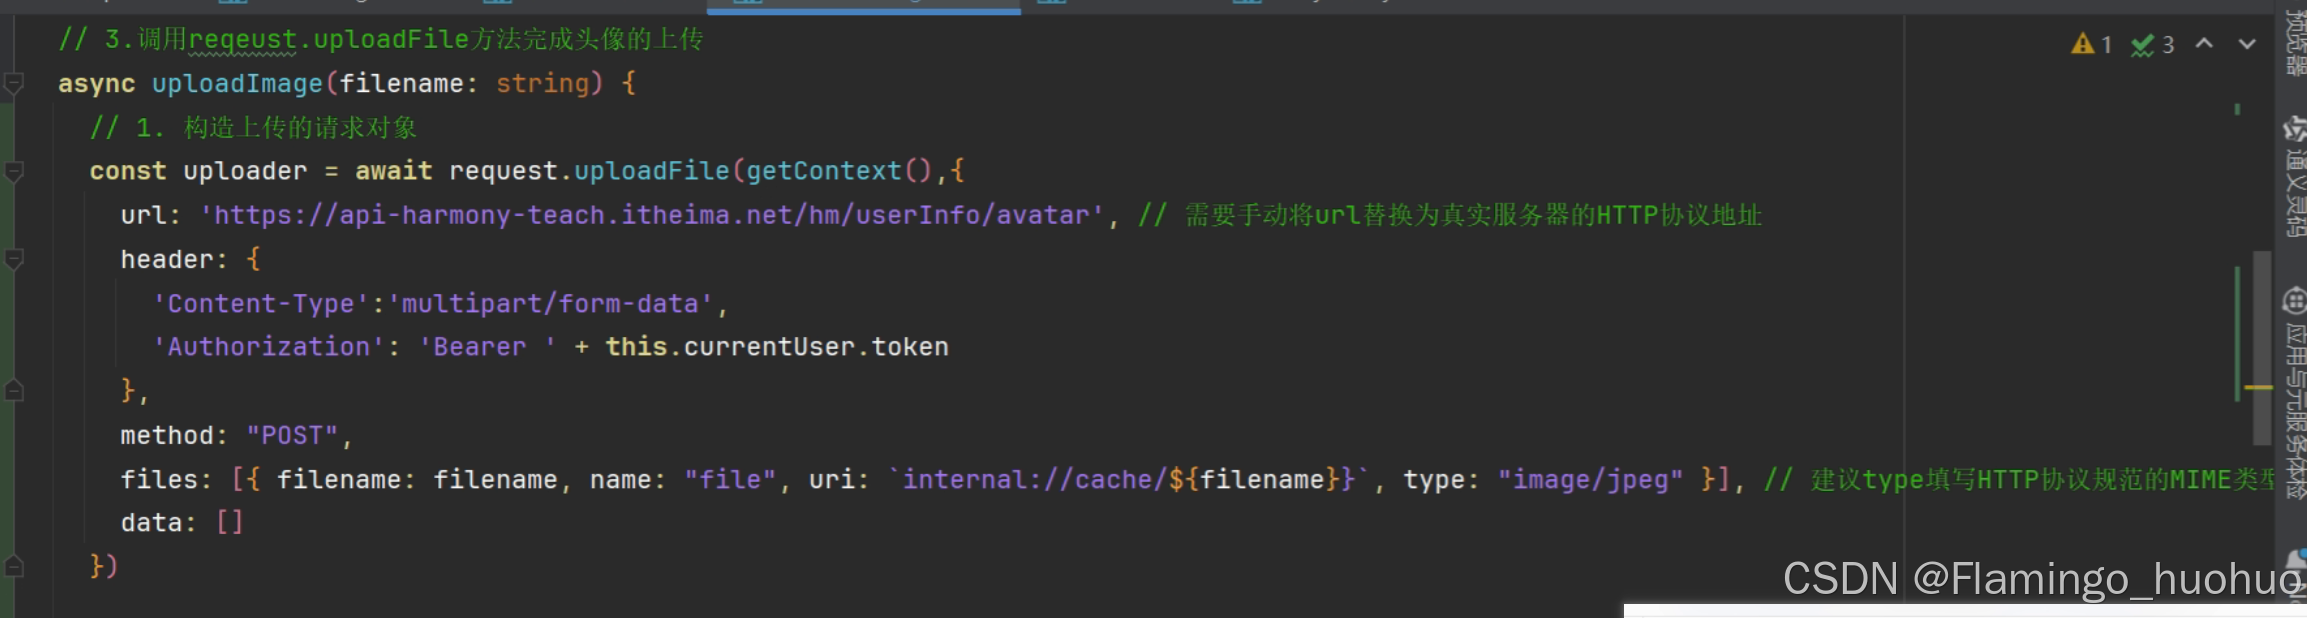
3.上传图片到服务器
在第二步将图片缓存起来之后,在这里上传,重点关注request.uploadFile方法里面的几个参数.尤其是files参数.
得到的是uploader对象,可以对这个对象监听,官方文档如下
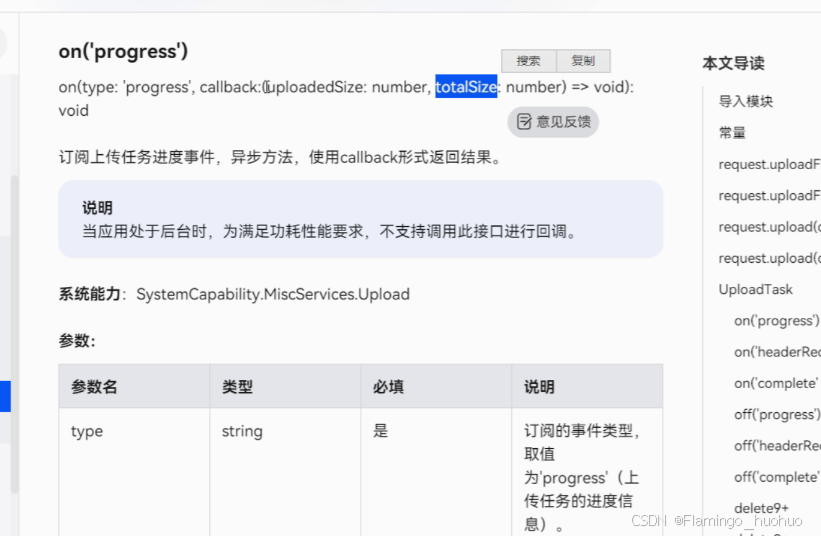
所以可以对进度进行监听.
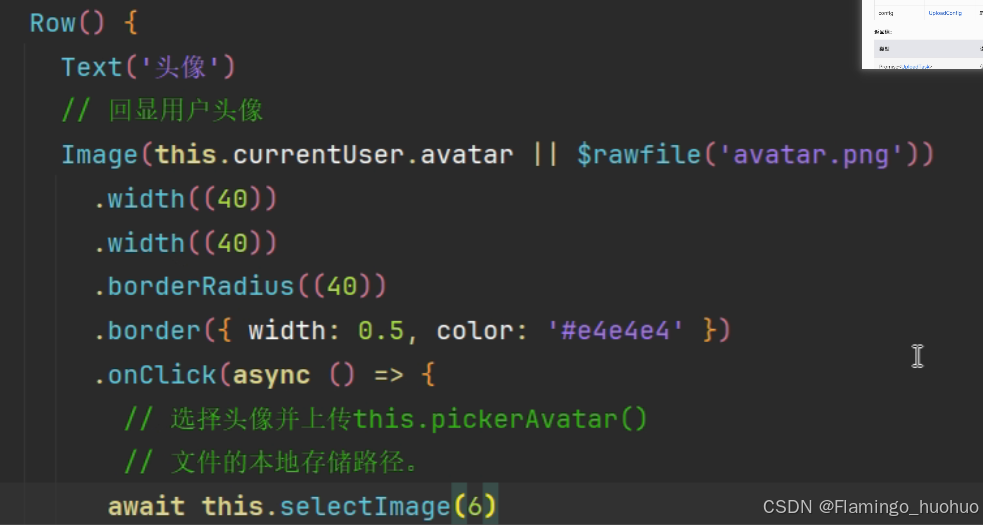
// 3. 头像上传
  async upload(filename: string, type: string) {
    // 打开上传提示弹窗
    this.dialog.open()

    let uploador = await request.uploadFile(getContext(), {
      method: 'POST',
      url: 'https://api-harmony-teach.itheima.net/hm/userInfo/avatar',
      header: {
        'Content-Type': 'multipart/form-data',
        'Authorization': `Bearer ${this.currentUser.token}`
      },
      files: [
        {
          filename: filename,
          type: type,
          name: 'file',
          uri: 'internal://cache/' + filename
        }
      ],
      data: []
    })

    //  1.监控文件上传失败事件
    // 不能监听所有异常
    uploador.on('fail', (err) => {
      // AlertDialog.show({ message: 'fail-->' + JSON.stringify(err, null, 2) })
      Logger.error('头像上传失败', JSON.stringify(err))
      // 关闭上传提示弹窗
      this.dialog.close()
    })

    //  2. 监控服务器响应回来的数据
    uploador.on('headerReceive', async (res) => {
      // 关闭上传提示弹窗
      this.dialog.close()
      // AlertDialog.show({ message: '完成-->' + JSON.stringify(res, null, 2) })
      //  这个方法一旦触发,那么服务器的头像已经上传完毕并且更新了
      //  这是去重新获取https://api-harmony-teach.itheima.net/hm/userInfo中的头像地址就是我们上传以后的新的头像地址
      let newUserInfo = await HdHttp.Get<object>('hm/userInfo')
      this.currentUser.avatar = newUserInfo.data['avatar']

      // AlertDialog.show({ message: JSON.stringify('老头像地址:'+this.currentUser.avatar +' 新的头像地址:' + newUserInfo.data['avatar']) })
    })

    //   3. 监控当前的上传进度
    uploador.on('progress', (uploadedSize, totalSize) => {
      // uploadedSize  -> 当前已经上传的大小
      // totalSize  -> 要上传的总大小
      Logger.info(uploadedSize.toString(), totalSize.toString())
      let pnum = (uploadedSize / totalSize * 100).toFixed(0) // 计算出百分数 %

      // 使用emitter将pnum这个数据发送出去
      emitter.emit({ eventId: 0 }, { data: { pstr: pnum + '%' } })
    })
  }


 被折叠的 条评论
为什么被折叠?
被折叠的 条评论
为什么被折叠?
 到【灌水乐园】发言


