


图片放大镜(Image Zoom)效果在许多电子商务网站、在线画廊和产品展示页面中得到广泛应用。它允许用户通过鼠标悬停在图片上,查看图片的详细局部放大效果。本文将详细介绍如何使用 JavaScript 实现一个基本的图片放大镜功能。我们将通过纯 JavaScript 来实现,不依赖任何外部库。

一、项目结构
我将使用简单的 HTML、CSS 和 JavaScript 来实现这个功能。项目文件结构如下:
/zoom-image
  ├── index.html   // HTML 文件
  ├── style.css    // CSS 样式
  └── script.js    // JavaScript 实现
二、HTML 结构
首先,创建一个基本的 HTML 页面,包含一个显示图片的容器、放大镜区域和放大后的结果区域。HTML 结构如下:
<!DOCTYPE html>
<html lang="en">
<head>
    <meta charset="UTF-8">
    <meta name="viewport" content="width=device-width, initial-scale=1.0">
    <title>图片放大镜效果</title>
    <link rel="stylesheet" href="style.css">
</head>
<body>
    <div class="container">
        <div class="image-container">
            <img id="zoom-image" src="your-image.jpg" alt="Zoom Image">
            <div id="zoom-lens" class="zoom-lens"></div>
        </div>
        <div id="zoom-result" class="zoom-result"></div>
    </div>

    <script src="script.js"></script>
</body>
</html>
解释:
container: 主容器,用于包含图片和放大镜效果。image-container: 包含图片和放大镜区域的容器。zoom-image: 实际显示的图片。zoom-lens: 放大镜的镜头,当用户将鼠标移动到图片上时,显示在放大区域的放大部分。zoom-result: 显示放大图片的区域。
三、CSS 样式
接下来,使用 CSS实现图像和放大镜的基本布局和样式:
/* 主容器样式 */
.container {
    display: flex;
    justify-content: center;
    margin-top: 50px;
}

/* 图片容器样式 */
.image-container {
    position: relative;
    width: 400px; /* 你可以根据需要调整 */
}

/* 图片样式 */
#zoom-image {
    width: 100%; /* 使图片自适应容器宽度 */
    height: auto;
}

/* 放大镜镜头 */
.zoom-lens {
    position: absolute;
    border: 2px solid #000;
    cursor: pointer;
    opacity: 0.4;
    transition: transform 0.1s ease-in-out; /* 平滑过渡 */
}

/* 放大镜结果显示区域 */
.zoom-result {
    position: absolute;
    top: 0;
    left: 450px;
    width: 300px; /* 调整显示区域大小 */
    height: 300px;
    border: 1px solid #000;
    background-color: #fff;
    display: none;
    overflow: hidden;
}

.zoom-result img {
    position: absolute;
    width: 100%;
    height: 100%;
    object-fit: cover;
}
解释:
.container:使用flex布局来居中显示图片和放大镜区域。.image-container:图片的容器,它的宽度可以根据需求调整。.zoom-lens:这是放大镜镜头的样式。它通过position: absolute来实现悬浮在图片上的效果,opacity控制透明度。.zoom-result:这是显示放大图片的区域,当鼠标悬停时显示,背景白色,且包含一个 1px 的边框。
四、JavaScript 实现
最后,我们通过 JavaScript 实现放大镜的动态效果。我们将实现以下功能:
- 计算鼠标位置。
- 根据鼠标位置调整放大镜镜头的位置。
- 更新放大镜区域中的图片部分。
- 实现放大镜区域的显示和隐藏。
计算鼠标位置
首先需要计算鼠标相对于图片的位置。这可以通过 getBoundingClientRect 方法获取图片的位置和大小,并结合鼠标的 clientX 和 clientY 坐标进行计算。
document.addEventListener('DOMContentLoaded', () => {
    const image = document.getElementById('zoom-image');
    const lens = document.getElementById('zoom-lens');
    const result = document.getElementById('zoom-result');
    const resultImg = document.createElement('img');
    result.appendChild(resultImg);

    // 获取图片的原始尺寸并设置放大倍数
    const zoomFactor = 2;
    const imageRect = image.getBoundingClientRect();
    const imgWidth = imageRect.width;
    const imgHeight = imageRect.height;

    // 设置放大镜区域
    resultImg.src = image.src;  // 使用图片的原始路径
    resultImg.style.width = imgWidth * zoomFactor + 'px';
    resultImg.style.height = imgHeight * zoomFactor + 'px';

    // 调整放大镜的初始尺寸
    const lensSize = 100;  // 放大镜的宽高
    lens.style.width = lens.style.height = `${lensSize}px`;

    // 鼠标移动事件的防抖
    let isMouseMoving = false;

    // 处理鼠标移动
    const moveLens = (e) => {
        if (isMouseMoving) return;
        isMouseMoving = true;

        requestAnimationFrame(() => {
            const pos = getCursorPos(e);
            const x = Math.max(lensSize / 2, Math.min(imgWidth - lensSize / 2, pos.x));
            const y = Math.max(lensSize / 2, Math.min(imgHeight - lensSize / 2, pos.y));

            // 更新放大镜位置
            lens.style.left = `${x - lensSize / 2}px`;
            lens.style.top = `${y - lensSize / 2}px`;

            // 更新放大镜结果显示区域
            resultImg.style.left = `${-x * zoomFactor + lensSize / 2}px`;
            resultImg.style.top = `${-y * zoomFactor + lensSize / 2}px`;
            isMouseMoving = false;
        });
    };

    // 获取鼠标相对图片的位置
    const getCursorPos = (e) => {
        const rect = image.getBoundingClientRect();
        return {
            x: e.clientX - rect.left,
            y: e.clientY - rect.top
        };
    };

    // 鼠标进入图片区域时显示放大镜
    image.addEventListener('mouseover', () => {
        result.style.display = 'block';
        lens.style.display = 'block';
    });

    // 鼠标移出时隐藏放大镜
    image.addEventListener('mouseout', () => {
        result.style.display = 'none';
        lens.style.display = 'none';
    });

    // 鼠标移动时更新放大镜的位置
    image.addEventListener('mousemove', moveLens);
});
解释:
- getCursorPos(e):计算鼠标相对于图片的位置。
- moveLens(e):根据鼠标位置更新放大镜的位置和放大图片的显示区域。
- 事件监听器:鼠标悬停时显示放大镜,鼠标移出时隐藏放大镜,并在鼠标移动时更新放大镜内容。
五、总结
通过上述步骤,实现了一个简单的图片放大镜功能。用户可以在图片上移动鼠标时,看到图片放大的区域。这种效果不仅提升了用户体验,还能在产品展示中提供更精确的细节查看。你可以根据需要调整放大倍数、镜头大小以及放大镜的显示区域等参数,使其更加适合自己的应用场景。
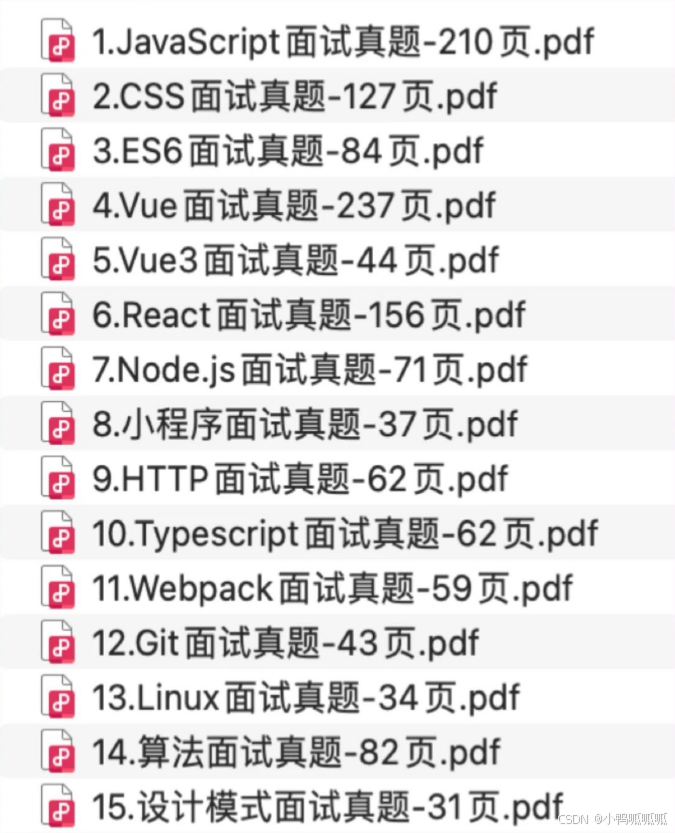
六、大厂高频面试真题库
题型全面


八股文—基础到高级


 696
696

 被折叠的 条评论
为什么被折叠?
被折叠的 条评论
为什么被折叠?
 到【灌水乐园】发言


