


1.标准库中的string类
1.1auto和范围for
1.1.1auto关键字
在早期C/C++中auto的含义是:使用auto修饰的变量,是具有自动存储器的局部变量,后来这个
不重要了。
C++11
中,标准委员会变废为宝赋予了
auto
全新的含义即:
auto
不再是一个存储类型
指示符,而是作为一个新的类型指示符来指示编译器,
auto
声明的变量必须由编译器在编译时期
推导而得
。
用
auto
声明指针类型时,用
auto
和
auto*
没有任何区别,但用
auto
声明引用类型时则必须加
&
当在同一行声明多个变量时,这些变量必须是相同的类型,否则编译器将会报错,因为编译器实际
只对第一个类型进行推导,然后用推导出来的类型定义其他变量
。
auto
不能作为函数的参数,可以做返回值,但是建议谨慎使用
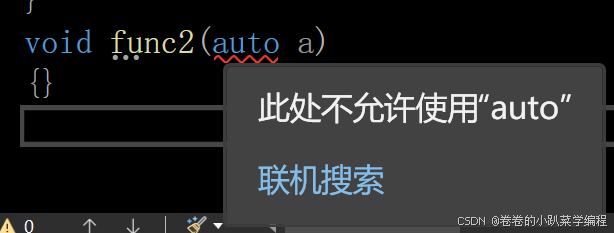
auto
不能直接用来声明数组
#include<iostream>
using namespace std;
int func1()
{
return 10;
}
//void func2(auto a)
//{}
// 可以做返回值,但是建议谨慎使用
auto fun3()
{
return 3;
}
int main()
{
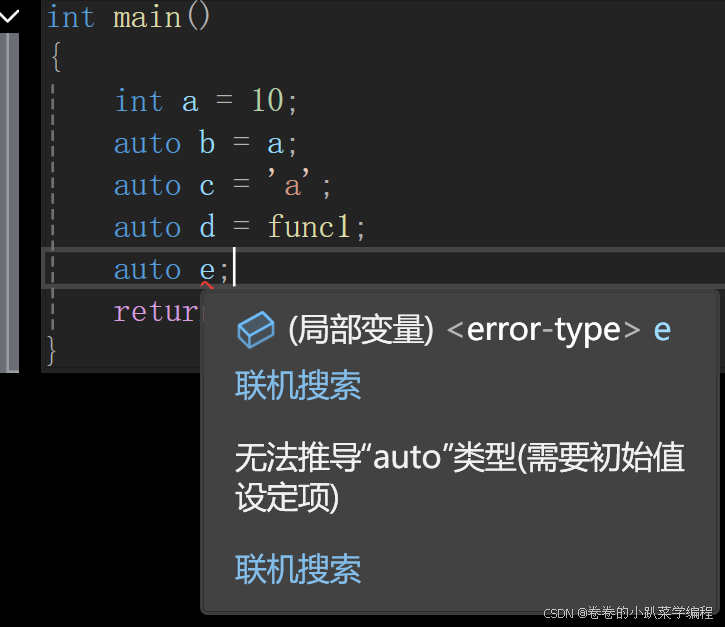
int a = 10;
auto b = a;
auto c = 'a';
auto d = func1;
//auto e; // 编译报错:rror C3531: “e”: 类型包含“auto”的符号必须具
有初始值设定项
cout << typeid(b).name() << endl;
cout << typeid(c).name() << endl;
cout << typeid(d).name() << endl;
int x = 10;
auto y = &x;
auto* z = &x;
auto& m = x;
cout << typeid(x).name() << endl;
cout << typeid(y).name() << endl;
cout << typeid(z).name() << endl;
cout << typeid(m).name() << endl;
auto aa = 1, bb = 2;
//auto cc = 3, dd = 4.0; //编译报错:error C3538 : 在声明符列表中,“auto”必须始终
推导为同一类型
//auto arr[] = { 4,5,6 }; //编译报错:error C3318: “auto []”: 数组不能具有其中包含
“auto”的元素类型
return 0;
}
1.1.2范围for
对于一个
有范围的集合
而言,由程序员来说明循环的范围是多余的,有时候还会容易犯错误。因此
C++11
中引入了基于范围的
for
循环。
for
循环后的括号由冒号
“
:
”
分为两部分:第一部分是范围
内用于迭代的变量,第二部分则表示被迭代的范围
,自动迭代,自动取数据,自动判断结束。
范围
for
可以作用到数组和容器对象上进行遍历范围for
的底层很简单,容器遍历实际就是替换为迭代器,这个从汇编层也可以看到。
#include<iostream>
using namespace std;
int main()
{
int arr[] = { 1,2,3,4,5,6 };
// C++98的遍历
for (int i = 0; i < sizeof(arr) / sizeof(int); ++i)
{
arr[i] *= 2;
}
for (int i = 0; i < sizeof(arr) / sizeof(arr[0]); i++)
{
cout << arr[i] << " ";
}
cout << endl;
//范围for
for (auto& e : arr)
{
e *= 2;
}
cout << endl;
for (auto& e : arr)
{
cout << e << " ";
}
cout << endl;
for (const auto& e : arr)
{
cout << e << " ";
}
cout << endl;
return 0;
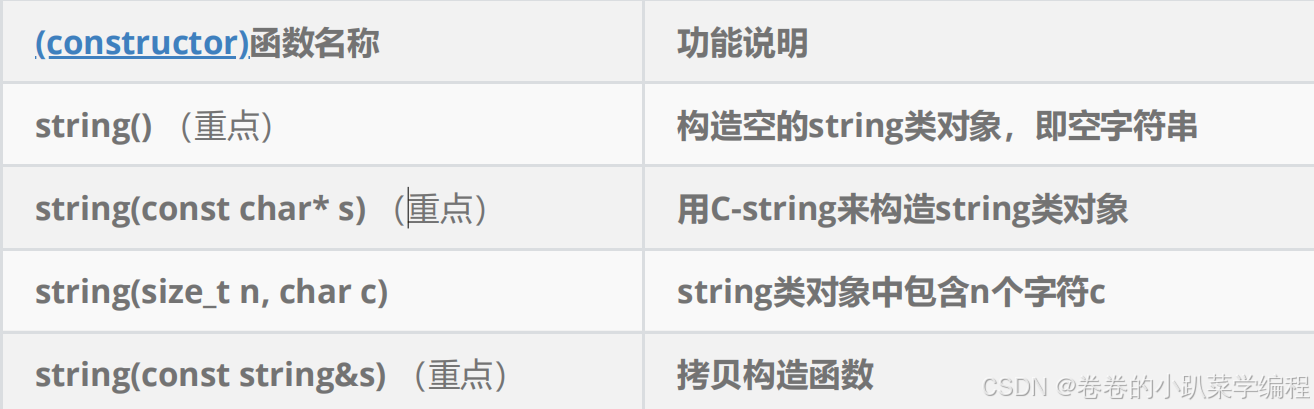
}1.2 string类对象的常见构造
 1.2.1 string类对象的容量操作
|
函数名称
|
功能说明
|
|
size
(重点)
|
返回字符串有效字符长度
|
|
length
|
返回字符串有效字符长度
|
|
capacity
|
返回空间总大小
|
|
empty
(重点)
|
检测字符串释放为空串,是返回
true
,否则返回
false
|
|
clear
(重点)
|
清空有效字符
|
|
reserve
(重点)
|
为字符串预留空间
*
*
|
|
resize
(重点)
|
将有效字符的个数该成
n
个,多出的空间用字符
c
填充
|
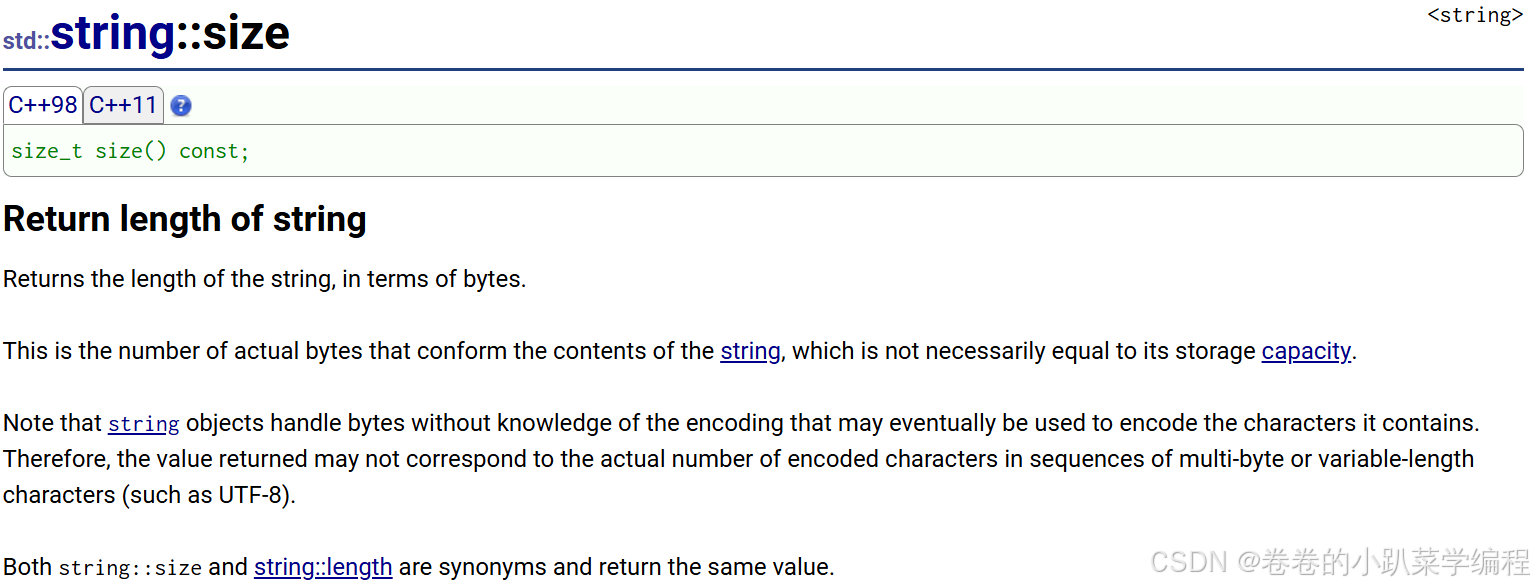
1.2.1.1 size 函数

说明: 返回字符串有效字符长度
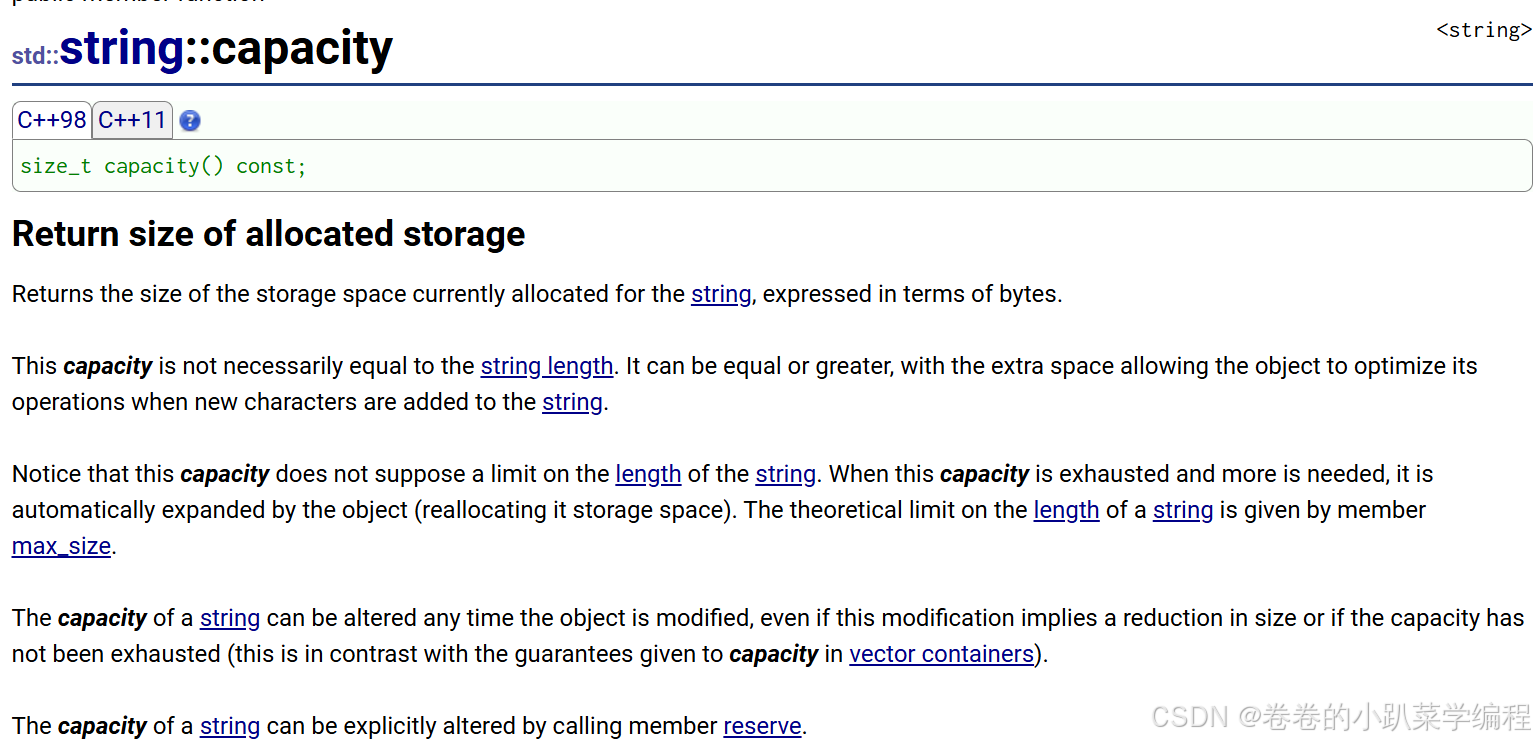
1.2.2.2 capacity函数

说明: 返回空间总大小
1.2.2.3 reserve函数
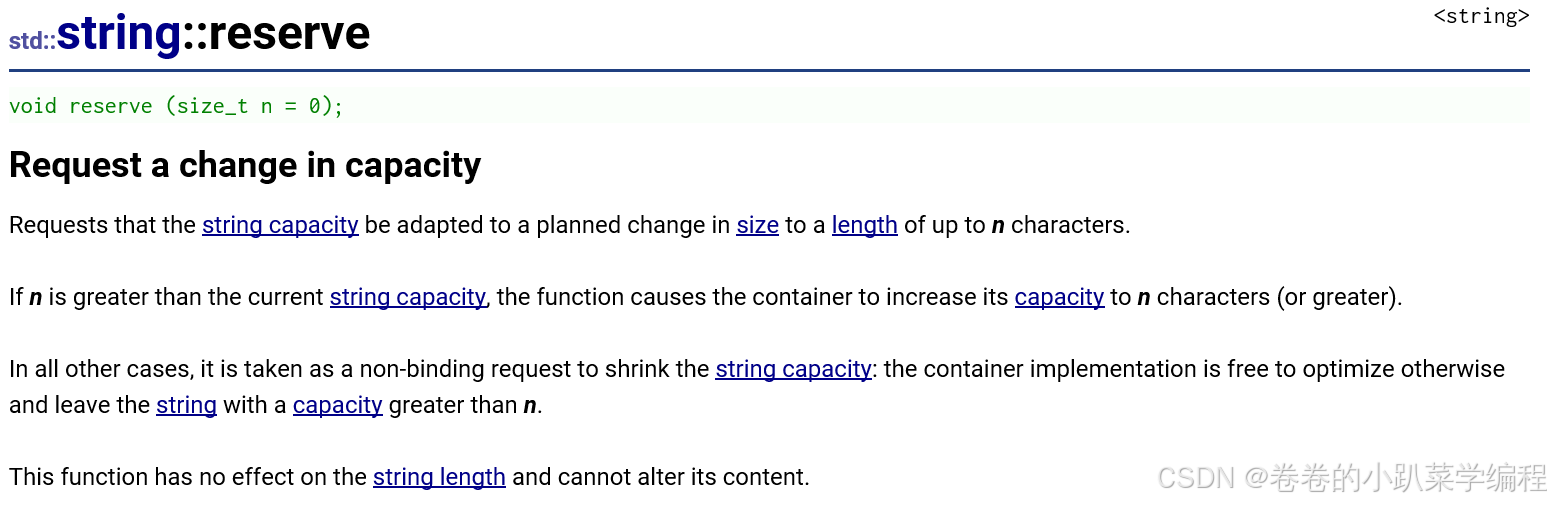 说明:为字符串预留空间**
1.2.2.4 resize 函数
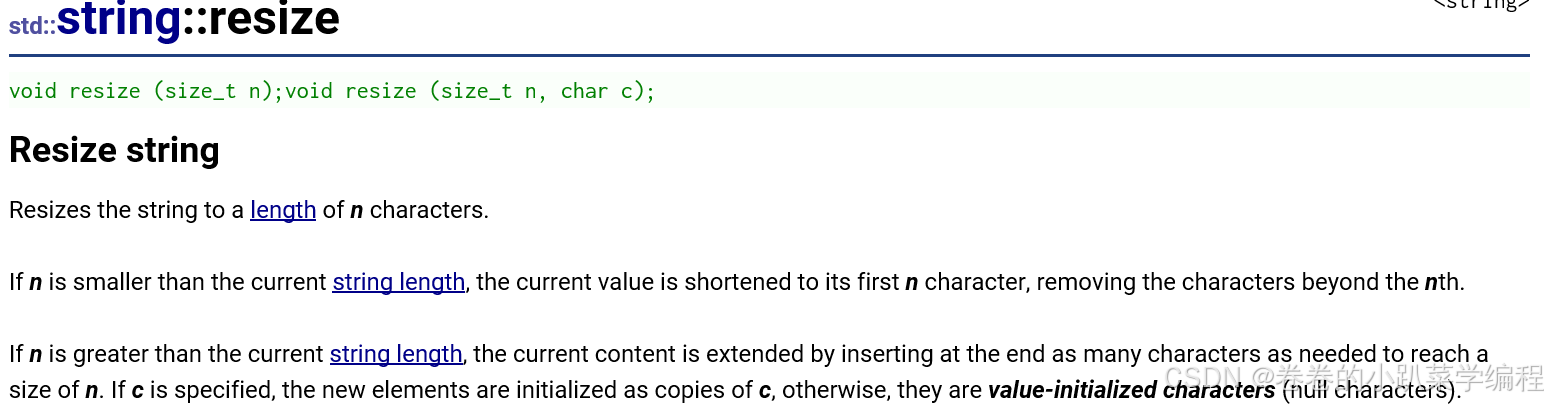
说明:将有效字符的个数该成n个,多出的空间用字符c填充
1.2.2.5代码示例(一)
void test_string5()
{
	string s1("1111111111");
	string s2("222222222222222222222222222222222222222222222");
	cout << s2.size() << endl;
	cout << s2.capacity() << endl;
	s2.reserve(1000);
	cout << s2.size() << endl;
	cout << s2.capacity() << endl;

	string s;
	s.reserve(1000);

	size_t old = s.capacity();
	cout << "capacity changed: " << old << '\n';
	cout << "making s grow:\n";
	for (int i = 0; i < 1000; ++i)
	{
		//s.push_back('c');
		s += 'c';
		if (old != s.capacity())
		{
			old = s.capacity();
			cout << "capacity changed: " << old << '\n';
		}
	}
}
int main()
{
	test_string5();
	return 0;
}
结果如下: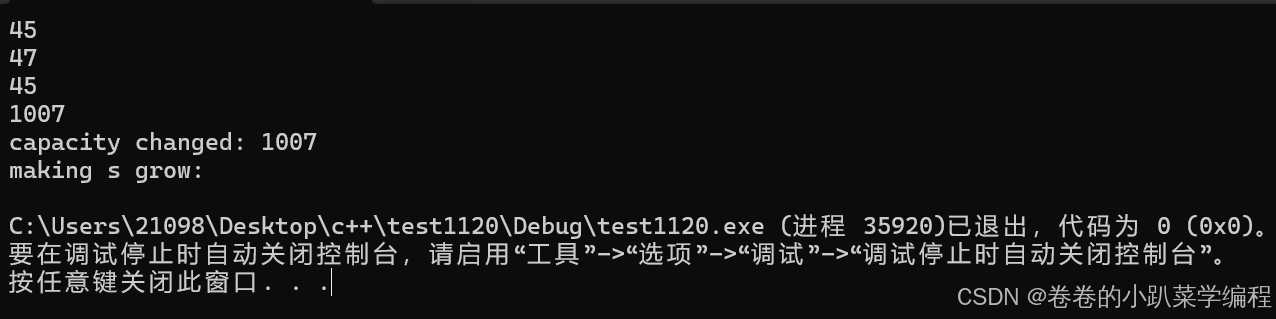
1.2.2.6代码示例(二)(resize)
void test_string6()
{
	string s2("222222222");
	cout << s2.size() << endl;
	cout << s2.capacity() << endl;
	s2.resize(23, 'm');
	cout << s2 << endl;
	cout << s2.size() << endl;
	cout << s2.capacity() << endl;
}
结果如下: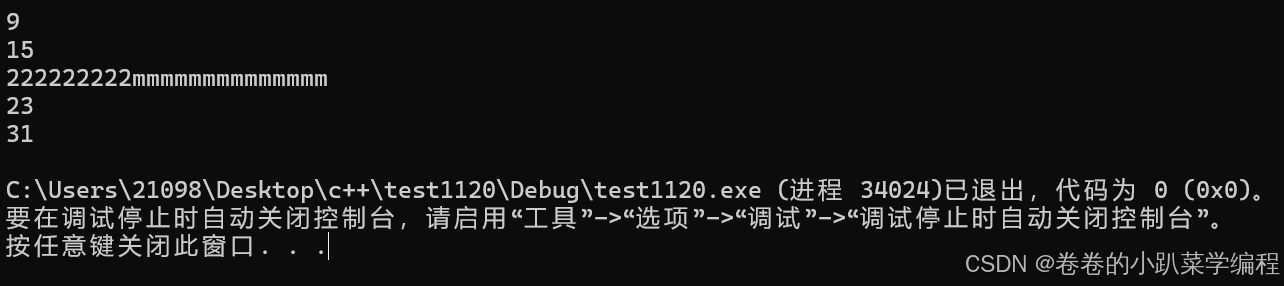
1.2.2.7 注意事项:
1. size()
与
length()
方法底层实现原理完全相同,引入
size()
的原因是为了与其他容器的接
口保持一致,一般情况下基本都是用
size()
。
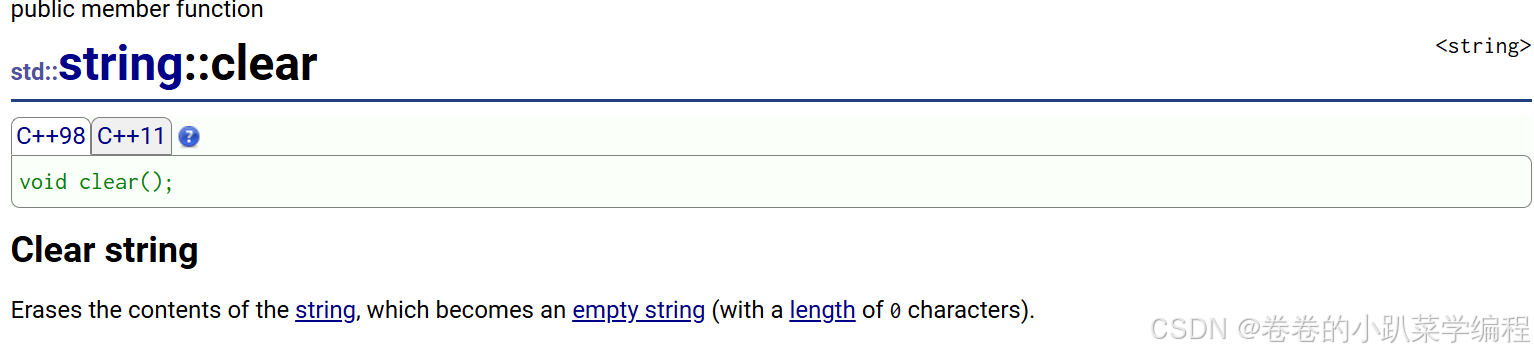
2. clear()
只是将
string
中有效字符清空,不改变底层空间大小。
3. resize(size_t n)
与
resize(size_t n, char c)
都是将字符串中有效字符个数改变到
n
个,不
同的是当字符个数增多时:
resize(n)
用
0
来填充多出的元素空间,
resize(size_t n, char
c)
用字符
c
来填充多出的元素空间。注意:
resize
在改变元素个数时,如果是将元素个数
增多,可能会改变底层容量的大小,如果是将元素个数减少,底层空间总大小不变。
4. reserve(size_t res_arg=0)
:为
string
预留空间,不改变有效元素个数,当
reserve
的参
数小于
string
的底层空间总大小时,
reserver
不会改变容量大小。
1.3. string类对象的访问及遍历操作
1.3.1operator[]方式(下标+【】)
#include <iostream>
using namespace std;
void test_string1()
{
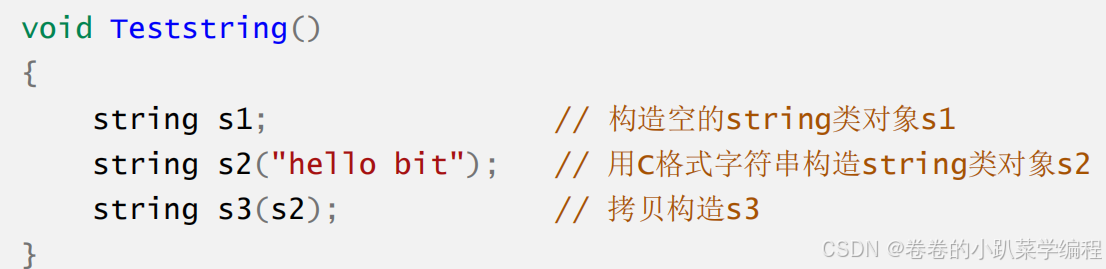
string s1;
string s2("hello world");
string s3(s2);
string s4(s2, 6,1000); //string(const string & str, size_t pos, size_t len);6代表复制的起始位置,1000代表复制1000个元素,
//如果不足1000 个字符,那么会复制从第 6 个字符到结束的所有字符
cout << s1 << endl;
cout << s2 << endl;
cout << s3 << endl;
cout << s4 << endl;
//1、下标+[]
for (size_t i = 0; i < s2.size(); i++)
{
s2[i] += 1;
//等价于s2.operator[](i) += 1;
}
for (size_t i = 0; i < s2.size(); i++)
{
cout << s2[i] ;
}
cout << endl;
const string s5("xxxxxxx");
//s5[0] = 'y'; //编译报错: error C3892: “s5”: 不能给常量赋值
}
int main()
{
test_string1();
return 0;
}结果如下: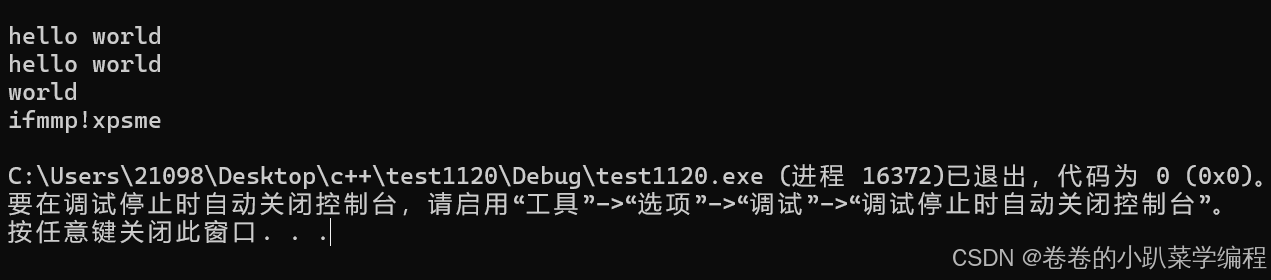
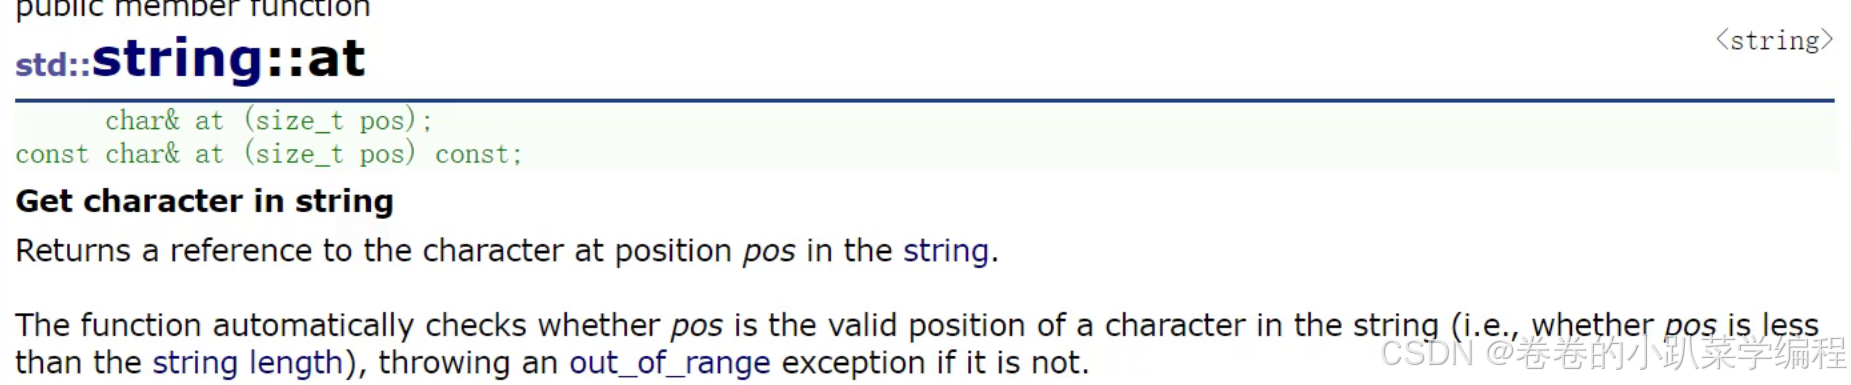
1.3.2 at函数
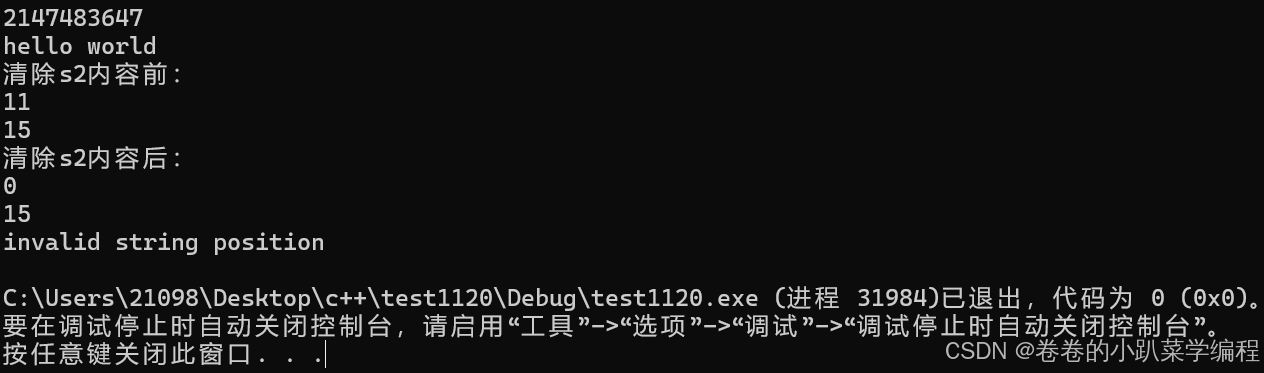
void test_string3()
{
	string s1;
	cout << s1.max_size() << endl;
	string s2("hello world");
	cout << s2 << endl;
	cout << "清除s2内容前:" << endl;
	cout << s2.size() << endl;
	cout << s2.capacity() << endl;


	/*s2.clear();
	cout << "清除s2内容后:" << endl;
	cout << s2.size() << endl;
	cout << s2.capacity() << endl;*/
	//s2.at(15);
	//s2[15];
	//查找任一位置的元素
	int i = 0;
	cin >> i;
	cout << s2.at(i) << endl;
}

int main()
{
		try
		{
			test_string3();
		}
		catch (const exception& e)
		{
			cout << e.what() << endl;
     	}
	return 0;
}
1.3.3 at与【】的区别:
【】访问的数据,如果越界了,会直接报错崩掉,是一种断言
void test_string3()
{
	string s1;
	cout << s1.max_size() << endl;
	string s2("hello world");
	cout << s2 << endl;
	cout << "清除s2内容前:" << endl;
	cout << s2.size() << endl;
	cout << s2.capacity() << endl;
	s2.clear();
	cout << "清除s2内容后:" << endl;
	cout << s2.size() << endl;
	cout << s2.capacity() << endl;
	s2[15];
}
int main()
{
	test_string3();
	return 0;
}
而at 发生错错误时,是抛异常,用try catch接收
void test_string3()
{
	string s1;
	cout << s1.max_size() << endl;
	string s2("hello world");
	cout << s2 << endl;
	cout << "清除s2内容前:" << endl;
	cout << s2.size() << endl;
	cout << s2.capacity() << endl;
	s2.clear();
	cout << "清除s2内容后:" << endl;
	cout << s2.size() << endl;
	cout << s2.capacity() << endl;
	s2.at(15);
}

int main()
{
		try
		{
			test_string3();
		}
		catch (const exception& e)
		{
			cout << e.what() << endl;
     	}

	return 0;
}
这只是一种方法,下面我们来看另一种方法:迭代器
1.3.4迭代器的方法遍历
1.3.4.1正向迭代器
void test_string2()      // 迭代器
{
	string s1("hello world");
	//string::iterator it = s1.begin();         //太繁琐了
	auto it = s1.begin();
	while (it != s1.end())
	{

		cout << *it;       //迭代器本来就是在模拟内置类型指针,就相当于指向了某一个元素,需要解
                             引用
		++it;
	}
	cout << endl;
    //在测试一个用例:
	const string s5("xxxxxxx");
	auto it5 = s5.begin();
	while (it5 != s5.end())
	{
		cout << *it5;
		it5++;
	}
	cout << endl;
}

int main()
{
	test_string2();
	return 0;
}
运行结果如下:

1.3.4.2反向迭代器
void test_string2()      // 迭代器
{
	string s1("hello world");
	string::reverse_iterator rit = s1.rbegin();
	while (rit != s1.rend())
	{
		cout << *rit;
		rit++;
	}
	cout << endl;

}

int main()
{
	test_string2();
	return 0;
}
结果如下:

1.4常用函数接口代码及应用
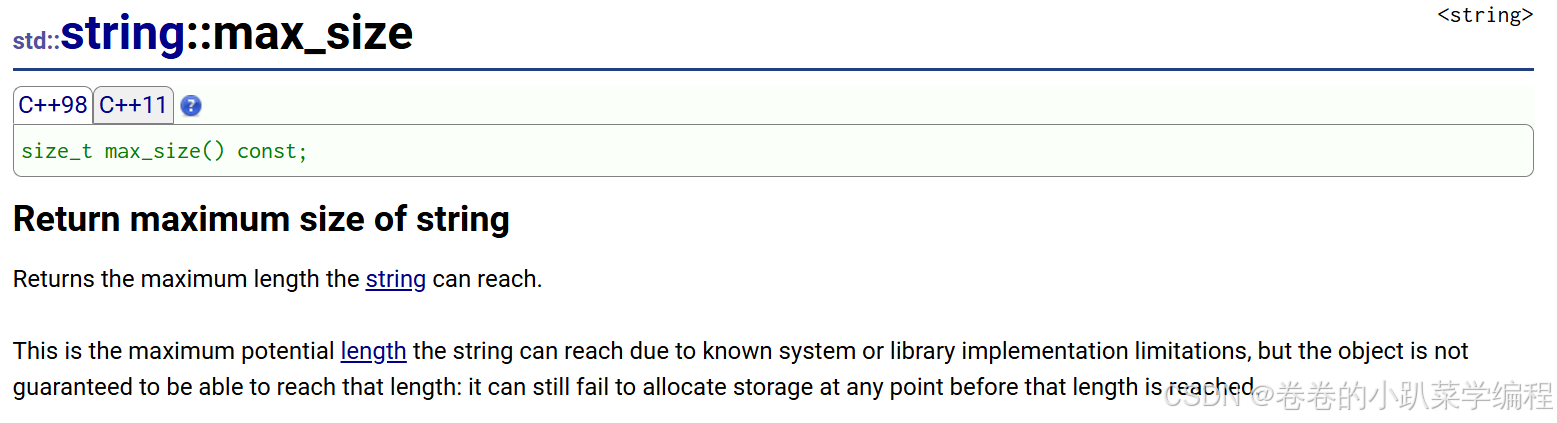
1.4.1 max_size:
1.4.2 capacity:
1.4.3 size:
1.4.4 clear:
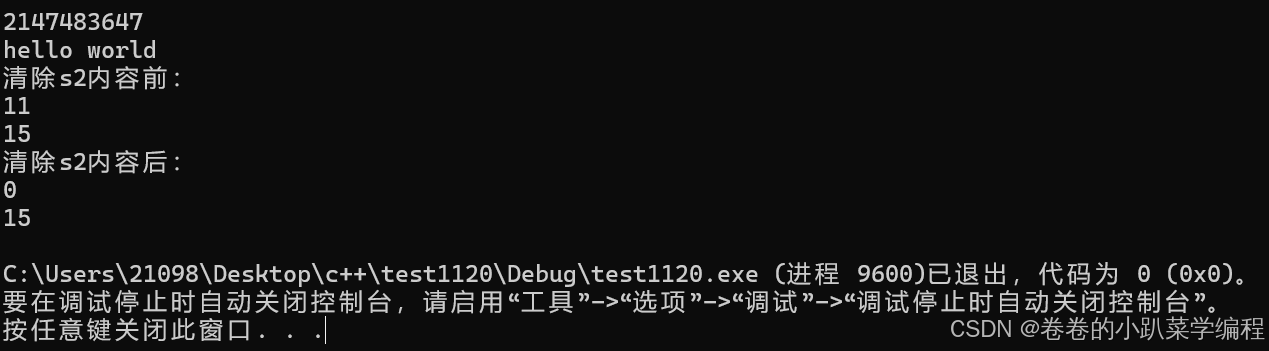
1.4.5 代码示例:
void test_string3()
{
	string s1;
	cout << s1.max_size() << endl;
	string s2("hello world");
	cout << s2 << endl;
	cout << "清除s2内容前:" << endl;
	cout << s2.size() << endl;
	cout << s2.capacity() << endl;
	s2.clear();
	cout << "清除s2内容后:" << endl;
	cout << s2.size() << endl;
	cout << s2.capacity() << endl;
}

int main()
{
	test_string3();
	return 0;
}
结果:
1.5 string类对象的修改操作
1.5.1 push_back函数

说明:在字符串后尾插字符c
1.5.2 append函数

说明:在字符串后追加一个字符串
1.5.3 operator+=
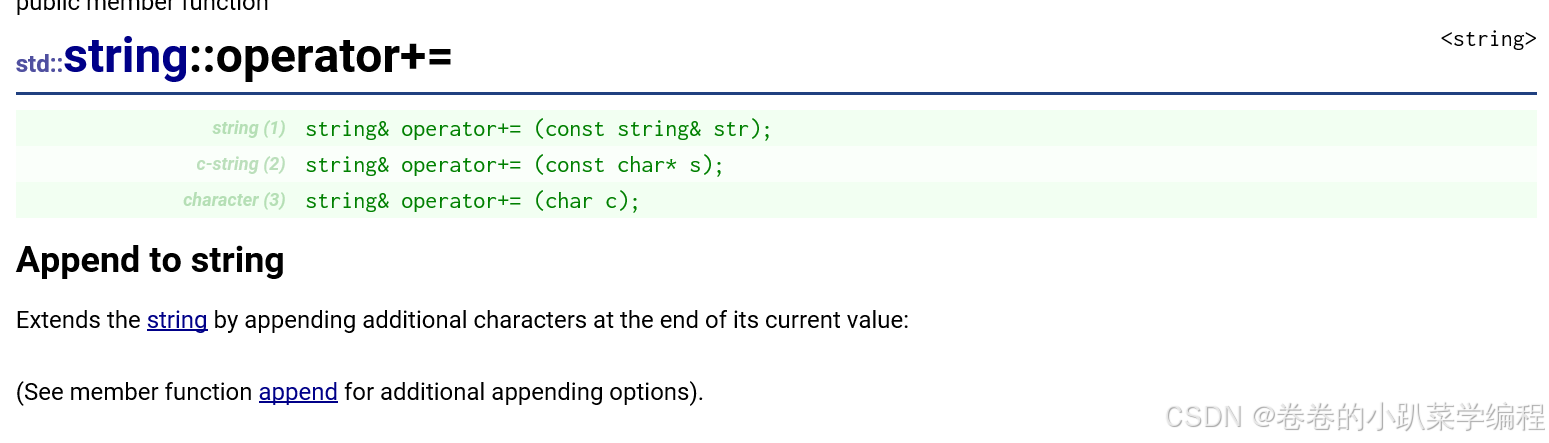
说明:在字符串后追加字符串str
1.5.4代码示例
void test_string4()
{
	string s1;
	s1.push_back('l');
	s1.push_back('o');
	s1.push_back('v');
	s1.push_back('e');
	s1.push_back(' ');
	s1.append("learing");
	cout << s1 << endl;

	//append还可以和迭代器结合
	string s2("good good study,day day up");
	cout << s2 << endl;
	s1.append(s2.begin() + 5, s2.end());
	cout << s1 << endl;

	s1 += ' ';
	cout << s1 << endl;
	s1 += "upupup";
	cout << s1 << endl;
	s1 += s1;
	cout << s1 << endl;
	s1 += s2;
	cout << s1 << endl;
}
int main()
{
	test_string4();
	return 0;
}
结果如下: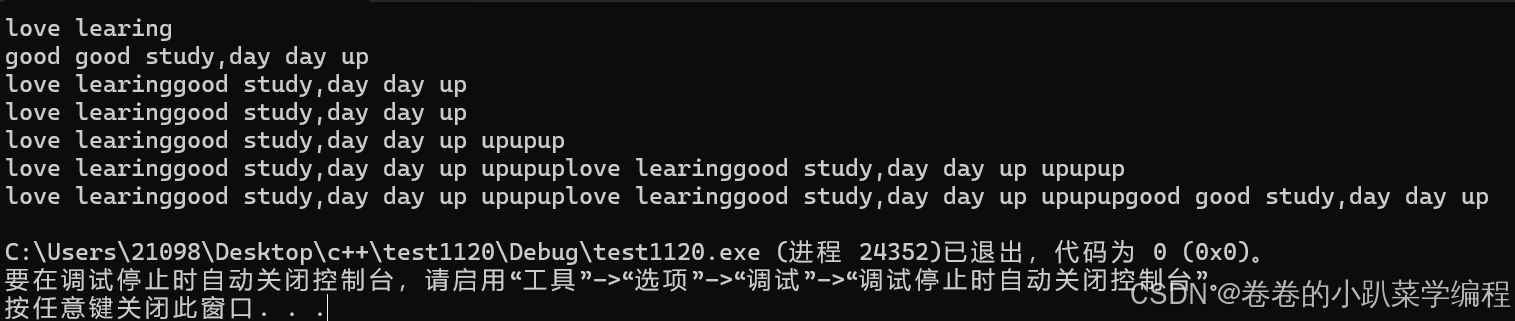
1.6 增删类函数
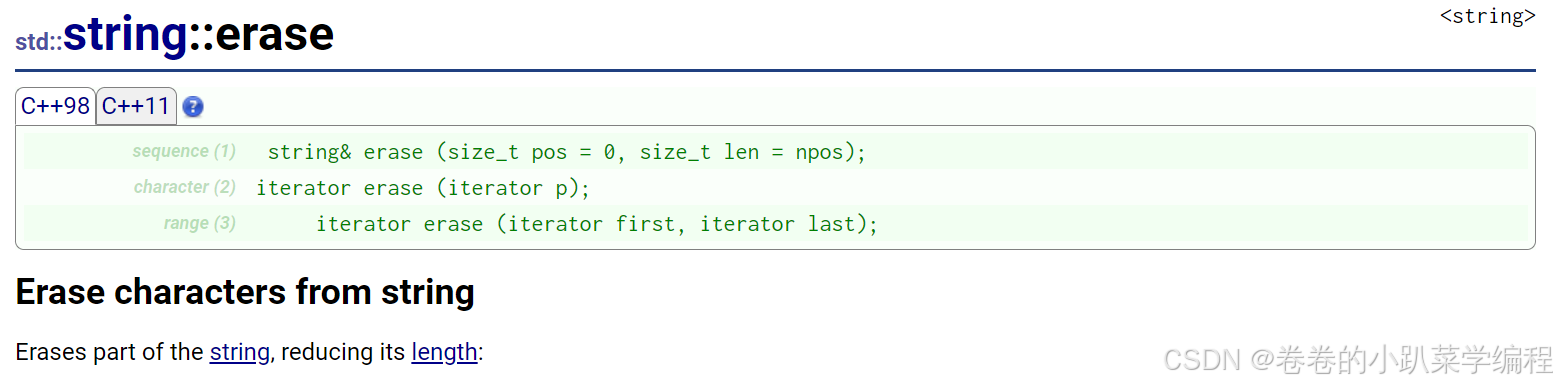
1.6.1erase函数
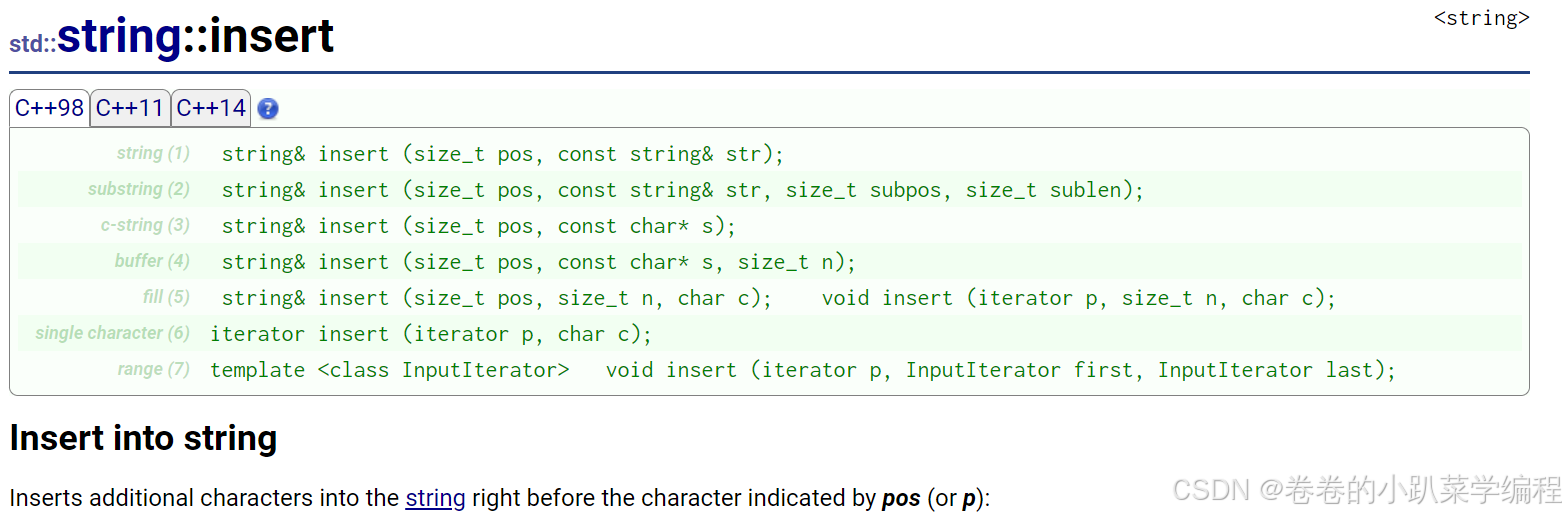
1.6.2 insert 函数
 1.6.3代码示例
void test_string7()
{
	string s1("world");
	cout << s1 << endl;
	s1.insert(0, "hello ");
	cout << s1 << endl;
	s1.insert(0, 1, '3');             //从第0个位置插1个数据
	cout << s1 << endl;
	s1.insert(0, 2, 'x');
	cout << s1 << endl;
	s1.insert(2, 5, 'y');
	cout << s1 << endl;
	s1.erase(5, 2);                  //从第5个位置删2个数据
	cout << s1 << endl;
	s1.erase(6, 3);
	cout << s1 << endl;
	s1.erase(3);                     //从第三个位置开始,后面的数据全删
	cout << s1 << endl;
	s1.erase(0, 1);
	cout << s1 << endl;
	s1.erase(s1.begin());
	cout << s1 << endl;
	//s1.erase(5);                       //删除的下标不能大于已有元素个数-1,否则会崩掉
	//cout << s1 << endl;
}
int main()
{
	test_string7();
	return 0;
}
运行结果: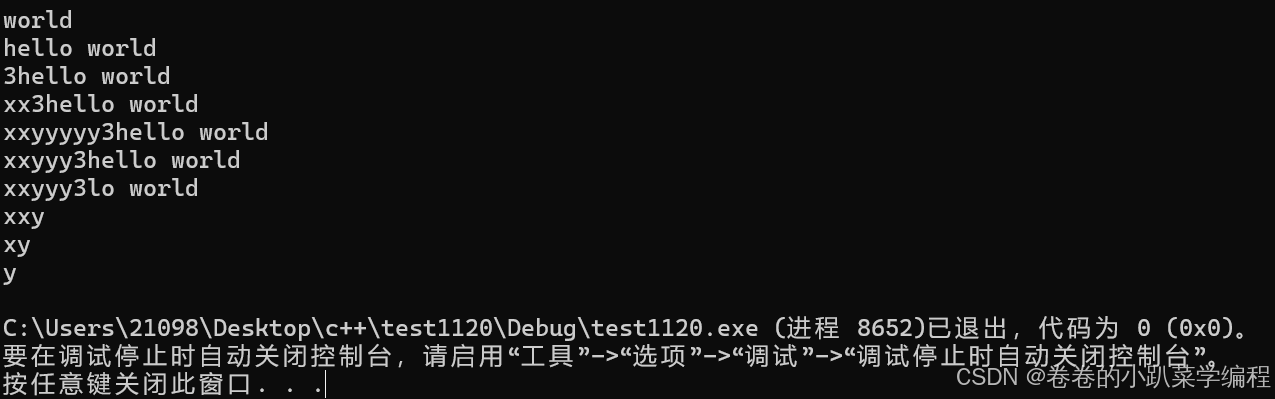
1.7替换类函数
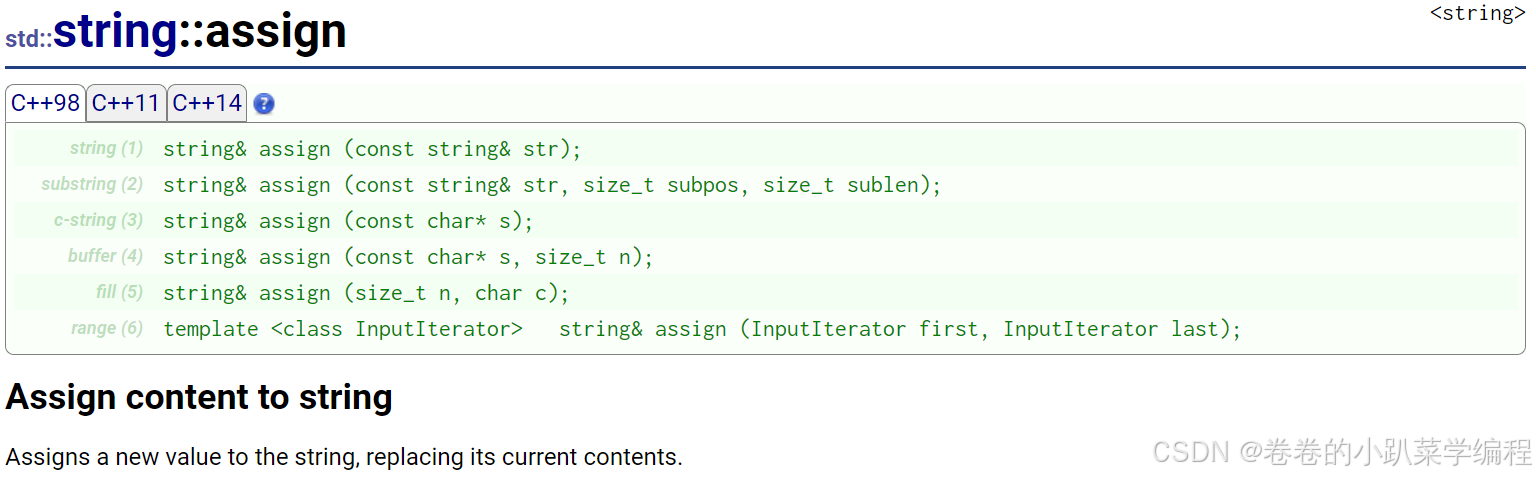
1.7.1 assign 函数
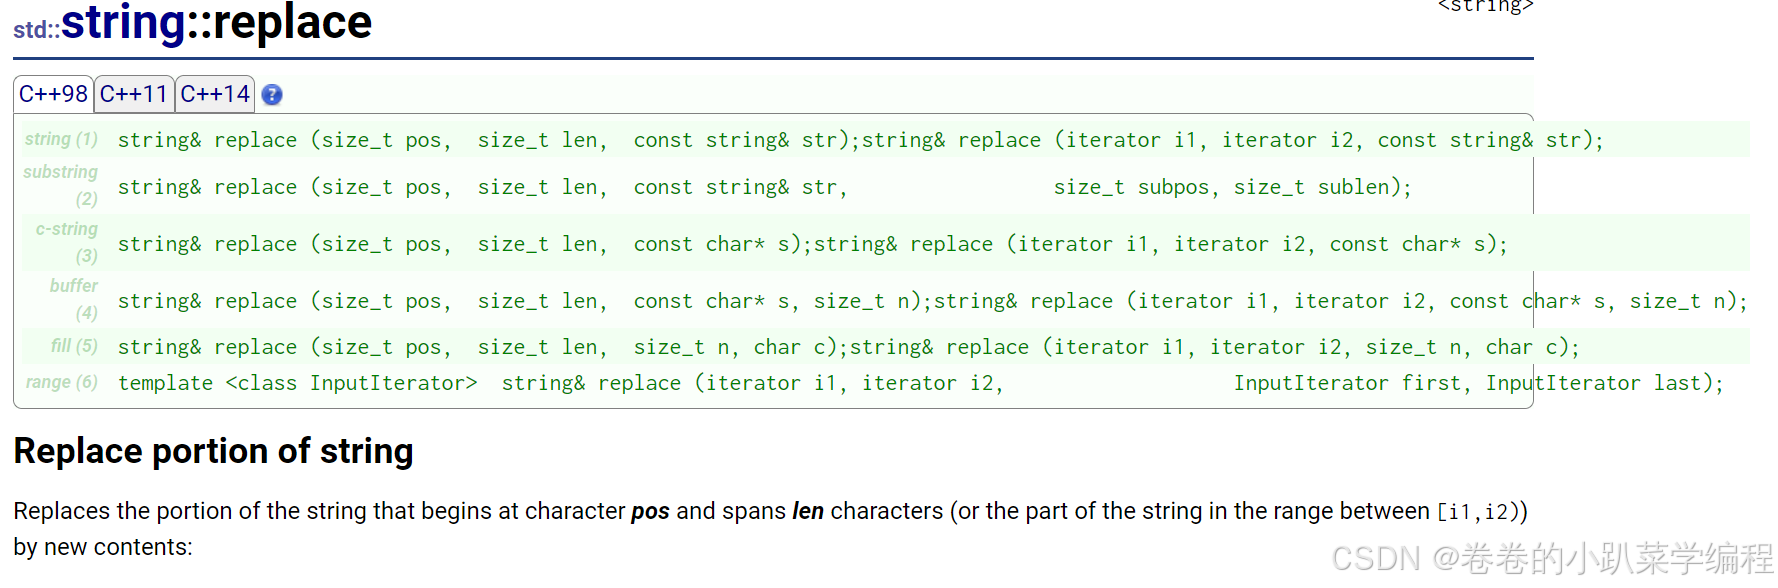
1.7.2 replace 函数
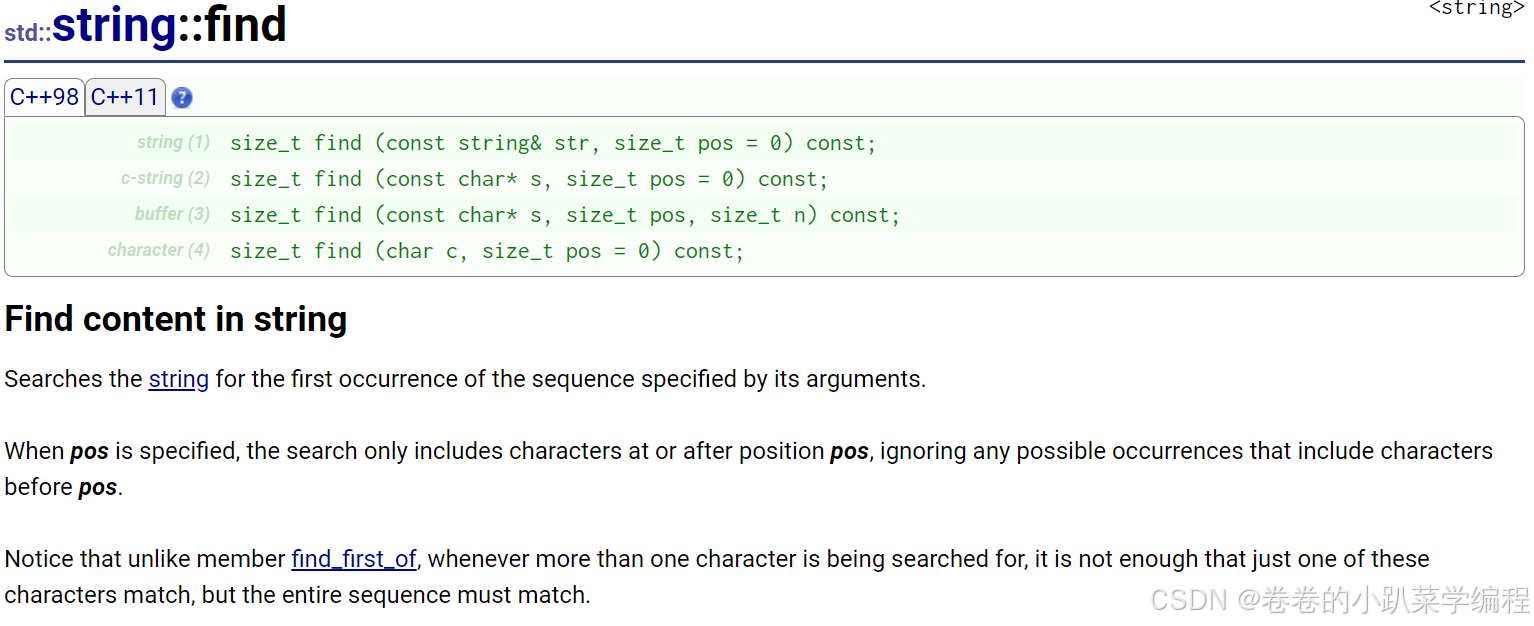
1.7.3 find 函数
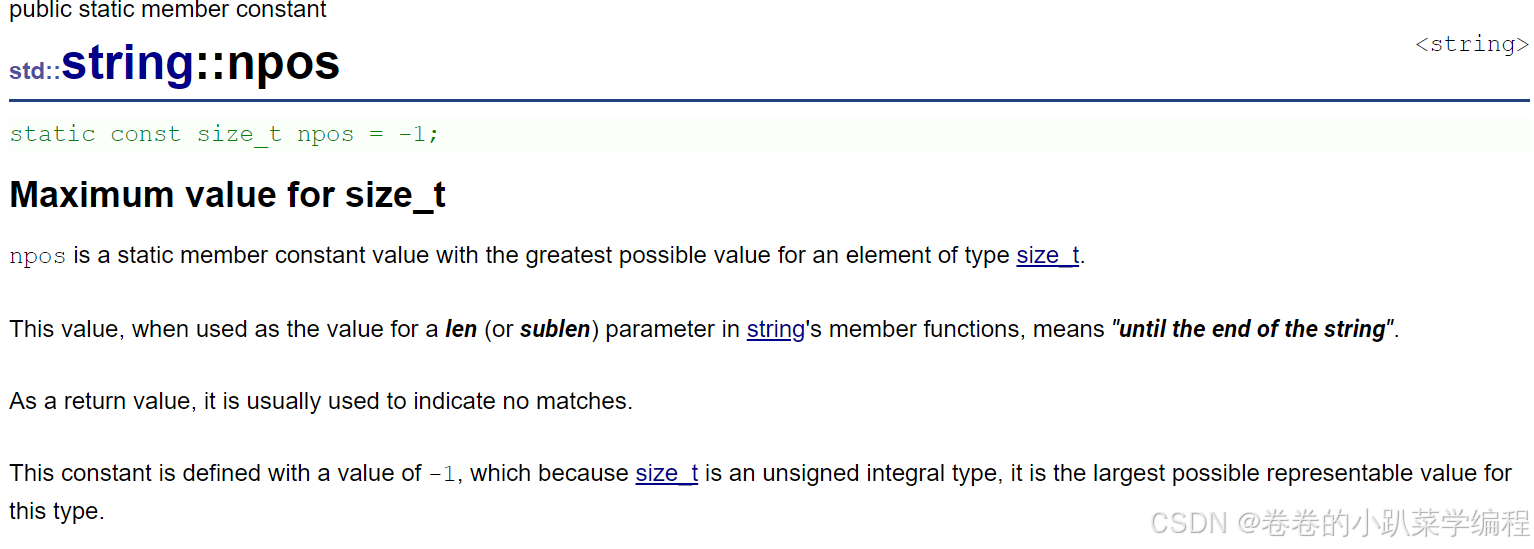
1.7.4 npos 函数
1.7.5 代码示例
void test_string8()
{
	string s1("11111111111111");
	string s2("55555555555");
	//s1 = s2;                 //赋值
	//s1.assign(s2);           //赋值
	cout << s1 << endl;
	cout << s2 << endl;
	s1.replace(0, 2, s2);           //把s1的0位置开始的2个字符变为s2
	cout << s1 << endl;
	cout << s2 << endl;

	//空格替换为%%
	string s3("hello world,hello everybody!");
	size_t pos = s3.find(" ");
	while (pos != string::npos)
	{
		s3.replace(pos, 1, "%%");
		pos = s3.find(' ', pos + 2);     //没必要从头重新开始找,从加完的那里继续找就行
	}
	cout << s3 << endl;

	//方法2:建立一个空串,用范围for遍历
	string s4;
	string s5("hello world,hello  everybody!");
	for (auto ch : s5)
	{
		if (ch == ' ')
		{
			s4 += "%%";
		}
		else
		{
			s4 += ch;
		}
	}
	cout << s4 << endl;

}
int main()
{
	test_string8();
	return 0;
}
结果如下:

1.8 查找类函数
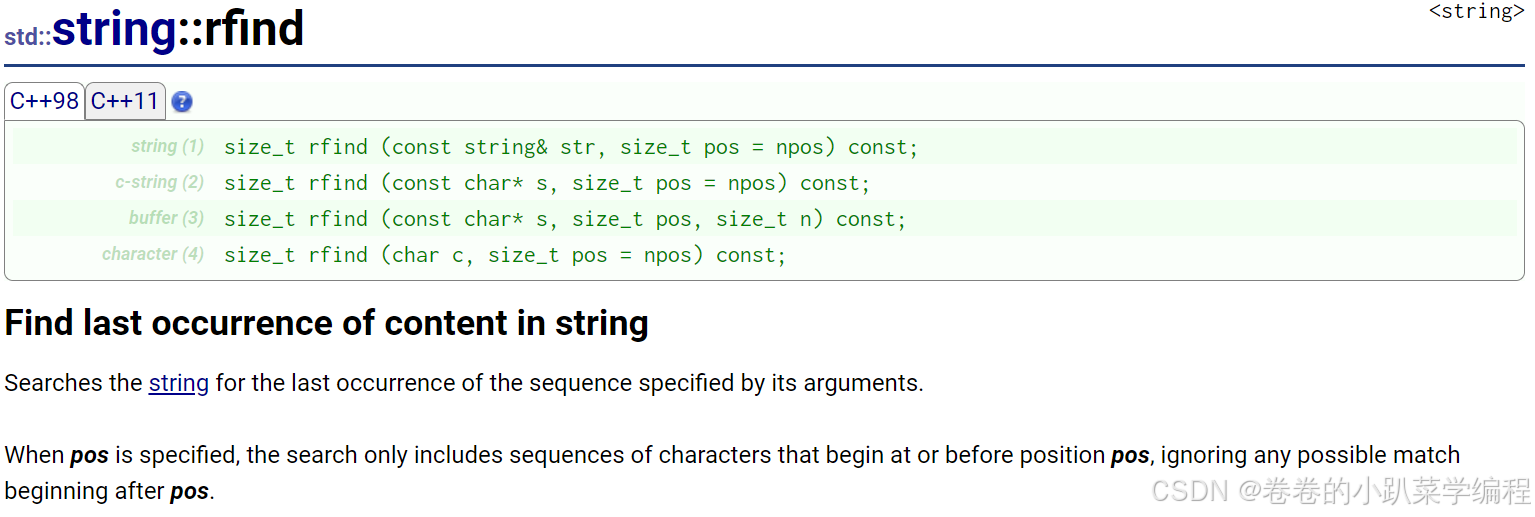
1.8.1 rfind 函数
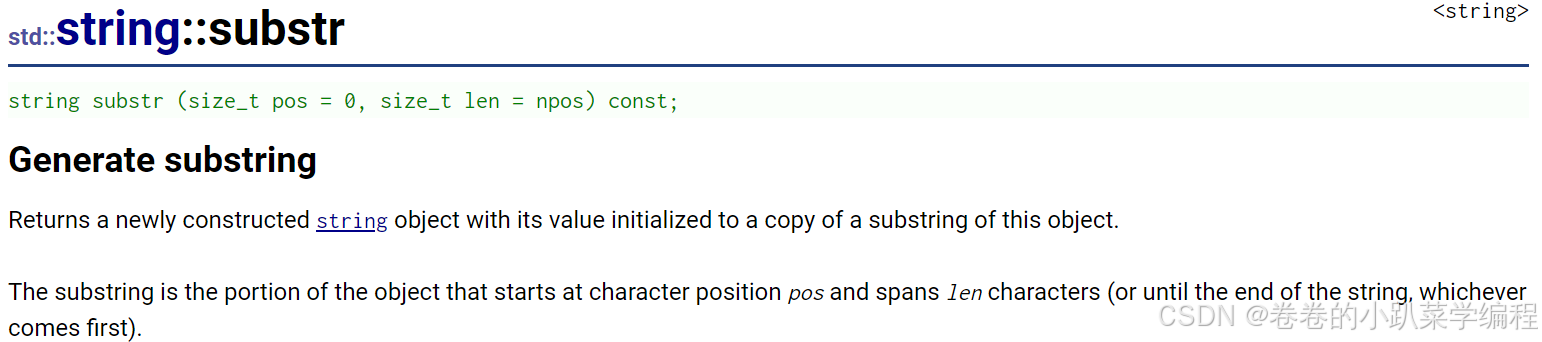
1.8.2 substr 函数
1.8.3 代码示例
void test_string9()
{
	string file("test.cpp.doc.zip");
	size_t pos = file.rfind(".");
	if (pos != string::npos)
	{
		string str = file.substr(pos);
		cout << str << endl;
	}
}
结果如下:

1.9 关系比较类
代码示例:
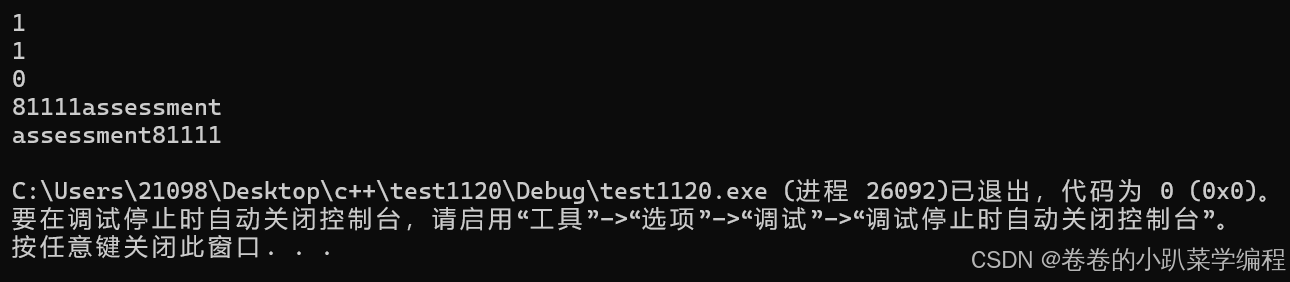
void test_string10()
{
	string s1("81111");
	string s2("966666666");
	cout << (s1 < s2) << endl;                //同C一样,比较ASCII码
	cout << (s1 < "911") << endl;
	cout << (s2 < "1000") << endl;
	string s3 = s1 + "assessment";
	string s4 = "assessment" + s1;
	cout << s3 << endl;
	cout << s4 << endl;
}
结果如下:
1.10 输入字符串
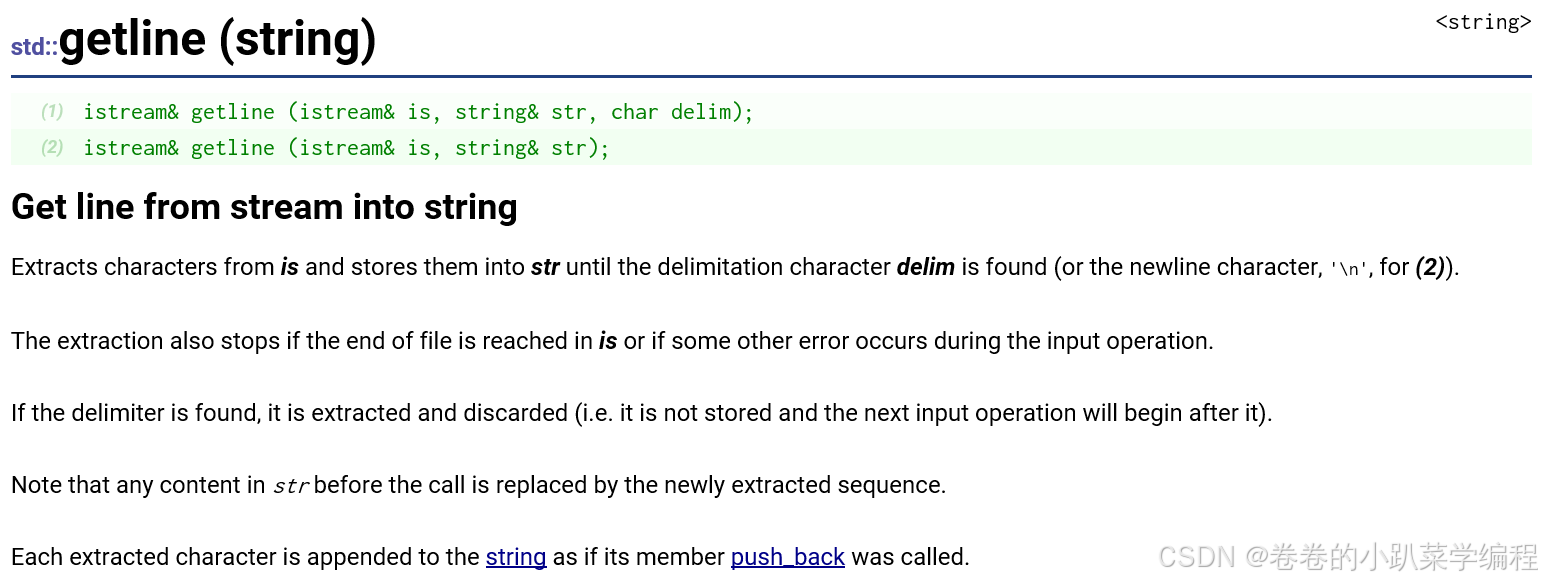
代码示例:
#include <iostream>
#include<string>
using namespace std;
int main()
{
string s; //如果我们要输入123 45这样的字符串,可能s里面存的只是123,故此我们用
getline函数
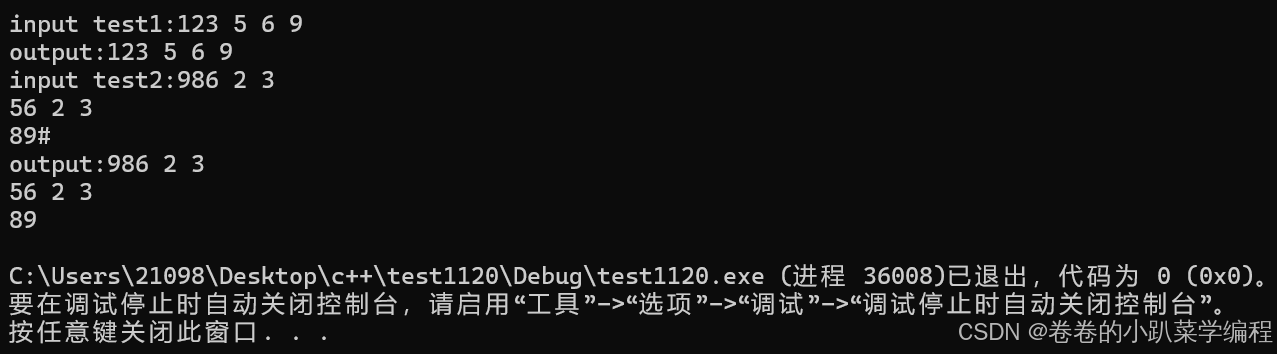
cout << "input test1:";
getline(cin, s);
cout << "output:"<<s << endl;
string s1;
cout << "input test2:";
getline(cin, s1, '#'); //以#为判断,碰到#时截至对这个字符串的输入;注意不要写成“#”,一个是字
符,一个是字符串,字符串自带'\0'的
cout <<"output:"<< s1 << endl;
return 0;
}结果如下:
本片文章主要讲解了string类的库函数,以及应用,下一篇文章我将讲解如何手动实现这些函数~


 被折叠的 条评论
为什么被折叠?
被折叠的 条评论
为什么被折叠?
 到【灌水乐园】发言


