


接上文内容: https://blog.youkuaiyun.com/2401_84926677/article/details/151962893
一、介绍
本文继承上一章LangChain4j实现后端对话接口的内容,继续介绍LangChain4j实现简单的前端页面,达成与大模型的可视化聊天功能。
二、步骤
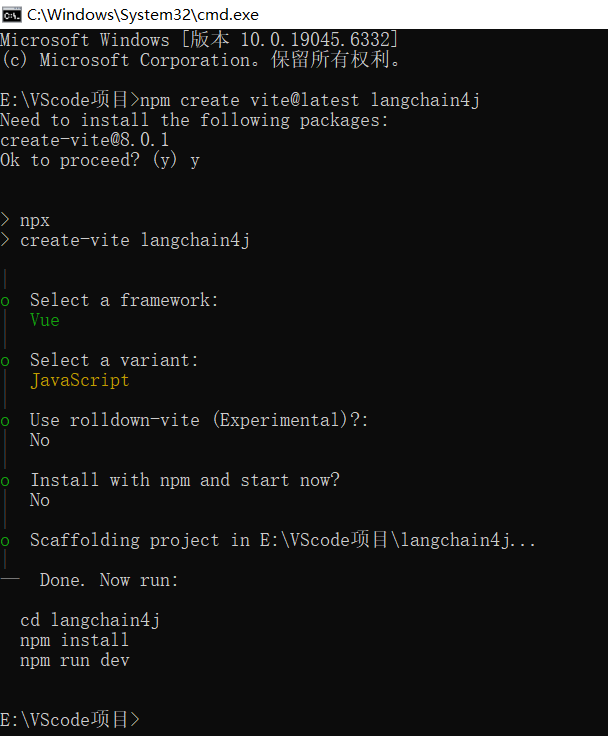
1. 使用vite创建前端项目
前端项目创建方式:https://blog.youkuaiyun.com/2401_84926677/article/details/151410780
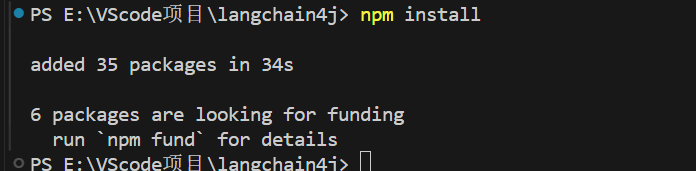
2. 下载安装依赖
3. 安装vue-router@4
npm install vue-router@44. main.js
// 导入Vue核心库和根组件App.vue
import { createApp } from 'vue'
import App from './App.vue'
// 导入路由配置
import router from './router'

// 创建Vue应用实例
const app = createApp(App)
// 安装路由插件
app.use(router)
// 挂载应用到DOM元素#app
app.mount('#app')
5. 创建views和router文件夹
分别创建index.js配置路由和ChatView.vue聊天页面

6. router/index.js
// 导入Vue Router相关函数和聊天页面组件
import { createRouter, createWebHistory } from 'vue-router'
import ChatView from '../views/ChatView.vue'

// 定义路由配置数组
const routes = [
  {
    // 根路径路由
    path: '/',
    // 路由名称
    name: 'Chat',
    // 对应的组件
    component: ChatView
  }
]

// 创建路由实例
const router = createRouter({
  // 使用HTML5 History模式
  history: createWebHistory(),
  // 路由配置
  routes
})

// 导出router实例供main.js使用
export default router
7. ChatView.vue
前端实现后端接口适配的流式响应
html部分
<template>
  <div class="chat-container">
    <!-- 聊天界面头部 -->
    <div class="chat-header">
      <h2>AI 助手</h2>
    </div>

    <!-- 消息显示区域,使用ref以便操作DOM滚动 -->
    <div class="chat-messages" ref="messagesContainer">
      <!-- 遍历消息列表,显示用户和AI的消息 -->
      <div
        v-for="(message, index) in messages"
        :key="index"
        :class="['message', message.type]"
      >
        <div class="message-content">
          {{ message.content }}
        </div>
      </div>
    </div>

    <!-- 输入区域 -->
    <div class="chat-input">
      <!-- 用户输入框,绑定回车键发送消息 -->
      <input
        v-model="userInput"
        @keyup.enter="sendMessage"
        placeholder="输入消息..."
        :disabled="isLoading"
      />
      <!-- 发送按钮 -->
      <button @click="sendMessage" :disabled="isLoading">
        {{ isLoading ? '发送中...' : '发送' }}
      </button>
    </div>
  </div>
</template>
javascript部分
<script setup>
// 导入Vue的响应式API
import { ref, nextTick } from 'vue'

// 响应式数据定义
const messages = ref([])           // 聊天记录
const userInput = ref('')          // 用户输入内容
const isLoading = ref(false)       // 加载状态
const messagesContainer = ref(null) // 消息容器引用

/**
 * 发送消息到后端API
 * 处理用户输入,调用后端接口,并流式显示返回结果
 */
const sendMessage = async () => {
  // 验证输入内容和加载状态
  if (!userInput.value.trim() || isLoading.value) return

  // 添加用户消息到聊天记录
  messages.value.push({
    type: 'user',
    content: userInput.value
  })

  // 保存用户输入并清空输入框
  const messageToSend = userInput.value
  userInput.value = ''
  isLoading.value = true

  // 滚动到底部
  await scrollToBottom()

  try {
    // 调用后端API,发送用户消息
    const response = await fetch(`/api/chat?message=${encodeURIComponent(messageToSend)}`)
    const reader = response.body.getReader()
    const decoder = new TextDecoder('utf-8')

    // 添加AI消息占位符
    messages.value.push({
      type: 'ai',
      content: ''
    })

    // 滚动到底部
    await scrollToBottom()

    // 逐步读取流数据并更新消息
    while (true) {
      const { done, value } = await reader.read()
      if (done) break

      const chunk = decoder.decode(value, { stream: true })
      messages.value[messages.value.length - 1].content += chunk

      // 每次更新后滚动到底部
      await scrollToBottom()
    }
  } catch (error) {
    // 错误处理
    console.error('Error:', error)
    messages.value[messages.value.length - 1].content = '抱歉,发生错误,请稍后重试。'
  } finally {
    // 重置加载状态
    isLoading.value = false
  }
}

/**
 * 滚动到聊天记录底部
 * 确保最新消息始终可见
 */
const scrollToBottom = async () => {
  await nextTick()
  if (messagesContainer.value) {
    messagesContainer.value.scrollTop = messagesContainer.value.scrollHeight
  }
}
</script>
8. App.vue
<script setup>
/* 根组件,使用setup语法糖 */
</script>
<template>
<!-- 路由出口,根据路由显示对应组件 -->
<router-view />
</template>
<style scoped>
/* 使用scoped样式,只作用于当前组件 */
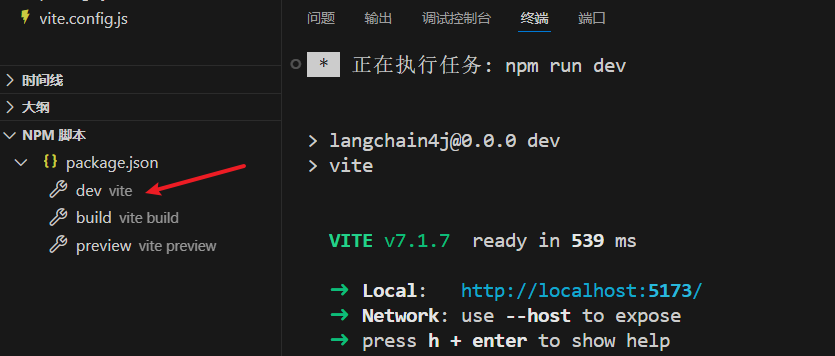
</style>9. 运行项目
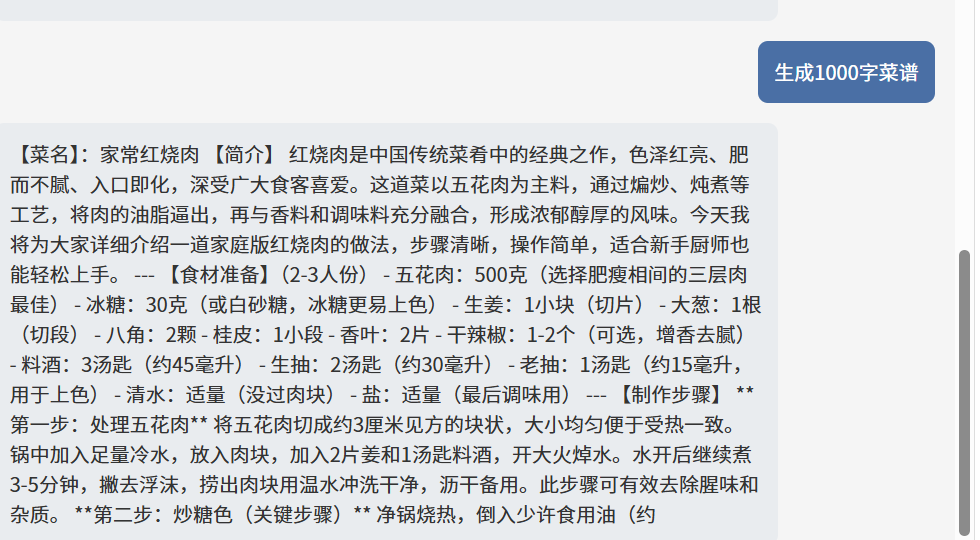
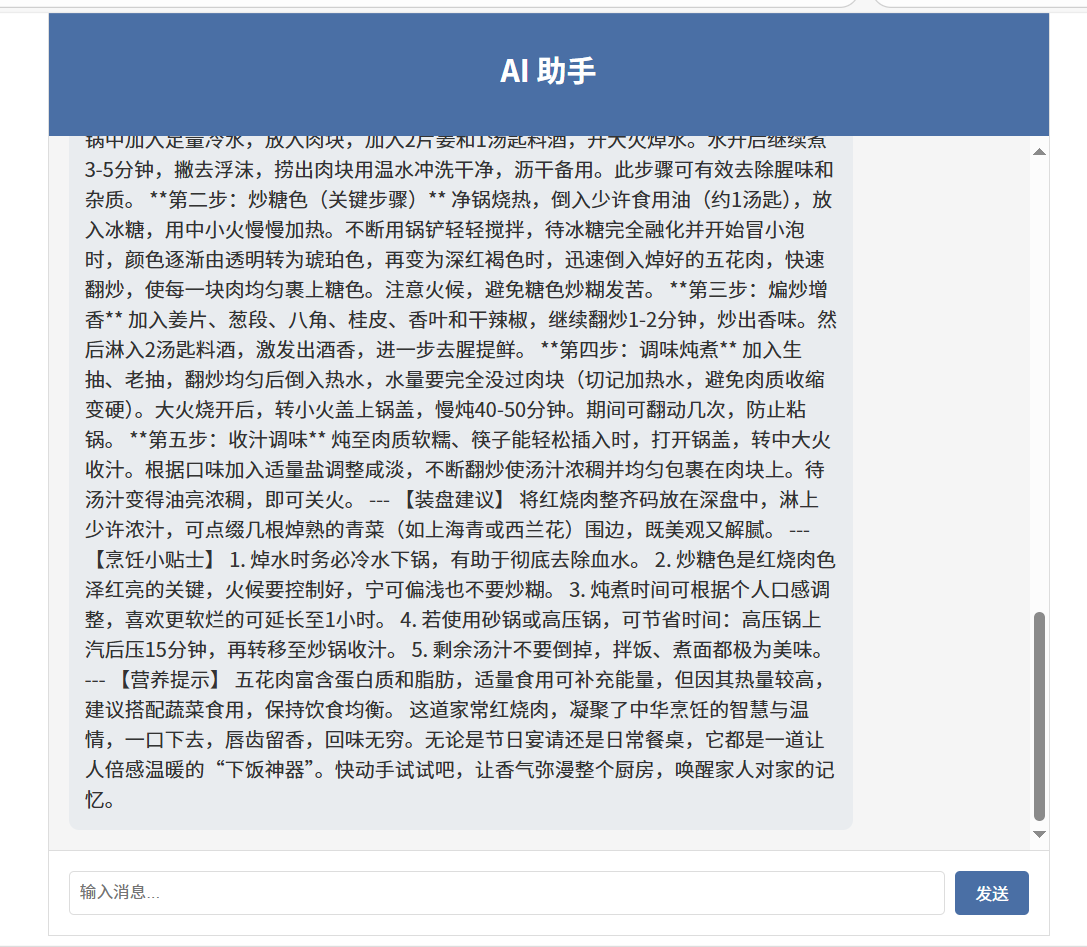
10. 页面效果
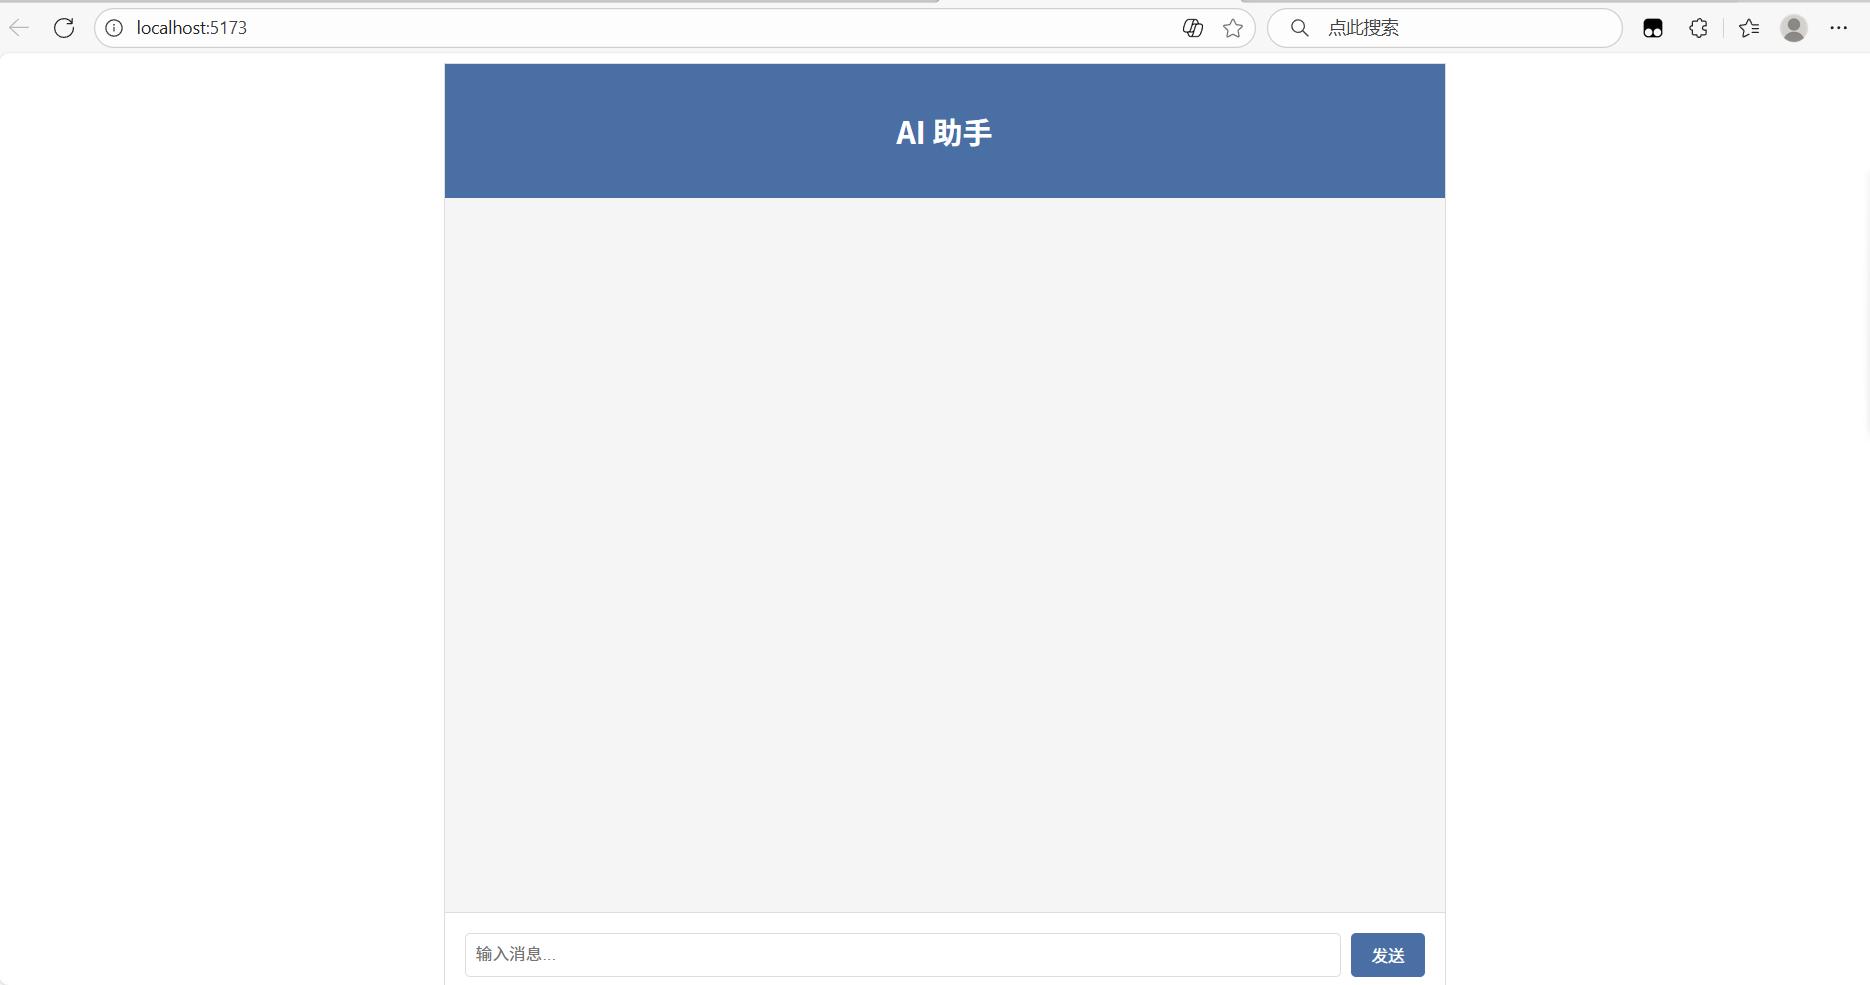
测试
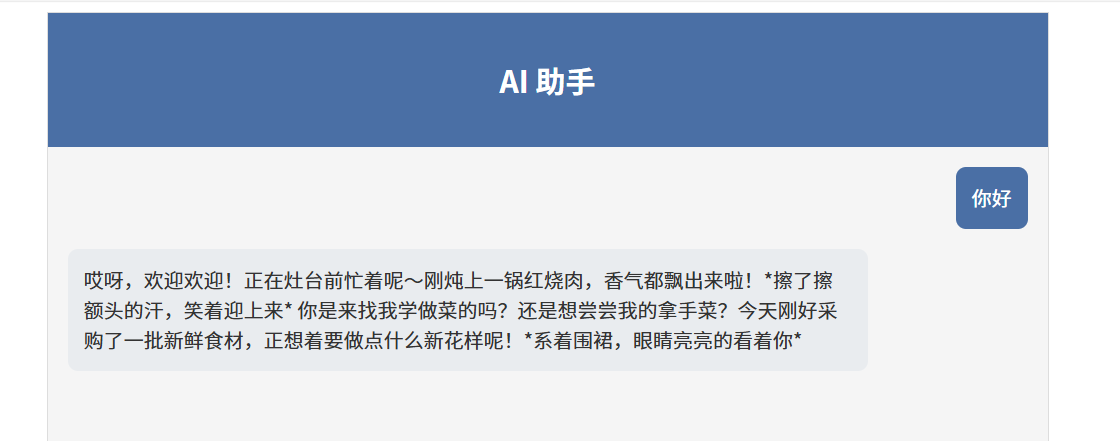
流式输出正常:


 296
296

 被折叠的 条评论
为什么被折叠?
被折叠的 条评论
为什么被折叠?
 到【灌水乐园】发言


