


深知大多数程序员,想要提升技能,往往是自己摸索成长,但自己不成体系的自学效果低效又漫长,而且极易碰到天花板技术停滞不前!
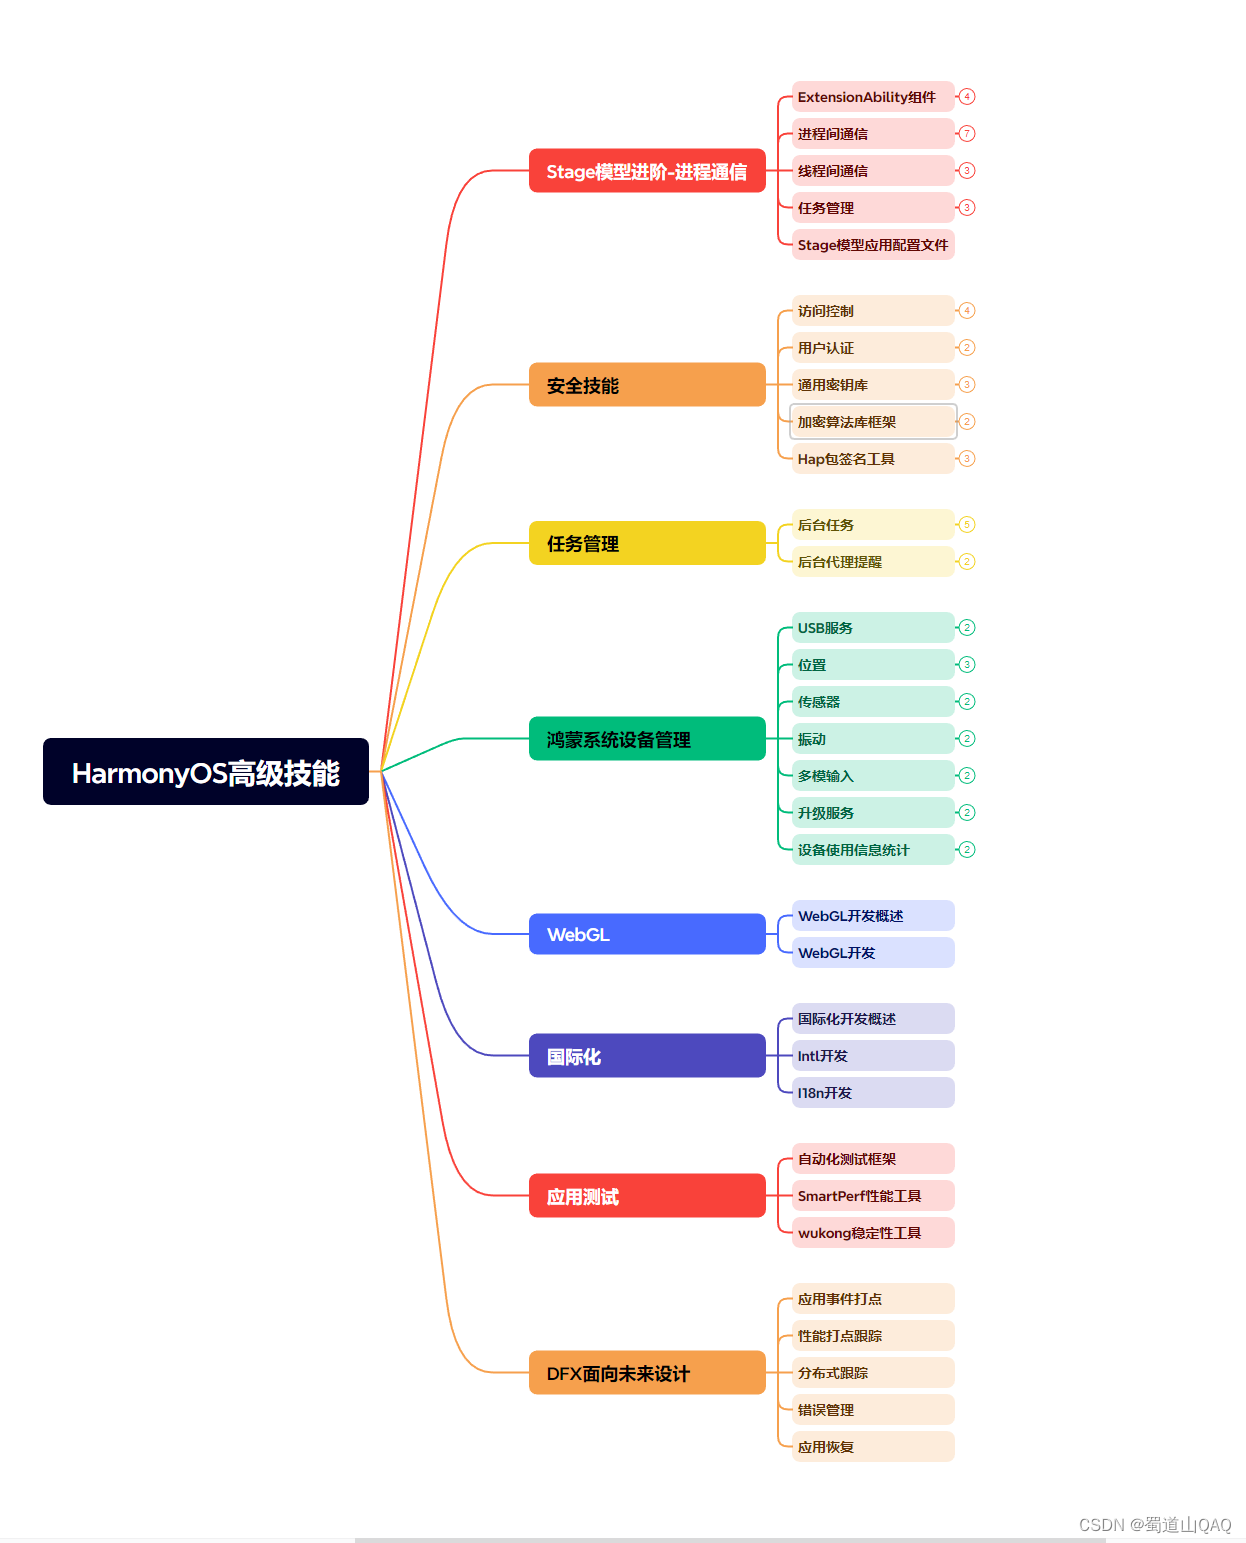

既有适合小白学习的零基础资料,也有适合3年以上经验的小伙伴深入学习提升的进阶课程,涵盖了95%以上鸿蒙开发知识点,真正体系化!
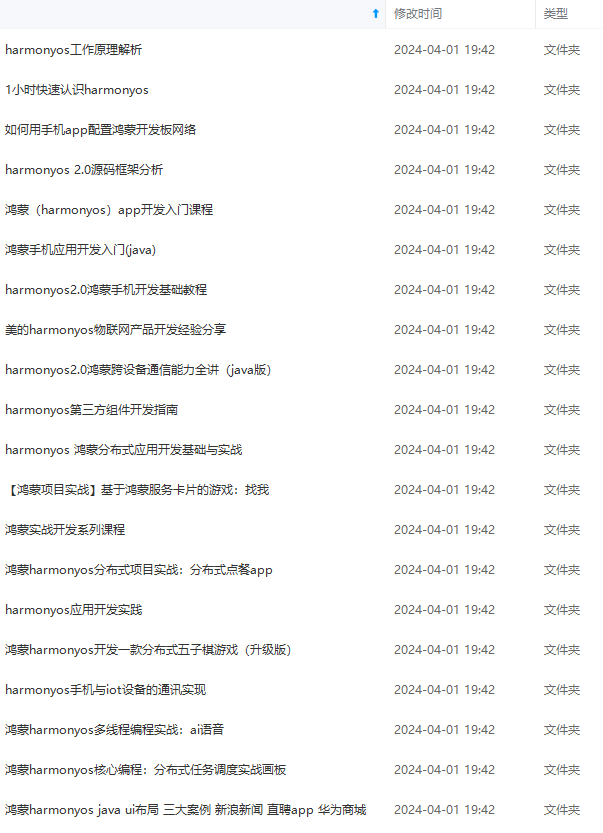
由于文件比较多,这里只是将部分目录截图出来,全套包含大厂面经、学习笔记、源码讲义、实战项目、大纲路线、讲解视频,并且后续会持续更新
ContinuationKt.startCoroutine(block, (Continuation)continuation);
}
//注释4,block对应的匿名内部类实例
static {
Function1 var0 = (Function1)(new Function1((Continuation)null) {
int label;
     //注释5,进入状态机
     public final Object invokeSuspend(@NotNull Object $result) {
        Object var3 = IntrinsicsKt.getCOROUTINE_SUSPENDED();
        String var2;
        switch(this.label) {
        case 0:
           ResultKt.throwOnFailure($result);
           var2 = "Hello!";
           System.out.println(var2);
           this.label = 1;
           if (DelayKt.delay(1000L, this) == var3) {
              return var3;
           }
           break;
        case 1:
           ResultKt.throwOnFailure($result);
           break;
        default:
           throw new IllegalStateException("call to 'resume' before 'invoke' with coroutine");
        }

        var2 = "World!";
        System.out.println(var2);
        return "Result";
     }

     //注释6,创建匿名内部类实例
     public final Continuation create(@NotNull Continuation completion) {
        Intrinsics.checkNotNullParameter(completion, "completion");
        Function1 var2 = new <anonymous constructor>(completion);
        return var2;
     }

     //Function1接口的函数调用
     public final Object invoke(Object var1) {
        return ((<undefinedtype>)this.create((Continuation)var1)).invokeSuspend(Unit.INSTANCE);
     }
  });
  block = var0;
}
}
上面反编译代码较多,我们来按照注释,仔细分析一下:


1. 注释1是我们的main()函数,反编译后逻辑不会变化。
2. 注释2是block变量,注意这里block在Kotlin代码中的类型是 suspend () -> String,然后根据CPS转换(这里也可以看成是一个挂起函数,毕竟和挂起函数类型是一样的,都是高阶函数类型)类型是(Continuation< String>) -> Any?,所以这里block的类型是Function1。
3. 注释3就是testCoroutine()方法了,根据Kotlin的顶层函数语法,原来的block.startCoroutine(continuation)就变成了ContinuationKt.startCoroutine(block,continuaiton),这个函数调用原理后面细说。
4. 注释4就是block具体实现类实例,首先我们可以看一下其中的方法:首先是注释5的invokeSuspend()函数,这个在之前说挂起函数原理时说过,这个是ContinuationImpl中定义的方法,而ContinuationImpl是Continuation的子类,所以其实现类**既是Function1接口的实现类,也是Continuation子类**。而这里的注释5,就是进入状态机,开始协程业务逻辑执行。
5. 其次就是注释6的create方法,这里传入一个Continuation类型的completion实例,而且会调用返回整个匿名内部类实例,即这里会返回var0,即block实例。


上面第5点暂时不细说,我们先来看看testStartCoroutine()函数中的startCoroutine()方法:
public fun (suspend () -> T).startCoroutine(
completion: Continuation
) {
createCoroutineUnintercepted(completion).intercepted().resume(Unit)
}
这里调用了createCoroutineUnintercepted()方法:
public expect fun (suspend () -> T).createCoroutineUnintercepted(
completion: Continuation
): Continuation
会发现这里是用**expect**修饰的,即是一种声明,我们需要到**协程源代码的JVM实现部分**中找到对应的实现:
public actual fun (suspend () -> T).createCoroutineUnintercepted(
completion: Continuation
): Continuation {
val probeCompletion = probeCoroutineCreated(completion)
//注释2
return if (this is BaseContinuationImpl)
create(probeCompletion)
else
createCoroutineFromSuspendFunction(probeCompletion) {
(this as Function1<Continuation, Any?>).invoke(it)
}
}
可以发现这也是(suspend () -> T)的扩展函数,所以**this其实就是前面代码中的blo**ck,而前面说了反编译中block的实现类类型是继承至ContinuationImpl的,所以注释2的第一个if就能返回ture,而这里就是调用create(probeCompletion)函数。


而这个create()方法就是前面反编译中block实现类的create()方法:
@NotNull
public final Continuation create(@NotNull Continuation completion) {
Intrinsics.checkNotNullParameter(completion, “completion”);
Function1 var2 = new (completion);
return var2;
}
注意了,这里返回值是Continuation类型对象,即调**用完create()方法,其实就对应着协程被创建了**,和挂起函数一样,类型是Continuation类型。


所以这里就好办了,根据前面的知识,这时调用resume,便会触发协程体的状态机入口,所以:
public fun (suspend () -> T).startCoroutine(
completion: Continuation
) {
createCoroutineUnintercepted(completion).intercepted().resume(Unit)
}
这里的最后调用就是resume(Unit),**调用完resume就会调用continuation的invokeSuspend方法,从而开启协程的执行。**


注意上面在resume()方法调用之前,还调用了intercepted()方法,我们简单看一下:
public expect fun Continuation.intercepted(): Continuation
这个方法在Continuation.kt类中,是基础元素,同时也是用expect修饰的,所以我们要去Kotlin源码中找到JVM平台的实现:
public actual fun Continuation.intercepted(): Continuation =
(this as? ContinuationImpl)?.intercepted() ?: this
这里逻辑非常简单,就是将Continuation强转为ContinuationImpl,然后调用它的intercpeted()方法,而前面我们说过block实现类就是这个类的子类,所以强转一定能成功,而这个方法如下:
internal abstract class ContinuationImpl(
completion: Continuation<Any?>?,
private val _context: CoroutineContext?
) : BaseContinuationImpl(completion) {
@Transient
private var intercepted: Continuation<Any?>? = null

public fun intercepted(): Continuation<Any?> =
    intercepted
        ?: (context[ContinuationInterceptor]?.interceptContinuation(this) ?: this)
            .also { intercepted = it }
}
这里的逻辑其实就是通过ContinuationInterceptor类来对Continuation进行拦截和处理,而这里的处理其实就是**将协程派发到线程上**,这部分知识点等我们说Dispatchers时再细说。


所以到这里我们就大致说明白了底层启动协程API的原理,其中**block就是一个协程**,它的类型必须是suspend类型的,然后本质就是一个内部类,**父类是Function1和Continuation**,创建完协程就是返回一个内部类实例,而这个实例类型就是Continuation。


然后**调用resume方法来触发Continuation进入其状态机**。


### launch启动协程


其实有了startCoroutine{}这种基础API,中间层的launch、async、runBlocking这些API就是对基础底层API的封装,所以在理解完前面的原理后,这几个API就很好分析了。


我们还是先来看个例子:
fun main() {
testLaunch()
Thread.sleep(2000L)
}
private fun testLaunch() {
val scope = CoroutineScope(Job())
scope.launch {
println(“Hello!”)
delay(1000L)
println(“World!”)
}
}
这里我们创建了一个scope,然后使用这个scope开启了一个协程,我们直接反编译上面代码,看一下Java代码:
public final class TestCoroutine1Kt {
//注释1 main()函数
public static final void main() {
testLaunch();
Thread.sleep(2000L);
}
public static void main(String[] var0) {
main();
}
private static final void testLaunch() {
//创建scope
CoroutineScope scope = CoroutineScopeKt.CoroutineScope((CoroutineContext)JobKt.Job
d
e
f
a
u
l
t
(
(
J
o
b
)
n
u
l
l
,
1
,
(
O
b
j
e
c
t
)
n
u
l
l
)
)
;
/
/
注释
2
开启协程
B
u
i
l
d
e
r
s
K
t
.
l
a
u
n
c
h
default((Job)null, 1, (Object)null)); //注释2 开启协程 BuildersKt.launch
default((Job)null,1,(Object)null));//注释2开启协程BuildersKt.launchdefault(scope, (CoroutineContext)null, (CoroutineStart)null, (Function2)(new Function2((Continuation)null) {
int label;
     //状态机入口
     @Nullable
     public final Object invokeSuspend(@NotNull Object $result) {
        Object var3 = IntrinsicsKt.getCOROUTINE_SUSPENDED();
        String var2;
        switch(this.label) {
        case 0:
           ResultKt.throwOnFailure($result);
           var2 = "Hello!";
           System.out.println(var2);
           this.label = 1;
           if (DelayKt.delay(1000L, this) == var3) {
              return var3;
           }
           break;
        case 1:
           ResultKt.throwOnFailure($result);
           break;
        default:
           throw new IllegalStateException("call to 'resume' before 'invoke' with coroutine");
        }

        var2 = "World!";
        System.out.println(var2);
        return Unit.INSTANCE;
     }

    //熟悉的create方法
     @NotNull
     public final Continuation create(@Nullable Object value, @NotNull Continuation completion) {
        Intrinsics.checkNotNullParameter(completion, "completion");
        Function2 var3 = new <anonymous constructor>(completion);
        return var3;
     }

     public final Object invoke(Object var1, Object var2) {
        return ((<undefinedtype>)this.create(var1, (Continuation)var2)).invokeSuspend(Unit.INSTANCE);
     }
  }), 3, (Object)null);
}
}
看了上面代码是不是有种熟悉的感觉,尤其是注释2中launch的第三个参数,这里就是和前面block是一样的,创建了一个匿名内部类,所以把上面代码写成下面这种:
private fun testLaunch() {
val scope = CoroutineScope(Job())
val block: suspend CoroutineScope.() -> Unit = {
println(“Hello!”)
delay(1000L)
println(“World!”)
}
scope.launch(block = block)
}
这里的block就是前面基础API中的block类型,所以**block就是协程,而本质上仍然是一个Continuation实例**。


其实到这里,我们就可以大概猜出,launch和底层API的区别了,不外乎就是加了一些启动配置,我们来看一下launch{}源码,来验证一下:
public fun CoroutineScope.launch(
context: CoroutineContext = EmptyCoroutineContext,
start: CoroutineStart = CoroutineStart.DEFAULT,
block: suspend CoroutineScope.() -> Unit
): Job {
//注释1 上下文
val newContext = newCoroutineContext(context)
//注释2 启动模式
val coroutine = if (start.isLazy)
LazyStandaloneCoroutine(newContext, block) else
StandaloneCoroutine(newContext, active = true)
//注释3 启动协程
coroutine.start(start, coroutine, block)
return coroutine
}
* 注释1根据传入的CoroutineContext创建出新的Context,注意这里**默认是EmptyCoroutineContext**,而不是null;
* 注释2是启动模式,也就是之前说的**标准模式和懒加载模式**;
* 注释3就是启动协程了,我们来跟进看一下。
public fun start(start: CoroutineStart, receiver: R, block: suspend R.() -> T) {
start(block, receiver, this)
}
这个方法是AbstractCoroutine这个类中的方法,而这个类很像Java中有Thread.java对应的代表线程的类,我们来看一下这个AbstractCoroutine类:
public abstract class AbstractCoroutine(
parentContext: CoroutineContext,
initParentJob: Boolean,
active: Boolean
) : JobSupport(active), Job, Continuation, CoroutineScope {
init {
    if (initParentJob) initParentJob(parentContext[Job])
}
}
深知大多数程序员,想要提升技能,往往是自己摸索成长,但自己不成体系的自学效果低效又漫长,而且极易碰到天花板技术停滞不前!


既有适合小白学习的零基础资料,也有适合3年以上经验的小伙伴深入学习提升的进阶课程,涵盖了95%以上鸿蒙开发知识点,真正体系化!
由于文件比较多,这里只是将部分目录截图出来,全套包含大厂面经、学习笔记、源码讲义、实战项目、大纲路线、讲解视频,并且后续会持续更新
而且极易碰到天花板技术停滞不前!**
[外链图片转存中…(img-fEr6Vqeo-1715881995741)]
[外链图片转存中…(img-4kOlyBvO-1715881995741)]
既有适合小白学习的零基础资料,也有适合3年以上经验的小伙伴深入学习提升的进阶课程,涵盖了95%以上鸿蒙开发知识点,真正体系化!
由于文件比较多,这里只是将部分目录截图出来,全套包含大厂面经、学习笔记、源码讲义、实战项目、大纲路线、讲解视频,并且后续会持续更新


 被折叠的 条评论
为什么被折叠?
被折叠的 条评论
为什么被折叠?
 到【灌水乐园】发言


