


网上学习资料一大堆,但如果学到的知识不成体系,遇到问题时只是浅尝辄止,不再深入研究,那么很难做到真正的技术提升。
一个人可以走的很快,但一群人才能走的更远!不论你是正从事IT行业的老鸟或是对IT行业感兴趣的新人,都欢迎加入我们的的圈子(技术交流、学习资源、职场吐槽、大厂内推、面试辅导),让我们一起学习成长!
制作布局文件
在这个项目中,我们将有两个 TextView,一个用于纬度,一个用于经度。用户的当前位置将显示在这些 TextView 中。因此,该activity_main.xml文件的代码将是:
<?xml version="1.0" encoding="utf-8"?>
<androidx.constraintlayout.widget.ConstraintLayout xmlns:android="http://schemas.android.com/apk/res/android"
    xmlns:app="http://schemas.android.com/apk/res-auto"
    xmlns:tools="http://schemas.android.com/tools"
    android:layout_width="match_parent"
    android:layout_height="match_parent"
    tools:context=".MainActivity">

    <LinearLayout
        android:id="@+id/linearLayout"
        android:layout_width="match_parent"
        android:layout_height="wrap_content"
        app:layout_constraintBottom_toBottomOf="parent"
        app:layout_constraintEnd_toEndOf="parent"
        app:layout_constraintStart_toStartOf="parent"
        app:layout_constraintTop_toTopOf="parent"
        android:orientation="vertical">
        <TextView
            android:id="@+id/latTextView"
            android:layout_width="match_parent"
            android:layout_height="60sp"
            android:text="@string/default_lat"
            android:gravity="center"
            android:layout_marginBottom="8dp"
            android:textColor="@color/colorBlack"/>
        <TextView
            android:id="@+id/lngTextView"
            android:layout_width="match_parent"
            android:layout_height="60sp"
            android:text="@string/default_lng"
            android:gravity="center"
            android:layout_marginBottom="8dp"
            android:textColor="@color/colorBlack"/>
    </LinearLayout>

</androidx.constraintlayout.widget.ConstraintLayout>
现在,我们完成了所有依赖项和布局部分。
获得用户的许可
由于我们使用了危险的位置权限,所以我们需要明确请求权限。另外,在获取用户当前位置之前,可能会出现以下情况:

我们需要为所有这些权限检查编写函数。因此,在根目录中创建一个包并在该包中创建一个对象类。
- 包名:com.mindorks.example.fusedlocation.utils
- 对象类名:PermissionUtils
在文件中添加以下代码PermissionUtils.kt:
object PermissionUtils {
    /**
     * Function to request permission from the user
     */
    fun requestAccessFineLocationPermission(activity: AppCompatActivity, requestId: Int) {
        ActivityCompat.requestPermissions(
            activity,
            arrayOf(Manifest.permission.ACCESS_FINE_LOCATION),
            requestId
        )
    }

    /**
     * Function to check if the location permissions are granted or not
     */
    fun isAccessFineLocationGranted(context: Context): Boolean {
        return ContextCompat
            .checkSelfPermission(
                context,
                Manifest.permission.ACCESS_FINE_LOCATION
            ) == PackageManager.PERMISSION_GRANTED
    }

    /**
     * Function to check if location of the device is enabled or not
     */
    fun isLocationEnabled(context: Context): Boolean {
        val locationManager: LocationManager =
            context.getSystemService(Context.LOCATION_SERVICE) as LocationManager
        return locationManager.isProviderEnabled(LocationManager.GPS_PROVIDER)
                || locationManager.isProviderEnabled(LocationManager.NETWORK_PROVIDER)
    }

    /**
     * Function to show the "enable GPS" Dialog box
     */
    fun showGPSNotEnabledDialog(context: Context) {
        AlertDialog.Builder(context)
            .setTitle(context.getString(R.string.enable_gps))
            .setMessage(context.getString(R.string.required_for_this_app))
            .setCancelable(false)
            .setPositiveButton(context.getString(R.string.enable_now)) { _, _ ->
                context.startActivity(Intent(Settings.ACTION_LOCATION_SOURCE_SETTINGS))
            }
            .show()
    }
}
MainActivity.kt为文件编写代码
现在,在 MainActivity.kt 文件中,重写该onStart()方法并使用该类检查是否授予PermissionUtils了权限,以及是否授予了权限并在设备中启用了 GPS,然后调用setUpLocationListener()负责获取当前位置的函数. 以下是 的代码onStart():
override fun onStart() {
    super.onStart()
    when {
        PermissionUtils.isAccessFineLocationGranted(this) -> {
            when {
                PermissionUtils.isLocationEnabled(this) -> {
                    setUpLocationListener()
                }
                else -> {
                    PermissionUtils.showGPSNotEnabledDialog(this)
                }
            }
        }
        else -> {
            PermissionUtils.requestAccessFineLocationPermission(
                    this,
                    LOCATION_PERMISSION_REQUEST_CODE
            )
        }
    }
}
现在,创建一个名为setUpLocationListener(). 在函数中,创建Fused Location Provider客户端的实例。
private fun setUpLocationListener() {
    val fusedLocationProviderClient = LocationServices.getFusedLocationProviderClient(this)
}
现在,我们需要定义我们想要的位置请求类型,即我们可以设置所需的位置准确度、所需的位置更新间隔、所需的优先级等。所有这些设置都可以通过使用LocationRequest数据对象来完成。因此,我们可以添加以下代码:
// for getting the current location update after every 2 seconds with high accuracy
val locationRequest = LocationRequest().setInterval(2000).setFastestInterval(2000)
        .setPriority(LocationRequest.PRIORITY_HIGH_ACCURACY)
现在,我们需要做的就是调用该requestLocationUpdates()方法并传递LocationRequest和 aLocationCallback. 之后,将调用 onLocationResult 并且它包含一个位置列表。您可以从此位置变量获取纬度和经度,并根据您的选择使用它。在这里,我们用这个纬度和经度更新我们的 TextView。所以,最终的代码setUpLocationListener()将是:
private fun setUpLocationListener() {
    val fusedLocationProviderClient = LocationServices.getFusedLocationProviderClient(this)
    // for getting the current location update after every 2 seconds with high accuracy
    val locationRequest = LocationRequest().setInterval(2000).setFastestInterval(2000)
            .setPriority(LocationRequest.PRIORITY_HIGH_ACCURACY)
    fusedLocationProviderClient.requestLocationUpdates(
            locationRequest,
            object : LocationCallback() {
                override fun onLocationResult(locationResult: LocationResult) {
                    super.onLocationResult(locationResult)
                    for (location in locationResult.locations) {
                        latTextView.text = location.latitude.toString()
                        lngTextView.text = location.longitude.toString()
                    }
                    // Few more things we can do here:
                    // For example: Update the location of user on server
                }
            },
            Looper.myLooper()
    )
}
最后,为请求权限的结果添加回调:
override fun onRequestPermissionsResult(
requestCode: Int,
permissions: Array<out String>,
grantResults: IntArray
) {
super.onRequestPermissionsResult(requestCode, permissions, grantResults)
when (requestCode) {
LOCATION_PERMISSION_REQUEST_CODE -> {
**深知大多数程序员,想要提升技能,往往是自己摸索成长,但自己不成体系的自学效果低效又漫长,而且极易碰到天花板技术停滞不前!**
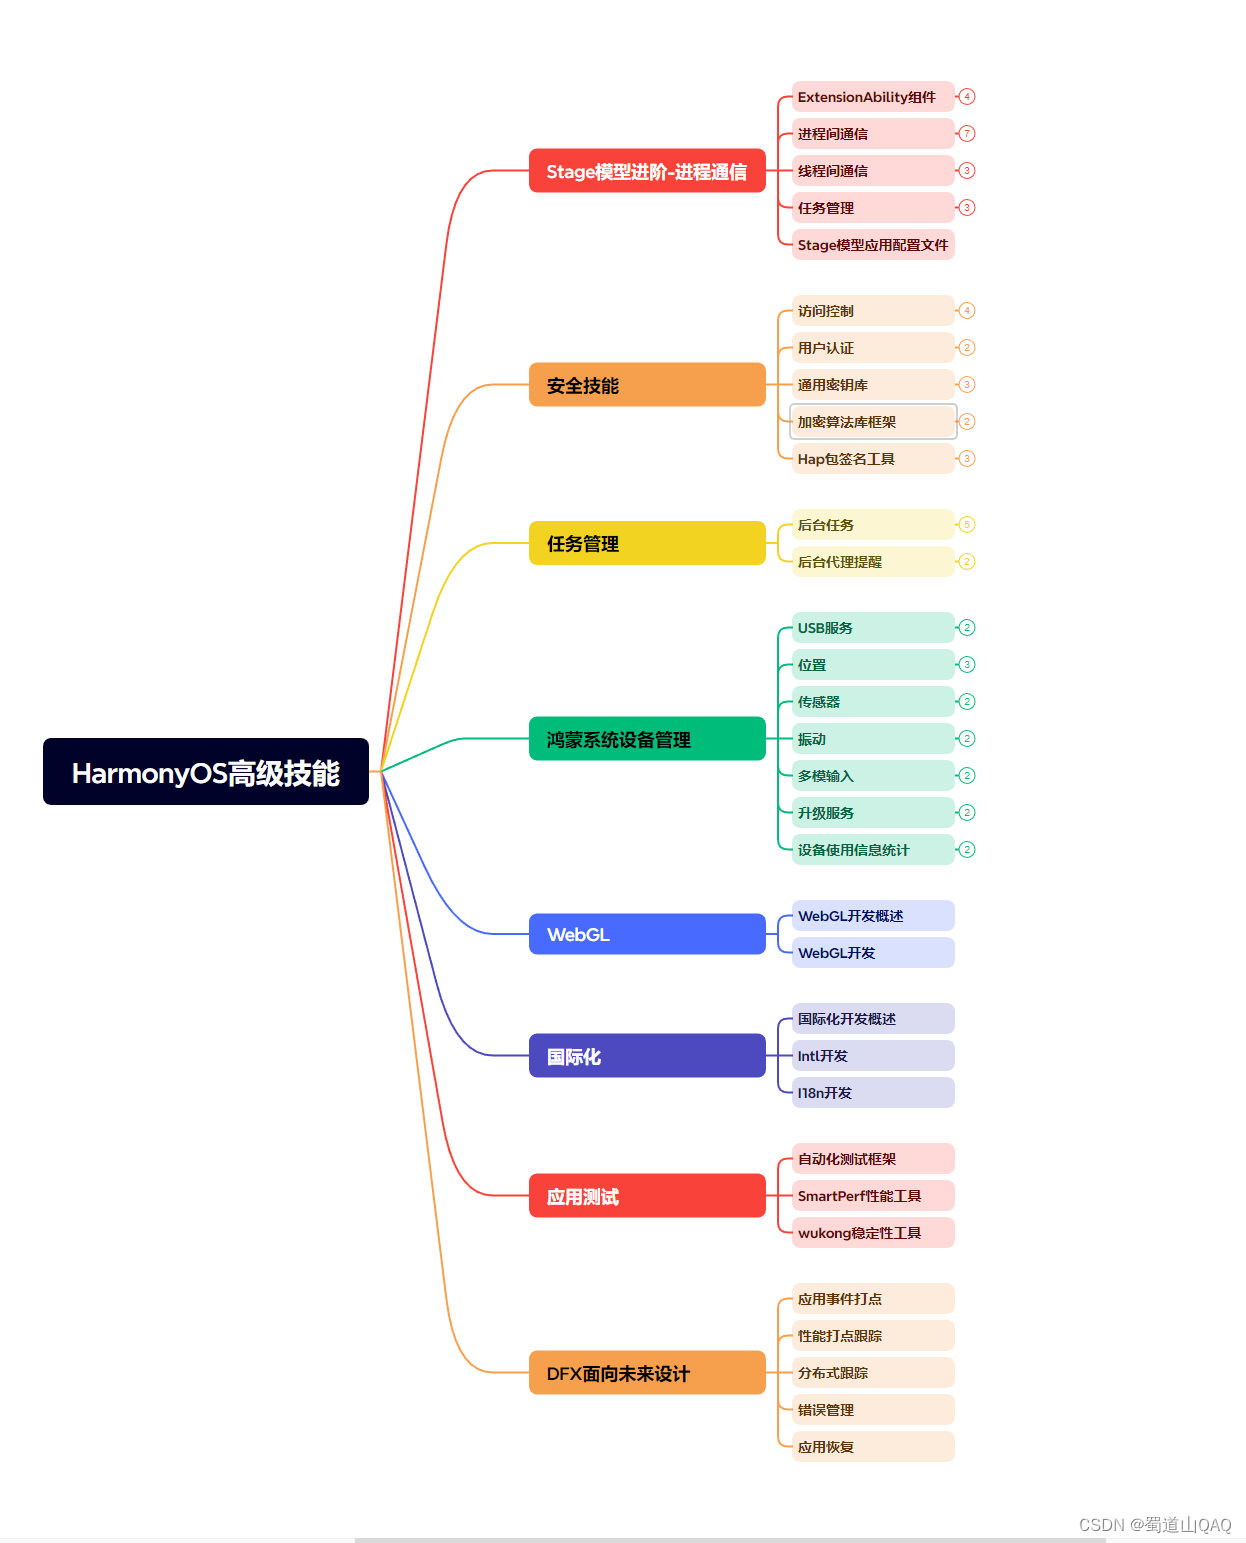

**既有适合小白学习的零基础资料,也有适合3年以上经验的小伙伴深入学习提升的进阶课程,涵盖了95%以上鸿蒙开发知识点,真正体系化!**
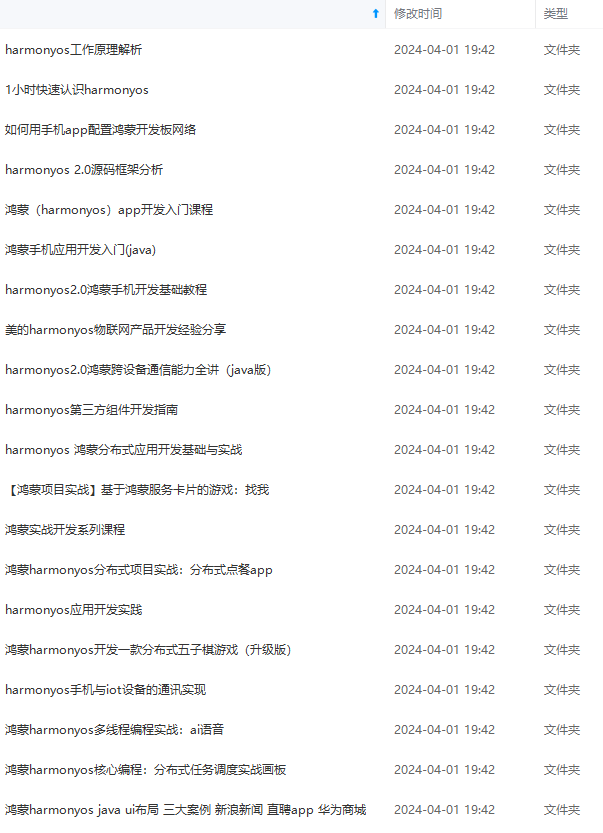
**由于文件比较多,这里只是将部分目录截图出来,全套包含大厂面经、学习笔记、源码讲义、实战项目、大纲路线、讲解视频,并且后续会持续更新**
**[需要这份系统化的资料的朋友,可以戳这里获取](https://bbs.youkuaiyun.com/topics/618636735)**
Qgb01c-1715793699347)]
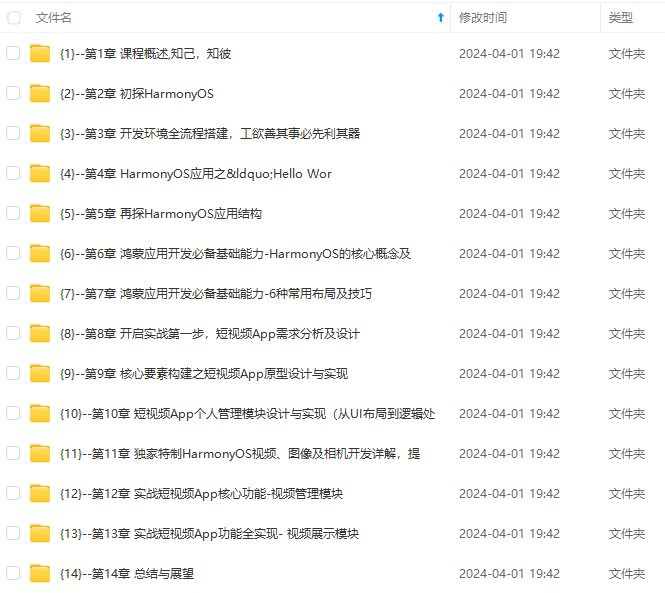
**既有适合小白学习的零基础资料,也有适合3年以上经验的小伙伴深入学习提升的进阶课程,涵盖了95%以上鸿蒙开发知识点,真正体系化!**
**由于文件比较多,这里只是将部分目录截图出来,全套包含大厂面经、学习笔记、源码讲义、实战项目、大纲路线、讲解视频,并且后续会持续更新**
**[需要这份系统化的资料的朋友,可以戳这里获取](https://bbs.youkuaiyun.com/topics/618636735)**


 被折叠的 条评论
为什么被折叠?
被折叠的 条评论
为什么被折叠?
 到【灌水乐园】发言


