


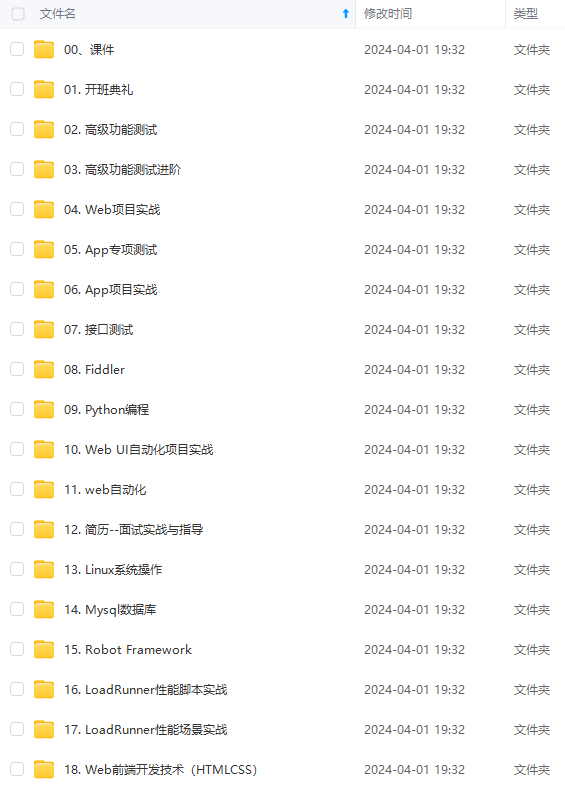


既有适合小白学习的零基础资料,也有适合3年以上经验的小伙伴深入学习提升的进阶课程,涵盖了95%以上软件测试知识点,真正体系化!
由于文件比较多,这里只是将部分目录截图出来,全套包含大厂面经、学习笔记、源码讲义、实战项目、大纲路线、讲解视频,并且后续会持续更新

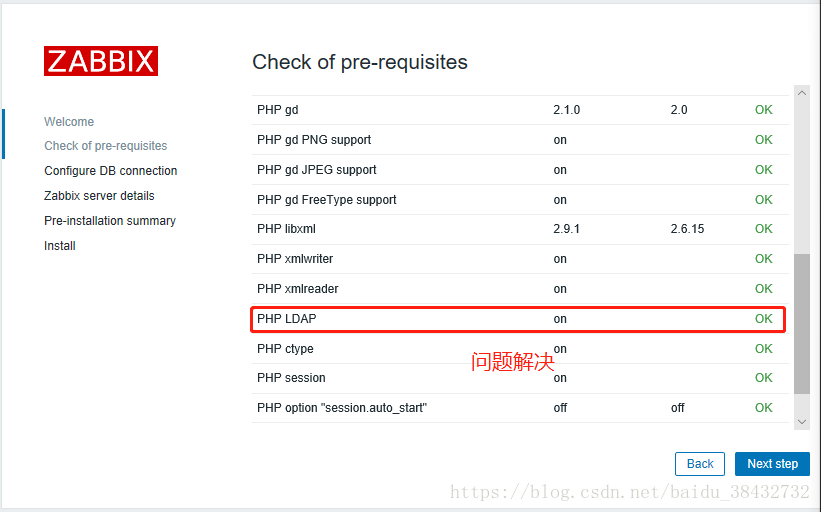
问题原因:ldap.so模块缺失
解决办法:重新编译安装
安装依赖包:[root@localhost ~]# yum install openldap openldap-devel -y
停止php服务:[root@localhost ~]# pkill php-fpm
按照原来编译的参数重新编译并加上–with-ldap参数
[root@localhost ~]# ./configure --prefix=/usr/local/php --with-config-file-path=/usr/local/php/etc --with-bz2 --with-curl --enable-ftp --enable-sockets --disable-ipv6 --with-gd --with-jpeg-dir=/usr/local --with-png-dir=/usr/local --with-freetype-dir=/usr/local --enable-gd-native-ttf --with-iconv-dir=/usr/local --enable-mbstring --enable-calendar --with-gettext --with-libxml-dir=/usr/local --with-zlib --with-pdo-mysql=mysqlnd --with-mysqli=mysqlnd --with-mysql=mysqlnd --enable-dom --enable-xml --enable-fpm --with-libdir=lib64 --enable-bcmath --with-ldap
[root@localhost ~]# make && make install
[root@localhost ~]# make test
从新刷新网页界面后得到以下界面
3、进入下一步再次数据库链接异常报错

报错原因:php链接数据库异常
解决办法:
查找数据库的sock文件:
[root@localhost ~]# find / -name mysql.sock
/var/lib/mysql/mysql.sock
修改php的php.ini配置文件:
[root@localhost ~]# vim /usr/local/php/etc/php.ini
[root@localhost ~]# sed -n ‘/mysqli.default_socket/p’ /usr/local/php/etc/php.ini
mysqli.default_socket = /data/mysql/mysql.sock
重启php:
[root@localhost ~]# pkill php-fpm
[root@localhost ~]# /usr/local/php/sbin/php-fpm
解决后的到如下图:

4、点击下一步得到数据库的相应信息,如下

5、点击下一步有报错,报错信息如下

问题原因:数据库信息在zabbix配置文件里没有配置好
解决办法:
修改配置文件
[root@localhost ~]# cd /data/zabbix/conf/
[root@localhost conf]# cp zabbix.conf.php.example zabbix.conf.php
[root@localhost conf]# vim zabbix.conf.php

重启php服务:
[root@localhost conf]# pkill php-fpm
[root@localhost conf]# /usr/local/php/sbin/php-fpm
刷新网页得到以下报错:

问题原因:手动修改的文件无法起作用
解决办法:
点击上图中蓝色的Download the configuration file 后下载zabbix.conf.php文件,并将文件传到服务器的zabbix目录的conf路径下的配置文件,我的路径是/data/zabbix/conf
放到路径下后我们直接刷新网页界面,得到如下图:

出现以上的绿色字样标志着我们的zabbix已经安装完毕,此时可以点击finish
6、此时出现登陆界面了:(默认账号是:admin,密码是:zabbix)

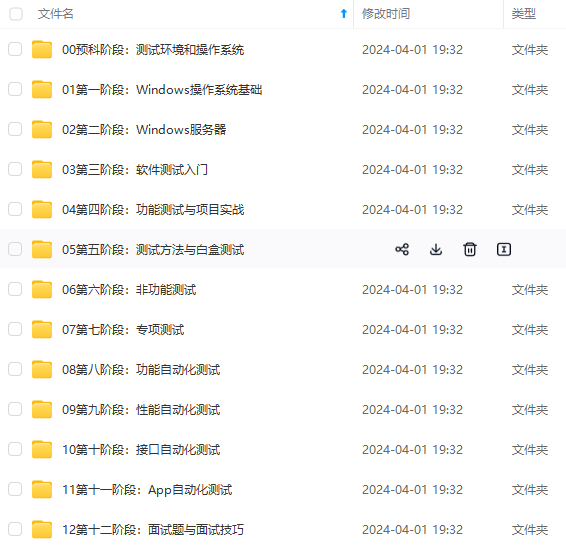

既有适合小白学习的零基础资料,也有适合3年以上经验的小伙伴深入学习提升的进阶课程,涵盖了95%以上软件测试知识点,真正体系化!
由于文件比较多,这里只是将部分目录截图出来,全套包含大厂面经、学习笔记、源码讲义、实战项目、大纲路线、讲解视频,并且后续会持续更新
也有适合3年以上经验的小伙伴深入学习提升的进阶课程,涵盖了95%以上软件测试知识点,真正体系化!**
由于文件比较多,这里只是将部分目录截图出来,全套包含大厂面经、学习笔记、源码讲义、实战项目、大纲路线、讲解视频,并且后续会持续更新


 1168
1168

 被折叠的 条评论
为什么被折叠?
被折叠的 条评论
为什么被折叠?
 到【灌水乐园】发言


