


| layout_constraintLeft_toRightOf | layout_toRightOf |
| layout_constraintRight_toRightOf | layout_alignRight |
| layout_constraintRight_toLeftOf | layout_toLeftOf |
| layout_constraintStart_toStartOf | layout_slignStart |
| layout_constraintStart_toEndOf | layout_toStartOf |
| layout_constraintTop_toTopOf | layout_alignTop |
| layout_constraintTop_toBottomOf | layout_below |
注:需要注意的是当属性的值为parent时,这些属性需要成对出现,否则起不到约束效果,所谓的成对指的是若约束了layout_constraintLeft_toLeft/RightOf 必要约束layout_constraintRight_toLeft/RightOf,bottom与Top同理。
居中
居中包括在约定方向上居中和在整个布局居中即处于页面正中心。
在约定方向上的居中,这里举的是垂直居中即该组件处于页面高度的一半的位置:
app:layout_constraintBottom_toBottomOf=“parent”
app:layout_constraintTop_toTopOf=“parent”
在页面正中心的实现也一样,只不过多了水平方向上的约束
app:layout_constraintBottom_toBottomOf=“parent”
app:layout_constraintEnd_toEndOf=“parent”
app:layout_constraintStart_toStartOf=“parent”
app:layout_constraintTop_toTopOf=“parent”
在LTR布局方式下(一般情况下 Android Studio默认此布局),View开始部分就是左边,即Start和Left等价,End和Right等价,所以以上代码也可以写成
app:layout_constraintBottom_toBottomOf=“parent”
app:layout_constraintRight_toRightOf=“parent”
app:layout_constraintLeft_toLeftOf=“parent”
app:layout_constraintTop_toTopOf=“parent”
需要注意的是,有的语言目前为止还是按照从右往左的顺序来书写的,例如阿拉伯语,此时需要采用RTL布局,即Right等价于Start,Left等价于End,如果在布局的时候需要适配不同的国家,以下有个参数要设置
android:supportsRtl=“true”
偏移
偏移的实现主要有两种做法:
- 约束组件的相对位置后通过规定margin属性来实现,是通过规定具体的数值来约束偏移量的。
比如以下代码:
android:layout_marginTop=“30dp”
app:layout_constraintBottom_toBottomOf=“parent”
app:layout_constraintEnd_toEndOf=“parent”
app:layout_constraintStart_toStartOf=“parent”
app:layout_constraintTop_toTopOf=“parent”
此代码最终实现的效果是在处于页面正中心的前提下,通过设置marginTop属性的值,使得该组件与页面上方的距离为30dp,以下为示例图:

2. 通过规定layout_constraintHorizontal_bias属性的数值实现水平偏移,通过规定layout_constraintVertical_bias属性的数值实现垂直偏移。需要注意的是和margin不同,bias的值是一个比例值,是相对于布局的比例属性。
下面是layout_constraintHorizontal_bias的一个示例:
app:layout_constraintEnd_toEndOf=“parent”
app:layout_constraintHorizontal_bias=“1”
app:layout_constraintStart_toStartOf=“parent”
此代码最终实现的效果是在水平居中后,偏向布局最右端。
以下为示例图:

下面通过一个表格来说明水平偏移中bias的值对偏移的影响:
| layout_constraintHorizontal_bias | 该组件位置 |
| — | — |
| 0 | 布局最左端 |
| 1 | 布局最右端 |
| 0.5 | 布局的水平居中处 |
| >0.5 | 偏向布局的水平靠右端 |
| <0.5 | 偏向布局的水平靠左端 |
垂直偏移量layout_constraintVertical_bias与上述水平偏移相似,不再赘述。
基线对齐
这个功能主要与layout_constraintBaseline_toBaselineOf这个属性有关,首先要知道什么是基线。基线通俗地来讲就是该组件的水平位置上一条居中的线。
基线未对齐:

基线对齐:

那么如何使两个组件的基线对齐呢,以下是示例代码
<TextView
android:id=“@+id/组件1”
…/>
<TextView
android:id=“@+id/组件2”
…
app:layout_constraintLeft_toRightOf=“@+id/组件1”
app:layout_constraintBaseline_toBaselineOf=“@+id/组件1”/>
实例
介绍了如上三点的主要内容后,接下来是一个结合了上面三点即居中,偏移,基线实现的小案例,以供参考:
<?xml version="1.0" encoding="utf-8"?><android.support.constraint.ConstraintLayout xmlns:android=“http://schemas.android.com/apk/res/android”
xmlns:app=“http://schemas.android.com/apk/res-auto”
xmlns:tools=“http://schemas.android.com/tools”
android:layout_width=“match_parent”
android:layout_height=“match_parent”>
<TextView
android:id=“@+id/red”
android:layout_width=“wrap_content”
android:layout_height=“wrap_content”
android:background=“#F00”
android:padding=“23dp”
android:text=“RED”
android:textColor=“#050500” />
<TextView
android:id=“@+id/org”
android:layout_width=“wrap_content”
android:layout_height=“wrap_content”
android:background=“#FFA600”
android:padding=“23dp”
android:text=“ORANGE”
android:textColor=“#050500”
app:layout_constraintEnd_toEndOf=“parent”
app:layout_constraintStart_toStartOf=“parent” />
<TextView
android:id=“@+id/yellow”
android:layout_width=“wrap_content”
android:layout_height=“wrap_content”
android:background=“#FFFF00”
android:padding=“23dp”
android:text=“YELLOW”
android:textColor=“#050500”
app:layout_constraintEnd_toEndOf=“parent”
app:layout_constraintHorizontal_bias=“1”
app:layout_constraintStart_toStartOf=“parent” />
<TextView
android:id=“@+id/blue”
android:layout_width=“wrap_content”
android:layout_height=“wrap_content”
android:layout_marginTop=“30dp”
android:background=“#0000FF”
android:padding=“23dp”
android:text=“BLUE”
android:textColor=“#FFFFFF”
app:layout_constraintBottom_toBottomOf=“parent”
app:layout_constraintEnd_toEndOf=“parent”
app:layout_constraintStart_toStartOf=“parent”
app:layout_constraintTop_toTopOf=“parent” />
<TextView
android:id=“@+id/green”
android:layout_width=“wrap_content”
android:layout_height=“wrap_content”
android:layout_marginRight=“10dp”
app:layout_constraintBaseline_toBaselineOf=“@id/blue”
android:background=“#00FF00”
android:padding=“23dp”
android:text=“GREEN”
android:textColor=“#050500”
app:layout_constraintBottom_toBottomOf=“parent”
app:layout_constraintEnd_toStartOf=“@id/blue”
app:layout_constraintTop_toTopOf=“parent” />
<TextView
android:layout_width=“wrap_content”
android:layout_height=“wrap_content”
android:layout_marginLeft=“10dp”
app:layout_constraintBaseline_toBaselineOf=“@id/blue”
android:background=“#4A0084”
android:padding=“23dp”
android:text=“INDIGO”
android:textColor=“#FFFFFF”
app:layout_constraintBottom_toBottomOf=“parent”
app:layout_constraintStart_toEndOf=“@id/blue”
app:layout_constraintTop_toTopOf=“parent” />
<TextView
android:layout_width=“fill_parent”
android:layout_height=“wrap_content”
android:layout_marginLeft=“10dp”
android:layout_marginTop=“30dp”
android:background=“#EE82EE”
android:padding=“23dp”
android:text=“VIOLET”
android:textAlignment=“center”
android:textColor=“#050500”
app:layout_constraintBottom_toBottomOf=“parent” />
</android.support.constraint.ConstraintLayout>
实现效果:

Guideline
Guideline 顾名思义是一条导航线,它的作用主要是分割布局。在LinearLayout中我们想要分割布局通常是使用设置权重的方式来分割,比如
android:layout_weight=“1”
而Guideline在ConstraintLayout中也能帮助实现这样的分割,首先,先介绍Guideline的一些属性:
| 属性 | 含义 |
| — | — |
| android:orientation | vertical / horizontal |
| layout_constraintGuide | 开始位置 左 / 上 |
| layout_constraintGuide_end | 结束位置 右 / 下 |
| layout_constraintGuide_percent | 距离顶部 / 左边的百分比 |
需要注意的是Guideline是一条在实际运行过程中看不见的线,只是起到一个辅助作用,所以设置Guideline的width和height是没有任何意义的。
若要实现布局的三等分,基本的框架如下:
<View,右边约束分割线1/>
<分割线1,距离左边33%/>
<View,左边约束分割线1,右边约束分割线2/>
<分割线2,距离左边66%/>
<View,左边约束分割线2/>
Group
Group可以把需要进行同样操作的组件归为一组,方便了操作,使代码不会过于繁琐,使用方式也较为简单,只要在constraint_referenced_ids属性中定义要归为一组的组件的id,用逗号隔开就可以实现。
对于上述实例可以将red和yellow两个组件设置成一组,并规定不可见。
<android.support.constraint.Group
android:id=“@+id/group”
android:layout_width=“wrap_content”
android:layout_height=“wrap_content”
android:visibility=“invisible”
app:constraint_referenced_ids=“yellow,red”/>
实现效果:

Barrier
Barrier意为屏障,它的主要用途为约束组件的位置。通常在组件的大小不确定的情况下使用。
如以下这种情况:

如图有三个组件A、B、C。其中AB组件的宽度为wrap_content即不确定,此时若要求C处于A、B的右端,如果将C约束在A右端或B右端,都是不合理的,A或B的宽度一旦改变,C就有可能不处于A、B的右端。这时候Barrier就派上用场了。要实现上面的效果可以用以下的方式:
<TextView
android:id=“@+id/A”
android:layout_width=“wrap_content”
android:layout_height=“wrap_content” />
<TextView
android:id=“@+id/B”
android:layout_width=“wrap_content”
android:layout_height=“wrap_content”
app:layout_constraintTop_toBottomOf=“@+id/A” />
<android.support.constraint.Barrier
android:id=“@+id/barrier”
android:layout_width=“wrap_content”
android:layout_height=“wrap_content”
app:barrierDirection=“right”
app:constraint_referenced_ids=“A,B” />
<TextView
android:id=“@+id/C”
android:layout_width=“wrap_content”
android:layout_height=“wrap_content”
app:layout_constraintLeft_toRightOf=“@+id/barrier” />
其中app:barrierDirection的值除了right还有left,start,end,bottom,top。app:constraint_referenced_ids为Barrier引用的组件id名,本例中设置的barrier在A,B的右边,所以
app:barrierDirection=“right”
app:constraint_referenced_ids=“A,B”
===================================================================================
前文我们已经介绍了ConstraintLayout的基本属性及属性的应用方法,相信大家已经能初步掌握ConstraintLayout的基本使用了,接下来将介绍如何利用ConstraintLayout制作动画。
① 创建两个不同的布局
② 每个布局设置不同的约束
③ 利用动画框架来进行两种约束之间的切换。
以下将依靠实例说明使用方式
1.创建动画的初始布局——activity_main.xml
<?xml version="1.0" encoding="utf-8"?><android.support.constraint.ConstraintLayout xmlns:android=“http://schemas.android.com/apk/res/android”
xmlns:app=“http://schemas.android.com/apk/res-auto”
xmlns:tools=“http://schemas.android.com/tools”
android:id=“@+id/animation”
android:layout_width=“match_parent”
android:layout_height=“match_parent”
tools:context=“cn.edu.fjnu.cl.animation.MainActivity”>
<TextView
android:id=“@+id/tv_score”
android:layout_width=“wrap_content”
android:layout_height=“wrap_content”
android:layout_marginTop=“8dp”
android:text=“评分:9.4分”
app:layout_constraintStart_toStartOf=“@+id/tv_name”
app:layout_constraintTop_toBottomOf=“@+id/tv_name” />
<TextView
android:id=“@+id/tv_name”
android:layout_width=“wrap_content”
android:layout_height=“wrap_content”
android:layout_marginLeft=“20dp”
android:layout_marginTop=“8dp”
android:text=“千与千寻”
android:textColor=“#282828”
android:textSize=“20sp”
app:layout_constraintStart_toEndOf=“@+id/iv_poster”
app:layout_constraintTop_toTopOf=“@+id/iv_poster” />
<ImageView
android:id=“@+id/iv_poster”
android:layout_width=“120dp”
android:layout_height=“160dp”
android:layout_marginLeft=“20dp”
android:layout_marginTop=“20dp”
android:scaleType=“centerCrop”
app:layout_constraintStart_toStartOf=“parent”
app:layout_constraintTop_toTopOf=“parent”
app:srcCompat=“@drawable/poster” />
</android.support.constraint.ConstraintLayout>
布局效果如下

2.创建动画变动后的布局——animation_layout.xml
<?xml version="1.0" encoding="utf-8"?><android.support.constraint.ConstraintLayout xmlns:android=“http://schemas.android.com/apk/res/android”
xmlns:app=“http://schemas.android.com/apk/res-auto”
xmlns:tools=“http://schemas.android.com/tools”
android:id=“@+id/animation”
android:layout_width=“match_parent”
android:layout_height=“match_parent”
tools:context=“cn.edu.fjnu.cl.animation.MainActivity”>
自我介绍一下,小编13年上海交大毕业,曾经在小公司待过,也去过华为、OPPO等大厂,18年进入阿里一直到现在。
深知大多数初中级Android工程师,想要提升技能,往往是自己摸索成长或者是报班学习,但对于培训机构动则近万的学费,着实压力不小。自己不成体系的自学效果低效又漫长,而且极易碰到天花板技术停滞不前!
因此收集整理了一份《2024年Android移动开发全套学习资料》,初衷也很简单,就是希望能够帮助到想自学提升又不知道该从何学起的朋友,同时减轻大家的负担。
既有适合小白学习的零基础资料,也有适合3年以上经验的小伙伴深入学习提升的进阶课程,基本涵盖了95%以上Android开发知识点,真正体系化!
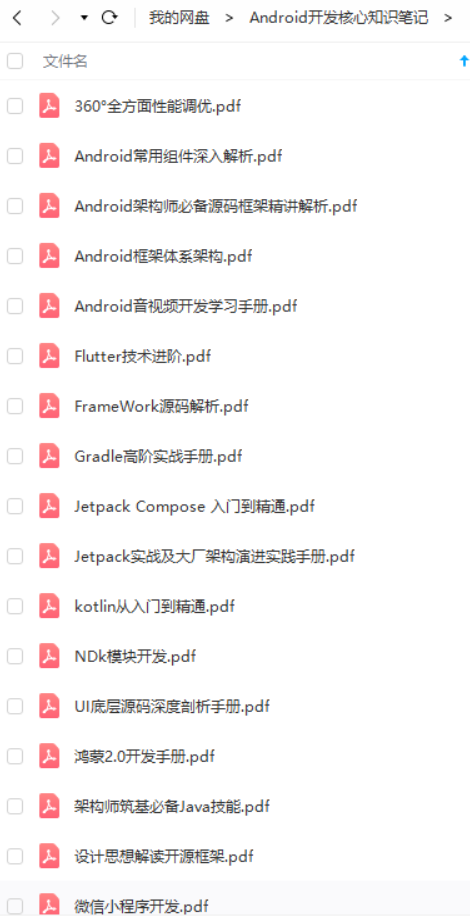
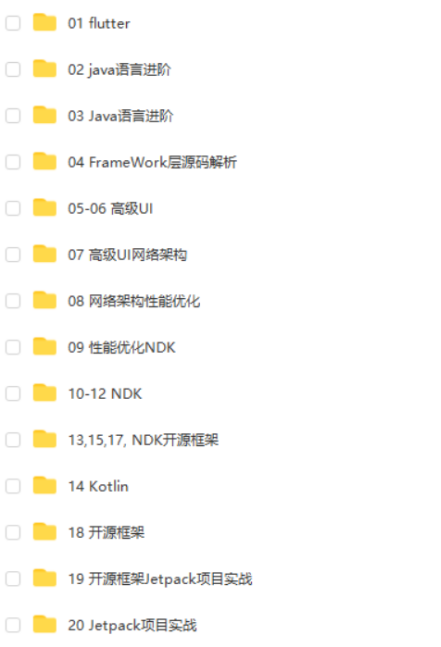
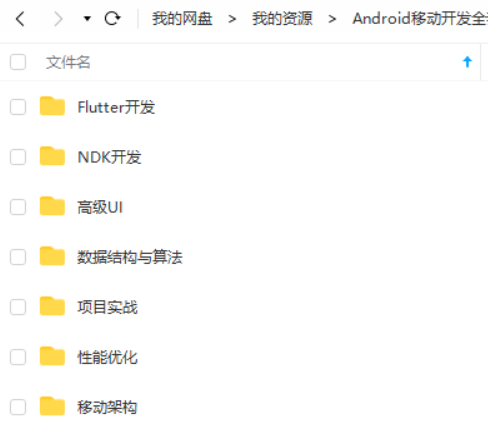
由于文件比较大,这里只是将部分目录截图出来,每个节点里面都包含大厂面经、学习笔记、源码讲义、实战项目、讲解视频,并且会持续更新!
如果你觉得这些内容对你有帮助,可以扫码获取!!(备注:Android)

最后
其实Android开发的知识点就那么多,面试问来问去还是那么点东西。所以面试没有其他的诀窍,只看你对这些知识点准备的充分程度。so,出去面试时先看看自己复习到了哪个阶段就好。
虽然 Android 没有前几年火热了,已经过去了会四大组件就能找到高薪职位的时代了。这只能说明 Android 中级以下的岗位饱和了,现在高级工程师还是比较缺少的,很多高级职位给的薪资真的特别高(钱多也不一定能找到合适的),所以努力让自己成为高级工程师才是最重要的。
这里附上上述的面试题相关的几十套字节跳动,京东,小米,腾讯、头条、阿里、美团等公司21年的面试题。把技术点整理成了视频和PDF(实际上比预期多花了不少精力),包含知识脉络 + 诸多细节。
由于篇幅有限,这里以图片的形式给大家展示一小部分。
网上学习 Android的资料一大堆,但如果学到的知识不成体系,遇到问题时只是浅尝辄止,不再深入研究,那么很难做到真正的技术提升。希望这份系统化的技术体系对大家有一个方向参考。
《互联网大厂面试真题解析、进阶开发核心学习笔记、全套讲解视频、实战项目源码讲义》点击传送门即可获取!
5%以上Android开发知识点,真正体系化!**
由于文件比较大,这里只是将部分目录截图出来,每个节点里面都包含大厂面经、学习笔记、源码讲义、实战项目、讲解视频,并且会持续更新!
如果你觉得这些内容对你有帮助,可以扫码获取!!(备注:Android)
[外链图片转存中…(img-3ZSpWovj-1713784997584)]
最后
其实Android开发的知识点就那么多,面试问来问去还是那么点东西。所以面试没有其他的诀窍,只看你对这些知识点准备的充分程度。so,出去面试时先看看自己复习到了哪个阶段就好。
虽然 Android 没有前几年火热了,已经过去了会四大组件就能找到高薪职位的时代了。这只能说明 Android 中级以下的岗位饱和了,现在高级工程师还是比较缺少的,很多高级职位给的薪资真的特别高(钱多也不一定能找到合适的),所以努力让自己成为高级工程师才是最重要的。
这里附上上述的面试题相关的几十套字节跳动,京东,小米,腾讯、头条、阿里、美团等公司21年的面试题。把技术点整理成了视频和PDF(实际上比预期多花了不少精力),包含知识脉络 + 诸多细节。
由于篇幅有限,这里以图片的形式给大家展示一小部分。
[外链图片转存中…(img-hw3rUmZG-1713784997585)]
网上学习 Android的资料一大堆,但如果学到的知识不成体系,遇到问题时只是浅尝辄止,不再深入研究,那么很难做到真正的技术提升。希望这份系统化的技术体系对大家有一个方向参考。
《互联网大厂面试真题解析、进阶开发核心学习笔记、全套讲解视频、实战项目源码讲义》点击传送门即可获取!


 1347
1347

 被折叠的 条评论
为什么被折叠?
被折叠的 条评论
为什么被折叠?
 到【灌水乐园】发言


