


-
22
-
23
-
24
-
25
-
26
-
27
-
28
-
29
-
30
-
31
-
32
-
33
-
34
设置完Activity后要在layout文件夹写一个item来配置simple的控件。
<LinearLayout xmlns:android="http://schemas.android.com/apk/res/android" android:layout_width="match_parent" android:layout_height="match_parent" android:orientation="horizontal"> //先设置文本 <TextView android:layout_width="wrap_content" android:layout_height="wrap_content" android:id="@+id/name" android:textSize="30dp" android:paddingLeft="10dp"/> <LinearLayout android:layout_width="match_parent" android:layout_height="wrap_content" android:gravity="right"> //后设置图片 <ImageView android:id="@+id/header" android:layout_width="80dp" android:layout_height="80dp" android:layout_marginRight="10dp" /> </LinearLayout> </LinearLayout>
-
1
-
2
-
3
-
4
-
5
-
6
-
7
-
8
-
9
-
10
-
11
-
12
-
13
-
14
-
15
-
16
-
17
-
18
-
19
-
20
-
21
-
22
-
23
-
24
代码结果截图

2.2 AlertDialog
AlertDialog功能非常强大,可以实现各种对话框。
实现步骤:
① 创建AlertDialog.Builder对象。
② 调用AlertDialog.Builder的setTitle()方法设置标题。
③ 调用AlertDialog.Builder的SetIcon()方法设置图标。
④ 调用AlertDialog.Builder的相关设置方法设置对话框内容。
⑤ 调用AlertDialog.Builder的set来添加按钮。
⑥ 调用AlertDialog.Builder的create()方法创建对象后show()出该对话框。
设置Activity
public class MainActivity extends AppCompatActivity { @Override protected void onCreate(Bundle savedInstanceState) { super.onCreate(savedInstanceState); setContentView(R.layout.activity_main); Button bn=(Button)findViewById(R.id.clickme); LayoutInflater inflater=MainActivity.this.getLayoutInflater(); View v= inflater.inflate(R.layout.alerdialog,null,false); Context context=MainActivity.this; AlertDialog.Builder builder=new AlertDialog.Builder(context); //创建AlterDialog对象 builder.setView(v); //输入文本 builder.setCancelable(false); final AlertDialog alertDialog=builder.create(); //创建对象 bn.setOnClickListener(new View.OnClickListener() { @Override public void onClick(View view) { alertDialog.show(); } }); v.findViewById(R.id.cancle).setOnClickListener(new View.OnClickListener() { @Override public void onClick(View view) { Toast.makeText(MainActivity.this,"cancle",Toast.LENGTH_LONG).show(); alertDialog.dismiss(); } }); v.findViewById(R.id.signin).setOnClickListener(new View.OnClickListener() { @Override public void onClick(View view) { Toast.makeText(MainActivity.this,"Sign in",Toast.LENGTH_LONG).show(); alertDialog.dismiss(); } }); } }
-
1
-
2
-
3
-
4
-
5
-
6
-
7
-
8
-
9
-
10
-
11
-
12
-
13
-
14
-
15
-
16
-
17
-
18
-
19
-
20
-
21
-
22
-
23
-
24
-
25
-
26
-
27
-
28
-
29
-
30
-
31
-
32
-
33
-
34
-
35
-
36
-
37
-
38
-
39
-
40
-
41
-
42
Activity.xml
<Button android:layout_width="wrap_content" android:layout_height="wrap_content" android:text="点我" android:id="@+id/clickme" android:layout_gravity="center_horizontal" />
-
1
-
2
-
3
-
4
-
5
-
6
AlterDialog.xml
<LinearLayout xmlns:android="http://schemas.android.com/apk/res/android" android:layout_width="match_parent" android:layout_height="match_parent" android:orientation="vertical"> <LinearLayout android:layout_width="match_parent" android:layout_height="wrap_content"> <TextView android:layout_width="match_parent" android:layout_height="wrap_content" android:text="AlertAialog" android:textSize="50dp" android:textColor="#fff" android:gravity="center" android:background="#334488" android:paddingTop="20dp" android:paddingBottom="20dp"/> </LinearLayout> <LinearLayout android:layout_width="match_parent" android:layout_height="wrap_content" android:orientation="vertical" android:layout_marginTop="10dp"> <EditText android:layout_width="match_parent" android:layout_height="wrap_content" android:hint="Username" android:layout_marginLeft="5dp" android:layout_marginRight="5dp"/> <EditText android:layout_width="match_parent" android:layout_height="wrap_content" android:hint="Password" android:inputType="textPassword" android:layout_marginLeft="5dp" android:layout_marginRight="5dp"/> </LinearLayout> <LinearLayout android:layout_width="match_parent" android:layout_height="wrap_content" android:orientation="horizontal" android:layout_marginTop="10dp"> <Button android:id="@+id/cancle" android:layout_width="match_parent" android:layout_height="wrap_content" android:layout_weight="1" android:background="@drawable/shapdrawable" android:gravity="center" android:text="Cancel" android:textColor="#000" /> <Button android:id="@+id/signin" android:layout_width="match_parent" android:layout_height="wrap_content" android:text="Sign in" android:background="@drawable/shapdrawable" android:textColor="#000" android:gravity="center" android:layout_weight="1"/> </LinearLayout> </LinearLayout>
-
1
-
2
-
3
-
4
-
5
-
6
-
7
-
8
-
9
-
10
-
11
-
12
-
13
-
14
-
15
-
16
-
17
-
18
-
19
-
20
-
21
-
22
-
23
-
24
-
25
-
26
-
27
-
28
-
29
-
30
-
31
-
32
-
33
-
34
-
35
-
36
-
37
-
38
-
39
-
40
-
41
-
42
-
43
-
44
-
45
-
46
-
47
-
48
-
49
-
50
-
51
-
52
-
53
-
54
-
55
-
56
-
57
-
58
-
59
-
60
-
61
-
62
-
63
-
64
-
65
-
66
代码结果截图

2.3 XML menu
Android 提供了两种创建菜单的方式,一种是直接在java文件里写,另一种是在Android开发中使用较广的XML资源文件定义。笔者是使用不会使代码更臃肿的XML方法来定义。
<TextView android:id="@+id/textid" android:layout_width="wrap_content" android:layout_height="wrap_content" android:text="用于测试的内容!" />
-
1
-
2
-
3
-
4
-
5
public class MainActivity extends AppCompatActivity { private final int size=110; private final int common=111; private final int color=112; private TextView textId; @Override protected void onCreate(Bundle savedInstanceState) { super.onCreate(savedInstanceState); setContentView(R.layout.activity_main); textId=(TextView)findViewById(R.id.textid); } @Override public boolean onCreateOptionsMenu(Menu menu) { menu.add(1,size,1,"字体大小"); menu.add(1,common,2,"普通菜单项"); menu.add(1,color,3,"字体颜色"); return super.onCreateOptionsMenu(menu); } @Override public boolean onOptionsItemSelected(MenuItem item) { int id=item.getItemId(); switch (id){ case size: final AlertDialog.Builder builder=new AlertDialog.Builder(this); builder.setTitle("设置字体大小"); builder.setSingleChoiceItems(new String[]{"10号字体","16号字体","20号字体"},-1,new DialogInterface.OnClickListener(){ @Override public void onClick(DialogInterface dialogInterface, int i) { switch (i){ case 0:textId.setTextSize(10); dialogInterface.dismiss(); break; case 1:textId.setTextSize(16); dialogInterface.dismiss(); break; case 2:textId.setTextSize(20); dialogInterface.dismiss(); break; } } }); builder.setNegativeButton("取消",null); builder.show(); break; case common: Toast.makeText(this,"你点击了普通菜单项", Toast.LENGTH_LONG).show(); break; case color: final AlertDialog.Builder builder2=new AlertDialog.Builder(this); builder2.setTitle("设置字体颜色"); builder2.setSingleChoiceItems(new String[]{"红色","黑色","蓝色"},-1,new DialogInterface.OnClickListener(){ @Override public void onClick(DialogInterface dialogInterface, int i) { switch (i){ case 0:textId.setTextColor(Color.RED); dialogInterface.dismiss(); break; case 1:textId.setTextColor(Color.BLACK); dialogInterface.dismiss(); break; case 2:textId.setTextColor(Color.BLUE); dialogInterface.dismiss(); break; } } }); builder2.setNegativeButton("取消",null); builder2.show(); break; } return super.onOptionsItemSelected(item); } }
-
1
-
2
-
3
-
4
-
5
-
6
-
7
-
8
-
9
-
10
-
11
-
12
-
13
-
14
-
15
-
16
-
17
-
18
-
19
-
20
-
21
-
22
-
23
-
24
-
25
-
26
-
27
-
28
-
29
-
30
-
31
-
32
-
33
-
34
-
35
-
36
-
37
-
38
-
39
-
40
-
41
-
42
-
43
自我介绍一下,小编13年上海交大毕业,曾经在小公司待过,也去过华为、OPPO等大厂,18年进入阿里一直到现在。
深知大多数初中级Android工程师,想要提升技能,往往是自己摸索成长或者是报班学习,但对于培训机构动则近万的学费,着实压力不小。自己不成体系的自学效果低效又漫长,而且极易碰到天花板技术停滞不前!
因此收集整理了一份《2024年Android移动开发全套学习资料》,初衷也很简单,就是希望能够帮助到想自学提升又不知道该从何学起的朋友,同时减轻大家的负担。
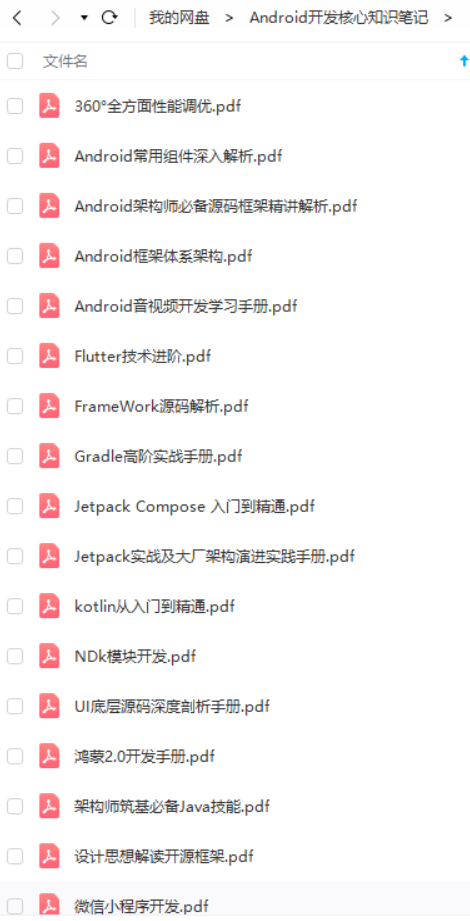

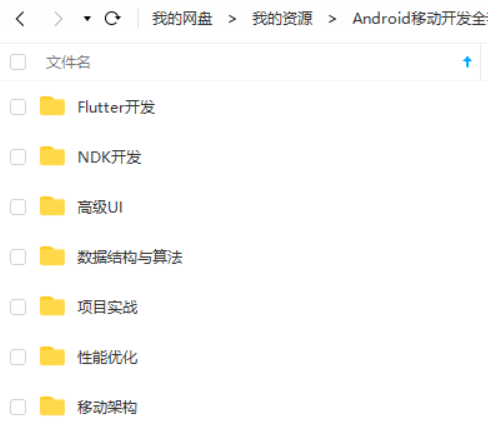
既有适合小白学习的零基础资料,也有适合3年以上经验的小伙伴深入学习提升的进阶课程,基本涵盖了95%以上Android开发知识点,真正体系化!
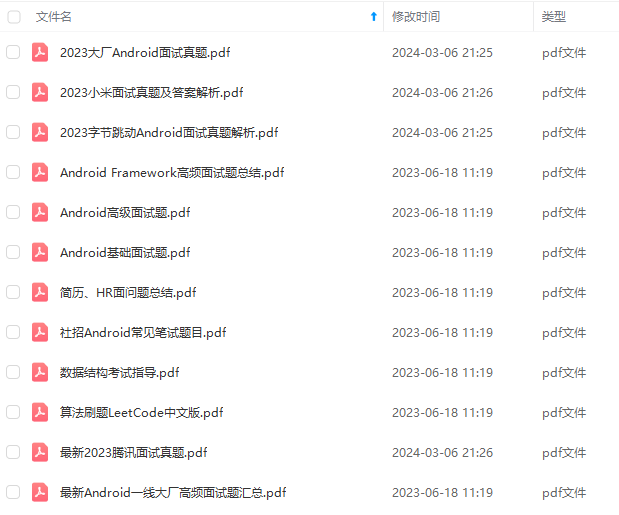
由于文件比较大,这里只是将部分目录截图出来,每个节点里面都包含大厂面经、学习笔记、源码讲义、实战项目、讲解视频,并且会持续更新!
如果你觉得这些内容对你有帮助,可以扫码获取!!(备注:Android)

文末
面试:如果不准备充分的面试,完全是浪费时间,更是对自己的不负责!
不管怎么样,不论是什么样的大小面试,要想不被面试官虐的不要不要的,只有刷爆面试题题做好全面的准备,当然除了这个还需要在平时把自己的基础打扎实,这样不论面试官怎么样一个知识点里往死里凿,你也能应付如流啊
《互联网大厂面试真题解析、进阶开发核心学习笔记、全套讲解视频、实战项目源码讲义》点击传送门即可获取!
mP5bMh-1713696754849)]
[外链图片转存中…(img-SpRDcStT-1713696754851)]
既有适合小白学习的零基础资料,也有适合3年以上经验的小伙伴深入学习提升的进阶课程,基本涵盖了95%以上Android开发知识点,真正体系化!
由于文件比较大,这里只是将部分目录截图出来,每个节点里面都包含大厂面经、学习笔记、源码讲义、实战项目、讲解视频,并且会持续更新!
如果你觉得这些内容对你有帮助,可以扫码获取!!(备注:Android)
[外链图片转存中…(img-Q3JSXNMA-1713696754852)]
文末
面试:如果不准备充分的面试,完全是浪费时间,更是对自己的不负责!
不管怎么样,不论是什么样的大小面试,要想不被面试官虐的不要不要的,只有刷爆面试题题做好全面的准备,当然除了这个还需要在平时把自己的基础打扎实,这样不论面试官怎么样一个知识点里往死里凿,你也能应付如流啊
《互联网大厂面试真题解析、进阶开发核心学习笔记、全套讲解视频、实战项目源码讲义》点击传送门即可获取!


 被折叠的 条评论
为什么被折叠?
被折叠的 条评论
为什么被折叠?
 到【灌水乐园】发言


