cut_times = 5
cut_img = []
for part in range(cut_times):
cut_img.append(img.crop(rct[part]))
return img
d = 0
for im in cut_img:
d += 1
im.save(savePath + str(d) + str(file))
get_each_pic_num(‘./cutpic/’, ‘./each_character/’)
之后我们对图片进行切割,这里使用固定坐标切割,得到如下所示单个字符数据:


实现代码如下:
import os
from PIL import Image
灰度和二值化处理
def binarizing(imgPath, savePath):
files = os.listdir(imgPath)
files.sort()
img=Image.open(img).convert(“L”)
for file in files:
fileType = os.path.splitext(file)
if fileType[1] == ‘.png’:
img = Image.open(imgPath + ‘/’ + file)
img = img.convert(“L”)
pixdata = img.load()
w, h = img.size
for y in range(h):
for x in range(w):
if pixdata[x, y] < 220:
pixdata[x, y] = 0
else:
pixdata[x, y] = 255
removeFrame(img,1)
img.save(savePath + ‘/’ + file) # 保存图片
return img
def get_cut(file_name):
img = Image.open(file_name)
不同分辨率减去的值可能不同
可以做一个字典映射
right = img.size[0] - 39
right = img.size[0] - 47
cut_img = []
rct = (
(0, 0, right, 28), # 左边距 上边距 右边距 下边距
)
for part in range(1):
cut_img.append(img.crop(rct[part]))
return cut_img
二值化
binarizing(‘./pic/’, ‘./binpic/’)
切割保存
imgPath = ‘./binpic/’
files = os.listdir(imgPath)
files.sort()
for file in files:
fileType = os.path.splitext(file)
if fileType[1] == ‘.png’:
img = Image.open(imgPath + ‘/’ + file)
img = get_cut(imgPath + ‘/’ + file)
d = 0
for im in img:
d += 1
im.save(‘./cutpic/’ + str(file))
注意,切割后的单个图片要保证h和w是一致的。当然了大家可以尝试使用连通区域分割算法进行切割。
5、人工标注数据集
建立0-9一共10个文件夹,人工判断字符属于哪个文件夹,并将拆分的字符文件移动到对应的文件夹中。由于字符不是很复杂每一个文件夹只需大概20个文件即可:


6、机器学习
得到数据集之后,我们就可以构建机器学习模型。机器学习算法采用的是SVM算法,具体就不详解了,先图片数据转文本数据,
代码如下:
# 获取图像二值化数值
import numpy as np
from PIL import Image
import os, sys
def getBinaryPix(im):
im = Image.open(im)
im = im.convert(“L”)
img = np.array(im)
rows, cols = img.shape
print(img.shape)
for i in range(rows):
for j in range(cols):
if (img[i, j] <= 220):
img[i, j] = 0
else:
img[i, j] = 1
binpix = np.ravel(img)
binpix=img.reshape(1,rows*cols)
return binpix
def getfiles(path):
files = []
for eachf in os.listdir(path):
f = path + eachf
if f.rfind(u’.DS_Store’) == -1:
files.append(f)
return files
def wirteFile(content):
with open(‘./traindata/train.txt’, ‘a+’) as f:
f.write(content)
f.write(‘\n’)
f.close()
if __name__ == ‘__main__’:
file_path = ‘./correct_categroy/%s/’
for i in [‘0’, ‘1’, ‘2’, ‘3’, ‘4’, ‘5’, ‘6’, ‘7’, ‘8’, ‘9’]:
for f in getfiles(file_path % (i)):
pixs = getBinaryPix(f).tolist()
pixs.append(i)
pixs = [str(i) for i in pixs]
content = ‘.’.join(pixs)
wirteFile(content)
得到的train数据集train.txt如下:


接下来就是使用上述数据构建SVC模型:
from sklearn.svm import SVC
from sklearn.model_selection import GridSearchCV
from sklearn.model_selection import cross_val_score
import numpy as np
import pandas as pd
import joblib
from PIL import Image, ImageFilter, ImageEnhance
from picPreprocessing import loadPredict
import warnings
import os
warnings.filterwarnings(‘ignore’)
PKL = ‘./model.pkl’
加载数据
def load_data():
dataset = pd.read_table(‘./traindata/train.txt’, header=None, delimiter=‘.’, index_col=-1)
return dataset
参数寻优
def searchBestParameter():
parameters = {‘kernel’: (‘linear’, ‘poly’, ‘rbf’, ‘sigmoid’), ‘C’: [1, 100]}
dataset = load_data()
row, col = dataset.shape
X = dataset.values
Y = dataset.index
svr = SVC()
clf = GridSearchCV(svr, parameters)
clf.fit(X, Y)
print(clf.best_params_)
该工程的最佳参数为
{‘C’: 1, ‘kernel’: ‘linear’}
def train():
dataset = load_data()
row, col = dataset.shape
X = dataset[:,:col-1]
Y=dataset[:,-1]
X = dataset.values
Y = dataset.index
clf = SVC(kernel=‘linear’, C=1)
clf.fit(X, Y)
joblib.dump(clf, PKL)
交叉验证
def cross_validation():
dataset = load_data()
row, col = dataset.shape
X=dataset[:,:col-1]
Y=dataset[:,-1]
X = dataset.values
Y = dataset.index
clf = SVC(kernel=‘linear’, C=1)
scores = cross_val_score(clf, X, Y, cv=5)
print(“Accuracy: %0.2f (+/- %0.2f)” % (scores.mean(), scores.std() * 2))
该工程下打印的 cross_validation Accuracy: 0.99 (+/- 0.02)
def predict(pic_name):
clf = joblib.load(PKL)
img = Image.open(pic_name)
img = img.convert(“L”)
w, h = img.size
cut_times = 0
这里的处理与一开始生成测试数据的时候保持一致
if w == 9:
rct = ((0, 0, 7, h),)
cut_times = 1
if w == 16:
rct = ((0, 0, 7, h),
(7, 0, 14, h))
cut_times = 2
if w == 23:
rct = ((0, 0, 7, h),
(7, 0, 14, h),
(14, 0, 21, h),)
cut_times = 3
if w == 30:
rct = ((0, 0, 7, h),
(7, 0, 14, h),
(14, 0, 21, h),
(21, 0, 28, h),)
cut_times = 4
if w == 37:
rct = ((0, 0, 7, h),
(7, 0, 14, h),
(14, 0, 21, h),
(21, 0, 28, h),
(28, 0, 35, h),)
cut_times = 5
print(‘cut_times:’,cut_times)
predictValue = []
for part in range(cut_times):
img = im.crop(rct[part])
img = img.convert(‘L’)
img.show()
img2 = np.array(img)
rows, cols = img2.shape
for a in range(rows):
for b in range(cols):
if (img2[a, b] <= 220):
img2[a, b] = 0
else:
img2[a, b] = 1
binpix = np.ravel(img2)
pixs=binpix.tolist()
pixs = binpix.reshape(1, -1)
predictValue.append(clf.predict(pixs)[0])
predictValue = [str(x) for x in predictValue]
print(‘Number of reviews for this business: %s’ % (‘’.join(predictValue)))
if __name__ == ‘__main__’:
searchBestParameter()
train()
cross_validation()
file_name = ‘./testPic/712.png’
savePath = ‘./savaPic/712.png’
img = Image.open(file_name)
自我介绍一下,小编13年上海交大毕业,曾经在小公司待过,也去过华为、OPPO等大厂,18年进入阿里一直到现在。
深知大多数Python工程师,想要提升技能,往往是自己摸索成长或者是报班学习,但对于培训机构动则几千的学费,着实压力不小。自己不成体系的自学效果低效又漫长,而且极易碰到天花板技术停滞不前!
因此收集整理了一份《2024年Python开发全套学习资料》,初衷也很简单,就是希望能够帮助到想自学提升又不知道该从何学起的朋友,同时减轻大家的负担。


既有适合小白学习的零基础资料,也有适合3年以上经验的小伙伴深入学习提升的进阶课程,基本涵盖了95%以上Python开发知识点,真正体系化!
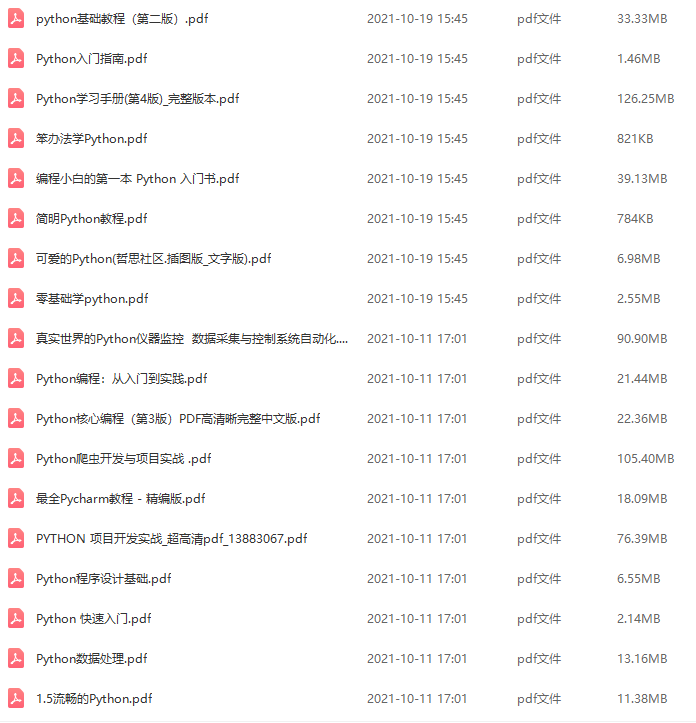
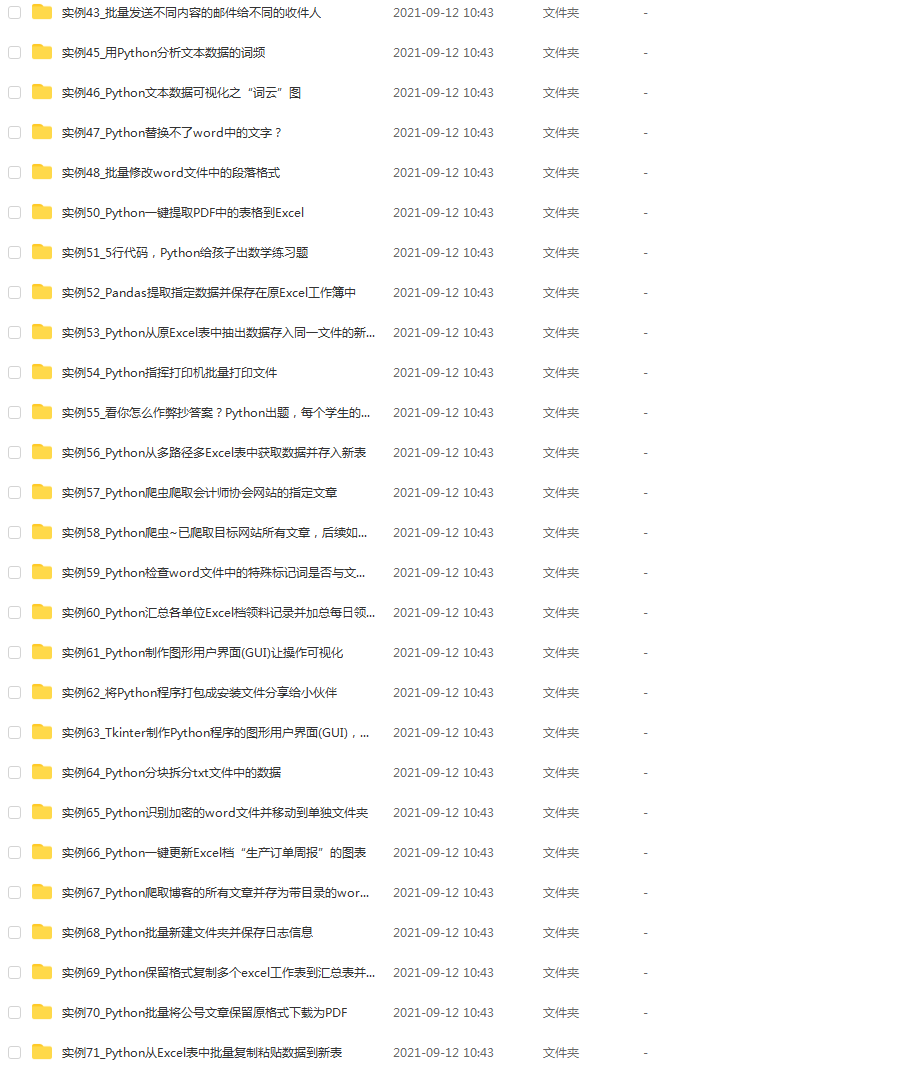
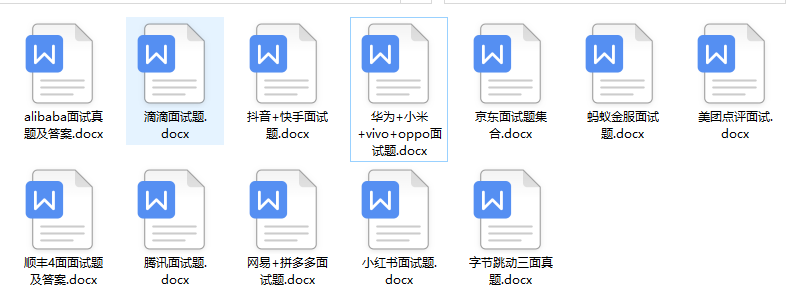
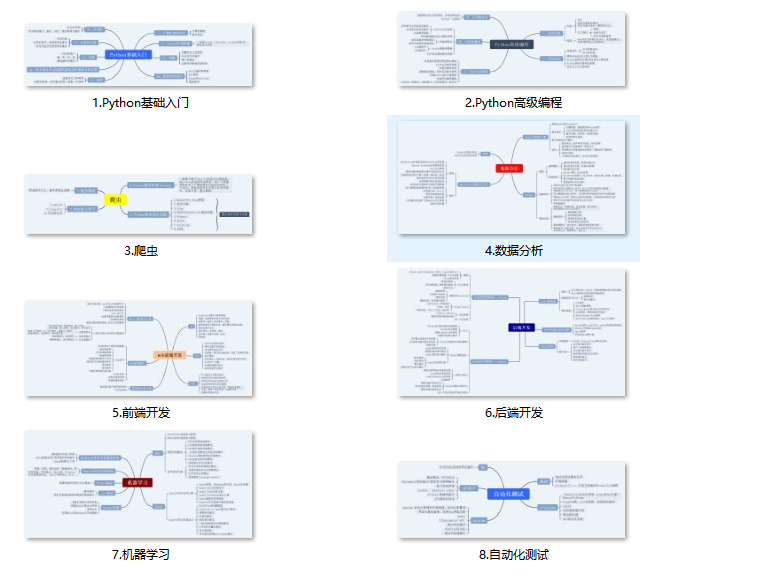
由于文件比较大,这里只是将部分目录大纲截图出来,每个节点里面都包含大厂面经、学习笔记、源码讲义、实战项目、讲解视频,并且后续会持续更新
如果你觉得这些内容对你有帮助,可以添加V获取:vip1024c (备注Python)

一、Python所有方向的学习路线
Python所有方向路线就是把Python常用的技术点做整理,形成各个领域的知识点汇总,它的用处就在于,你可以按照上面的知识点去找对应的学习资源,保证自己学得较为全面。

二、学习软件
工欲善其事必先利其器。学习Python常用的开发软件都在这里了,给大家节省了很多时间。

三、入门学习视频
我们在看视频学习的时候,不能光动眼动脑不动手,比较科学的学习方法是在理解之后运用它们,这时候练手项目就很适合了。

on所有方向的学习路线
Python所有方向路线就是把Python常用的技术点做整理,形成各个领域的知识点汇总,它的用处就在于,你可以按照上面的知识点去找对应的学习资源,保证自己学得较为全面。

二、学习软件
工欲善其事必先利其器。学习Python常用的开发软件都在这里了,给大家节省了很多时间。

三、入门学习视频
我们在看视频学习的时候,不能光动眼动脑不动手,比较科学的学习方法是在理解之后运用它们,这时候练手项目就很适合了。


 1369
1369

 被折叠的 条评论
为什么被折叠?


