


目录
前言
本项目在Qt Creator中编写,使用qmake来配置OpenCV库,具体配置方法请看这篇文章从0到机器视觉工程师(六):配置OpenCV和Qt环境-优快云博客,UI界面使用代码的形式书写。接下来,让我们一起来完成这个项目吧。
初始化UI界面
代码
bool MainWindow::InitUI()
{
    //使用Labmda表达式,主要功能用于创建QFrame指针并对其初始化
    auto CreateLabelBox=[&]()->QFrame*
    {
        QFrame* pLabelBox=new QFrame(this);
        //设置 QFrame 的边框形状为 Panel,通常用于创建面板或分隔区域。
        pLabelBox->setFrameShape(QFrame::Shape::Panel);
        //设置 QFrame 的边框阴影为 Plain,这意味着边框没有阴影效果,看起来比较平坦。
        pLabelBox->setFrameShadow(QFrame::Shadow::Plain);
        //设置QFrame边框的粗细程度。
        pLabelBox->setLineWidth(3);
        return pLabelBox;
    };

    //按钮控件初始化
    m_pReadBtn=new QPushButton(this);
    m_pReadBtn->setText("读取图像");
    m_pProcessBtn=new QPushButton(this);
    m_pProcessBtn->setText("处理图像");
    m_pSaveBtn=new QPushButton(this);
    m_pSaveBtn->setText("保存图像");

    //图像显示Label初始化
    m_pSrcLabel=new QLabel(this);
    QHBoxLayout* pSrcLayout=new QHBoxLayout();
    pSrcLayout->setContentsMargins(5,5,5,5);
    pSrcLayout->addWidget(m_pSrcLabel);
    QFrame* m_pSrcLabelBox=CreateLabelBox();
    m_pSrcLabelBox->setLayout(pSrcLayout);

    m_pDstLabel=new QLabel(this);
    QHBoxLayout* pDstLayout=new QHBoxLayout();
    pDstLayout->setContentsMargins(5,5,5,5);
    pDstLayout->addWidget(m_pDstLabel);
    QFrame* m_pDstLabelBox=CreateLabelBox();
    m_pDstLabelBox->setLayout(pDstLayout);

    QHBoxLayout* pLabelLayout=new QHBoxLayout();
    pLabelLayout->setContentsMargins(0,0,0,0);
    pLabelLayout->addWidget(m_pSrcLabelBox);
    pLabelLayout->addWidget(m_pDstLabelBox);

    QVBoxLayout* pBtnLayout=new QVBoxLayout();
    pBtnLayout->setContentsMargins(0,0,0,0);
    pBtnLayout->addWidget(m_pReadBtn);
    //添加弹簧
    pBtnLayout->addStretch(2);
    pBtnLayout->addWidget(m_pProcessBtn);
    pBtnLayout->addStretch(2);
    pBtnLayout->addWidget(m_pSaveBtn);
    pBtnLayout->addStretch(30);
    QWidget* pBtnWidget=new QWidget(this);
    pBtnWidget->setObjectName("pBtnWidget");
    pBtnWidget->setLayout(pBtnLayout);
    pBtnWidget->setFixedWidth(70);


    //总体布局初始化
    QHBoxLayout* pMainLayout=new QHBoxLayout();
    pMainLayout->setContentsMargins(9,9,9,9);
    pMainLayout->addLayout(pLabelLayout);
     pMainLayout->addWidget(pBtnWidget);
    QWidget* pCenterWidget=new QWidget(this);
    pCenterWidget->setObjectName("pCenterWidget");
    pCenterWidget->setLayout(pMainLayout);

    //这一步是只有MainWindow才需要
    this->setCentralWidget(pCenterWidget);
    return true;
}
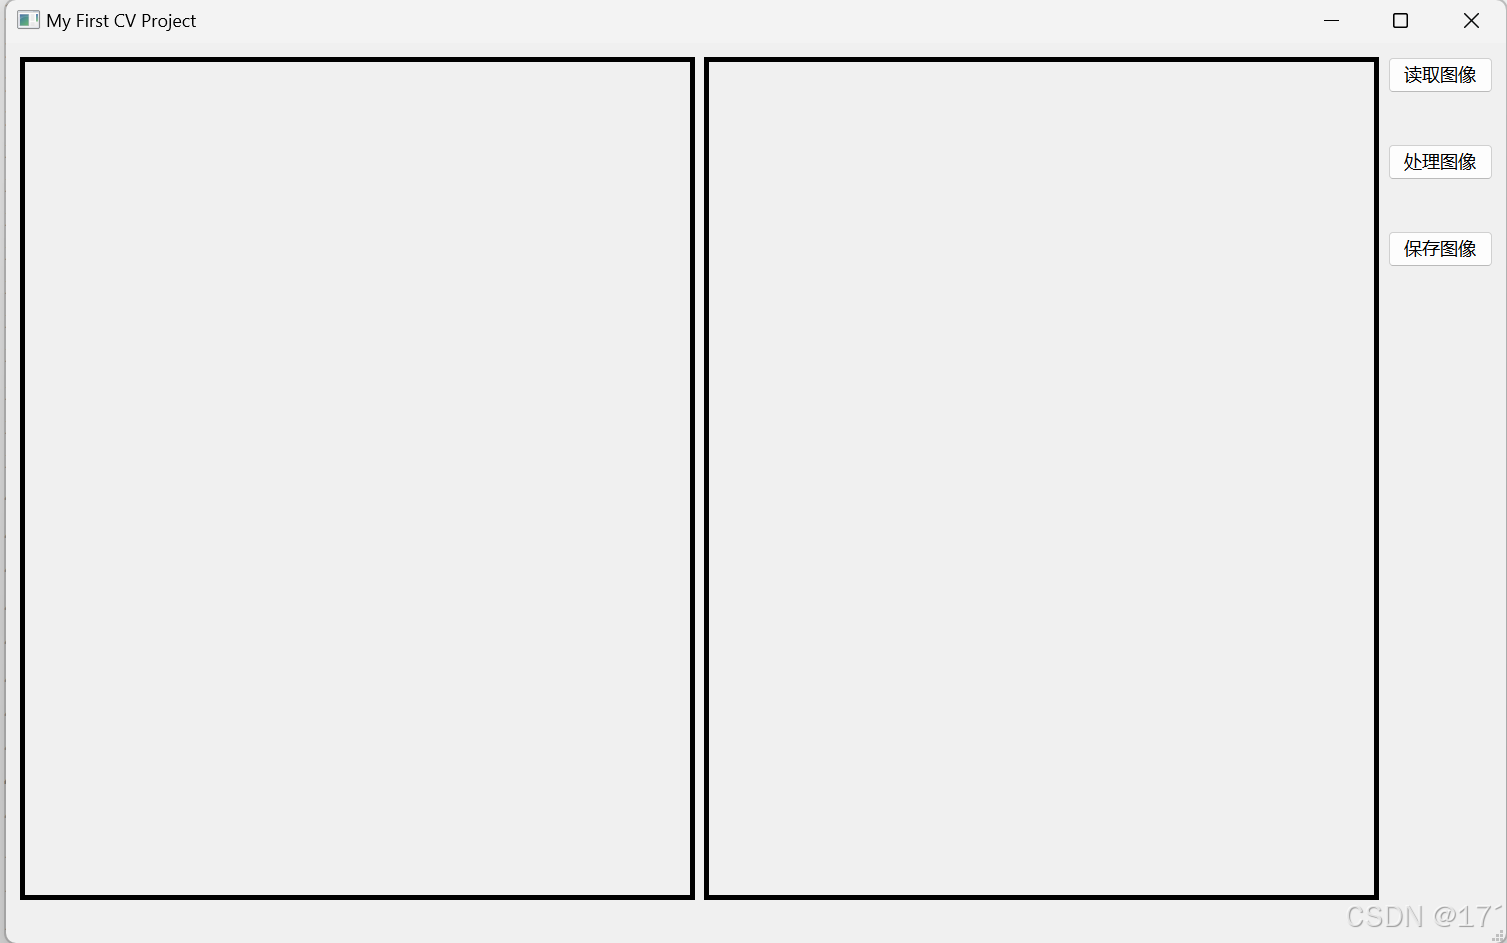
运行效果
qss样式表优化界面
接下来这一步就是使用qss样式表来对整个界面进行美化,主要针对按钮的美化。如果不知道qss样式表如何使用的,参考文章Qt从入门到入土(三)-QSS样式表(1)-优快云博客
在style.css文件加入以下代码
QPushButton
{
height:40px;
border-radius:10px;
background-color:rgb(27,244,255);
font-size:14px;
}
QPushButton:hover
{
background-color:rgb(23,212,222);
}
QWidget#pBtnWidget
{
background-color:rgb(247,247,247);
}
QWidget#pCenterWidget
{
background-color:rgb(255,255,255);
}
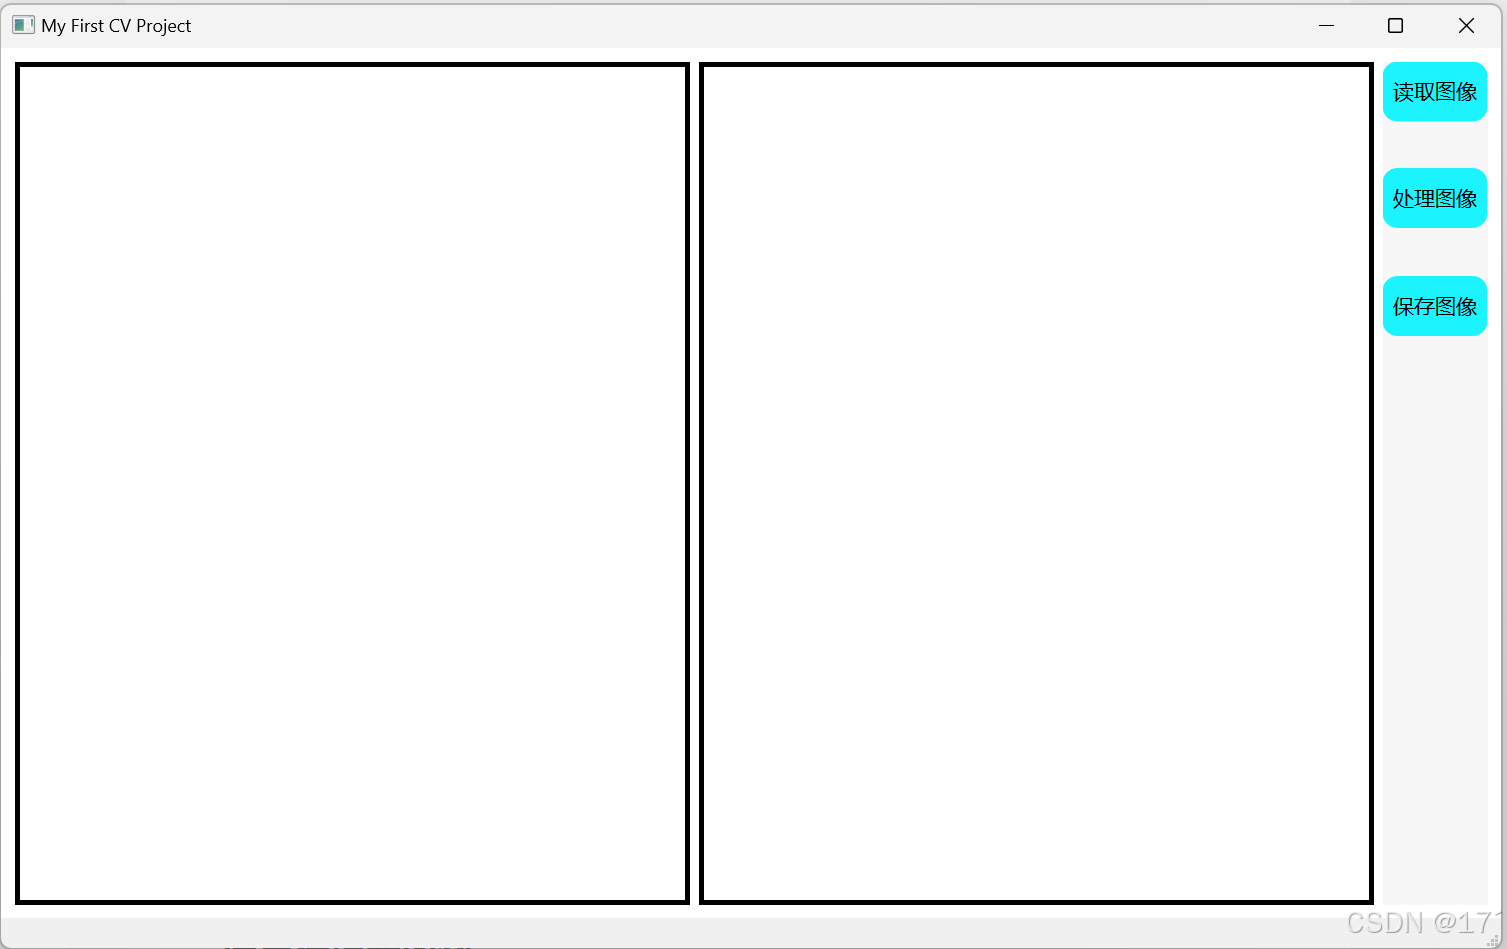
实现效果
QImage和Mat的类型转换
//cvMat转QImage函数
QImage cvMat2QImage(const cv::Mat& mat, bool clone = true, bool rb_swap = true)
{
const uchar* pSrc = (const uchar*)mat.data;
// 8-bits unsigned, NO. OF CHANNELS = 1
if (mat.type() == CV_8UC1)
{
//QImage image(mat.cols, mat.rows, QImage::Format_Grayscale8);
QImage image(pSrc, mat.cols, mat.rows, mat.step, QImage::Format_Grayscale8);
if (clone) return image.copy();
return image;
}
// 8-bits unsigned, NO. OF CHANNELS = 3
else if (mat.type() == CV_8UC3)
{
// Create QImage with same dimensions as input Mat
QImage image(pSrc, mat.cols, mat.rows, mat.step, QImage::Format_RGB888);
if (clone)
{
if (rb_swap) return image.rgbSwapped();
return image.copy();
}
else
{
if (rb_swap)
{
cv::cvtColor(mat, mat, cv::COLOR_BGR2RGB);
}
return image;
}}
else if (mat.type() == CV_8UC4)
{
QImage image(pSrc, mat.cols, mat.rows, mat.step, QImage::Format_ARGB32);
if (clone) return image.copy();
return image;
}
else
{
return QImage();
}
}//QImage转cvMat函数
cv::Mat QImage2cvMat(QImage& image, bool clone = true, bool rb_swap = true)
{
cv::Mat mat;
switch (image.format())
{
case QImage::Format_ARGB32:
case QImage::Format_RGB32:
case QImage::Format_ARGB32_Premultiplied:
mat = cv::Mat(image.height(), image.width(), CV_8UC4, (void*)image.constBits(), image.bytesPerLine());
if (clone) mat = mat.clone();
break;
case QImage::Format_RGB888:
mat = cv::Mat(image.height(), image.width(), CV_8UC3, (void*)image.constBits(), image.bytesPerLine());
if (clone) mat = mat.clone();
if (rb_swap) cv::cvtColor(mat, mat, cv::COLOR_BGR2RGB);
break;
case QImage::Format_Indexed8:
case QImage::Format_Grayscale8:
mat = cv::Mat(image.height(), image.width(), CV_8UC1, (void*)image.bits(), image.bytesPerLine());
if (clone) mat = mat.clone();
break;
}
return mat;
}
按钮功能实现
主要实现读取图像、处理图像以及保存图像这三个功能,通过信号与槽来连接。
//信号与槽连接
connect(m_pReadBtn,&QPushButton::clicked,this,&MainWindow::readImage);
connect(m_pProcessBtn,&QPushButton::clicked,this,&MainWindow::processImage);
connect(m_pSaveBtn,&QPushButton::clicked,this,&MainWindow::saveImage);
读取图像
void MainWindow::readImage()
{
    QString curDir=QDir::currentPath(); //选择文件
    QString filename=QFileDialog::getOpenFileName(this,"select Image",curDir,"Images (*.jpg *.png *.bmp)");
    if(filename.isEmpty())
    {
        QMessageBox::critical(nullptr,"错误提示","文件读取失败!");
        return;
    }
    m_srcImagePath=filename;
    QImage srcImage=QImage(filename);

    //显示输出图像
    m_pSrcLabel->setPixmap(QPixmap::fromImage(srcImage).scaled(QSize(m_pSrcLabel->width(),m_pSrcLabel->height())));
}
处理图像
void MainWindow::processImage()
{
    //opencv读取图像
    cv::Mat srcImage=cv::imread(m_srcImagePath.toLocal8Bit().toStdString());
    if(srcImage.empty())
    {
        return;
    }
    //进行灰度操作
    //这里可以做任意算法操作
    cv::cvtColor(srcImage,m_dstImage,cv::COLOR_BGR2GRAY);

    //处理完后的图像转换成QImage并显示到QLabel上
    QImage dstImage=cvMat2QImage(m_dstImage);
    //显示结果图
    m_pDstLabel->setPixmap(QPixmap::fromImage(dstImage).scaled(QSize(m_pDstLabel->width(),m_pDstLabel->height())));
}
保存图像
void MainWindow::saveImage()
{
QString curDir=QDir::currentPath();
QString dstFilePath=QFileDialog::getSaveFileName(this,"save Image",curDir,"PNG(*.png);;JPG(*.jpg);;BMP(*.bmp);;");
if(dstFilePath.isEmpty())
{
QMessageBox::critical(nullptr,"错误提示","文件打开失败!");
return;
}
std::string savePath=dstFilePath.toLocal8Bit().toStdString();
auto result=cv::imwrite(savePath,m_dstImage);
if(result==false)
{
QMessageBox::critical(nullptr,"错误提示","文件保存失败!");
return;
}
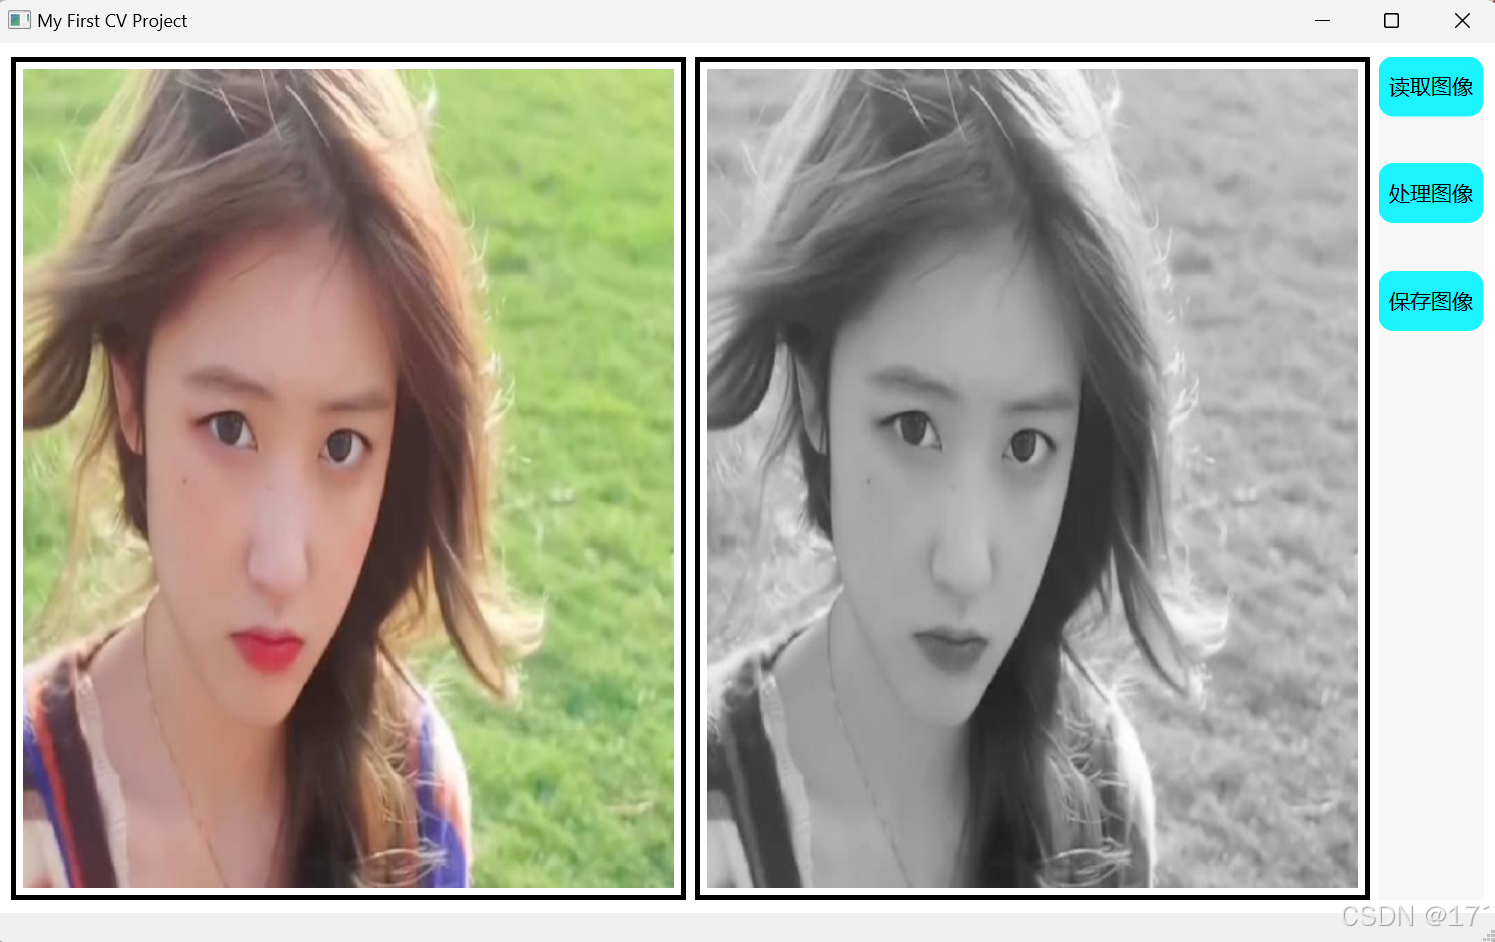
}最终效果
算法上只进行了简单的灰度化处理


 1296
1296

 被折叠的 条评论
为什么被折叠?
被折叠的 条评论
为什么被折叠?
 到【灌水乐园】发言


