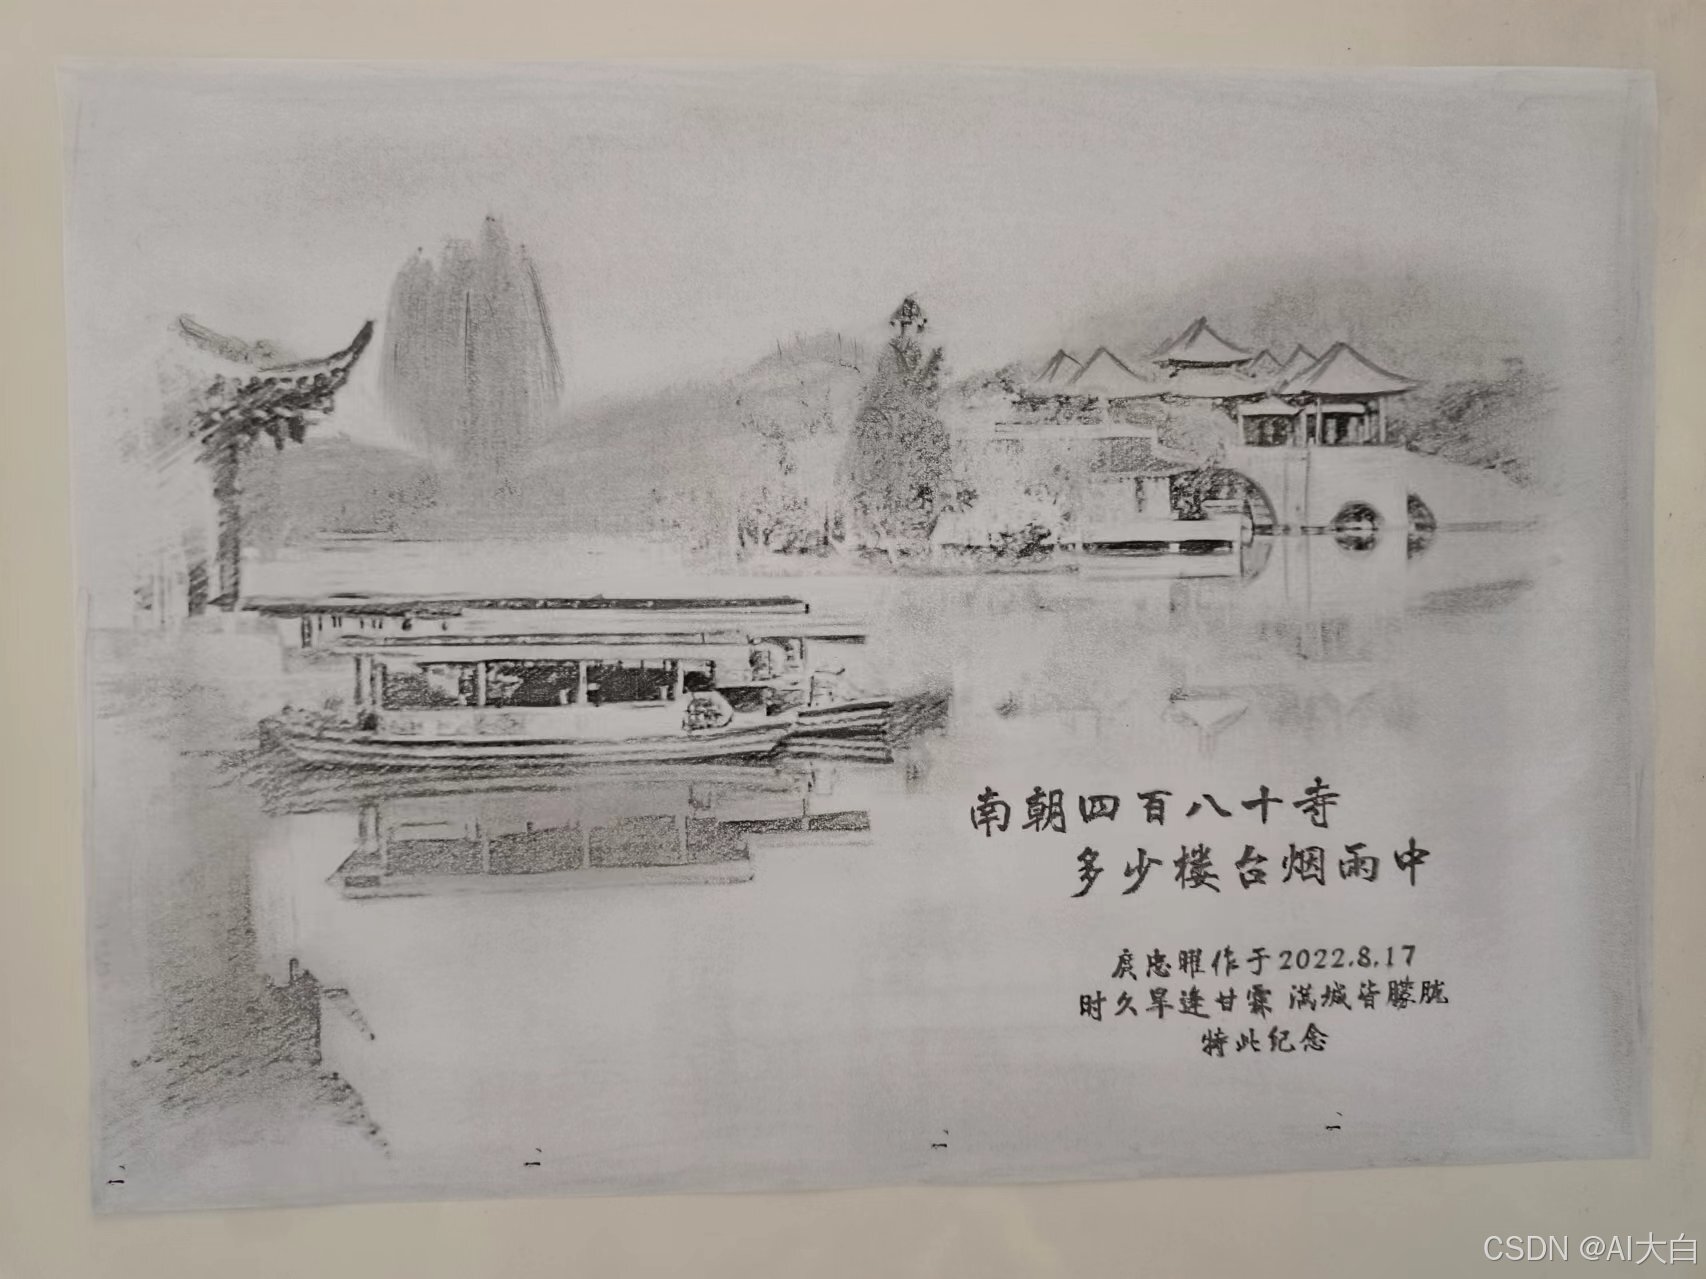
一、画中有诗、诗中藏画
庹忠曜,男,当代画家,因一次观道家典籍有感,深觉“天地非我,我乃天地”,后作《观无上自我图》,该图打破其常用的工笔画法而采用绚烂的油墨绘图,但因庹忠曜的道家感悟,整幅五彩斑斓的画作在仔细看来却有浑然黑白二色,众人见之无不赞叹,更有道家真人从中感受到浓厚的道家无为道韵,念道:“吞吐天地灵气,阴阳五行归一;红尘幻灭忘我,无悲无怒无喜”,感慨其中有无尽道诗藏于其中,于是人们称为《观无上自我图》为“画中有诗、诗中藏画”,该画也被誉为“悟道图”。本次采用如今最流行的大模型方法,对庹忠曜的《观无上自我图》与其中的诗句进行分析。

二、语言大模型
1.算法简介
大规模预训练模型:选择一个大规模的预训练语言模型作为基础,如BERT、GPT或XLNet等,这些模型已经在大量的文本数据上进行了预训练,具备了丰富的语言知识和上下文理解能力。
注意力机制:利用注意力机制让模型能够聚焦于诗句中的关键词汇和结构,这对于捕捉诗句的深层含义和艺术表达至关重要。
跨模态学习:由于《观无上自我图》是一幅画作,可以考虑结合图像识别技术,通过跨模态学习让模型理解诗句与画作之间的关联。
2.具体步骤
1. 预训练与微调
设计特定的预训练任务,如诗歌生成、诗句解释、情感分析等,以增强模型对诗歌语言的理解和生成能力。在预训练的基础上,使用庹忠曜的诗句和相关的艺术评论、哲学文献等进行微调,使模型能够更好地适应特定的分析任务。
2. 诗句分析方法
语义分析:通过对诗句的语义分析,提取关键词和概念,理解诗句的基本含义。
情感分析:分析诗句中的情感色彩,理解作者的情感态度和作品的情感表达。
风格分析:分析诗句的风格特征,如节奏、韵律、修辞等,以及这些风格如何与画作的风格相呼应。
哲学和文化背景分析:结合道家哲学和中国传统文化,分析诗句中的哲学思想和文化内涵。
3. 诗句与画作的关联分析
图像识别与分析:使用图像识别技术提取《观无上自我图》的视觉特征,如色彩、形状、构图等。
跨模态映射:建立诗句和画作特征之间的映射关系,分析诗句如何描述和反映画作的视觉元素。
艺术表达分析:探讨诗句如何艺术性地表达画作的意境和情感,以及这种表达如何与道家的哲学思想相联系。
4. 输出与应用
模型可以生成关于诗句的详细分析报告,包括语义解释、情感分析、风格特征、哲学和文化背景等。设计交互式界面,允许用户输入特定的诗句或画作特征,模型提供相应的分析和解释。模型可以作为艺术创作和批评的辅助工具,帮助艺术家和评论家深入理解和创作诗歌和艺术作品。
通过与专家的分析结果进行比较,评估模型的准确性和可靠性。根据反馈和新的数据,不断优化模型的性能和分析能力。
3.详细代码
创建一个能够分析诗句和画作的大型语言模型是一个复杂的工程项目,涉及到深度学习、自然语言处理、图像识别等多个领域。这里提供一个简化的概念性代码框架,以展示如何使用Python和一些流行的库来构建这样的系统。
import torch
from transformers import T5Tokenizer, T5ForConditionalGeneration
from PIL import Image
from torchvision import transforms
import torchvision.models as models
from nltk.sentiment.vader import SentimentIntensityAnalyzer

# 确保安装了必要的库
# pip install torch torchvision transformers nltk

# 初始化情感分析器
sia = SentimentIntensityAnalyzer()

# 图像预处理
preprocess = transforms.Compose([
    transforms.Resize(256),
    transforms.CenterCrop(224),
    transforms.ToTensor(),
    transforms.Normalize(mean=[0.485, 0.456, 0.406], std=[0.229, 0.224, 0.225]),
])

# 加载预训练的ResNet模型
resnet = models.resnet50(pretrained=True)
resnet.eval()

# 加载T5模型和分词器
tokenizer = T5Tokenizer.from_pretrained('t5-base')
model = T5ForConditionalGeneration.from_pretrained('t5-base')

# 提取图像特征
def extract_image_features(image_path):
    image = Image.open(image_path)
    image = preprocess(image)
    image = image.unsqueeze(0)  # 添加批次维度
    with torch.no_grad():
        features = resnet(image)
    return features.squeeze()  # 移除批次维度

# 分析诗句情感
def analyze_poetry_sentiment(poetry_text):
    scores = sia.polarity_scores(poetry_text)
    return scores

# 使用T5模型分析诗句
def analyze_poetry_with_t5(poetry_text):
    input_text = f"Analyze the following poem: {poetry_text}"
    input_ids = tokenizer.encode(input_text, return_tensors='pt')
    output = model.generate(input_ids, max_length=512)
    translated_text = tokenizer.decode(output[0], skip_special_tokens=True)
    return translated_text

# 主函数
def main():
    poetry_text = "吞吐天地灵气,阴阳五行归一;红尘幻灭忘我,无悲无怒无喜"
    image_path = "path_to_your_image.jpg"  # 替换为你的图像文件路径

    # 提取图像特征
    image_features = extract_image_features(image_path)

    # 分析诗句情感
    sentiment_scores = analyze_poetry_sentiment(poetry_text)

    # 使用T5模型分析诗句
    analysis_result = analyze_poetry_with_t5(poetry_text)

    print("Sentiment Scores:", sentiment_scores)
    print("Analysis Result:", analysis_result)

if __name__ == "__main__":
    main()
三、图像大模型
1. 图像收集与预处理
首先,需要通过高质量的扫描仪或高分辨率相机在无尘无干扰的环境中获取庹忠曜画作的数字图像。在采集过程中,要特别注意避免因扫描或拍摄角度问题导致的几何失真,必要时使用图像处理软件进行校正,以保持画作直线和角度的准确性。接下来,为了减少图像中的随机像素变化,即噪声,可以采用高斯滤波或中值滤波等去噪算法进行处理。为了更好地分析画作中的细节,可能还需要通过直方图均衡化或自适应直方图均衡化(CLAHE)等技术来增强图像的对比度。
2. 特征提取与风格分析
通过深度学习模型,如预训练的ResNet18,可以自动提取画作中的关键特征,如纹理、形状和空间关系。这些特征对于理解庹忠曜的工笔勾勒技巧和个人风格至关重要。风格分析可以通过比较不同画作中的特征分布来实现,从而揭示艺术家的创作习惯和艺术发展。
3. 情感分析
利用计算机视觉技术,可以对画作中的视觉元素进行情感分析,推测其可能传达的情感。这涉及到训练机器学习模型来识别和分类画作中的情感色彩,为艺术作品的情感表达提供量化的指标。
4. 深度估计与评估指标
对于画作深度估计,可以使用LapDepth深度估计模型,这是一种利用Laplacian Pyramid-Based Depth Residuals的单目深度估计方法。评估指标包括准确率、峰值信噪比(PSNR)和结构相似性指数(SSIM)。
5. 风格迁移算法
要运用风格迁移算法分析庹忠曜的画作,首先需要理解风格迁移的基本概念。风格迁移是一种计算机视觉技术,它能够将一幅图像(内容图像)的风格应用到另一幅图像上,从而创造出新的艺术作品。这种技术在分析庹忠曜的画作时,可以用于探索其艺术风格的特点以及如何将这些特点应用到其他图像上。
6.完整代码
创建一个完整的图像大模型来分析画作是一个复杂的任务,涉及到深度学习、图像处理、模型训练等多个步骤。下面我将提供一个简化的代码示例,这个示例将使用PyTorch和Transformers库来构建一个基本的图像分析模型。
import torch
import torchvision.transforms as transforms
from torchvision import models
from PIL import Image
import numpy as np
from skimage.feature import local_binary_pattern
import cv2
from transformers import ViTFeatureExtractor, ViTForImageClassification

# 设置设备
device = torch.device("cuda" if torch.cuda.is_available() else "cpu")

# 图像预处理
preprocess = transforms.Compose([
    transforms.Resize(256),
    transforms.CenterCrop(224),
    transforms.ToTensor(),
    transforms.Normalize(mean=[0.485, 0.456, 0.406], std=[0.229, 0.224, 0.225]),
])

# 加载预训练的ViT模型和特征提取器
feature_extractor = ViTFeatureExtractor.from_pretrained('google/vit-base-patch16-224')
model = ViTForImageClassification.from_pretrained('google/vit-base-patch16-224')

# 将模型和特征提取器移动到设备上
model.to(device)

# 自适应图像切割
def find_closest_aspect_ratio(aspect_ratio, target_ratios, width, height, image_size):
    best_ratio_diff = float('inf')
    best_ratio = (1, 1)
    area = width * height
    for ratio in target_ratios:
        target_aspect_ratio = ratio[0] / ratio[1]
        ratio_diff = abs(aspect_ratio - target_aspect_ratio)
        if ratio_diff < best_ratio_diff:
            best_ratio_diff = ratio_diff
            best_ratio = ratio
        elif ratio_diff == best_ratio_diff:
            if area > 0.5 * image_size * image_size * ratio[0] * ratio[1]:
                best_ratio = ratio
    return best_ratio

def adaptive_image_split(image, image_size=448):
    target_ratios = set(
        (i, j) for n in range(1, 16) for i in range(1, n + 1) for j in range(1, n + 1)
        if i * j <= 16
    )
    width, height = image.size
    aspect_ratio = width / height
    best_ratio = find_closest_aspect_ratio(aspect_ratio, target_ratios, width, height, image_size)
    target_width = int(image_size * best_ratio[0] / max(best_ratio))
    target_height = int(image_size * best_ratio[1] / max(best_ratio))
    resized_img = image.resize((target_width, target_height))
    blocks = [resized_img.crop((i * image_size, j * image_size, (i + 1) * image_size, (j + 1) * image_size))
              for i in range(target_width // image_size) for j in range(target_height // image_size)]
    if len(blocks) == 1:
        thumbnail_img = image.resize((image_size, image_size))
        blocks.append(thumbnail_img)
    return blocks

# 加载图像并进行自适应切割
def load_and_split_image(image_path, image_size=448):
    image = Image.open(image_path)
    blocks = adaptive_image_split(image, image_size)
    return [preprocess(block) for block in blocks]

# 分析图像
def analyze_image(image_path):
    blocks = load_and_split_image(image_path)
    block_tensors = torch.stack([torch.unsqueeze(block, 0) for block in blocks])
    block_tensors = block_tensors.to(device)
    with torch.no_grad():
        outputs = model(block_tensors)
    logits = outputs.logits
    probs = torch.nn.functional.softmax(logits, dim=1)
    return probs

# 主函数
def main():
    image_path = "path_to_your_image.jpg"  # 替换为你的图像文件路径
    probs = analyze_image(image_path)
    print(probs)

if __name__ == "__main__":
    main()
四、多模态融合
1. 基于注意力机制的融合
注意力机制可以帮助模型识别图像和诗句中最重要的部分,并据此进行加权融合。图像预处理:定义了一个transform函数,用于将图像调整大小、裁剪、转换为张量,并进行归一化处理。加载图像并提取特征:get_image_features函数用于加载图像,并将其转换为模型可以处理的张量形式。将诗句编码为BERT特征:get_text_features函数使用BERT模型将诗句编码为特征向量。基于注意力机制的融合:attention_based_fusion函数实现了一个简单的注意力机制,它计算图像和文本特征之间的权重(alpha),然后使用这些权重来加权平均文本特征,实现特征融合。
import torch
from transformers import BertModel, BertTokenizer
from PIL import Image
import torchvision.transforms as transforms

# 初始化tokenizer和模型
tokenizer = BertTokenizer.from_pretrained('bert-base-uncased')
bert_model = BertModel.from_pretrained('bert-base-uncased')

# 图像预处理
transform = transforms.Compose([
    transforms.Resize(256),
    transforms.CenterCrop(224),
    transforms.ToTensor(),
    transforms.Normalize(mean=[0.485, 0.456, 0.406], std=[0.229, 0.224, 0.225]),
])

# 加载图像并提取特征
def get_image_features(image_path):
    image = Image.open(image_path)
    image = transform(image).unsqueeze(0)  # 增加批次维度
    # 假设我们有一个预训练的CNN模型来提取特征
    # features = cnn_model(image)
    # 这里我们简化处理,直接返回图像张量
    return image

# 将诗句编码为BERT特征
def get_text_features(text):
    inputs = tokenizer(text, return_tensors='pt', padding=True, truncation=True)
    outputs = bert_model(**inputs)
    return outputs.last_hidden_state.mean(dim=1)

# 基于注意力机制的融合
def attention_based_fusion(image_features, text_features):
    # 简化的注意力机制,这里使用加权平均
    alpha = torch.nn.functional.softmax(torch.randn(image_features.size(1), text_features.size(1)), dim=-1)
    fused_features = alpha * text_features.T
    return fused_features

# 示例使用
image_path = 'path_to_image.jpg'
text = '诗句文本内容'
image_features = get_image_features(image_path)
text_features = get_text_features(text)
fused_features = attention_based_fusion(image_features, text_features)
2. 基于变换器的融合
transformer_based_fusion函数将图像和文本的特征向量拼接在一起,然后通过一个预训练的ViT(Vision Transformer)模型来处理,最后提取CLS标记的特征作为融合后的特征。
from transformers import ViTModel, ViTTokenizer

# 初始化ViT的tokenizer和模型
vit_tokenizer = ViTTokenizer.from_pretrained('google/vit-base-patch16-224')
vit_model = ViTModel.from_pretrained('google/vit-base-patch16-224')

# 将图像和文本特征融合
def transformer_based_fusion(image_features, text_features):
    # 将图像和文本特征拼接
    combined_features = torch.cat((image_features, text_features), dim=1)
    # 通过ViTransformer模型进行融合
    outputs = vit_model(combined_features)
    return outputs.last_hidden_state[:, 0, :]  # 返回CLS标记的特征

# 示例使用
image_features = get_image_features(image_path)
text_features = get_text_features(text)
fused_features = transformer_based_fusion(image_features, text_features)
3.早期融合
早期融合的方法,即在输入层直接将不同模态的特征拼接在一起。early_fusion函数将图像和文本的特征向量直接拼接,然后通过一个全连接层(即线性层)进行处理,得到融合后的特征向量。
# 早期融合,直接在输入层拼接图像和文本特征
def early_fusion(image_features, text_features):
    # 假设图像和文本特征已经预处理成相同的维度
    combined_input = torch.cat((image_features, text_features), dim=0)
    # 通过一个全连接层进行融合
    fused_features = torch.nn.Linear(combined_input.size(1), combined_input.size(1))(combined_input)
    return fused_features

# 示例使用
image_features = get_image_features(image_path)
text_features = get_text_features(text)
fused_features = early_fusion(image_features, text_features)


 被折叠的 条评论
为什么被折叠?


