


 这篇博客记录了学习大数据技术中Flume的使用,从基础的Hello World案例开始,逐步讲解如何采集文件内容并上传至HDFS,以及如何采集网站日志并上传至HDFS,提供了详细的操作步骤和配置文件示例。
前言
记录 学习大数据技术过程中的学习笔记
目录
一、Flume Hello World 案例
创建一个 .conf 文件,内容:
# example.conf: A single-node Flume configuration

# Name the components on this agent
#定义各组件的名称
a1.sources = r1
a1.sinks = k1
a1.channels = c1

# Describe/configure the source
a1.sources.r1.type = netcat          #指定source的类型
a1.sources.r1.bind = localhost       #绑定ip,这里是绑定本地的
a1.sources.r1.port = 44444           #绑定的端口号,必须是没有占用的

# Describe the sink
a1.sinks.k1.type = logger            #指定sink的类型

# Use a channel which buffers events in memory
a1.channels.c1.type = memory		 #指定chanel的类型
a1.channels.c1.capacity = 1000
a1.channels.c1.transactionCapacity = 100

# Bind the source and sink to the channel
#将各组件连接起来
a1.sources.r1.channels = c1
a1.sinks.k1.channel = c1
启动
bin/flume-ng agent --conf conf --conf-file example.conf --name a1 -Dflume.root.logger=INFO,console

--conf                        指定配置文件的根目录
--conf-file                   指定刚才创建的文件
--name                        指定刚刚agent的名称(必须和配置文件中的名字要一致)
-D                            后面跟一些参数
flume.root.logger=INFO        日志输出级别为INFO
console                       输出位置,控制台
我的启动命令
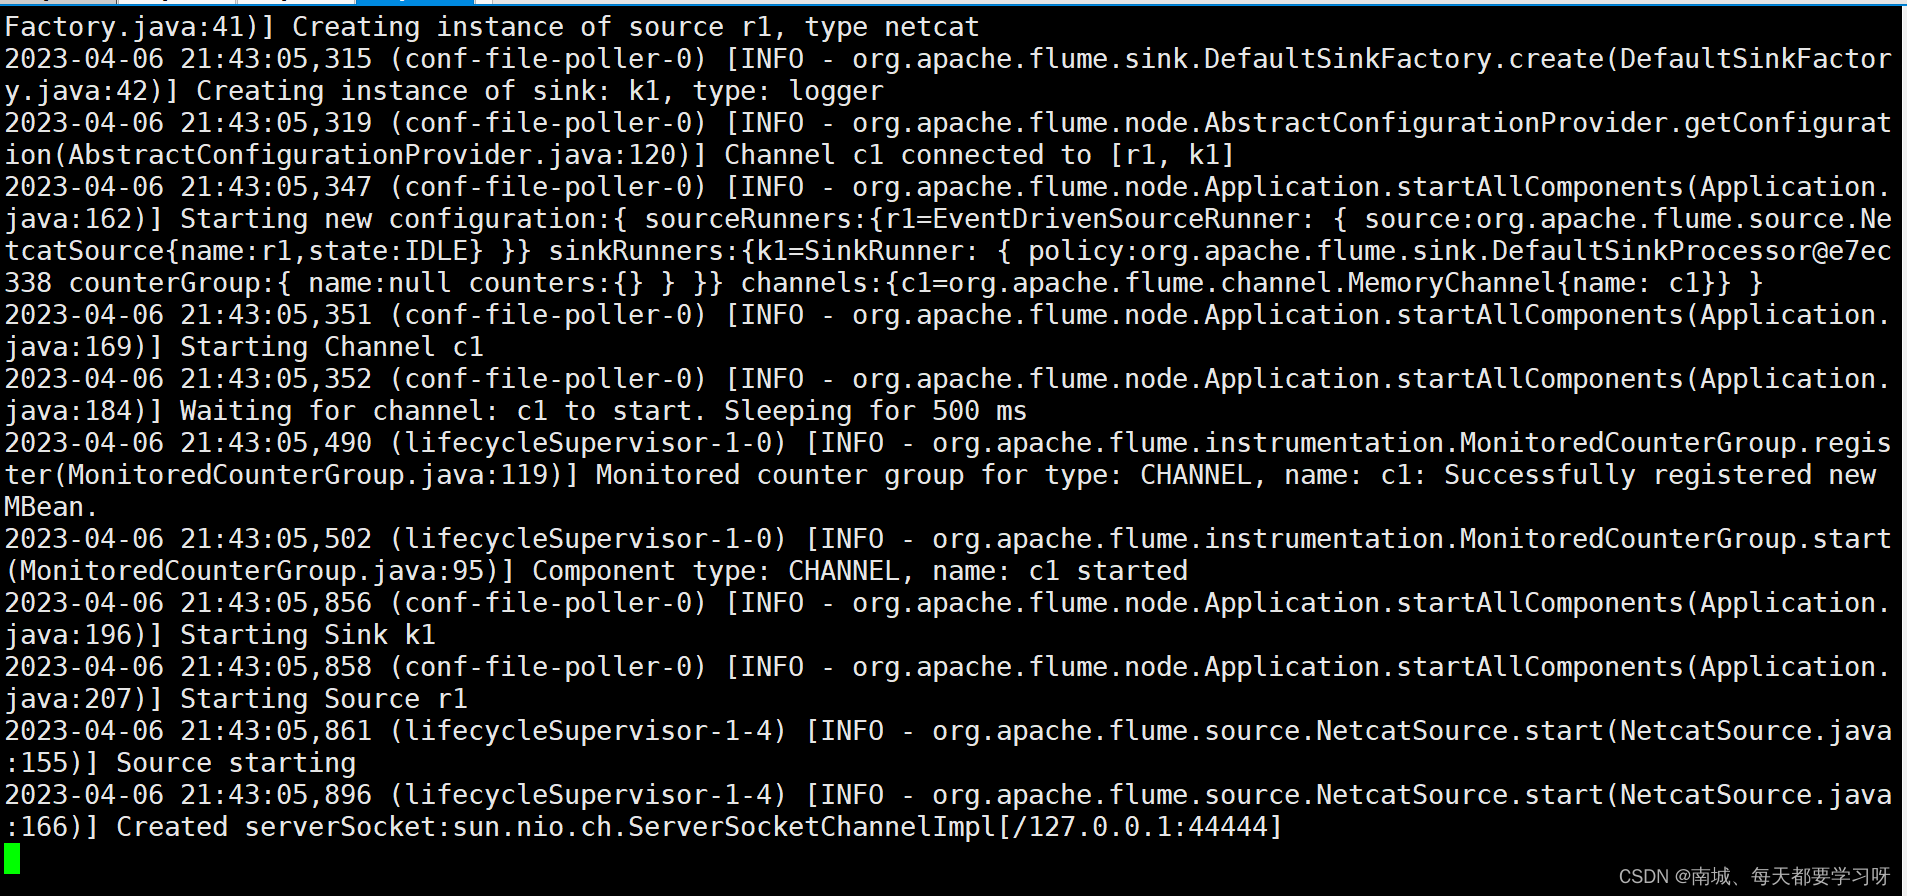
bin/flume-ng agent --name a1 --conf conf --conf-file conf/example.conf -Dflume.root.logger=INFO,console启动成功后
安装 telnet
 最低0.47元/天 解锁文章


 2569
2569

 被折叠的 条评论
为什么被折叠?
被折叠的 条评论
为什么被折叠?
 到【灌水乐园】发言


