


 该文详细介绍了如何在Linux环境下安装Spark,包括上传和解压安装包,设置环境变量,修改配置文件,启动spark-shell,以及配置完全分布式集群。此外,还提到了Spark连接Hive的额外步骤和分发文件到其他节点的操作。
一、安装spark
1. 使用Xshell工具上传spark-3.1.1-bin-hadoop3.2.tgz到/opt/software目录下:
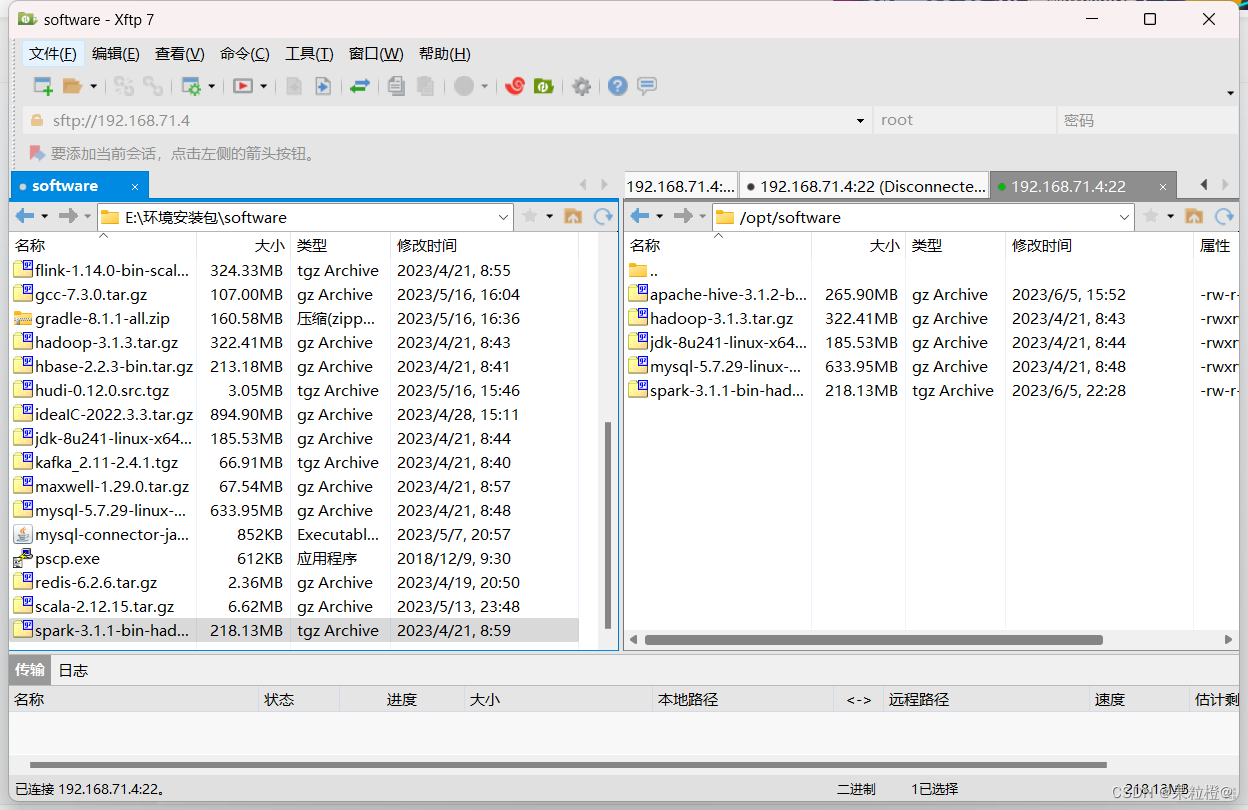
2.在/opt/software目录下使用tar命令解压spark-3.1.1-bin-hadoop3.2.tgz到/opt/module目录下:
tar -zxvf spark-3.1.1-bin-hadoop3.2.tgz -C /opt/module3.在/opt/module目录下修改文件夹名称:
mv spark-3.1.1-bin-hadoop3.2/ spark4.打开环境变量:
vim /etc/profile在底部添加如下配置:
#spark
export SPARK_HOME=/opt/module/spark
export PATH=$PATH:$SPARK_HOME/sbin:$SPARK_HOME/bin
5.将profile文件重新运行:
source /etc/profile6. 拷贝spark-env.sh.template文件另存为spark-env.sh:
cp /opt/module/spark/conf/spark-env.sh.template /opt/module/spark/conf/spark-env.sh7.编辑spark-env.sh配置文件:
vim /opt/module/spark/conf/spark-env.sh添加如下配置:
export JAVA_HOME=/opt/module/jdk
export SPARK_MASTER_IP=bigdata01
export SPARK_LOCAL_DIRS=/opt/module/spark
export HADOOP_CONF_DIR=/opt/module/hadoop/etc/hadoop
8.启动spark:
./bin/spark-shell --master local[2]执行结果如下:
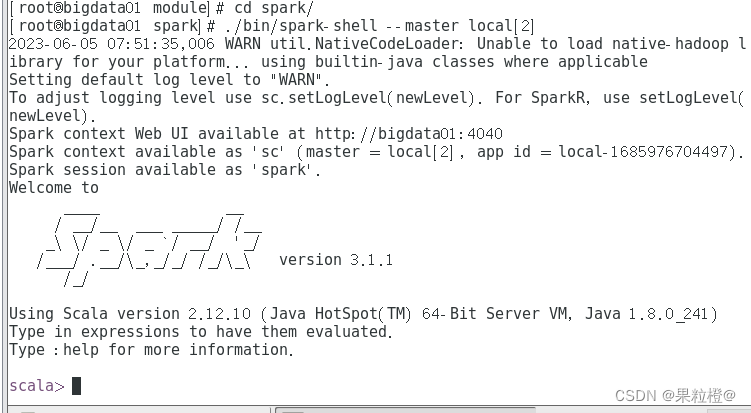
spark安装成功!
二、配置完全分布式
1. 拷贝workers.template文件另存为workers:
cp /opt/module/spark/conf/workers.template /opt/module/spark/conf/workers2.编辑workers配置文件:
vim /opt/module/spark/conf/workers添加如下配置:
bigdata01
bigdata02
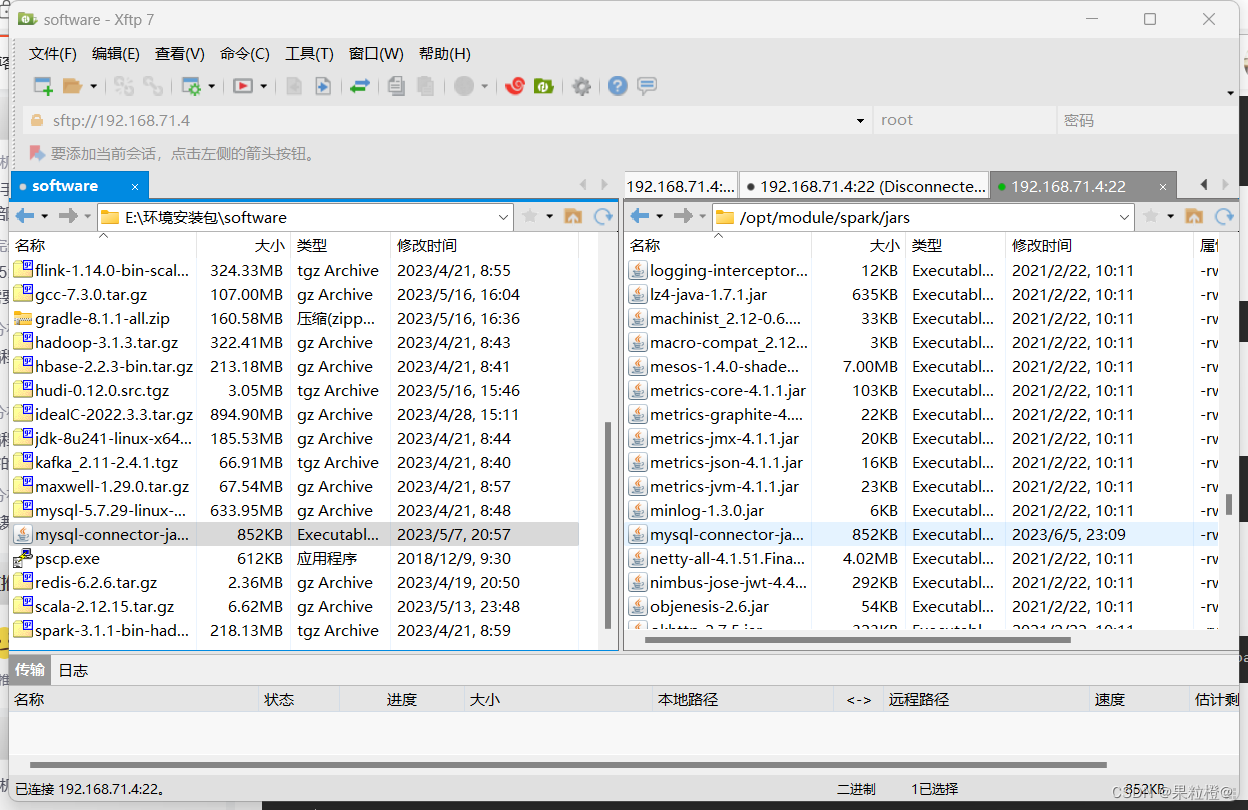
bigdata033.使用Xshell工具上传mysql-connector-java-5.1.27-bin.jar到/opt/module/spark/jars:
4.分发文件:
scp -r /opt/module/spark @bigdata02:/opt/module
scp -r /opt/module/spark @bigdata03:/opt/modulescp -r /etc/profile @bigdata02:/etc/scp -r /etc/profile @bigdata03:/etc/5.启动spark集群:
spark-submit --master yarn --class org.apache.spark.examples.SparkPi /opt/module/spark/examples/jars/spark-examples_2.12-3.1.1.jar 执行结果如下:
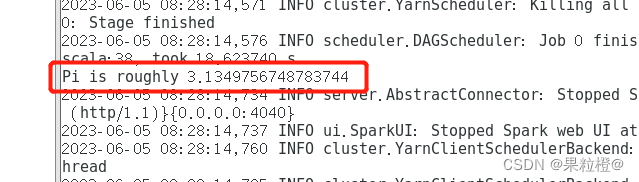
集群启动成功!
注:spark连接hive还需要执行以下操作:
cp $HIVE_HOME/conf/hive-site.xml $SPARK_HOME/conf
cp $HADOOP_HOME/etc/hadoop/core-site.xml $SPARK_HOME/conf
cp $HADOOP_HOME/etc/hadoop/hdfs-site.xml $SPARK_HOME/conf


 1116
1116

 被折叠的 条评论
为什么被折叠?
被折叠的 条评论
为什么被折叠?
 到【灌水乐园】发言


