


implementation ‘androidx.constraintlayout:constraintlayout:1.1.3’
testImplementation ‘junit:junit:4.12’
androidTestImplementation ‘androidx.test.ext:junit:1.1.1’
androidTestImplementation ‘androidx.test.espresso:espresso-core:3.2.0’
//导入公共模块
implementation project(‘:ShareModule’)
// 根据gradle中的配置来决定是否引用module
if (!isLoginRunALone.toBoolean()){
implementation project(‘:LoginModule’)
}
if (!isShoppingRunAlone.toBoolean()){
implementation project(‘:ShoppingModule’)
}
}
继续配置其他Module的build.gradle文件。
if (isShoppingRunAlone.toBoolean()){
apply plugin: ‘com.android.application’
}else {
apply plugin: ‘com.android.library’
}
apply plugin: ‘kotlin-android’
apply plugin: ‘kotlin-android-extensions’
android {
compileSdkVersion 30
buildToolsVersion “29.0.3”
defaultConfig {
minSdkVersion 16
targetSdkVersion 30
versionCode 1
versionName “1.0”
testInstrumentationRunner “androidx.test.runner.AndroidJUnitRunner”
consumerProguardFiles “consumer-rules.pro”
}
buildTypes {
release {
minifyEnabled false
proguardFiles getDefaultProguardFile(‘proguard-android-optimize.txt’), ‘proguard-rules.pro’
}
}
sourceSets{
main{
// 在独立运行或者作为Libarary调试时,使用不同的AndroidManifest.xml文件
if (isShoppingRunAlone.toBoolean()){
manifest.srcFile ‘src/main/manifest/AndroidManifest.xml’
}else {
manifest.srcFile ‘src/main/AndroidManifest.xml’
}
}
}
}
dependencies {
implementation fileTree(dir: “libs”, include: [“*.jar”])
implementation “org.jetbrains.kotlin:kotlin-stdlib:$kotlin_version”
implementation ‘androidx.core:core-ktx:1.3.0’
implementation ‘androidx.appcompat:appcompat:1.1.0’
testImplementation ‘junit:junit:4.12’
androidTestImplementation ‘androidx.test.ext:junit:1.1.1’
androidTestImplementation ‘androidx.test.espresso:espresso-core:3.2.0’
//导入公共模块
implementation project(‘:ShareModule’)
}
在不同运行模式下使用不同的Manifest文件。
需要在对应module的Main目录下新建manifest文件夹(不然单独运行会找不到Manifest文件)。
单独运行的manifest文件设置如下:
<?xml version="1.0" encoding="utf-8"?><manifest xmlns:android=“http://schemas.android.com/apk/res/android”
package=“com.example.loginmodule”>
<application
android:allowBackup=“true”
android:icon=“@mipmap/ic_launcher”
android:label=“@string/app_name”
android:roundIcon=“@mipmap/ic_launcher_round”
android:supportsRtl=“true”
android:theme=“@style/AppTheme”>
并入主Module运行时manifest文件设置如下:
<manifest xmlns:android=“http://schemas.android.com/apk/res/android”
package=“com.example.shoppingmodule”>
全部配置完成之后,可以在gradle.properties中修改变量的值,编译查看配置是否正确,manifest文件是否替换。运行查看是否正常。
接下来开始配置路由。
好多人心中有疑惑,在引用Module之后是可以直接获取到子Module的Activity的为什么还要使用路由跳转。是因为组件化开发是为了使单独Module可以独自编译,运行如果主Module引用子Module的类名,当子Module单独运行时主Module会编译异常。
我们要知道一个项目不可能只有一个子Module,当我们其他子Module要进行相互跳转时如何使用路由呢?所以我们要在ShareModule进行路由的配置,在之前的配置中我们将ShareModule导入了每个Module。
第一步
我们创建对应Module的跳转模板
import android.content.Context;
import android.os.Bundle;
import androidx.fragment.app.Fragment;
import androidx.fragment.app.FragmentManager;
public interface ILoginService {
void launch(Context ctx, String targetClass);
}
import android.content.Context;
import android.os.Bundle;
import androidx.fragment.app.Fragment;
import androidx.fragment.app.FragmentManager;
public interface IShoppingService {
void launch(Context ctx, String string);
Fragment newBillFragment(FragmentManager fragmentManager, int viewId, Bundle bundle);
}
第二步
在对应的moudle中实现跳转逻辑及传值操作
package com.example.loginmodule;
import android.content.Context;
import android.content.Intent;
import com.example.sharemodule.ILoginService;
public class LoginService implements ILoginService {
@Override
public void launch(Context ctx, String targetClass) {
Intent intent = new Intent(ctx, LoginActivity.class);
ctx.startActivity(intent);
}
}
package com.example.shoppingmodule;
import android.content.Context;
import android.content.Intent;
import android.os.Bundle;
import androidx.fragment.app.Fragment;
import androidx.fragment.app.FragmentManager;
import com.example.sharemodule.IShoppingService;
public class ShoppingService implements IShoppingService {
@Override
public void launch(Context ctx, String string) {
Intent intent = new Intent(ctx, ShoppingActivity.class);
ctx.startActivity(intent);
}
@Override
public Fragment newBillFragment(FragmentManager fragmentManager, int viewId, Bundle bundle) {
BillFragment fragment = new BillFragment();
fragment.setArguments(bundle);
fragmentManager.beginTransaction().replace(viewId, fragment).commit();
return fragment;
}
}
第三步
接下来我们创建一个ServiceFactory,为我们提供跳转实例,并且处理单独运行时可能会出现的异常
package com.example.sharemodule;
public class ServiceFactory {
private static final ServiceFactory instance = new ServiceFactory();
private ILoginService mLoginService;
private IShoppingService mShoppingService;
private ServiceFactory(){}
public static ServiceFactory getInstance() {
return instance;
}
public ILoginService getLoginService() {
if (mLoginService == null){
mLoginService = new EmptyLoginService();
}
return mLoginService;
}
public void setLoginService(ILoginService mLoginService) {
this.mLoginService = mLoginService;
}
public IShoppingService getSignService() {
if (mShoppingService == null){
mShoppingService = new EmptyShoppingService();
}
return mShoppingService;
}
public void setSignService(IShoppingService mSignService) {
this.mShoppingService = mSignService;
}
}
package com.example.mylibrarySharedLibrary;
import android.content.Context;
import android.os.Bundle;
import androidx.fragment.app.Fragment;
import androidx.fragment.app.FragmentManager;
public class EmptyLoginService implements ILoginService {
@Override
public void launch(Context ctx, String targetClass) {
}
@Override
public Fragment newUserInfoFragment(FragmentManager fragmentManager, int viewId, Bundle bundle) {
return null;
}
}
package com.example.mylibrarySharedLibrary;
import android.content.Context;
public class EmptySignService implements ISignService {
@Override
public void launch(Context ctx, String userId) {
}
}
这样处理即使我们单独运行主Moudle时也不会发生异常。
以上我们跳转的代码就写完了接下来就是对serviceFactory中
private ILoginService mLoginService;
private IShoppingService mSignService;
进行赋值
package com.example.sharemodule;
import android.app.Application;
public interface IComponentApplication {
void initialize(Application application);
}
提供统一初始化的接口
package com.example.moduledemo;
import android.app.Application;
import android.util.Log;
import com.example.sharemodule.AppConfig;
import com.example.sharemodule.IComponentApplication;
public class MainApplication extends Application implements IComponentApplication {
private static Application application;
public static Application getApplication(){
return application;
}
@Override
public void onCreate() {
super.onCreate();
initialize(this);
}
@Override
public void initialize(Application application) {
for (String cpnt : AppConfig.Components){
try{
Class<?> clz = Class.forName(cpnt);
Object obj = clz.newInstance();
if (obj instanceof IComponentApplication){
自我介绍一下,小编13年上海交大毕业,曾经在小公司待过,也去过华为、OPPO等大厂,18年进入阿里一直到现在。
深知大多数初中级Android工程师,想要提升技能,往往是自己摸索成长或者是报班学习,但对于培训机构动则近万的学费,着实压力不小。自己不成体系的自学效果低效又漫长,而且极易碰到天花板技术停滞不前!
因此收集整理了一份《2024年Android移动开发全套学习资料》,初衷也很简单,就是希望能够帮助到想自学提升又不知道该从何学起的朋友,同时减轻大家的负担。

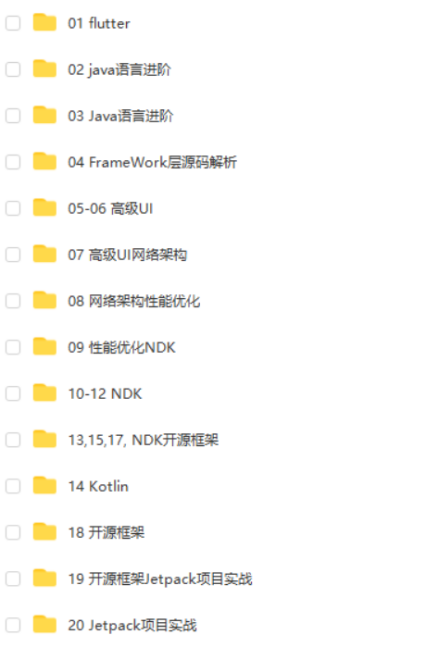

既有适合小白学习的零基础资料,也有适合3年以上经验的小伙伴深入学习提升的进阶课程,基本涵盖了95%以上Android开发知识点,真正体系化!
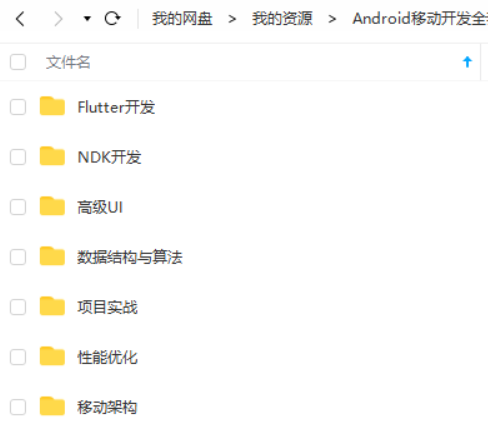
由于文件比较大,这里只是将部分目录截图出来,每个节点里面都包含大厂面经、学习笔记、源码讲义、实战项目、讲解视频,并且会持续更新!
如果你觉得这些内容对你有帮助,可以扫码获取!!(备注:Android)

最后
以前一直是自己在网上东平西凑的找,找到的东西也是零零散散,很多时候都是看着看着就没了,时间浪费了,问题却还没得到解决,很让人抓狂。
后面我就自己整理了一套资料,还别说,真香!
资料有条理,有系统,还很全面,我不方便直接放出来,大家可以先看看有没有用得到的地方吧。


《互联网大厂面试真题解析、进阶开发核心学习笔记、全套讲解视频、实战项目源码讲义》点击传送门即可获取!
是将部分目录截图出来,每个节点里面都包含大厂面经、学习笔记、源码讲义、实战项目、讲解视频,并且会持续更新!**
如果你觉得这些内容对你有帮助,可以扫码获取!!(备注:Android)
最后
以前一直是自己在网上东平西凑的找,找到的东西也是零零散散,很多时候都是看着看着就没了,时间浪费了,问题却还没得到解决,很让人抓狂。
后面我就自己整理了一套资料,还别说,真香!
资料有条理,有系统,还很全面,我不方便直接放出来,大家可以先看看有没有用得到的地方吧。
[外链图片转存中…(img-QqUyWf4t-1713636977545)]
[外链图片转存中…(img-f3RVQ376-1713636977546)]
[外链图片转存中…(img-KhVeyAmM-1713636977547)]
[外链图片转存中…(img-HKIrYGqz-1713636977548)]
[外链图片转存中…(img-xc8nmj75-1713636977548)]
[外链图片转存中…(img-iJ6b8zzu-1713636977550)]
《互联网大厂面试真题解析、进阶开发核心学习笔记、全套讲解视频、实战项目源码讲义》点击传送门即可获取!


 6750
6750

 被折叠的 条评论
为什么被折叠?
被折叠的 条评论
为什么被折叠?
 到【灌水乐园】发言


