


 本文详细介绍了使用Java、JavaScript、VUE.js和MySQL5.7技术构建的系统实现,包括登录验证流程、用户注册、评论模块及管理员用户管理模块的开发和实现步骤。
第5章系统实现
一、技术路线:
开发语言:Java
前端技术:JavaScript、VUE.js(2.X)、css3
数据库:MySQL 5.7
数据库管理工具:Navicat或sqlyog
开发工具:IDEA或Ecplise
二、项目介绍:
https://www.bilibili.com/video/BV1rb4y1M7dE/
三、运行截图:
3.1登录模块的实现
系统的登录窗口是用户的入口,用户只有在登录成功后才可以进入访问。通过在登录提交表单,后台处理判断是否为合法用户,进行页面跳转,进入系统中去。
登录合法性判断过程:用户输入账号和密码后,系统首先确定输入输入数据合法性,其不能为空,然后调用数据库查找alluser表中数据,进行匹配查看此账号是否存在和密码是否正确。
在主页中切入登录窗口页面,调用设计好的CSS、JS和IMAGES等文件对页面进行整体设计,创建表单,在login.jsp页面发送登录请求,通过applicationContext.xmll文件来指定所要执行的DispacherServlet分发器,分发器找到控制层下的hsgloginController文件。当系统判定账号密码都正确,系统会跳转到系统的首页。
用户登录模块的IPO如下所示:
输入:用户名和密码。
处理:
1)检验用户是否满足输入的要求,即检验用户名和密码文本框是否为空,若为空,则提示用户输入用户名和密码。
2)检验是否存在用户输入的用户名,并且密码是否正确。
3)从数据库中提取记录,并储存在本地的session中(timeout默认=30min)。
4)根据用户名,将其显示在系统首页上。
5)关闭窗口。
输出:是否成功的信息。
登录流程图如下所示。

图3-1登录流程图
系统登录界面如下所示。
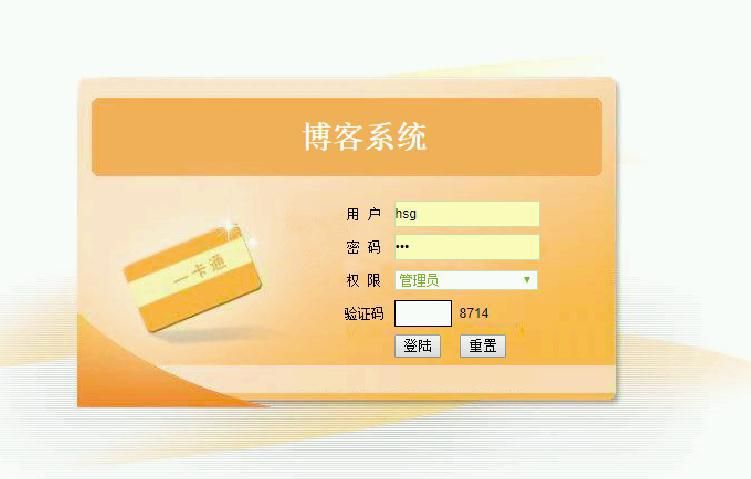
图3-2系统登录
用户登录的逻辑代码如下:
@RequestMapping("hsglogin.do")
public String checkAllusersLogin(Allusers allusers, HttpSession session) {
Map u=new HashMap();
System.out.println("name===" + allusers.getUsername());
u.put("username",allusers.getUsername());
//u.put("utype", "用户");
//Md3.MD5HexEncode(user.getPassword())
u.put("pwd",allusers.getPwd());
allusers = allusersService.allusersLogin(u);
if (allusers != null) {
session.setAttribute("username", allusers);
System.out.println("username=" + allusers);
session.removeAttribute("suc");
return "redirect:index.do";
} else {
System.out.println("usernafwfwwme=");
session.setAttribute("suc", "登录失败!用户名或密码错误!");
return "login";
}
3.2用户子系统模块的实现
3.2.1用户首页的实现
本系统的首页使用多个jsp页面组成,通过设置页面的长度和高度限制显示区域的大小,整个系统首页以图片为背景。在一个jsp页面中,使用css指定字体大小和字体类型以及其位置,水平排列菜单栏,通过设置超链接的样式去掉下划线和鼠标移动到该选项时变颜色等等,编写javascript脚本在导航栏显示系统的当前日期,首先定义一个数组d存放周一至周日,创建一个获取时间的对象time后通过该对象的方法获取年月日,(time.getDay())%7计算得到的结果是数组的下标,通过数组下标就获取了数组的值,利用字符窜连接把年月日和星期转换成字符窜,通过document.getElementById("date")获取标签后使用innerHTML把该字符窜显示在jsp页面。利用标签包含设计好的头部和左边部分的网页。
如下图所示为系统的首页界面。
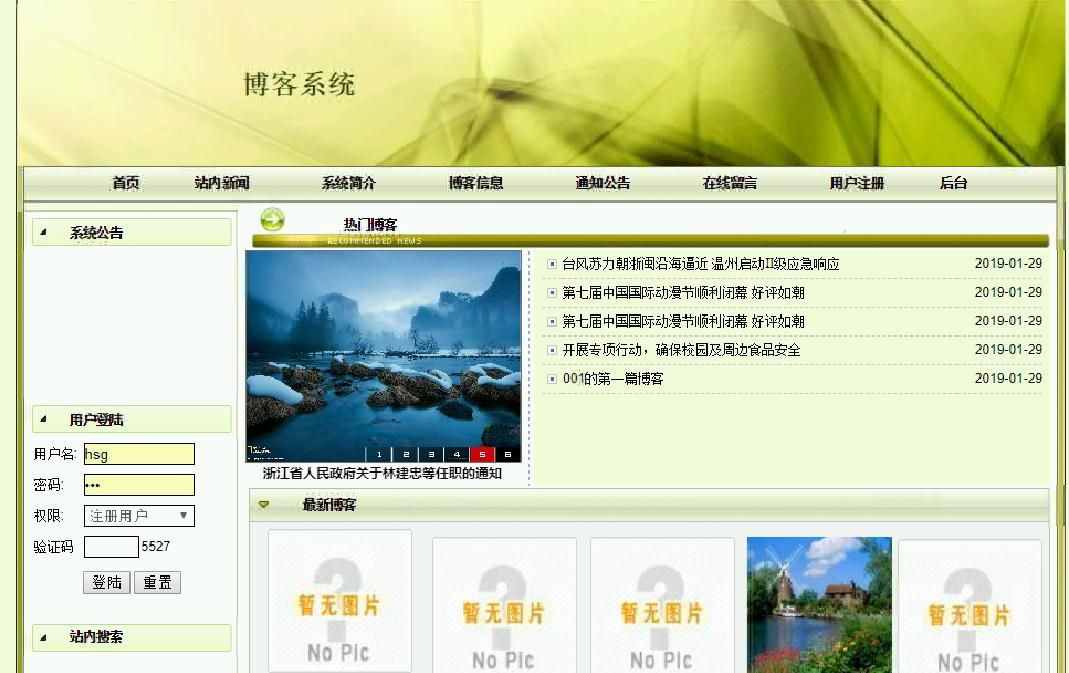
图3-3系统首页
其中载入前台页面的主要代码如下:
3.2.2注册模块的实现
该功能实现了用户注册信息功能,用户按照页面上的提示填写用户名、密码、联系方式、联系地址等用户信息,其中填写的用户名不能重复即可注册,如果格式都正确,通过message发送消息,提交action到addYonghuzhuce.do,DispacherServlet分发器找到控制层下的YonghuzhuceController文件,调用里面的addYonghuzhuce()注册方法,然后调用业务逻辑层的yonghuzhuceService,实现用户注册,插入注册数据,提示注册成功,并将注册的信息加入用户表中,无论是否注册成功,在注册页面上都给出提示信息(如注册成功)。
用户注册流程图如下所示。

图3-4用户注册流程图
用户注册界面如下图所示。
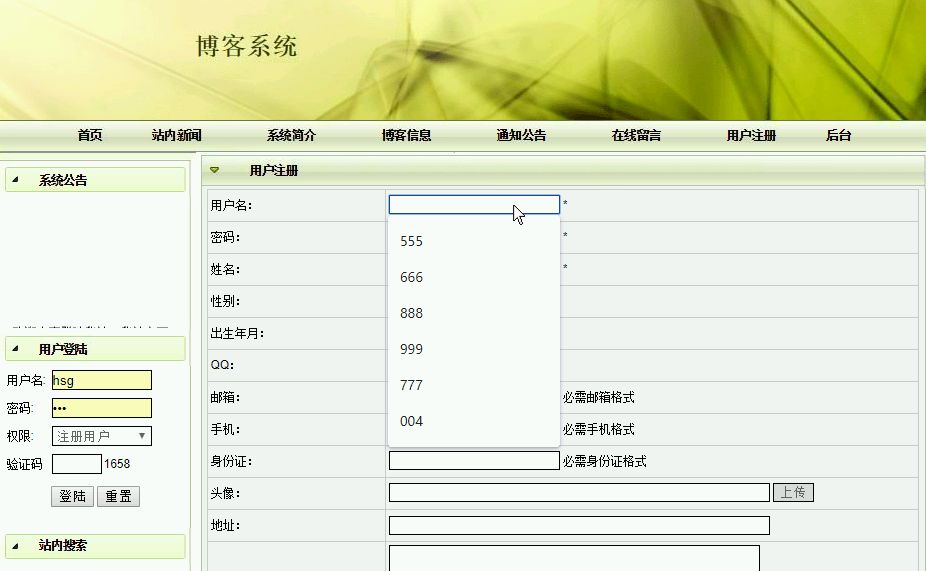
图3-5用户注册
用户注册关键代码为:
@RequestMapping("addYonghuzhuce.do")
public String addYonghuzhuce(HttpServletRequest request,Yonghuzhuce yonghuzhuce,HttpSession session) throws SQLException{
Timestamp time=new Timestamp(System.currentTimeMillis());
yonghuzhuce.setAddtime(time.toString().substring(0, 19));
yonghuzhuceService.add(yonghuzhuce);
session.setAttribute("backxx", "添加成功");
session.setAttribute("backurl", request.getHeader("Referer"));
//session.setAttribute("backurl", "yonghuzhuceList.do");
return "redirect:postback.jsp";
//return "redirect:yonghuzhuceList.do";
}
//处理编辑
@RequestMapping("doUpdateYonghuzhuce.do")
public String doUpdateYonghuzhuce(int id,ModelMap map,Yonghuzhuce yonghuzhuce){
yonghuzhuce=yonghuzhuceService.getById(id);
map.put("yonghuzhuce", yonghuzhuce);
return "yonghuzhuce_updt";
}
3.2.3留言模块的实现
用户在lyblist查看留言信息,先使用sql语句查询出所有留言表的数据,然后调用PageManager.getPages(url,4,sql, request ),返回一个ArrayList的对象,在for循环里,使用jsp得到每个ArrayList对象的数据,然后放入页面模板中,用户点击我要留言则跳转至liuyanban_add.jsp,发布留言则发出名为liuyanban_add.jsp的action请求,找到LiuyanbanController控制层的addLiuyanban()方法,然后调用业务逻辑层下的liuyanbanService类,将留言内容插入留言表中。
用户留言流程图如下所示。
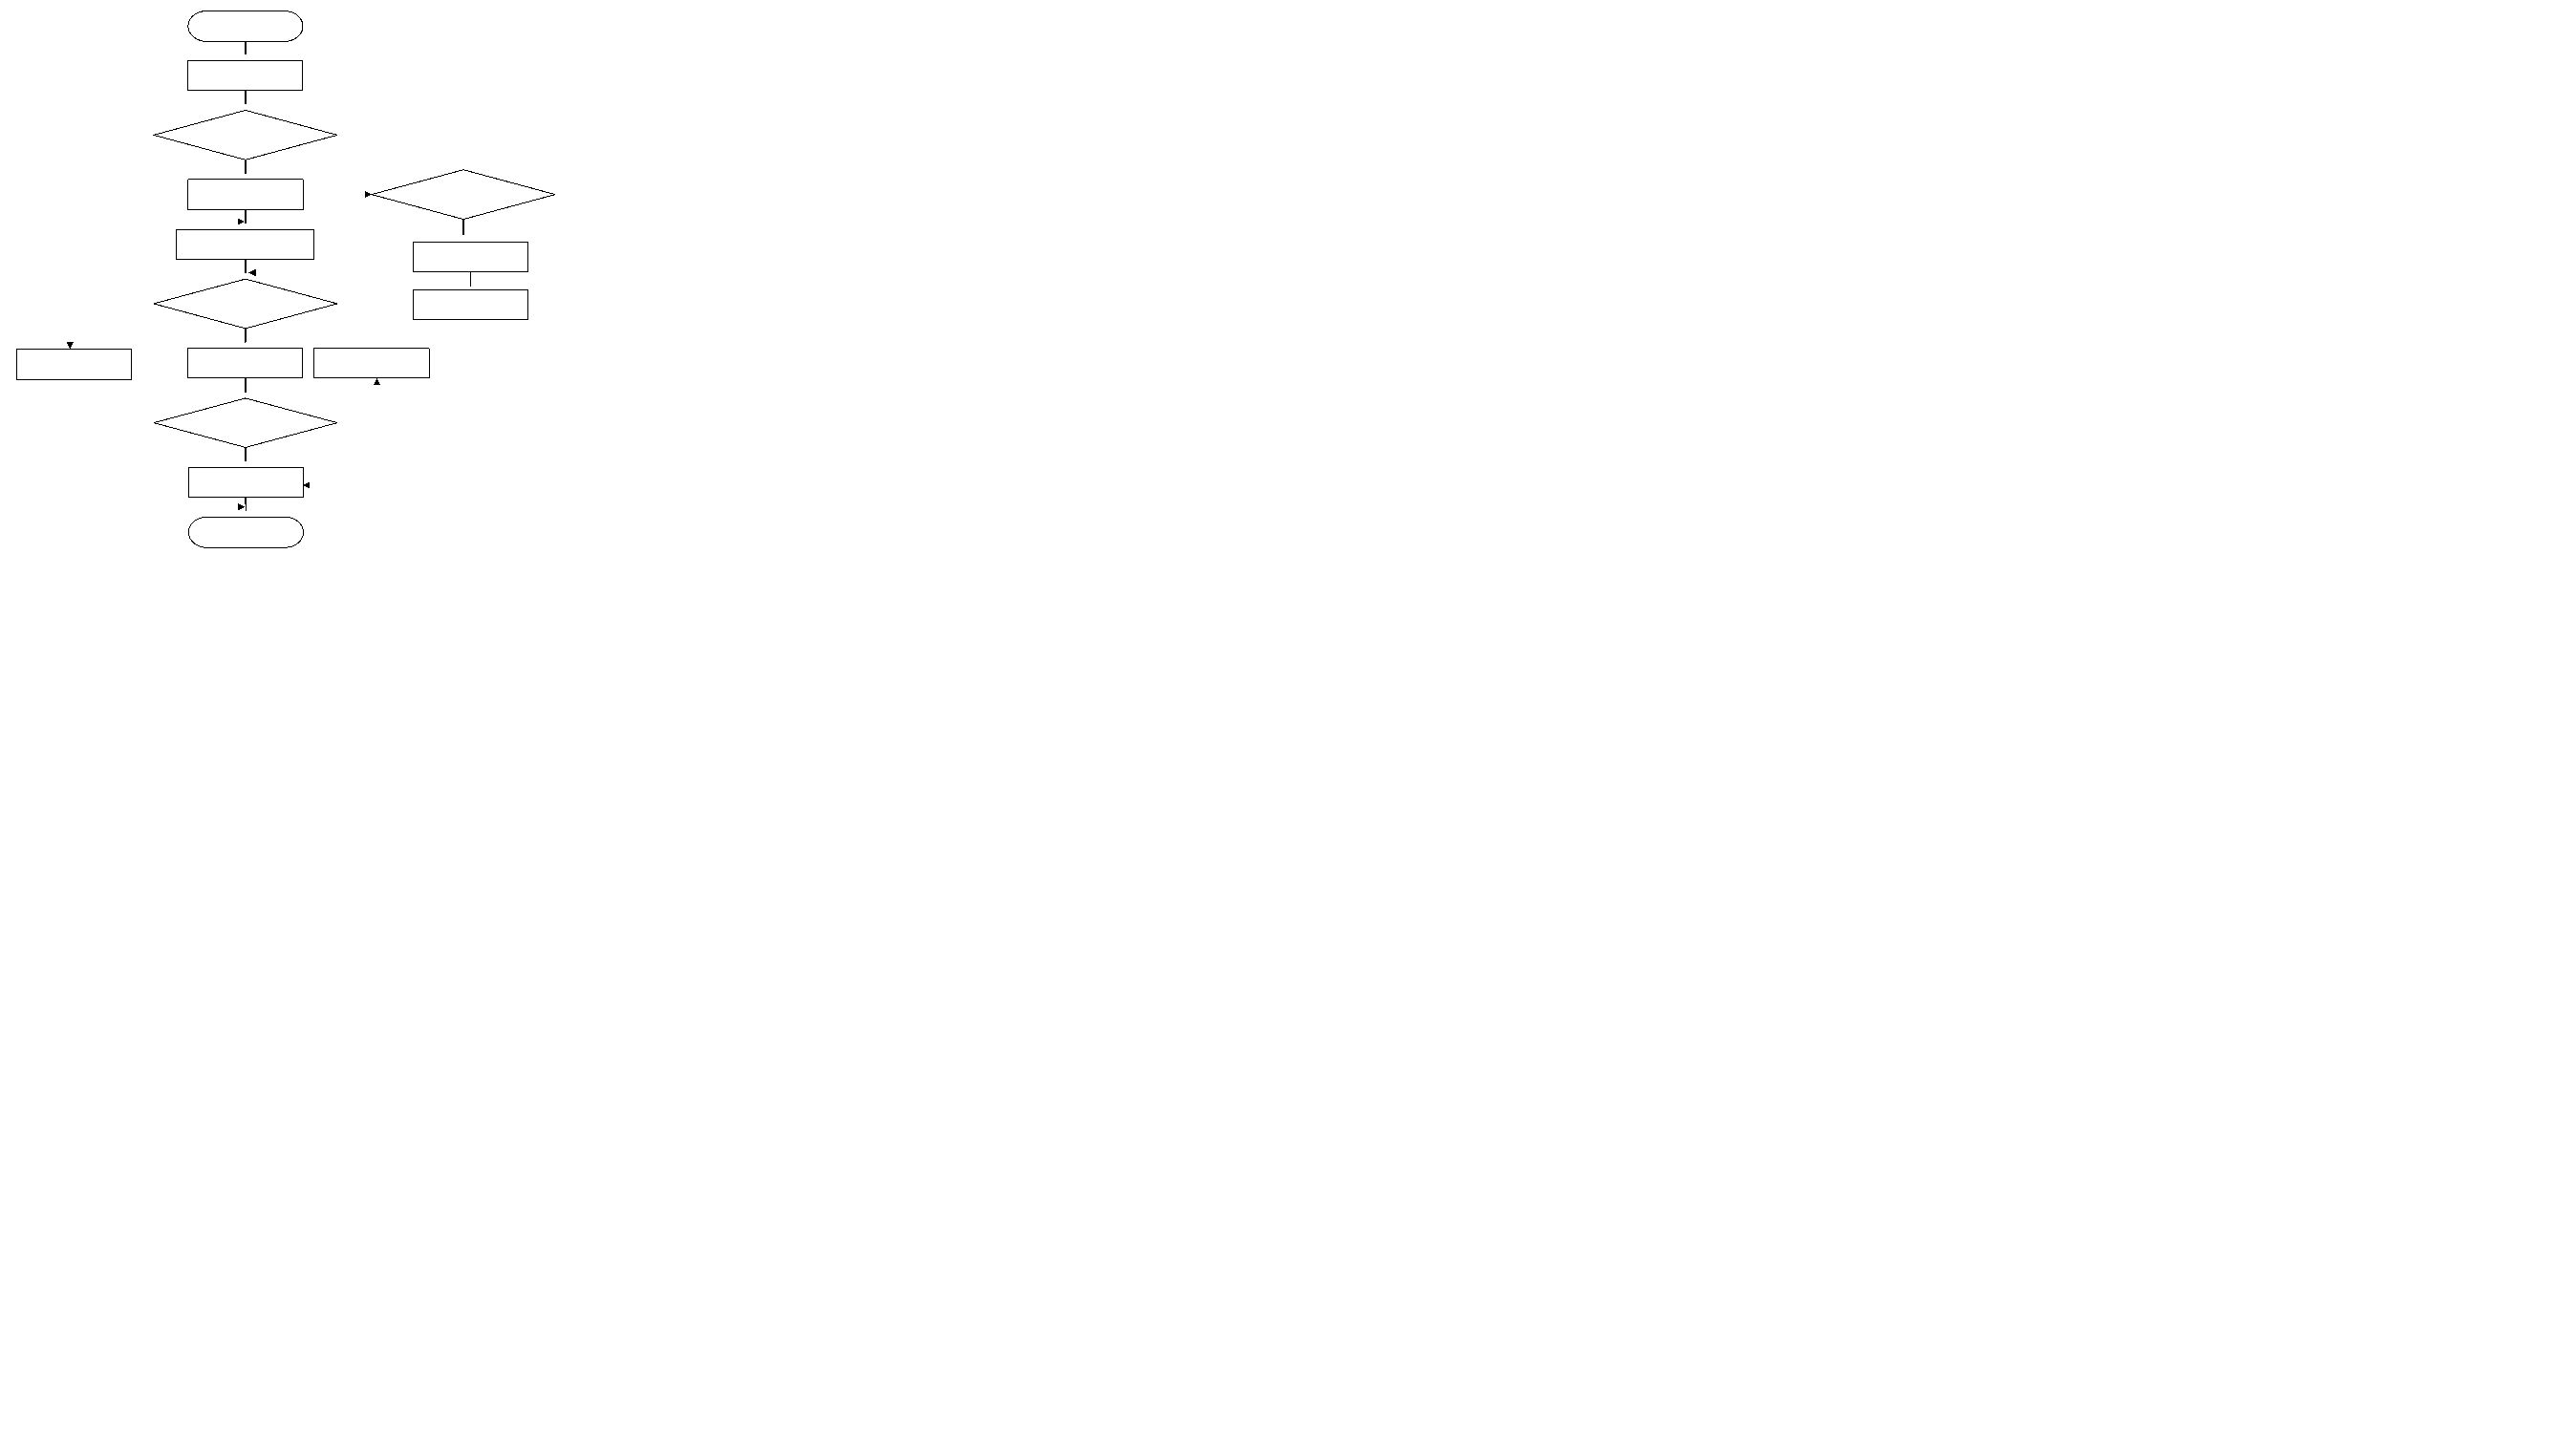
图3-6用户留言流程图
用户留言界面如图所示。
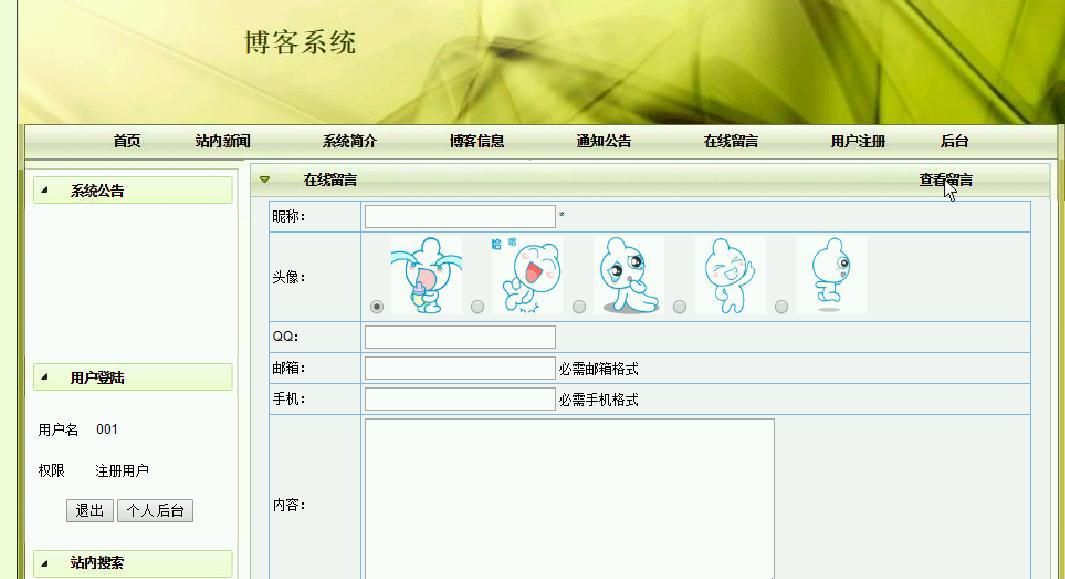
图3-7用户留言
留言管理界面如图所示。
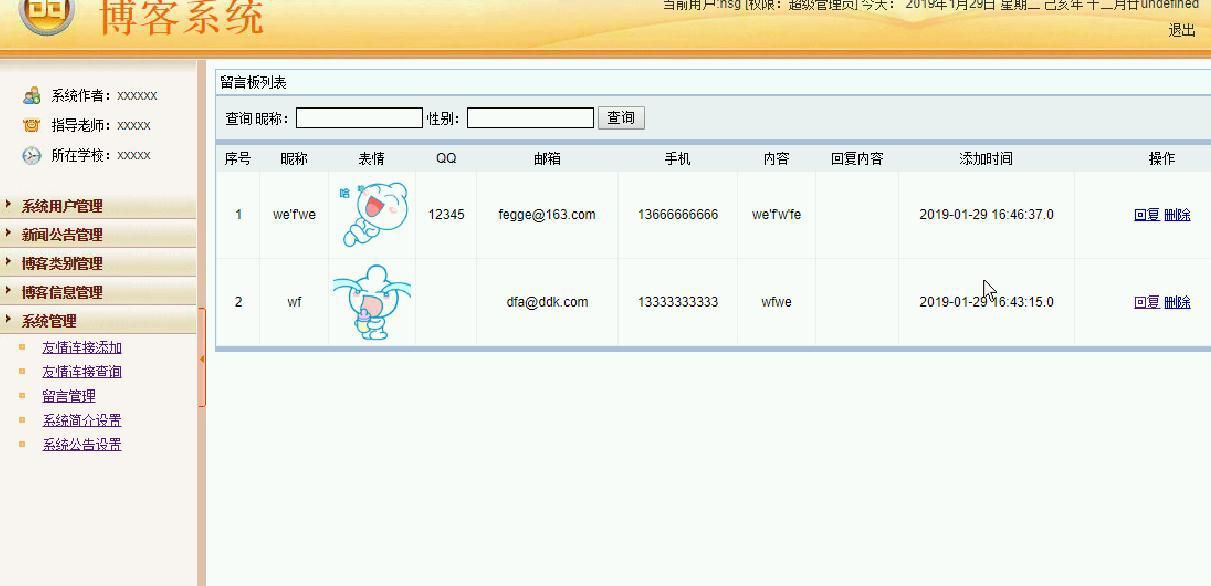
图3-8留言管理
留言添加关键代码为:
@RequestMapping("addLiuyanban.do")
public String (HttpServletRequest request,Liuyanban liuyanban,HttpSession session){
Timestamp time=new Timestamp(System.currentTimeMillis());
//Users u=(Users)session.getAttribute("user");
/*if(u==null||u.equals("")){
return "redirect:showIndex.do";
}else{*/
liuyanban.setAddtime(time.toString().substring(0, 19));
liuyanbanService.add(liuyanban);
session.setAttribute("backxx", "添加成功");
session.setAttribute("backurl", "lybList.do");
return "redirect:postback.jsp";
//return "redirect:liuyanbanList.do";
/*}*/
}
3.2.4评论模块的实现
进入博客页,先使用sql语句查询出所有博客表的数据,用户在博客页查看博客信息和评论信息,点击评论,跳转至评论添加页面,发布评论则发出名为pinglun_add.jsp的action请求,找到PinglunController控制层的addPinglun()方法,然后调用业务逻辑层下的pinglunService类,将评论内容插入评论表中。
用户评论流程图如下所示。
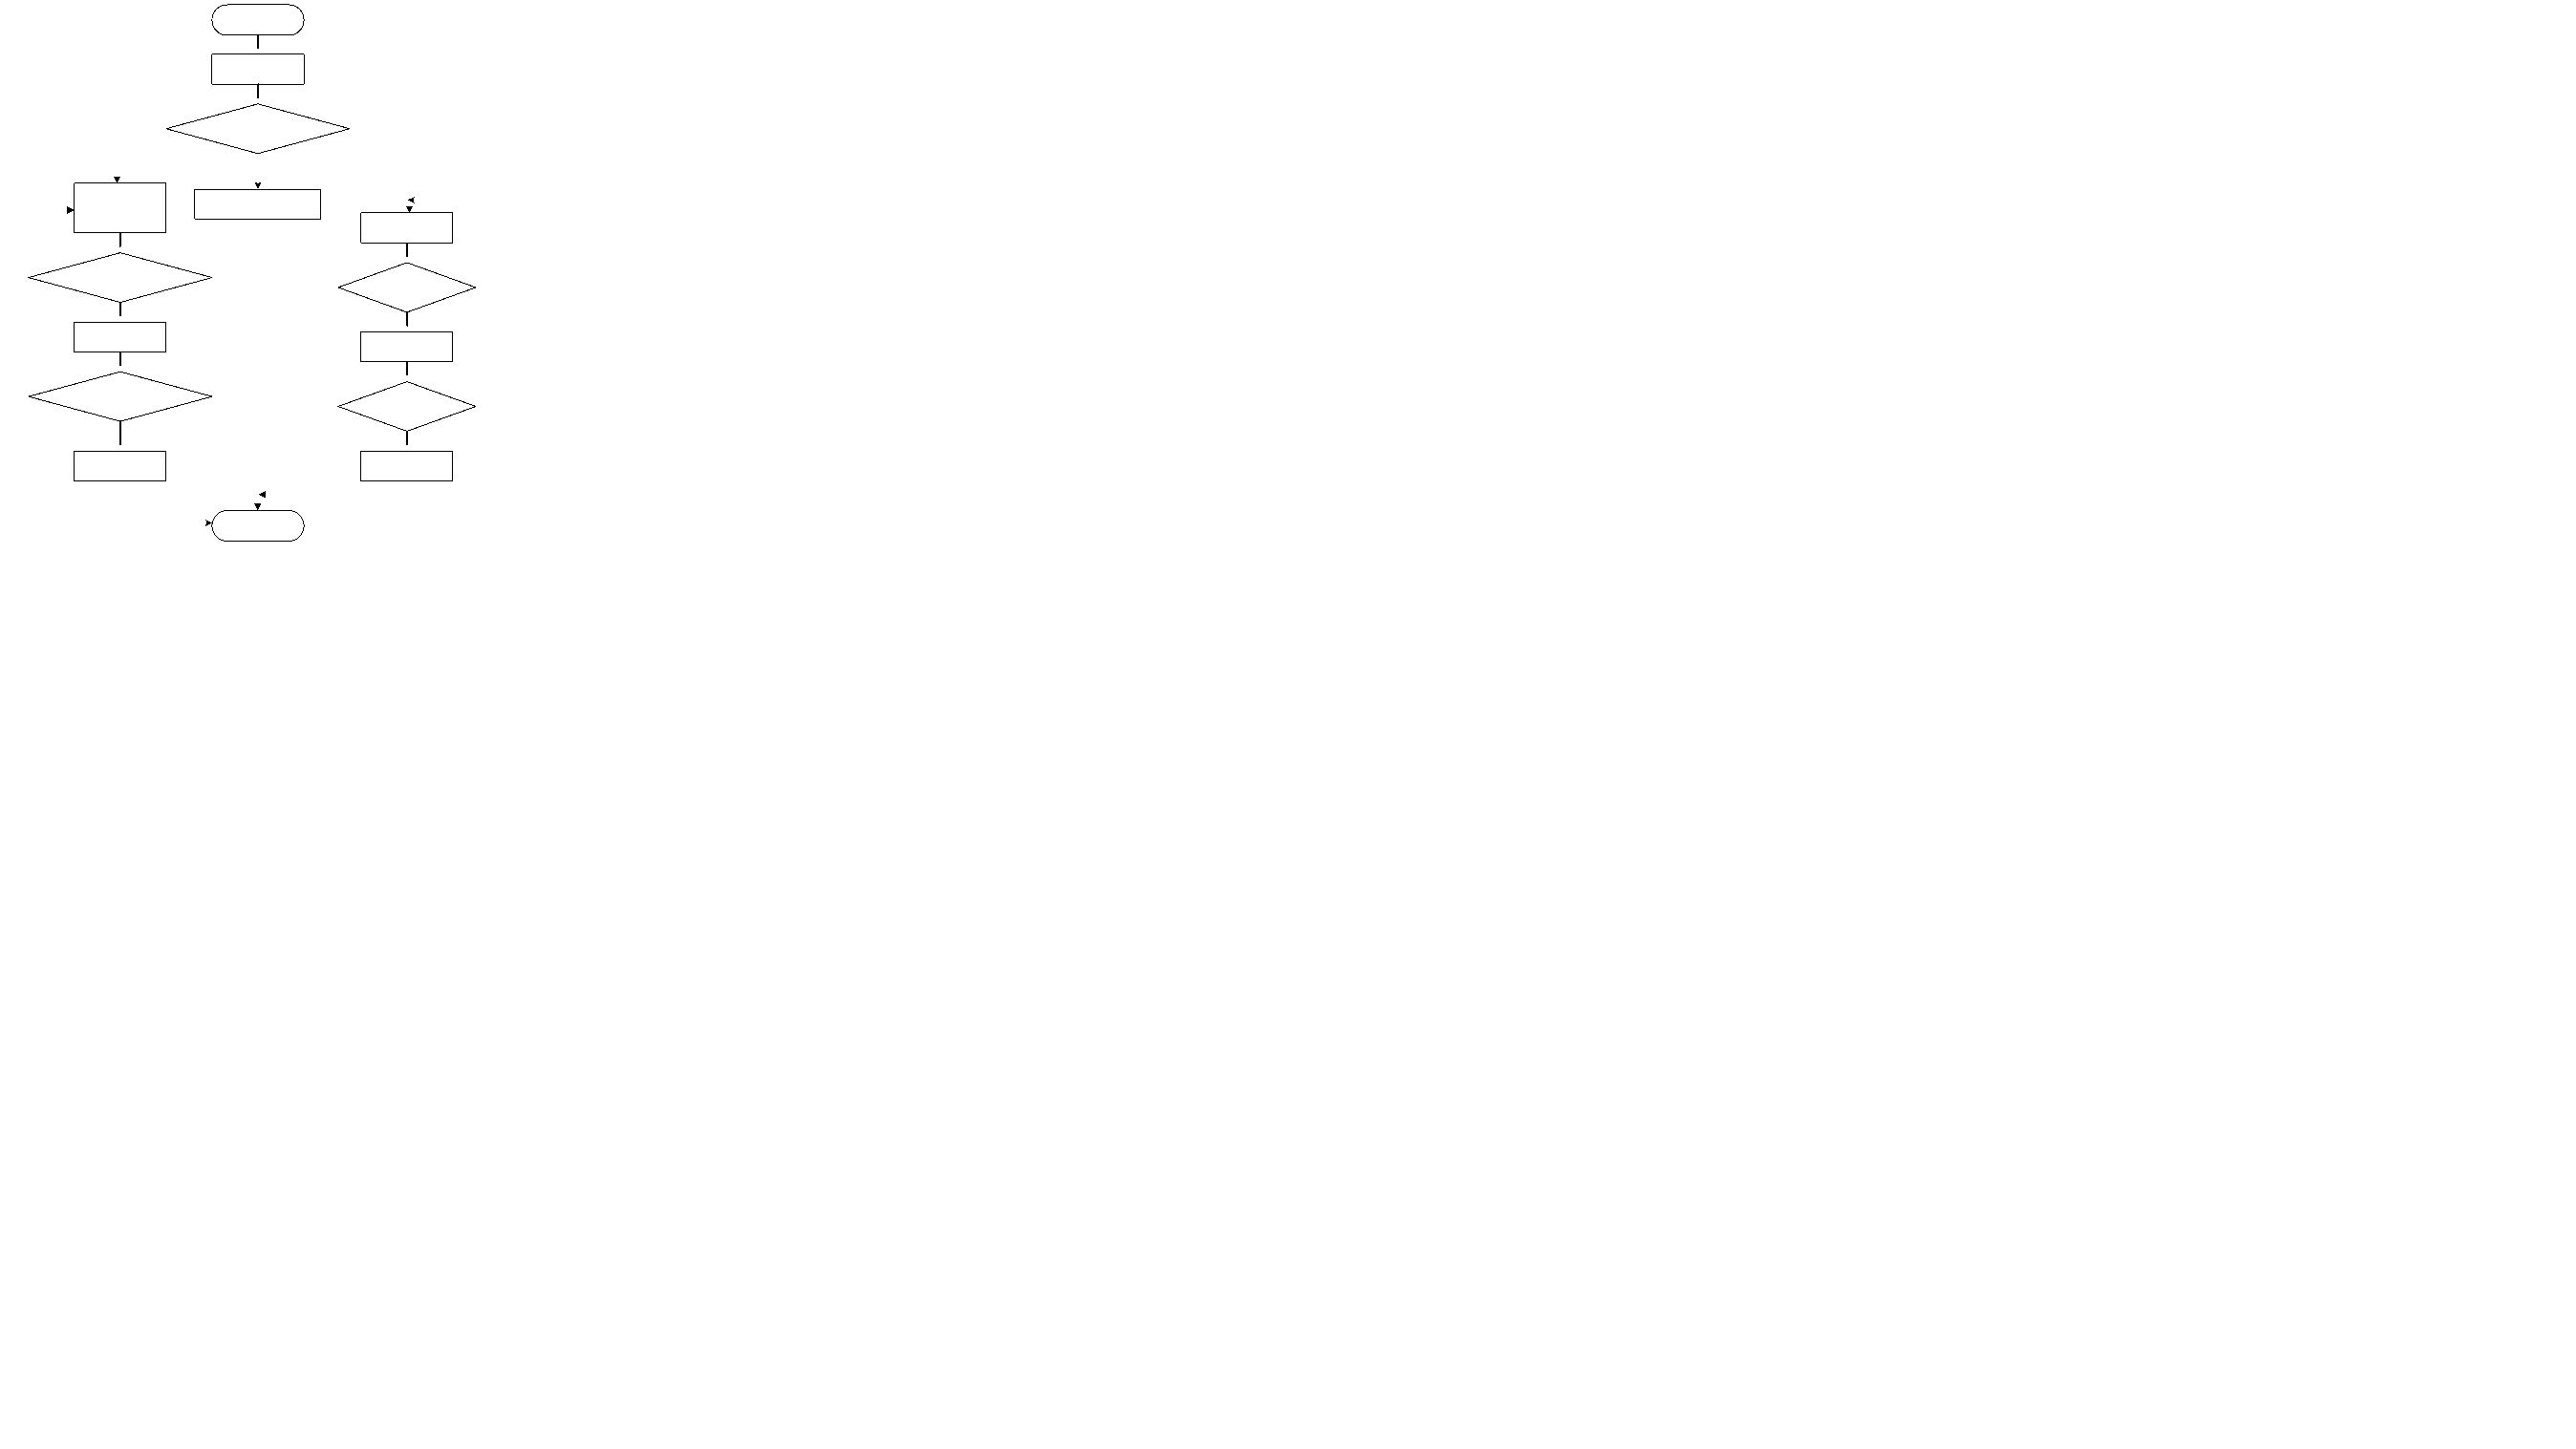
图3-9用户评论流程图
用户评论界面如图所示。
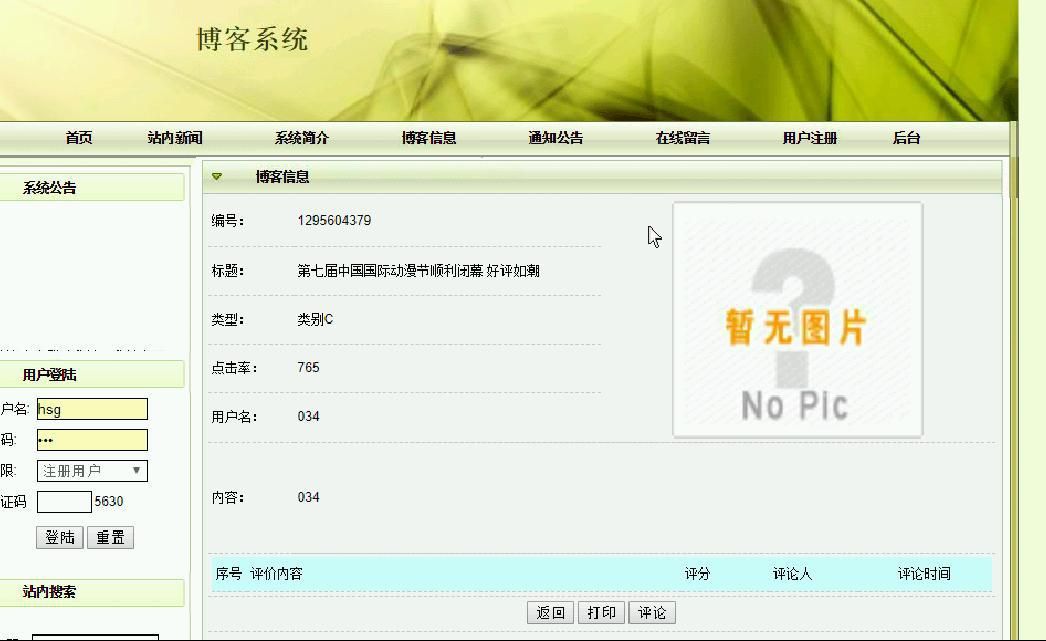
图3-10用户评论
评论添加关键代码为:
@RequestMapping("addPinglun.do")
public String addPinglun(HttpServletRequest request,Pinglun pinglun,HttpSession session){
Timestamp time=new Timestamp(System.currentTimeMillis());
//Users u=(Users)session.getAttribute("user");
/*if(u==null||u.equals("")){
return "redirect:showIndex.do";
}else{*/
pinglun.setAddtime(time.toString().substring(0, 19));
pinglunService.add(pinglun);
session.setAttribute("backxx", "添加成功");
session.setAttribute("backurl", "hsgpinglun.jsp?ok=1");
return "redirect:postback.jsp";
//return "redirect:pinglunList.do";
/*}*/
}
3.2.5博客模块的实现
用户发布博客,可以进行新增、查看、修改以及删除等相应的博客管理操作。当点击"新增博客"的按钮时,在博客添加界面进行详细信息的添加操作。当点击"查看博客"超级链接时,会显示所选的博客的信息,然后点击"返回"再返回到其主页面。
博客新增界面如图所示。
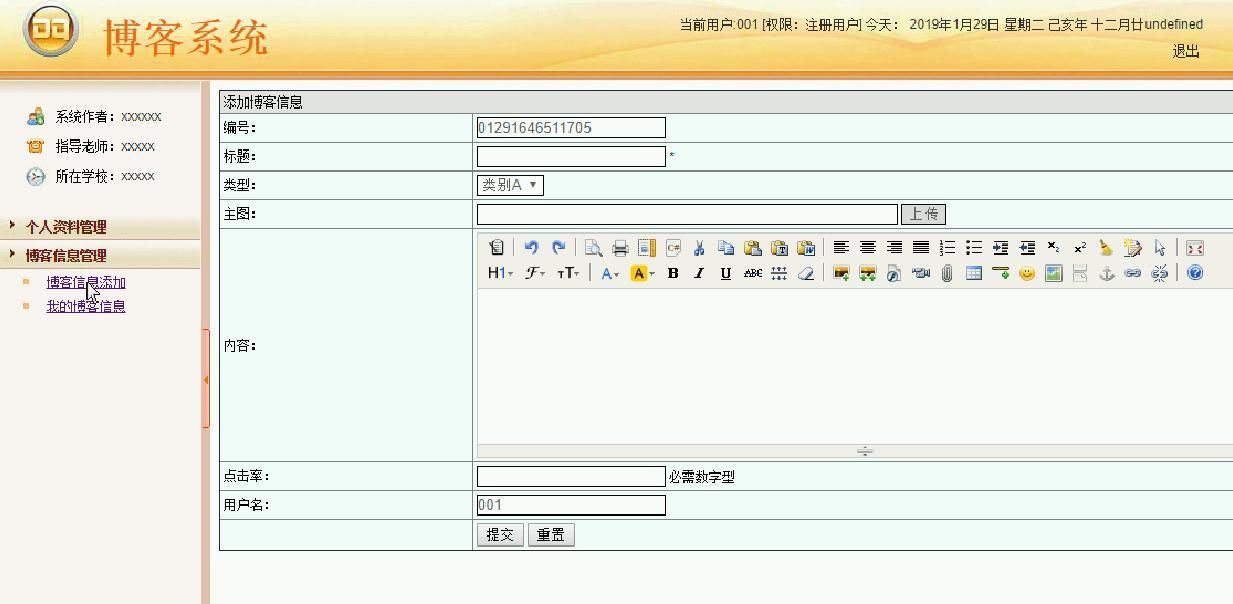
图3-15博客新增
博客管理界面如图所示。
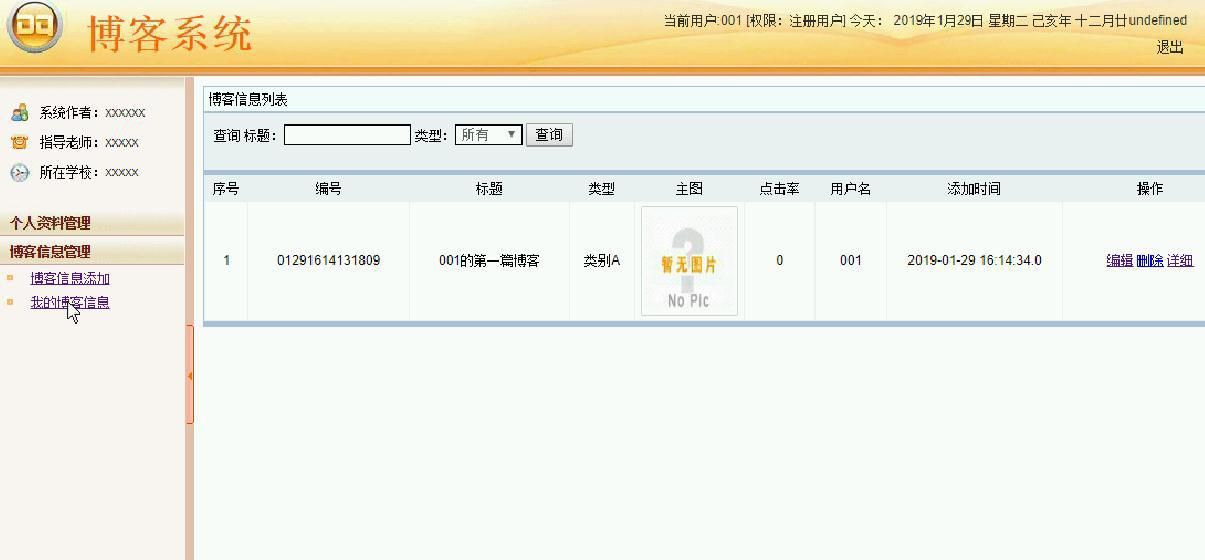
图3-16博客管理
博客添加关键代码为:
@RequestMapping("addXindexinxi.do")
public String addXindexinxi(HttpServletRequest request,Xindexinxixindexinxi,HttpSession session) throws SQLException{
Timestamp time=new Timestamp(System.currentTimeMillis());
xindexinxi.setAddtime(time.toString().substring(0, 19));
xindexinxiService.add(xindexinxi);
session.setAttribute("backxx", "添加成功");
session.setAttribute("backurl", request.getHeader("Referer"));
//session.setAttribute("backurl", "xindexinxiList.do");
return "redirect:postback.jsp";
//return "redirect:xindexinxiList.do";
}
3.3管理员子系统模块的实现
3.3.1用户管理模块的实现
用户在yhzhgl查看用户信息,先使用sql语句查询出所有用户表的数据,然后调用PageManager.getPages(url,4,sql, request ),返回一个ArrayList的对象,在for循环里,使用jsp得到每个ArrayList对象的数据,然后放入页面模板中,添加用户则将添加的用户数据封装在HashMap,中然后调用action包下Action类的insert方法将用户内容插入用户表中。
系统用户管理界面如下图所示。
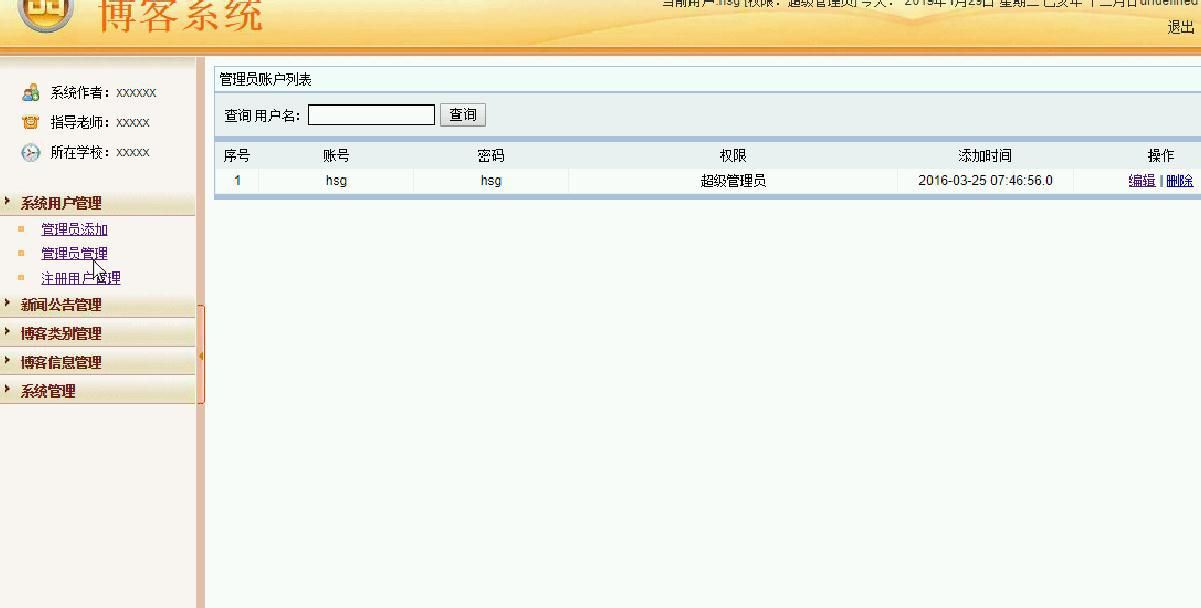
图3-17系统用户管理
注册用户管理界面如下图所示。
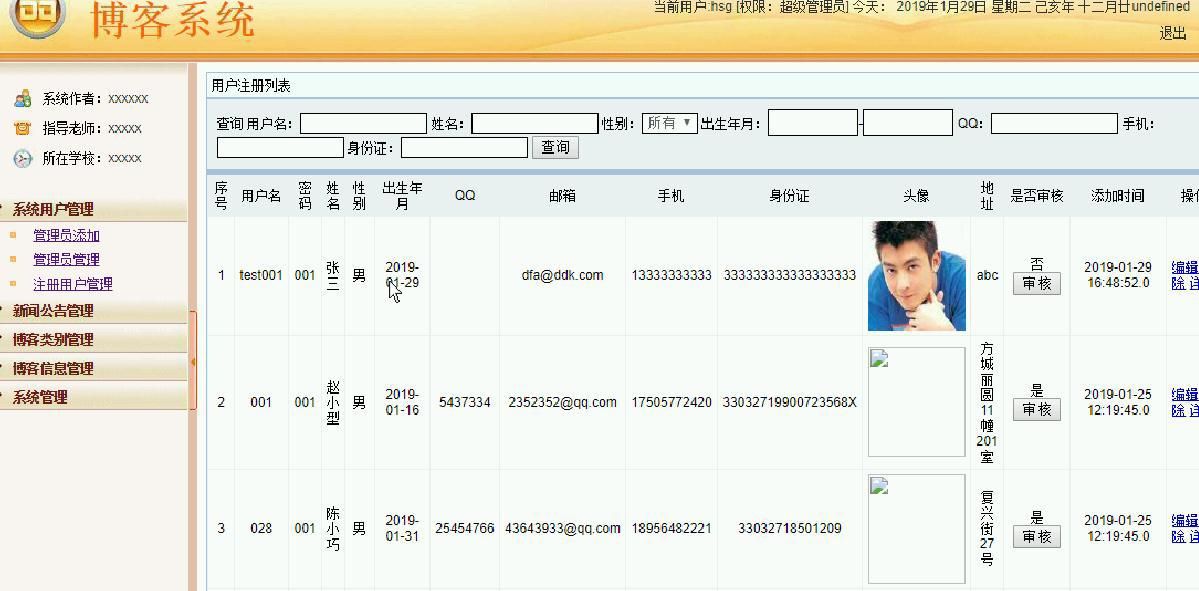
图3-18注册用户管理
系统用户管理关键代码为:
@RequestMapping("allusersList.do")
public String goodList(@RequestParam(value="page",required=false)String page,
ModelMap map,HttpSession session,Allusers allusers, String username, String pwd, String cx){
/*if(session.getAttribute("user")==null){
return "login";
}*/
if(page==null||page.equals("")){
page="1";
}
PageBean pageBean=new PageBean(Integer.parseInt(page), 15);
Map pmap=new HashMap();
pmap.put("pageno", pageBean.getStart());
pmap.put("pageSize", 15);
Map bmap=new HashMap();
Map cmap=new HashMap();
/*pmap.put("uid", ((Users)session.getAttribute("user")).getId());
bmap.put("uid", ((Users)session.getAttribute("user")).getId());*/
if(username==null||username.equals("")){pmap.put("username", null);cmap.put("username", null);}else{pmap.put("username", username);cmap.put("username", username);}
if(pwd==null||pwd.equals("")){pmap.put("pwd", null);cmap.put("pwd", null);}else{pmap.put("pwd", pwd);cmap.put("pwd", pwd);}
if(cx==null||cx.equals("")){pmap.put("cx", null);cmap.put("cx", null);}else{pmap.put("cx", cx);cmap.put("cx", cx);}
int total=allusersService.getCount(bmap);
pageBean.setTotal(total);
List list=allusersService.getByPage(pmap);
map.put("page", pageBean);
map.put("list", list);
session.setAttribute("p", 1);
return "allusers_list";
}
3.3.2密码修改模块的实现
修改用户密码是将用户的原密码用新密码替换,用户在原密码输入正确的情况下,更新用户信息表中的密码以及确认密码字段,密码修改成功之后页面跳转到密码修改界面,下次登录使用新密码。
密码修改流程图如下所示。

图3-19密码修改流程图
密码修改关键代码为:
if(ac.equals("uppass"))
{
String olduserpass = request.getParameter("ymm");
String userpass = request.getParameter("xmm1");
String copyuserpass = request.getParameter("xmm2");
HashMap m = dao.getmaps("yonghuming",(String)request.getSession().getAttribute("username"), "yonghuzhuce");
if(!(((String)m.get("mima")).equals(olduserpass)))
{
request.setAttribute("error", "");
go("mod2.jsp", request, response);
}else{
//String id = (String)user.get("id");
String sql = "update yonghuzhuce set mima='"+userpass+"' where yonghuming='"+(String)request.getSession().getAttribute("username")+"'";
dao.commOper(sql);
request.setAttribute("suc", "");
go("mod2.jsp", request, response);
}
}


 109
109

 被折叠的 条评论
为什么被折叠?
被折叠的 条评论
为什么被折叠?
 到【灌水乐园】发言


