 Gin框架入门与实战


一、Gin介绍
Gin是一个用Go编写的HTTPweb框架。它是一个类似于martini但拥有更好性能的API框架, 优于httprouter,速度提高了近 40 倍。点击此处访问Gin官方中文文档。
二、安装
1、安装Gin
go get -u github.com/gin-gonic/gin
2、代码中引入
import "github.com/gin-gonic/gin"
代码
package main

import "github.com/gin-gonic/gin"

func main() {
	//go get -u github.com/gin-gonic/gin  执行get拉取包
	ginServer := gin.Default() //创建服务
	ginServer.GET("/hello", func(context *gin.Context) {
		context.JSON(200, gin.H{"msg": "hello go"})
	})
	ginServer.POST("/user", func(context *gin.Context) {
		context.JSON(200, gin.H{"msg": "创建成功"})
	})
	ginServer.PUT("/user", func(context *gin.Context) {
		context.JSON(200, gin.H{"msg": "修改成功"})
	})
	ginServer.DELETE("/user", func(context *gin.Context) {
		context.JSON(200, gin.H{"msg": "删除成功"})
	})


    	//usl?userid=xxx&username=xxx
	ginServer.GET("/user/info", func(context *gin.Context) {
		userid := context.Query("userId")
		username := context.Query("username")
		context.JSON(http.StatusOK, gin.H{
			"userid":   userid,
			"username": username,
		})
	})
	//  /user/info/1/zhangsan
	ginServer.GET("/user/info/:userid/:username", func(context *gin.Context) {
		userid := context.Param("userId")
		username := context.Param("username")
		context.JSON(http.StatusOK, gin.H{
			"userid":   userid,
			"username": username,
		})
	})
	//json传递给后端
	ginServer.POST("/json", func(context *gin.Context) {
		data, _ := context.GetRawData()
		var m map[string]interface{}
		_ = json.Unmarshal(data, &m)
		context.JSON(http.StatusOK, m)

	})

	//表单提交
	ginServer.POST("/user/add", func(context *gin.Context) {
		username := context.PostForm("username")
		context.JSON(http.StatusOK, gin.H{
			"username": username,
		})

	})

    //404
	ginServer.NoRoute(func(context *gin.Context) {
		context.HTML(http.StatusNotFound, "404.html", nil)

	})

	//路由组
	orderGroup := ginServer.Group("/order")
	{
		orderGroup.GET("/list", func(context *gin.Context) {

		})
		orderGroup.POST("/add", func(context *gin.Context) {

		})
	}

	//调用中间件
	//	ginServer.Use(myHandler())定义全局中间件
	//  /user/info/1/zhangsan
	ginServer.GET("/zjj", myHandler(), func(context *gin.Context) {
		usersession := context.MustGet("usersesion").(string)

		context.JSON(http.StatusOK, gin.H{
			"usersession": usersession,
		})
	})

	ginServer.Run(":8082")
}

// 中间件  拦截器
func myHandler() gin.HandlerFunc {
	return func(context *gin.Context) {
		//通过中间件设置值,后续只要调用中间件都可以拿到这个参数
		context.Set("usersesion", "userid1")

		context.Next() //往下执行
		//context.Abort()//阻止执行
	}
}
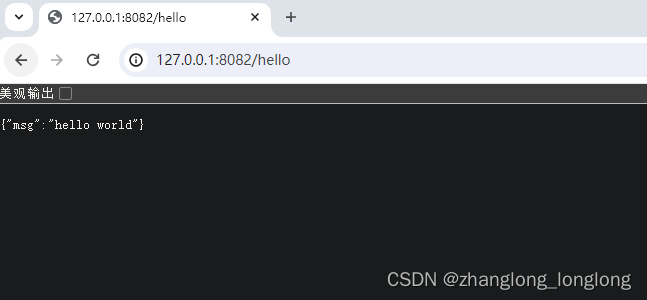
结果:


 36万+
36万+


 到【灌水乐园】发言


