


系统环境:ubuntu16.04
FFmpeg:3.4
android-sdk:android-sdk_r24.4.1-linux.tgz
android-ndk:android-ndk-r15c-linux-x86_64.zip
android-studio:android-studio-ide-143.2664576-linux.zip
一、安装jdk
1、使用的jdk版本1.8.0_201,创建一个文件夹java,将下载的压缩包解压到该目录下。
2、在.bashrc添加环境变量:
export JAVA_HOME=/home/muyangren/java/jdk1.8.0_201
export PATH=$JAVA_HOME/bin:$JAVA_HOME/jre/bin:$PATH
export CLASSPATH=:.:$JAVA_HOME/lib:$JAVA_HOME/jre/lib
二、安装sdk
下载android-sdk,下载的压缩包为:android-sdk_r24.4.1-linux.tgz
将压缩包解压到java文件夹,运行/java/android-sdk-linux/tools下的./android,提前下载好android-sdk相关工具及镜像。
三、安装ndk(因为要使用c代码,编译动态库)
下载android-ndk,下载压缩包为:android-ndk-r15c-linux-x86_64.zip,将压缩包解压到java文件夹。
四、安装android-studio,使用压缩包解压,使用压缩包android-studio-ide-143.2664576-linux.zip
五、使用FFmpeg源码,编译动态库
1、从github上下载FFmpeg3.4版本,解压后重命名文件夹ffmpeg_for_android(为了和其它版本和目标平台区分)。
2、修改configure文件,使用vim打开,查找SLIB_INSTALL_NAME,修改后如下:
3416 #SLIBNAME_WITH_MAJOR='$(SLIBNAME).$(LIBMAJOR)'
3417 #LIB_INSTALL_EXTRA_CMD='$$(RANLIB) "$(LIBDIR)/$(LIBNAME)"'
3418 #SLIB_INSTALL_NAME='$(SLIBNAME_WITH_VERSION)'
3419 #SLIB_INSTALL_LINKS='$(SLIBNAME_WITH_MAJOR) $(SLIBNAME)'
3420 SLIBNAME_WITH_MAJOR='$(SLIBPREF)$(FULLNAME)-$(LIBMAJOR)$(SLIBSUF)'
3421 LIB_INSTALL_EXTRA_CMD='$$(RANLIB) "$(LIBDIR)/$(LIBNAME)"'
3422 SLIB_INSTALL_NAME='$(SLIBNAME_WITH_MAJOR)'
3423 SLIB_INSTALL_LINKS='$(SLIBNAME)'
3、执行配置文件 ./configure。
4、编写编译脚本,并执行,这里用的是雷霄华博客中的。
make clean

export NDK=/home/muyangren/java/android-ndk-r15c
export PREBUILT=$NDK/toolchains/arm-linux-androideabi-4.9/prebuilt
export PLATFORM=$NDK/platforms/android-14/arch-arm
export PREFIX=../simplefflib

build_one(){
  ./configure --target-os=android --prefix=$PREFIX \
--enable-cross-compile \
--enable-runtime-cpudetect \
--disable-asm \
--arch=arm \
--cc=$PREBUILT/linux-x86_64/bin/arm-linux-androideabi-gcc \
--cross-prefix=$PREBUILT/linux-x86_64/bin/arm-linux-androideabi- \
--disable-stripping \
--nm=$PREBUILT/linux-x86_64/bin/arm-linux-androideabi-nm \
--sysroot=$PLATFORM \
--enable-gpl --enable-shared --disable-static --enable-small \
--disable-ffprobe --disable-ffplay --disable-ffmpeg --disable-ffserver --disable-debug \
--extra-cflags="-fPIC -DANDROID -D__thumb__ -mthumb -Wfatal-errors -Wno-deprecated -mfloat-abi=softfp -marm -march=armv7-a"
}

build_one
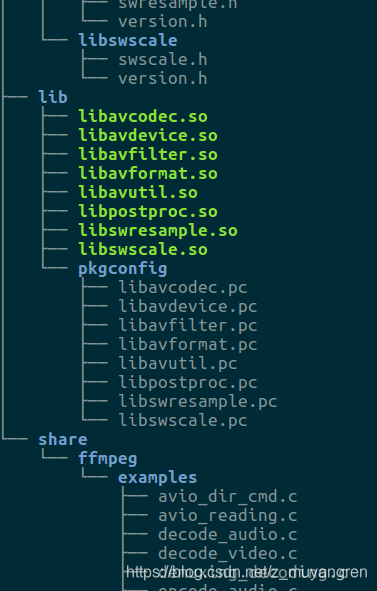
5、执行make和make install,完成后可以在simplfflib下看到如下文件,动态库编译完成:
六、调用动态库
这里走了弯路,开始使用jni,使用javah先生成头文件等步骤,未能成功,后来使用CMakeLists.txt文件。
CMakeLists.txt文件如下:
# For more information about using CMake with Android Studio, read the
# documentation: https://d.android.com/studio/projects/add-native-code.html

# Sets the minimum version of CMake required to build the native library.

cmake_minimum_required(VERSION 3.4.1)

# Creates and names a library, sets it as either STATIC
# or SHARED, and provides the relative paths to its source code.
# You can define multiple libraries, and CMake builds them for you.
# Gradle automatically packages shared libraries with your APK.

add_library( # Sets the name of the library.
             native-lib

             # Sets the library as a shared library.
             SHARED

             # Provides a relative path to your source file(s).
             src/main/cpp/native-lib.cpp )

# FFmpeg include 文件
include_directories(src/main/cpp/include)

# Searches for a specified prebuilt library and stores the path as a
# variable. Because CMake includes system libraries in the search path by
# default, you only need to specify the name of the public NDK library
# you want to add. CMake verifies that the library exists before
# completing its build.

find_library( # Sets the name of the path variable.
              log-lib

              # Specifies the name of the NDK library that
              # you want CMake to locate.
              log )

# 编解码库
add_library(
        avcodec-lib
        SHARED
        IMPORTED
)
set_target_properties(
        avcodec-lib
        PROPERTIES IMPORTED_LOCATION
        /home/muyangren/AndroidStudioProjects/FFmpegInfo/app/libs/armeabi/libavcodec.so
)

# 滤镜库 暂时没用上
add_library(
        avfilter-lib
        SHARED
        IMPORTED
)
set_target_properties(
        avfilter-lib
        PROPERTIES IMPORTED_LOCATION
        /home/muyangren/AndroidStudioProjects/FFmpegInfo/app/libs/armeabi/libavfilter.so
)

# 文件格式库 大部分操作都需要这个库
add_library(
        avformat-lib
        SHARED
        IMPORTED
)
set_target_properties(
        avformat-lib
        PROPERTIES IMPORTED_LOCATION
        /home/muyangren/AndroidStudioProjects/FFmpegInfo/app/libs/armeabi/libavformat.so
)

# 工具库
add_library(
        avutil-lib
        SHARED
        IMPORTED
)
set_target_properties(
        avutil-lib
        PROPERTIES IMPORTED_LOCATION
        /home/muyangren/AndroidStudioProjects/FFmpegInfo/app/libs/armeabi/libavutil.so
)

# 重采样库 主要用于音频的转换
add_library(
        swresample-lib
        SHARED
        IMPORTED
)
set_target_properties(
        swresample-lib
        PROPERTIES IMPORTED_LOCATION
        /home/muyangren/AndroidStudioProjects/FFmpegInfo/app/libs/armeabi/libswresample.so
)

# 视频格式转换库 主要用于视频的转换
add_library(
        swscale-lib
        SHARED
        IMPORTED
)
set_target_properties(
        swscale-lib
        PROPERTIES IMPORTED_LOCATION
        /home/muyangren/AndroidStudioProjects/FFmpegInfo/app/libs/armeabi/libswscale.so
)

# Specifies libraries CMake should link to your target library. You
# can link multiple libraries, such as libraries you define in this
# build script, prebuilt third-party libraries, or system libraries.

target_link_libraries( # Specifies the target library.
                       native-lib

        avcodec-lib
        avfilter-lib
        avformat-lib
        avutil-lib
        swresample-lib
        swscale-lib

                       # Links the target library to the log library
                       # included in the NDK.
                       ${log-lib} )
native-lib.cpp文件如下:
#include <jni.h>
#include <string>

extern "C" {
#include "libavcodec/avcodec.h"

extern "C" JNIEXPORT jstring JNICALL
Java_com_example_muyangren_ffmpeginfo_MainActivity_stringFromJNI(
        JNIEnv* env,
        jobject /* this */) {
	    std::string hello = "Hello from C++";

	    char info[10000] = { 0 };
	    sprintf(info, "%s\n", avcodec_configuration());
	    return env->NewStringUTF(info);
	    //return env->NewStringUTF(hello.c_str());
	}
}
MainActivity.java文件如下:
package com.example.muyangren.ffmpeginfo;
import android.support.v7.app.AppCompatActivity;
import android.os.Bundle;
import android.widget.TextView;
public class MainActivity extends AppCompatActivity {
// Used to load the 'native-lib' library on application startup.
static {
System.loadLibrary("native-lib");
System.loadLibrary("ffmpeg");
System.loadLibrary("avutil");
System.loadLibrary("avcodec");
System.loadLibrary("avformat");
System.loadLibrary("avdevice");
System.loadLibrary("swresample");
System.loadLibrary("swscale");
System.loadLibrary("postproc");
System.loadLibrary("avfilter");
}
@Override
protected void onCreate(Bundle savedInstanceState) {
super.onCreate(savedInstanceState);
setContentView(R.layout.activity_main);
// Example of a call to a native method
TextView tv = (TextView) findViewById(R.id.sample_text);
//tv.setText(stringFromJNI());
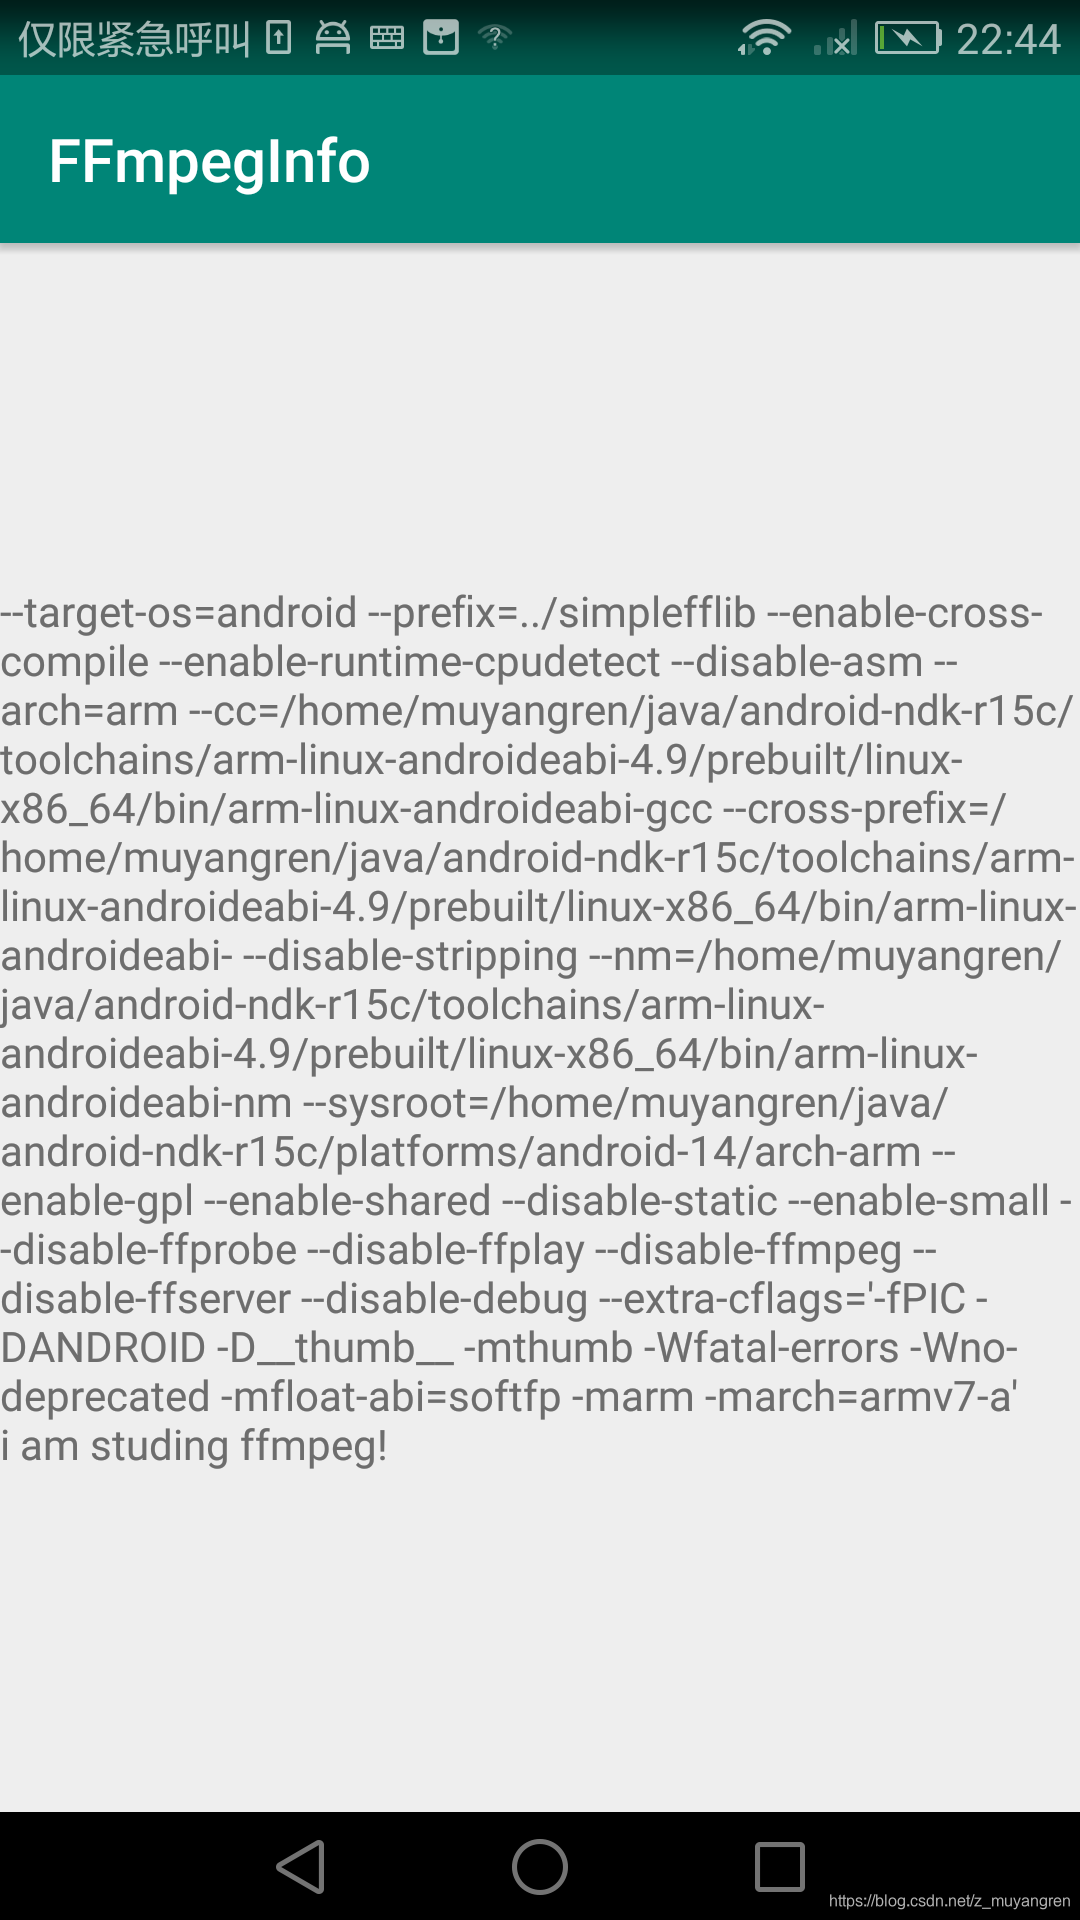
tv.setText(stringFromJNI() + "i am studing ffmpeg!");
//tv.setText("asd");
}
/**
* A native method that is implemented by the 'native-lib' native library,
* which is packaged with this application.
*/
public native String stringFromJNI();
}
运行到设备结果如下图:
七、一些问题及说明
0、gradle同步问题
这个问题是折腾最久的一个问题,最终还是在vultr搭建了一个服务器fq解决,按照网上下离线gradle包未解决,fq后发现还会下很多jar包,不知道不fq怎么玩,有知道的朋友望告知,在此谢过。
1、编译动态库时报错
a、libavformat/udp.c 的错误,把ffmpeg降到了3.4编译通过
b、libavutil/timer.h:38:31: fatal error: linux/perf_event.h: No such file or directory 把target-os = android 编译通过
2、编译apk时报错
a、cant’t load lib :项目添加c++支持,Android Studio 创建Demo项目,记得把 “Include c++ support” 勾上。
b、NDK not configured.
在build.properties配置文件里的android{}里面添加如下代码块(和defaultConfig{}同级
sourceSets {
      main {
           jniLibs.srcDirs = ['libs']
      }
}
c、Failed to find CMake.
N85-87HP6:~/java/android-sdk-linux/tools/bin$ ./sdkmanager --licenses
5 of 5 SDK package licenses not accepted. 100% Computing updates...
Review licenses that have not been accepted (y/N)? y


 963
963

 被折叠的 条评论
为什么被折叠?
被折叠的 条评论
为什么被折叠?
 到【灌水乐园】发言


