


 本文详细记录了在Linux系统上搭建LNMP(Nginx、MySQL、PHP)环境的过程,包括Nginx的安装、配置,MySQL的安装,以及PHP的安装和配置。在Nginx配置中,设置了监听端口、日志路径,以及PHP-FPM的集成。同时,文章提到了在安装和配置过程中可能遇到的问题及其解决方案,如端口冲突和配置文件错误等。
lnmp搭建
安装nginx
[root@localhost ~]# useradd -r -M -s /sbin/nologin nginx
[root@localhost ~]# yum -y install pcre-devel openssl openssl-devel gd-devel gcc gcc-c++ make

[root@localhost ~]# mkdir lnmp
[root@localhost ~]# ls
anaconda-ks.cfg  lnmp  scripts
[root@localhost ~]# cd lnmp/
[root@localhost lnmp]# wget -c http://nginx.org/download/nginx-1.20.1.tar.gz
--2021-06-24 06:20:43--  http://nginx.org/download/nginx-1.20.1.tar.gz
正在解析主机 nginx.org (nginx.org)... 3.125.197.172, 52.58.199.22, 2a05:d014:edb:5704::6, ...
正在连接 nginx.org (nginx.org)|3.125.197.172|:80... 已连接。
已发出 HTTP 请求,正在等待回应... 200 OK
长度:1061461 (1.0M) [application/octet-stream]
正在保存至: “nginx-1.20.1.tar.gz”

nginx-1.20.1.tar.gz     100%[=============================>]   1.01M   675KB/s  用时 1.5s

2021-06-24 06:20:45 (675 KB/s) - 已保存 “nginx-1.20.1.tar.gz” [1061461/1061461])

[root@localhost lnmp]# ls
nginx-1.20.1.tar.gz

//安装开发工具包
[root@localhost lnmp]# yum -y groups mark install 'Development Tools'


//创建日志存放目录
[root@localhost lnmp]# mkdir -p /var/log/nginx
[root@localhost lnmp]# chown -R nginx.nginx /var/log/nginx


[root@localhost lnmp]# tar xf nginx-1.20.1.tar.gz
[root@localhost lnmp]# ls
nginx-1.20.1  nginx-1.20.1.tar.gz
[root@localhost lnmp]# cd nginx-1.20.1/
编译安装nginx
[root@localhost nginx-1.20.1]# ./configure \
--prefix=/usr/local/nginx \
--user=nginx \
--group=nginx \
--with-debug \
--with-http_ssl_module \
--with-http_realip_module \
--with-http_image_filter_module \
--with-http_gunzip_module \
--with-http_gzip_static_module \
--with-http_stub_status_module \
--http-log-path=/var/log/nginx/access.log \
--error-log-path=/var/log/nginx/error.log


//查看内核数
[root@localhost nginx-1.20.1]# nproc
2
[root@localhost nginx-1.20.1]# make -j 2

[root@localhost nginx-1.20.1]# ls
auto     CHANGES.ru  configure  html     Makefile  objs    src
CHANGES  conf        contrib    LICENSE  man       README
[root@localhost nginx-1.20.1]# make install

//设置一下环境变量
[root@localhost nginx-1.20.1]# echo 'export PATH=/usr/local/nginx/sbin:$PATH' > /etc/profile.d/nginx.sh
[root@localhost nginx-1.20.1]# source /etc/profile.d/nginx.sh


//编辑配置文件
[root@localhost ~]# cd /usr/local/nginx/conf/
[root@localhost conf]# ls
fastcgi.conf            koi-utf             nginx.conf           uwsgi_params
fastcgi.conf.default    koi-win             nginx.conf.default   uwsgi_params.default
fastcgi_params          mime.types          scgi_params          win-utf
fastcgi_params.default  mime.types.default  scgi_params.default
[root@localhost conf]# vim nginx.conf
 4 user nginx ;

 43         location / {
 44             root   html;
 45             index  index.html index.htm index.php;
 46         }


 65         location ~ \.php$ {
 66             root           html;
 67             fastcgi_pass   127.0.0.1:9000;
 68             fastcgi_index  index.php;
 69             fastcgi_param  SCRIPT_FILENAME  /usr/local/nginx/html$fastcgi_script_name;
 70             include        fastcgi_params;
 71         }


//取消65到71行的注释,并在第69行添加nginx网站发布目录的绝对路径

//检测语法
[root@localhost conf]# nginx -t
nginx: the configuration file /usr/local/nginx/conf/nginx.conf syntax is ok
nginx: configuration file /usr/local/nginx/conf/nginx.conf test is successful
//没有问题

[root@localhost conf]# nginx -s reload
nginx: [error] invalid PID number "" in "/usr/local/nginx/logs/nginx.pid"
//重读配置文件的时候,报了这样的一个错,
解决:

[root@localhost logs]# /usr/local/nginx/sbin/nginx -c /usr/local/nginx/conf/nginx.conf
nginx: [emerg] bind() to 0.0.0.0:80 failed (98: Address already in use)
nginx: [emerg] bind() to 0.0.0.0:80 failed (98: Address already in use)
nginx: [emerg] bind() to 0.0.0.0:80 failed (98: Address already in use)
nginx: [emerg] bind() to 0.0.0.0:80 failed (98: Address already in use)
nginx: [emerg] bind() to 0.0.0.0:80 failed (98: Address already in use)
nginx: [emerg] still could not bind()
[root@localhost logs]# nginx -s reload
关闭防火墙
[root@localhost sbin]# systemctl stop firewalld
[root@localhost sbin]# setenforce 0
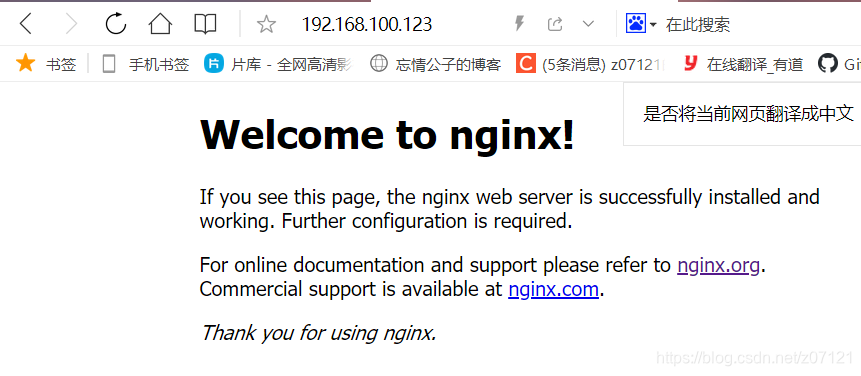
访问
安装mysql
具体安装请看mysql安装
//nginx和mysql的端口都起来了
[root@localhost lnmp]# ss -antl
State     Recv-Q    Send-Q         Local Address:Port         Peer Address:Port    Process
LISTEN    0         128                  0.0.0.0:80                0.0.0.0:*
LISTEN    0         128                  0.0.0.0:22                0.0.0.0:*
LISTEN    0         128                     [::]:22                   [::]:*
LISTEN    0         80                         *:3306                    *:*
安装php
安装相应的依赖包
[root@localhost ~]# yum -y install libxml2 libxml2-devel openssl openssl-devel bzip2 bzip2-devel libcurl libcurl-devel libicu-devel libjpeg libjpeg-devel libpng libpng-devel openldap-devel  pcre-devel freetype freetype-devel gmp gmp-devel libmcrypt libmcrypt-devel readline readline-devel libxslt libxslt-devel mhash mhash-devel

[root@localhost ~]# dnf -y install php*
[root@localhost lnmp]# php -v
PHP 7.2.24 (cli) (built: Oct 22 2019 08:28:36) ( NTS )
Copyright (c) 1997-2018 The PHP Group
Zend Engine v3.2.0, Copyright (c) 1998-2018 Zend Technologies
    with Zend OPcache v7.2.24, Copyright (c) 1999-2018, by Zend Technologies
[root@localhost lnmp]# ls /etc/php.ini
/etc/php.ini
[root@localhost lnmp]# systemctl status php-fpm
● php-fpm.service - The PHP FastCGI Process Manager
   Loaded: loaded (/usr/lib/systemd/system/php-fpm.service; disabled; vendor preset: disabled)
   Active: inactive (dead)
[root@localhost php-fpm.d]# systemctl status php-fpm
● php-fpm.service - The PHP FastCGI Process Manager
   Loaded: loaded (/usr/lib/systemd/system/php-fpm.service; disabled; vendor preset: disabled)
   Active: active (running) since Thu 2021-06-24 07:14:30 EDT; 23s ago
 Main PID: 289573 (php-fpm)
   Status: "Processes active: 0, idle: 5, Requests: 0, slow: 0, Traffic: 0req/sec"
    Tasks: 6 (limit: 11200)
   Memory: 38.5M
   CGroup: /system.slice/php-fpm.service
           ├─289573 php-fpm: master process (/etc/php-fpm.conf)
           ├─289574 php-fpm: pool www
           ├─289575 php-fpm: pool www
           ├─289576 php-fpm: pool www
           ├─289577 php-fpm: pool www
           └─289578 php-fpm: pool www

6月 24 07:14:30 localhost.localdomain systemd[1]: Starting The PHP FastCGI Process Manager...
6月 24 07:14:30 localhost.localdomain systemd[1]: Started The PHP FastCGI Process Manager.


[root@localhost etc]# ss -antl
State     Recv-Q    Send-Q         Local Address:Port         Peer Address:Port    Process
LISTEN    0         128                  0.0.0.0:80                0.0.0.0:*
LISTEN    0         128                  0.0.0.0:22                0.0.0.0:*
LISTEN    0         128                     [::]:22                   [::]:*
LISTEN    0         80                         *:3306                    *:*

//有状态,但是端口没有起来

root@localhost etc]# cd php-fpm.d/
[root@localhost php-fpm.d]# ls
www.conf
[root@localhost php-fpm.d]# vim www.conf

; Note: This value is mandatory.
;listen = /run/php-fpm/www.sock
listen = 0.0.0.0:9000


重启php,就会发现php的端口起来了
[root@localhost ~]# systemctl restart php-fpm
[root@localhost ~]# ss -antl
State     Recv-Q    Send-Q         Local Address:Port         Peer Address:Port    Process
LISTEN    0         128                  0.0.0.0:80                0.0.0.0:*
LISTEN    0         128                  0.0.0.0:22                0.0.0.0:*
LISTEN    0         128                  0.0.0.0:9000              0.0.0.0:*
LISTEN    0         128                     [::]:22                   [::]:*
LISTEN    0         80                         *:3306                    *:*
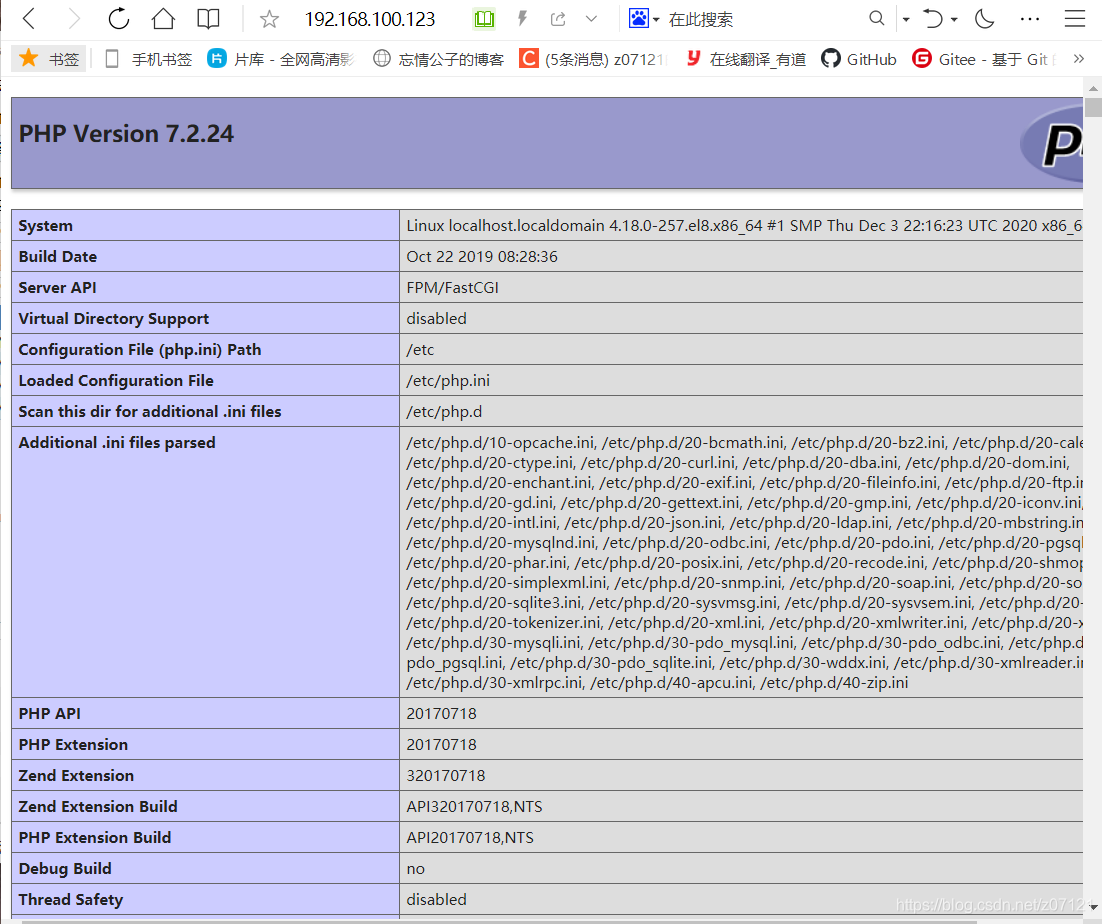
在nginx的访问页面目录里添加一个php的语法
[root@localhost ~]# cd /usr/local/nginx/html/
[root@localhost html]# ls
50x.html  index.html
[root@localhost html]# vim index.php
[root@localhost html]# cat index.php
<?php
    phpinfo();
?>
[root@localhost ~]# vim /etc/php.ini

;cgi.fix_pathinfo=0
//把这里的1 改成0
nginx: [error] open() "/usr/local/nginx/logs/nginx.pid" failed (2: No such file or directory)
//如果报这个错,就把配置文件中第九行的注释取消掉
[root@localhost conf]# vim nginx.conf
  9 pid        logs/nginx.pid;


 35     server {
 36         listen       80;
 37         server_name  localhost;
 38         root /www;   //添加这行
 39         index index.php index.html;  //添加这行
 40         #charset koi8-r;
重读nginx的配置文件,重启nginx
[root@localhost conf]# nginx -s reload
[root@localhost conf]# nginx -s stop
[root@localhost conf]# nginx


 4606
4606

 被折叠的 条评论
为什么被折叠?
被折叠的 条评论
为什么被折叠?
 到【灌水乐园】发言


