


 本文详细介绍了在Linux环境下安装配置ASP.NET Core 2.1、Nginx的过程,以及如何通过Nginx进行HTTPS反向代理配置,同时涵盖了关闭SELINUX、创建自启动服务等关键步骤。
1、.net core 2.1安装(添加产品秘钥与yum源)
添加yum源:
sudo rpm -Uvh https://packages.microsoft.com/config/rhel/7/packages-microsoft-prod.rpm
开始安装:
sudo yum install dotnet-sdk-2.1
一路y下去就可以了
查看版本号:
dotnet --version
2、安装nginx
第一步 - 添加Nginx存储库
要添加CentOS 7 EPEL仓库,请打开终端并使用以下命令:
sudo yum install epel-release
第二步 - 安装Nginx
现在Nginx存储库已经安装在您的服务器上,使用以下yum命令安装Nginx :
sudo yum install nginx
在对提示回答yes后,Nginx将在服务器上完成安装。
第三步 - 启动Nginx
如果想在系统启动时启用Nginx。请输入以下命令:
sudo systemctl enable nginx
Nginx不会自行启动。要运行Nginx,请输入:
sudo systemctl start nginx
如果您正在运行防火墙,请运行以下命令以允许HTTP和HTTPS通信:
sudo firewall-cmd --permanent --zone=public --add-service=http
sudo firewall-cmd --permanent --zone=public --add-service=https
sudo firewall-cmd --reload
您将会看到默认的CentOS 7 Nginx网页,这是为了提供信息和测试目的。它应该看起来像这样:
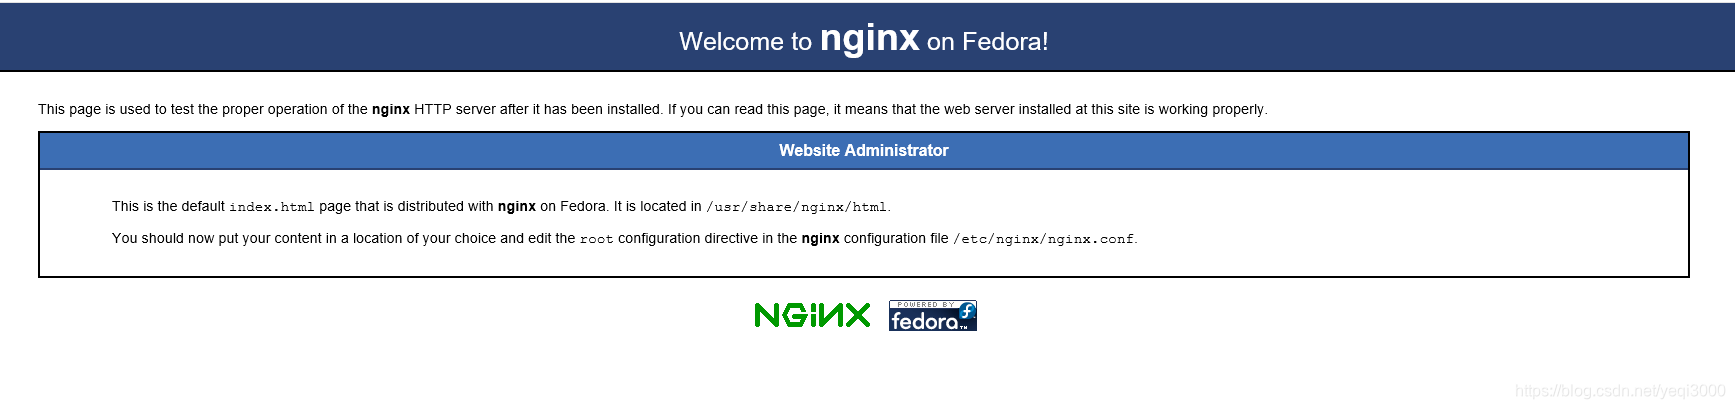
如果看到这个页面,那么你的Web服务器现在已经正确安装了。
4、环境配置
关闭SELINUX
vim /etc/selinux/config
将SELINUX=enforcing改为SELINUX=disabled
5、nginx 代理配置
vim /etc/nginx/nginx.conf
修改后如下:
# For more information on configuration, see:
#   * Official English Documentation: http://nginx.org/en/docs/
#   * Official Russian Documentation: http://nginx.org/ru/docs/

user nginx;
worker_processes auto;
error_log /var/log/nginx/error.log;
pid /run/nginx.pid;

# Load dynamic modules. See /usr/share/nginx/README.dynamic.
include /usr/share/nginx/modules/*.conf;

events {
    worker_connections 1024;
}

http {
    log_format  main  '$remote_addr - $remote_user [$time_local] "$request" '
                      '$status $body_bytes_sent "$http_referer" '
                      '"$http_user_agent" "$http_x_forwarded_for"';

    access_log  /var/log/nginx/access.log  main;

    sendfile            on;
    tcp_nopush          on;
    tcp_nodelay         on;
    keepalive_timeout   65;
    types_hash_max_size 2048;

    include             /etc/nginx/mime.types;
    default_type        application/octet-stream;

    # Load modular configuration files from the /etc/nginx/conf.d directory.
    # See http://nginx.org/en/docs/ngx_core_module.html#include
    # for more information.
    include /etc/nginx/conf.d/*.conf;
}
创建我们自己的.net core web api应用的HTTPS反向代理配置,并放到目录:/etc/nginx/conf.d
文件命名为:api.conf
   server {
        listen 443;
        server_name apitest.yyzq.net;
		ssl on;
		ssl_certificate   /home/apitest.pem;
		ssl_certificate_key  /home/apitest.key;
		ssl_session_timeout 5m;
		ssl_ciphers ECDHE-RSA-AES128-GCM-SHA256:ECDHE:ECDH:AES:HIGH:!NULL:!aNULL:!MD5:!ADH:!RC4;
		ssl_protocols TLSv1 TLSv1.1 TLSv1.2;
		ssl_prefer_server_ciphers on;
        location / {
			proxy_pass http://localhost:6008/;
			proxy_http_version 1.1;
			proxy_set_header Upgrade $http_upgrade;
			proxy_set_header Connection keep-alive;
			proxy_set_header Host $host;
			proxy_cache_bypass $http_upgrade;
			proxy_set_header X-Real-IP $remote_addr;
            proxy_set_header REMOTE-HOST $remote_addr;
            proxy_set_header X-Forwarded-For $proxy_add_x_forwarded_for;
        }
    }
再创建.net core mvc应用的HTTP反向代理配置文件,并放到目录:/etc/nginx/conf.d,其中涉及到静态资源,需要注意。
    server {
        listen 80;
        server_name mtest.yyzq.net;
        location / {
			proxy_pass http://localhost:5009/;
			proxy_http_version 1.1;
			proxy_set_header Upgrade $http_upgrade;
			proxy_set_header Connection keep-alive;
			proxy_set_header Host $host;
			proxy_cache_bypass $http_upgrade;
			proxy_set_header X-Real-IP $remote_addr;
            proxy_set_header REMOTE-HOST $remote_addr;
            proxy_set_header X-Forwarded-For $proxy_add_x_forwarded_for;
        }
		location /Content{
			alias '/home/m.yyzq.net/wwwroot/Content';
		}
		location /Upload {
			alias '/home/m.yyzq.net/Upload';
		}
    }
如下配置好后,执行指令,重新载入nginx配置
nginx -t
nginx -s reload
6、asp.net core 系统部署-创建自启动服务
创建服务文件
sudo nano /etc/systemd/system/api.service
并配置如下内容:(其中/home/api.yyzq.net就是我们的程序部署的目录,YYZQ.API.dll则是我们的主程序文件,
你也可以执行如下指令确认程序能否正常运行
dotnet /home/api.yyzq.net/YYZQ.API.dll --urls=http://localhost:6008
服务配置内容如下:
[Unit]
Description=APITest

[Service]
WorkingDirectory=/home/api.yyzq.net
ExecStart=/usr/bin/dotnet /home/api.yyzq.net/YYZQ.API.dll --urls=http://localhost:6008
Restart=always
# Restart service after 10 seconds if the dotnet service crashes:
RestartSec=10
KillSignal=SIGINT
SyslogIdentifier=dotnet-example
User=root
Environment=ASPNETCORE_ENVIRONMENT=Production
Environment=DOTNET_PRINT_TELEMETRY_MESSAGE=false

[Install]
WantedBy=multi-user.target
Linux 具有区分大小写的文件系统。 将 ASPNETCORE_ENVIRONMENT 设置为“生产”会导致搜索配置文件 appsettings.Production.json,而不是 appsettings.production.json。
必须转义某些值(例如,SQL 连接字符串)以供配置提供程序读取环境变量。 使用以下命令生成适当的转义值以供在配置文件中使用:
systemd-escape "<value-to-escape>"
启用服务
sudo systemctl enable api.service
启动服务
sudo systemctl start api.service
重启服务
sudo systemctl restart api.service
查看服务状态
sudo systemctl status api.service
停止服务
sudo systemctl stop api.service
单独查看服务日志
sudo journalctl -fu api.service
按时间范围筛选日志
sudo journalctl -fu api.service --since "2018-12-07" --until "2018-12-08 04:00"
删除服务
sudo systemctl disable api.service


 2656
2656

 被折叠的 条评论
为什么被折叠?
被折叠的 条评论
为什么被折叠?
 到【灌水乐园】发言


