


深度学习的训练往往需要海量的数据,而如今数据又是如此的宝贵(如医学图像),因此如何利用有效的数据获得更好的效果呢?数据增强(data augmentation)就是一种常用的方法。
工欲善其事必先利其器。
先来看下实现本文数据增强所需要的必要环境:
- python3.5
- keras 2.0.4
- skimage 0.13.0
温馨提醒:如果哪位小伙伴使用的不是这些库,可能要对代码稍加修改哈~
这里有哪些数据增强的看头呢?
- resize
- rescale
- noise
- flip
- rotate
- shift
- zoom
- shear
- contrast
- channel shift
- PCA
干货来喽~
1 修改图片尺寸(resize)
skimage.transform.resize(image, output_shape, order=1, mode=None, cval=0, clip=True, preserve_range=False)
- image:需要改变尺寸的图片
- output_shape:输出图片的尺寸(height,weight)
- 返回resize之后的图片
代码:
img = imread('car.jpg')
resized_image = resize(img,(1024,1280))
imshow(resized_image)
结果:
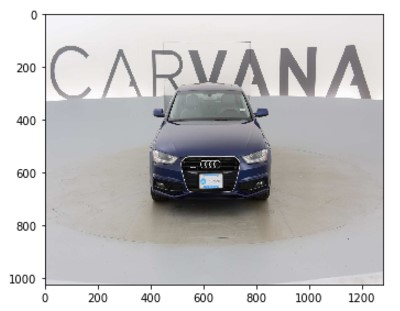
可以看到,图片现在的尺寸为1024x1280
2 按比例缩放(rescale)
skimage.transform.rescale(image, scale, order=1, mode=None, cval=0, clip=True, preserve_range=False, multichannel=None)
- scale:可以是单个的float数,表示缩放的倍数,也可以是一个float型的tuple,如[0.6,0.5],表示将height和weight分别缩放为原来的0.6倍和0.5倍。
img = imread('car.jpg')
rescaled_img = rescale(img,[0.6,0.5])
imshow(rescaled_img)
结果:
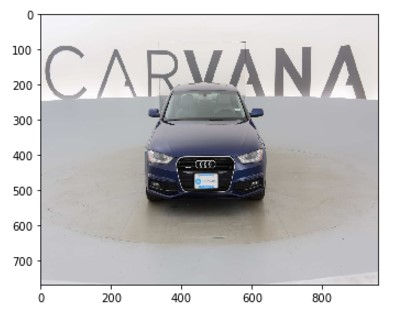
rescale后的尺寸大小为768x959。
3 加噪(noise)
利用numpy.random.randint来生成随机数噪声。
import numpy as np
height,weight,channel = img.shape

#随机生成5000个椒盐噪声
for i in range(5000):
    x = np.random.randint(0,height)
    y = np.random.randint(0,weight)
    img[x ,y ,:] = 255

imshow(img)
用img[x,y,:]=255这句来对像素值进行修改,将原来的三通道像素值,变为255,引自 博客
结果如下:

4 反转(flip)
skimage没有提供专门的flip模块,所以需要自己写。作者是这样回复的:
Thanks for helping out, @swiftdiaries. Since this is a NumPy array operation, we'll not include that functionality for now.
幸运的是图片就是数组数据,所以我们可以借助numpy.flip模块。
垂直翻转:
import numpy as np
from skimage.io import imread,imshow
img = imread('car.jpg')
vertical_flip = img[::-1,:,:]
imshow(vertical_flip)
结果:
水平翻转:
horizontal_flip = img[:,::-1,:]
imshow(horizontal_flip)
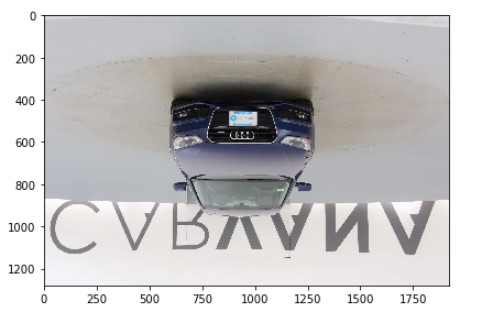
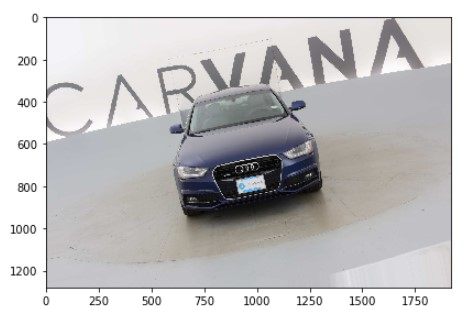
5 旋转(rotate)
skimage.ransform.rotate(image, angle, resize=False, center=None, order=1, mode='constant', cval=0, clip=True, preserve_range=False)
- angle:按照逆时针方向旋转的角度
- resize:旋转角度时是否改变图片尺寸
- center:旋转中心,默认中心为center=(heighr / 2 - 0.5, weight / 2 - 0.5)
from skimage.transform import rotate
img = imread('car.jpg')
rotate_img = rotate(img,30)#逆时针旋转30°
imshow(rotate_img)
结果:

周围有太多黑色像素点,如果这个用于我们的数据增强,效果就大打折扣了,所以可以这样:
from keras.preprocessing import image

def rotate(x, theta, row_axis=0, col_axis=1, channel_axis=2, fill_mode='nearest', cval=0.):
rotation_matrix = np.array([[np.cos(theta), -np.sin(theta), 0],
[np.sin(theta), np.cos(theta), 0],
[0, 0, 1]])
h, w = x.shape[row_axis], x.shape[col_axis]
transform_matrix = image.transform_matrix_offset_center(rotation_matrix, h, w)
x = image.apply_transform(x, transform_matrix, channel_axis, fill_mode, cval)
return x

rotate_limit=(-30, 30)
theta = np.pi / 180 * np.random.uniform(rotate_limit[0], rotate_limit[1]) #逆时针旋转角度
#rotate_limit= 30 #自定义旋转角度
#theta = np.pi /180 *rotate_limit #将其转换为PI
img_rot = rotate(img, theta)
imshow(img_rot)
这里调用了keras.preprocessing.image.tansform这个函数,该函数可以按照特定的矩阵对图片进行转换。(下文的调用同理)
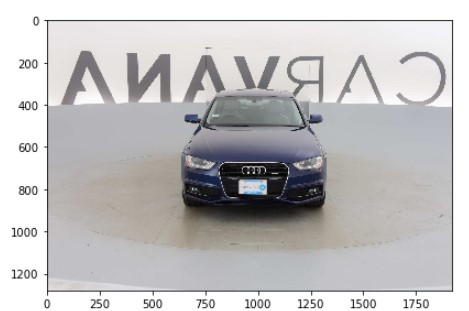
结果:
6 平移(shift)
from keras.preprocessing import image #按照特定的矩阵对图片进行转换

def shift(x, wshift, hshift, row_axis=0, col_axis=1, channel_axis=2, fill_mode='nearest', cval=0.):
    h, w = x.shape[row_axis], x.shape[col_axis] #读取图片的高和宽
    tx = hshift * h #高偏移大小,若不偏移可设为0,若向上偏移设为正数
    ty = wshift * w #宽偏移大小,若不偏移可设为0,若向左偏移设为正数
    translation_matrix = np.array([[1, 0, tx],
                                  [0, 1, ty],
                                  [0, 0, 1]])
    transform_matrix = translation_matrix
    x = image.apply_transform(x, transform_matrix, channel_axis, fill_mode, cval)
    return x

w_limit=(-0.2, 0.2)
h_limit=(-0.2, 0.2)
wshift = np.random.uniform(w_limit[0], w_limit[1])
hshift = np.random.uniform(h_limit[0], h_limit[1])
#wshift = 0.1 #自定义平移尺寸
#hshift = 0.1 #自定义平移尺寸

img_shift = shift(img, wshift, hshift)
imshow(img_shift)
结果:
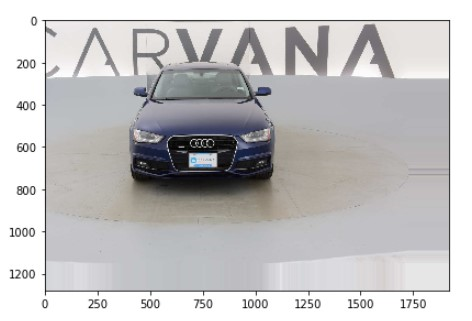
如图这里分别向左和向上偏移原尺寸的0.1倍。
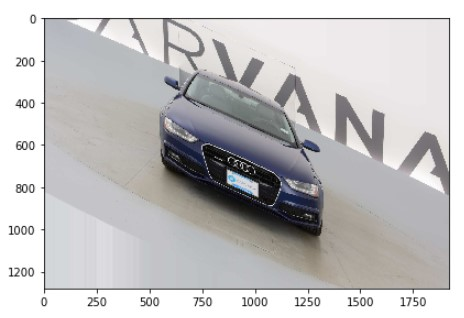
7 缩放变换(zoom)
def zoom(x, zx, zy, row_axis=0, col_axis=1, channel_axis=2, fill_mode='nearest', cval=0.):
    zoom_matrix = np.array([[zx, 0, 0],
                            [0, zy, 0],
                            [0, 0, 1]])
    h, w = x.shape[row_axis], x.shape[col_axis]
    transform_matrix = image.transform_matrix_offset_center(zoom_matrix, h, w) #保持中心坐标不改变
    x = image.apply_transform(x, transform_matrix, channel_axis, fill_mode, cval)
    return x

zoom_range=(0.7, 1)
zx, zy = np.random.uniform(zoom_range[0], zoom_range[1], 2)

#zx = 0.5
#zy = 0.5 #自定义zoom尺寸
img_zoom = zoom(img, zx, zy)

imshow(img_zoom)
结果:

注意:尽管zoom和resale都按比例对图像进行了缩放,但是当前景位于图片中央时,zoom可以去掉无用的背景,即保持中心不变,当然,这个还要得益于image.transform_matrix_offset_center函数。
8 剪切(shear)
实现代码如下:
def shear(x, shear, row_axis=0, col_axis=1, channel_axis=2, fill_mode='nearest', cval=0.):
    shear_matrix = np.array([[1, -np.sin(shear), 0],
                            [0, np.cos(shear), 0],
                            [0, 0, 1]])
    h, w = x.shape[row_axis], x.shape[col_axis]
    transform_matrix = image.transform_matrix_offset_center(shear_matrix, h, w)
    x = image.apply_transform(x, transform_matrix, channel_axis, fill_mode, cval)
    return x

intensity = 0.5
sh = np.random.uniform(-intensity, intensity) #逆时针方向剪切强度为正

img_shear = shear(img, sh)

imshow(img_shear)
结果如下:
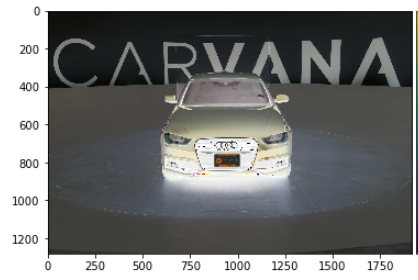
9 对比度变换(contrast)
在图像的HSV颜色空间,改变H,S和V亮度分量,增加光照变化。
实现如下:
from skimage import color

def randomHueSaturationValue(image, hue_shift_limit=(-180, 180),
                            sat_shift_limit=(-255, 255),
                            val_shift_limit=(-255, 255), u=0.5):
    if np.random.random() < u:
        img = color.rgb2hsv(image)
        h, s ,v = img[:,:,0],img[:,:,1],img[:,:,2]
        hue_shift = np.random.uniform(hue_shift_limit[0], hue_shift_limit[1])

        h = h + hue_shift

        sat_shift = np.random.uniform(sat_shift_limit[0], sat_shift_limit[1])
        s = s + sat_shift

        val_shift = np.random.uniform(val_shift_limit[0], val_shift_limit[1])
        v = v + val_shift

        img[:,:,0],img[:,:,1],img[:,:,2] = h, s ,v

        image = color.hsv2rgb(img)

    return image

contrast_img = randomHueSaturationValue(img)
imshow(img)
结果显示:

10 随机通道偏移(channel shift)
def random_channel_shift(x, intensity, channel_index=0):
    x = np.rollaxis(x, channel_index, 0)
    min_x, max_x = np.min(x), np.max(x)
    channel_images = [np.clip(x_channel + np.random.uniform(-intensity, intensity), min_x, max_x)
                      for x_channel in x]
    x = np.stack(channel_images, axis=0)
    x = np.rollaxis(x, 0, channel_index+1)
    return x
img_chsh = random_channel_shift(img, intensity = 0.05)

imshow(img_chsh)
结果:

11 PCA
代码如下:
def RGB_PCA(images):
    pixels = images.reshape(-1, images.shape[-1])
    idx = np.random.random_integers(0, pixels.shape[0], 1000000)
    pixels = [pixels[i] for i in idx]
    pixels = np.array(pixels, dtype=np.uint8).T
    m = np.mean(pixels)/256.
    C = np.cov(pixels)/(256.*256.)
    l, v = np.linalg.eig(C)
    return l, v, m


def RGB_variations(image, eig_val, eig_vec):
    a = np.random.randn(3)
    v = np.array([a[0]*eig_val[0], a[1]*eig_val[1], a[2]*eig_val[2]])
    variation = np.dot(eig_vec, v)
    return image + variation

l,v,m = RGB_PCA(img)
img = RGB_variations(img,l,v)
imshow(img)
结果:


 2767
2767

 被折叠的 条评论
为什么被折叠?
被折叠的 条评论
为什么被折叠?
 到【灌水乐园】发言


