


整体架构图:

1. 配置域名
Server1:
OS version: CentOS Linux release 8.5.2111
hostnamectl --static set-hostname mongo01
vi /etc/sysconfig/network
# Created by anaconda
hostname=mong01
echo "192.168.88.20 mong1 mongo01.com mongo02.com" >> /etc/hosts
echo "192.168.88.24 mong2 mongo03.com mongo04.com" >> /etc/hosts
echo "192.168.88.26 mong3 mongo05.com mongo06.com" >> /etc/hosts
关闭防火墙:
systemctl stop firewalld
systemctl disable firewalld
Server2:
OS version: CentOS Linux release 8.5.2111
hostnamectl --static set-hostname mongo2
vi /etc/sysconfig/network
# Created by anaconda
hostname=mong2
echo "192.168.88.20 mong1 mongo01.com mongo02.com" >> /etc/hosts
echo "192.168.88.24 mong2 mongo03.com mongo04.com" >> /etc/hosts
echo "192.168.88.26 mong3 mongo05.com mongo06.com" >> /etc/hosts
Server3:
OS version: CentOS Linux release 8.5.2111
hostnamectl --static set-hostname mongo3
vi /etc/sysconfig/network
# Created by anaconda
hostname=mong3
echo "192.168.88.20 mong1 mongo01.com mongo02.com" >> /etc/hosts
echo "192.168.88.24 mong2 mongo03.com mongo04.com" >> /etc/hosts
echo "192.168.88.26 mong3 mongo05.com mongo06.com" >> /etc/hosts
2. 准备分片目录
在各服务器上创建数据目录,使用/data,也可以按特定需求指定目录
在mongo01.com,mongo03.com,mongo05.com上执行:
mkdir -p /data/shard1/db /data/shard1/log /data/config/db /data/config/log
在mongo02.com,mongo04.com,mongo06.com上执行:
mkdir -p /data/shard2/db /data/shard2/log /data/mongos
3. download mongo image
Download MongoDB Community Server | MongoDB
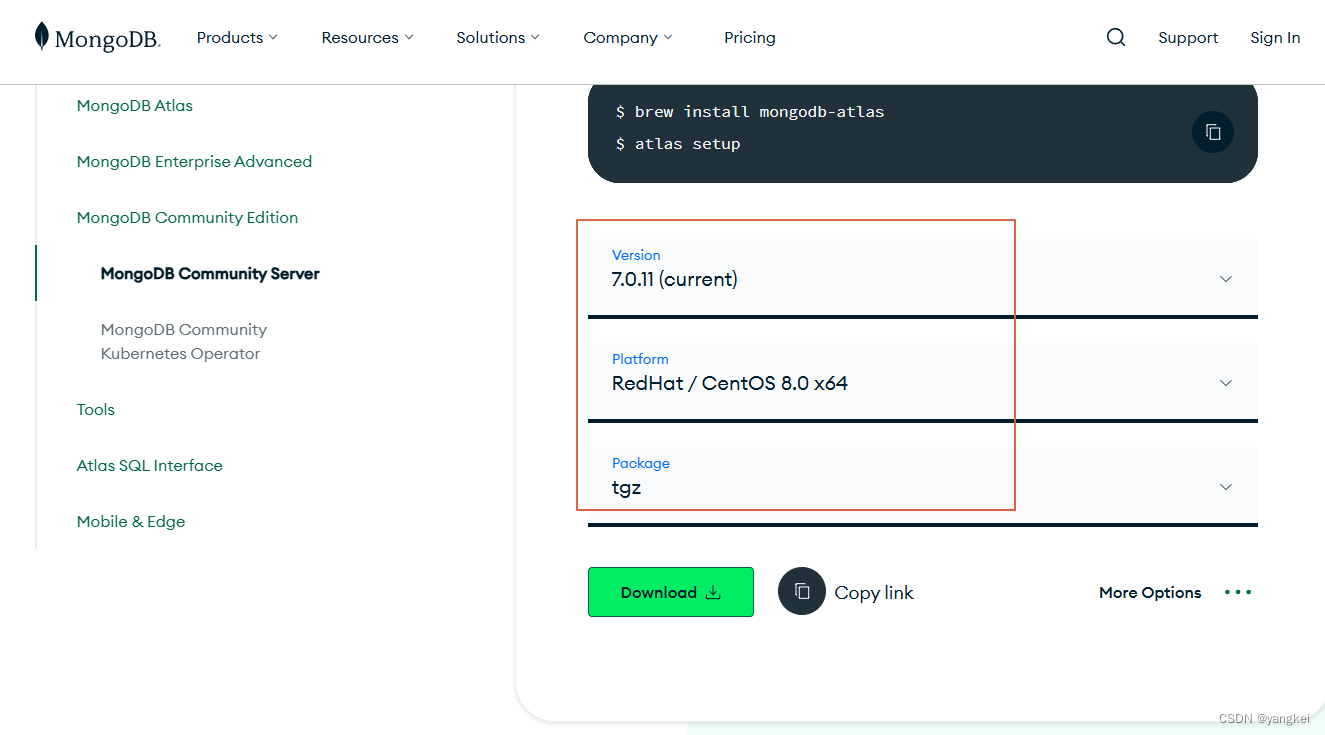
将安装包上传到服务器,因为我实验服务器centos版本与mongdb兼容问题,最后选择了mongod 4.4.13的版本进行安装。每台服务器进行同样的安装。
upload install file to:
/root/install/mongodb-linux-x86_64-rhel80-4.4.13.tgz
cd /root/install
mkdir -p /opt/db
tar -xvf mongodb-linux-x86_64-rhel80-4.4.13.tgz -C /opt/db
cd /opt/db
mv mongodb-linux-x86_64-rhel80-4.4.13 mongodb-4.4.13
rm -rf /usr/bin/mongod
ln -s /opt/db/mongodb-4.4.13/bin/mongod /usr/bin/mongod
vi /etc/profile
...
#add below at last line
export PATH=/opt/db/mongodb-4.4.13/bin:$PATH
3. 分片
3.1 创建分片复制集,三台服务器上分别执行:
[root@mongo1 db]# mongod --bind_ip 0.0.0.0 --replSet shard1 --dbpath /data/shard1/db --logpath /data/shard1/log/mongod.log --port 27010 --fork --shardsvr --wiredTigerCacheSizeGB 1
about to fork child process, waiting until server is ready for connections.
forked process: 5473
child process started successfully, parent exiting
在高版本的 MongoDB 中,--shardsvr 参数已被弃用,因为 MongoDB 的新版本改进了集群的自动配置和发现机制。若要在高版本 MongoDB 中设置分片集群,你不再需要显式指定 --shardsvr。
ps -ef |grep mongod
root 5473 1 3 01:02 ? 00:00:26 mongod --bind_ip 0.0.0.0 --replSet shard1 --dbpath /data/shard1/db --logpath /data/shard1/log/mongod.log --port 27010 --fork --shardsvr --wiredTigerCacheSizeGB 1
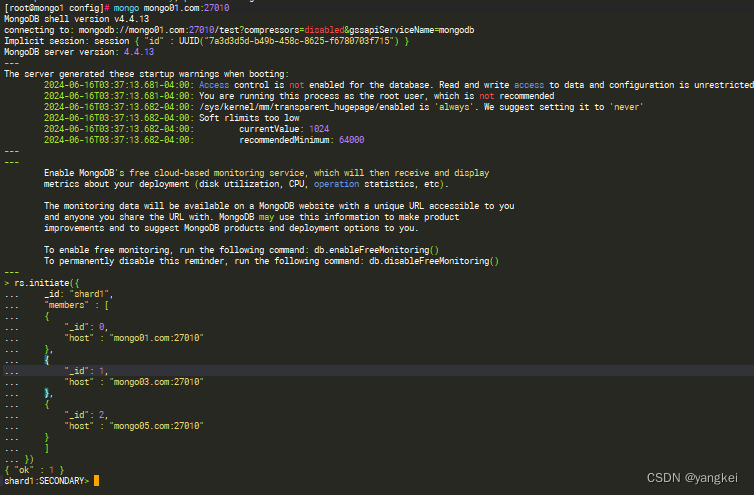
3.2 初始化分片复制集:
# 进入mongo shell
mongo mongo01.com:27010
#shard1复制集节点初始化
rs.initiate({
_id: "shard1",
"members" : [
{
"_id": 0,
"host" : "mongo01.com:27010"
},
{
"_id": 1,
"host" : "mongo03.com:27010"
},
{
"_id": 2,
"host" : "mongo05.com:27010"
}
]
})
查看复制状态:
shard1:PRIMARY> rs.status()
{
"set" : "shard1",
"date" : ISODate("2024-06-16T07:47:41.418Z"),
"myState" : 1,
"term" : NumberLong(1),
"syncSourceHost" : "",
"syncSourceId" : -1,
"heartbeatIntervalMillis" : Num
 最低0.47元/天 解锁文章


 250
250

 被折叠的 条评论
为什么被折叠?
被折叠的 条评论
为什么被折叠?
 到【灌水乐园】发言


