


 本文介绍了SpringBoot中的实战技巧,包括整合JUnit测试,读取配置文件(properties和yml)的方式,多环境配置,SpringBoot自动配置与JSP整合,以及如何读取XML配置文件。此外,还讲解了使用Logback配置日志的步骤。
Spring核心技能
整合junit测试

1.

示例:
添加junit依赖
  <dependency>
            <groupId>org.springframework.boot</groupId>
            <artifactId>spring-boot-starter-test</artifactId>
            <scope>test</scope>
        </dependency>

        <dependency>
            <groupId>junit</groupId>
            <artifactId>junit</artifactId>
            <scope>test</scope>
        </dependency>
建一个TestJunit类,里面包含要测试的方法
@Service("testjunit")
public class TestJunit {
    public int sum(int a, int b) {
        return a + b;
    }
}
新建一个测试类TestJunittest测试sum方法
package com.yay.demojunit;

import org.junit.Test;
import org.junit.runner.RunWith;
import org.springframework.boot.test.context.SpringBootTest;
import org.springframework.test.context.junit4.SpringRunner;
import service.TestJunit;

import javax.annotation.Resource;

@RunWith(SpringRunner.class)//使SpringBootTest注解生效
@SpringBootTest
public class Testjunittest {
    @Resource(name = "testjunit")
    private TestJunit testJunit;

    @Test
    public void test() {
        int res = testJunit.sum(10, 10);
        System.out.println(res);
    }
}
补充:
整合Junit:
Junit分为junit5和junit4,在使用上及方法和注解上有很大不同.
    junit5: @Test在org.junit.jupiter.api.Test;
    junit4: @Test在org.junit.Test;
测试程序的基本结构:
junit4格式:
@RunWith(SpringRunner.class) //使用@SpringBootTest生效
@SpringBootTest //创建下上文对象,并注入到当前测试程序中: IoC容器
public class SpringbootdemoApplicationTests {
@Test //org.junit.Test;
public void contextLoads() {
}
}
junit5格式:
@SpringBootTest //无需编写@RunWith[属于Junit4],SpringBootTest会生效
public class SpringbootdemoApplicationTests {
@Test //org.junit.jupiter.api.Test;
public void contextLoads() {
}
}
读取配置文件
在web项目中经常需要从properties文件中获取配置信息。在spring项目中可以通过@propertySource和@Value注解实现改功能,而在SpringBoot中只需使用@Value注解,即可获取application.yml或者application.properties文件中的配置信息。
方式1:

示例:
创建user实体类
@Component("user")
public class User {
    @Value("${user.userid}")
    private Integer userId;
    @Value("${user.username}")
    private String userName;

    public User() {
    }

    @Override
    public String toString() {
        return "User{" +
                "userId=" + userId +
                ", userName='" + userName + '\'' +
                '}';
    }
    //省略get、set
编写配置文件:application.properties
user.userid=2
user.username=tom
测试是否取到配置文件中配置项的值建一个测试类
@RunWith(SpringRunner.class)
@SpringBootTest
public class TestUser {
    @Resource(name = "user")
    private User user;
    @Test
    public void testUser(){
        System.out.println(user);
    }
}
正确输出
方式2:

示例
@Component("ponser")
@ConfigurationProperties(prefix = "ponser")
public class Ponser {
    private Integer pId;
    private String pName;

    @Override
    public String toString() {
        return "Ponser{" +
                "pId=" + pId +
                ", pName='" + pName + '\'' +
                '}';
    }
    //射落get、set
在application.properties中编写
ponser.pid=22
ponser.pname=zhangsan
测试
@RunWith(SpringRunner.class)
@SpringBootTest
public class TestPonser {
    @Resource(name = "ponser")
    private Ponser ponser;
    @Test
    public void testponser(){
        System.out.println(ponser);
    }
}
正常运行,注意这种方式是通过属性的set方法来进行注入的,因此必需要添加改bean类属性的set方法。
注意事项

多环境配置

properties方式

示例:
在application.properties基础上在编写两个文件
application-dev.properties修改以下端口号
server.port=8082
application-test.properties也修改端口号:
server.port=8081
然后在application.propertion中指名当前要使用的环境
#spring.profiles.active=环境名
spring.profiles.active=dev
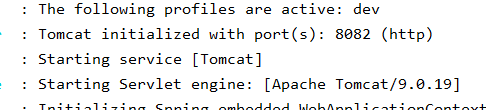
然后启动程序 会发现dev开发环境已启动:端口号为8082
yml方式


springboot自动配置


springboot整合JSP


示例
创建项目 打包方式为war 然后在pom文件中添加依赖
       <dependency>
            <groupId>javax.servlet</groupId>
            <artifactId>javax.servlet-api</artifactId>
            <scope>provided</scope>
        </dependency>
        <dependency>
            <groupId>javax.servlet</groupId>
            <artifactId>jstl</artifactId>
        </dependency>
        <dependency>
            <groupId>org.springframework.boot</groupId>
            <artifactId>spring-boot-starter-tomcat</artifactId>
        </dependency>
        <dependency>
            <groupId>org.apache.tomcat.embed</groupId>
            <artifactId>tomcat-embed-jasper</artifactId>
创建Testcontroller控制器类
@Controller
@RequestMapping("/test")
public class TestController {
    @RequestMapping("/index")
    public String test(Model model){
        model.addAttribute("name","你好 Spring boot");
        return "index";//视图解析器解析返回到/WEB-INF/jsp/index.jsp页面
    }
}
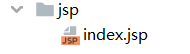
在main目录下创建webapp/WEB-INF/jsp/目录并在下面创建index.jsp页面

index页面取出model中的数据展示
<head>
    <title>Title</title>
</head>
<body>
    ${requestScope.name}
</body>
</html>
在applocation.properties文件中配置视图解析器
#配置视图解析器
spring.mvc.view.prefix=/WEB-INF/jsp/
spring.mvc.view.suffix=.jsp
启动项目,在浏览器中访问改jsp
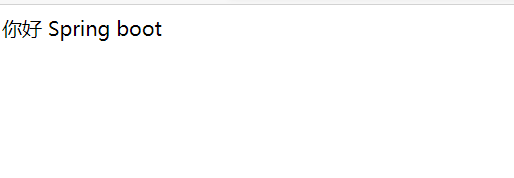
访问成功
读取xml文件的配置

示例
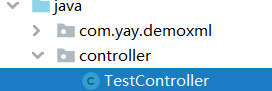
创建Springboot项目 在启动类的包外面创建一个Testcontroller控制器类
@Controller
@RequestMapping("/test")
public class TestController {
    @RequestMapping("/hello")
    @ResponseBody
    public String test(){
        return "hello,springboot";
    }
}
因此springboot默认只会扫描启动类的包及子包
然后创建一个spring配置文件扫描controller包将将Testcontroller注入到spring容器中然后测试Testcontroller是否能够访问。
<?xml version="1.0" encoding="UTF-8"?>
<beans xmlns="http://www.springframework.org/schema/beans"
       xmlns:xsi="http://www.w3.org/2001/XMLSchema-instance"
       xmlns:context="http://www.springframework.org/schema/context"
       xsi:schemaLocation="http://www.springframework.org/schema/beans
        https://www.springframework.org/schema/beans/spring-beans.xsd http://www.springframework.org/schema/context https://www.springframework.org/schema/context/spring-context.xsd">
    <context:component-scan base-package="controller"/>
</beans>
在启动类上面加载改配置文件
@SpringBootApplication
@ImportResource(value = "classpath:spring-app.xml")//加载配置文件
public class DemoxmlApplication {

    public static void main(String[] args) {
        SpringApplication.run(DemoxmlApplication.class, args);
    }
}
启动程序。访问testcontroller
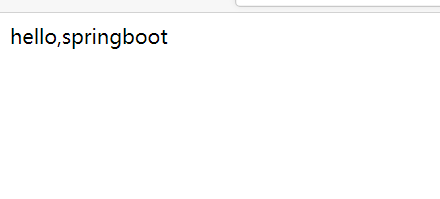
访问成功
注意:
xml文件必须放在src/main/resouces中.该文件名不能为application.xml
Logback日志


单独logback日志配置文件结构如下

示例
创建项目,在resources目录下创建logback.xml日志配置文件
<?xml version="1.0" encoding="UTF-8"?>
<configuration scan="true" scanPeriod="60 seconds" debug="false">
<contextName>logback</contextName>
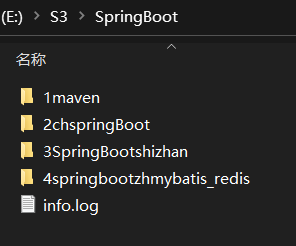
<property name="log.path" value="E:\\S3\\springboot\\info.log" />
<!--定义日志输出方案: 输出到控制台-->
<appender name="console" class="ch.qos.logback.core.ConsoleAppender">
<!--可选: 在基本输出级别基础上,过滤日志信息-->
<filter class="ch.qos.logback.classic.filter.ThresholdFilter">
<level>ERROR</level><!--级别必须高于<root>中配置的基础级别-->
</filter>
<!--设置 日志格式-->
<encoder>
<pattern>%d{HH:mm:ss.SSS} %contextName [%thread] %-5level %logger{36}- %msg%n</pattern>
</encoder>
</appender>
<!--定义日志输出方案: 输出到文件-->
<appender name="file" class="ch.qos.logback.core.rolling.RollingFileAppender">
<file>${log.path}</file>
<rollingPolicy class="ch.qos.logback.core.rolling.TimeBasedRollingPolicy">
<fileNamePattern>logback.%d{yyyy-MM-dd}.log</fileNamePattern>
</rollingPolicy>
<!--设置 日志格式-->
<encoder>
<pattern>%d{HH:mm:ss.SSS} %contextName [%thread] %-5level %logger{36}- %msg%n</pattern>
</encoder>
</appender>
<!--设置基本输出级别-->
<root level="INFO">
<appender-ref ref="console" />
<appender-ref ref="file" />
</root>
<!-- 以上日志输出方案默认应用于整个项目.若需要设置某包/类的日志打印格式,可以配置logger -->
<!--<logger name="action.*">
<appender-ref ref="console" />
</logger>-->
</configuration>
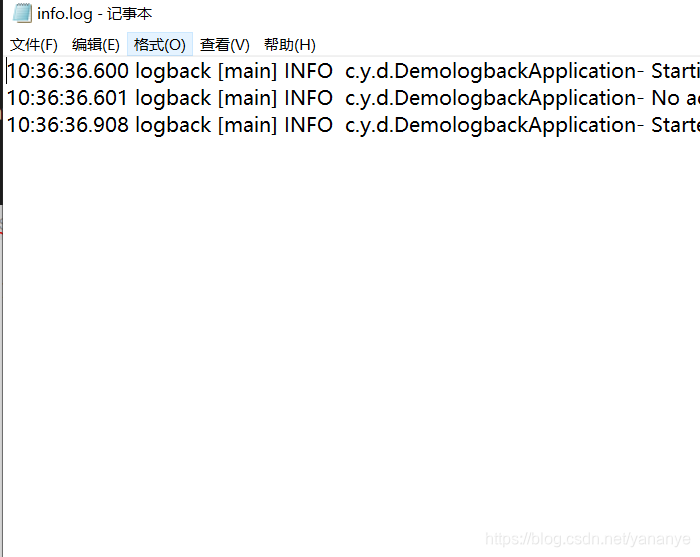
启动项目会发现E:\S3\springboot\info.log被创建了出来
打开会发现里面是执行的日志信息


 642
642

 被折叠的 条评论
为什么被折叠?
被折叠的 条评论
为什么被折叠?
 到【灌水乐园】发言


