


一、httpd + tomcat cluster
实验环境:
一台httpd主机:192.168.239.132
两台tomcat主机:tomcatA:192.168.239.128 tomcatB:192.168.239.130
1、配置tomcat服务器集群。因为之前的文章已经详细讲解了tomcat的安装配置,因此这里就直接略过。在/usr/local/tomcat/webapps/目录下新建文件夹test用于部署测试页面及相关类文件。
tomcatA主机
[root@centos7 webapps]# pwd
/usr/local/tomcat/webapps
[root@centos7 webapps]# tree test/
test/
├── classes
├── index.jsp
├── lib
└── WEB-INF

3 directories, 1 file
[root@centos7 webapps]# cat  test/index.jsp
<%@ page language="java" %>
<html>
	<head><title>TomcatA</title></head>
	<body>
		<h1><font color="red">TomcatA.magedu.com</font></h1>
		<table align="centre" border="1">
			<tr>
				<td>Session ID</td>
				<% session.setAttribute("magedu.com","magedu.com"); %>
				<td><%= session.getId() %></td>
			</tr>
			<tr>
				<td>Created on</td>
				<td><%= session.getCreationTime() %></td>
			</tr>
		</table>
	</body>
</html>
tomcatB主机
[root@centos7 test]# pwd
/usr/local/tomcat/webapps/test
[root@centos7 test]# tree .
.
├── classes
├── index.jsp
├── lib
└── WEB-INF

3 directories, 1 file
[root@centos7 test]# cat index.jsp
<%@ page language="java" %>
<html>
	<head><title>TomcatB</title></head>
	<body>
		<h1><font color="blue">TomcatB.magedu.com</font></h1>
		<table align="centre" border="1">
			<tr>
				<td>Session ID</td>
				<% session.setAttribute("magedu.com","magedu.com"); %>
				<td><%= session.getId() %></td>
			</tr>
			<tr>
				<td>Created on</td>
				<td><%= session.getCreationTime() %></td>
			</tr>
		</table>
	</body>
</html>
2、配置HTTPD用于实现tomcat的反向代理及负载均衡。
配置虚拟主机专门负责tomcat集群的反代及负载均衡,httpd服务需要加载一下几个模块mod_proxy, mod_proxy_http, mod_proxy_balancer。mod_proxy_balancer实现负载均衡的方法有3中byrequests(根据请求来调度)、bytraffic(根据流量来调度)、bybusyness(根据繁忙程度来调度)。
[root@centos7 conf.d]# vim tomcat_balancer.conf
<proxy balancer://tcsrvs>
	BalancerMember http://192.168.239.128:8080/test/   //定义后端集群的成员
	BalancerMember http://192.168.239.130:8080/test/    //定义调度算法
	ProxySet lbmethod=byrequests
</Proxy>

<VirtualHost *:80>
	ServerName www.lbtomcat.com    //虚拟主机名
	ProxyVia On    //添加响应报文via首部
	ProxyRequests Off    //关闭正向代理
	ProxyPreserveHost On  //保留客户端访问时的主机头
	<Proxy *>
		Require all granted
	</Proxy>
	ProxyPass / balancer://tcsrvs/
	ProxyPassReverse / balancer://tcsrvs/
	<Location />
		Require all granted
	</Location>
</VirtualHost>
3、访问测试,默认是轮询的,也可以通过loadfactor负载因子来设置权重。
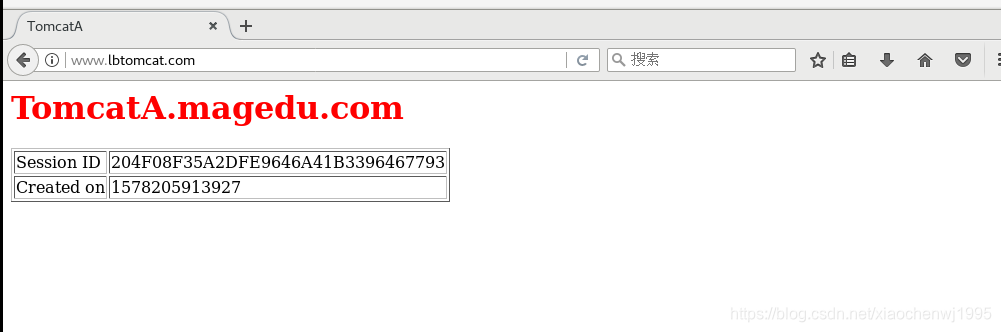
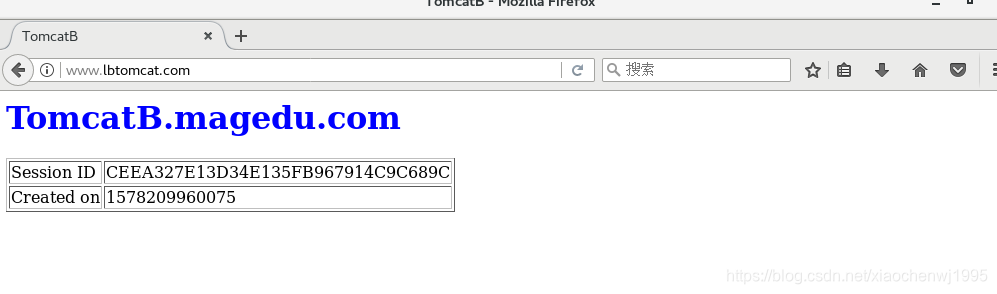
[root@centos7 conf.d]# curl -s http://192.168.239.132

<html>
	<head><title>TomcatA</title></head>
	<body>
		<h1><font color="red">TomcatA.magedu.com</font></h1>
		<table align="centre" border="1">
			<tr>
				<td>Session ID</td>

				<td>8C01FDD134B5A569AF61A6A0F2C41ACE</td>
			</tr>
			<tr>
				<td>Created on</td>
				<td>1578210352993</td>
			</tr>
		</table>
	</body>
</html>
[root@centos7 conf.d]# curl -s http://192.168.239.132

<html>
	<head><title>TomcatB</title></head>
	<body>
		<h1><font color="blue">TomcatB.magedu.com</font></h1>
		<table align="centre" border="1">
			<tr>
				<td>Session ID</td>

				<td>0C9C43777223E1A5E6F3F53945D33333</td>
			</tr>
			<tr>
				<td>Created on</td>
				<td>1578210354378</td>
			</tr>
		</table>
	</body>
</html>
实现会话粘性(不适合大规模集群,后台tomcat主机承担的负载过大)
在配置文件中加上
Header add Set-Cookie “ROUTEID=.%{BALANCER_WORKER_ROUTE}e; path=/” env=BALANCER_ROUTE_CHANGED
Header add Set-Cookie "ROUTEID=.%{BALANCER_WORKER_ROUTE}e; path=/" env=BALANCER_ROUTE_CHANGED
<proxy balancer://tcsrvs>
        BalancerMember http://192.168.239.128:8080/test/ route=tomcatA
        BalancerMember http://192.168.239.130:8080/test/ route=tomcatB
        ProxySet lbmethod=byrequests
        ProxySet stickysession=ROUTEID
</Proxy>

<VirtualHost *:80>
        ServerName www.lbtomcat.com
        ProxyVia On
        ProxyRequests Off
        ProxyPreserveHost On
        <Proxy *>
                Require all granted
        </Proxy>
        ProxyPass / balancer://tcsrvs/
        ProxyPassReverse / balancer://tcsrvs/
        <Location />
                Require all granted
        </Location>
</VirtualHost>
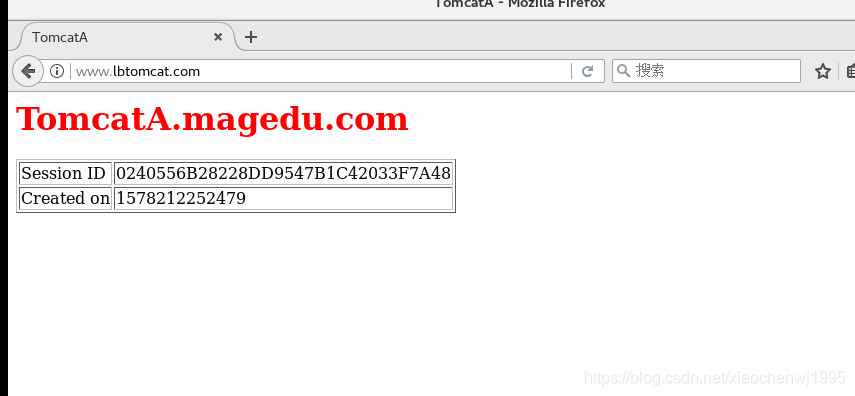
访问测试
第一次访问的是tomcatA主机,由于实现了会话绑定,所以后面的访问将一直代理至tomcatA主机。除非关闭会话重新连接。
二、httpd(ajp) + tomcat cluster
使用ajp模块实现反代与负载均衡,那么http服务就要加载ajp的相关模块。
注意:使用ajp代理启用的是8009端口
mod_proxy, mod_proxy_ajp, mod_proxy_balancer
1、配置ajp反代及负载均衡
[root@centos7 conf.d]# cat ajp_balancer.conf
#Header add Set-Cookie "ROUTEID=.%{BALANCER_WORKER_ROUTE}e; path=/" env=BALANCER_ROUTE_CHANGED
<proxy balancer://tcsrvs>
	BalancerMember ajp://192.168.239.128:8009/test/ loadfactor=1   //权重为1
	BalancerMember ajp://192.168.239.130:8009/test/ loadfactor=2  //权重为2
	ProxySet lbmethod=byrequests
#	ProxySet stickysession=ROUTEID
</Proxy>

<VirtualHost *:80>
	ServerName www.ajp-tomcat.com
	ProxyVia On
	ProxyRequests Off
	ProxyPreserveHost On
	<Proxy *>
		Require all granted
	</Proxy>
	ProxyPass / balancer://tcsrvs/
	ProxyPassReverse / balancer://tcsrvs/
	<Location />
		Require all granted
	</Location>
</VirtualHost>
2、访问测试

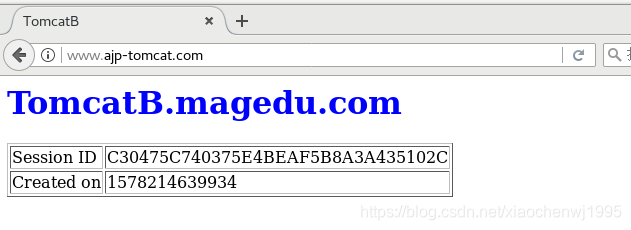
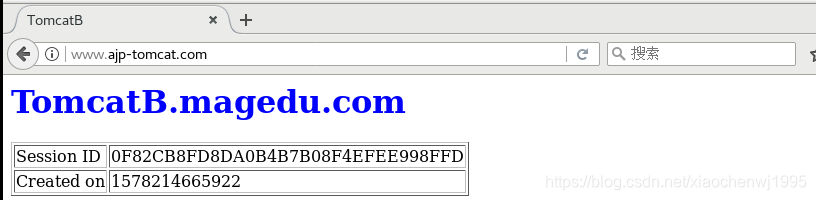
保持会话的方式参考上一种方式。
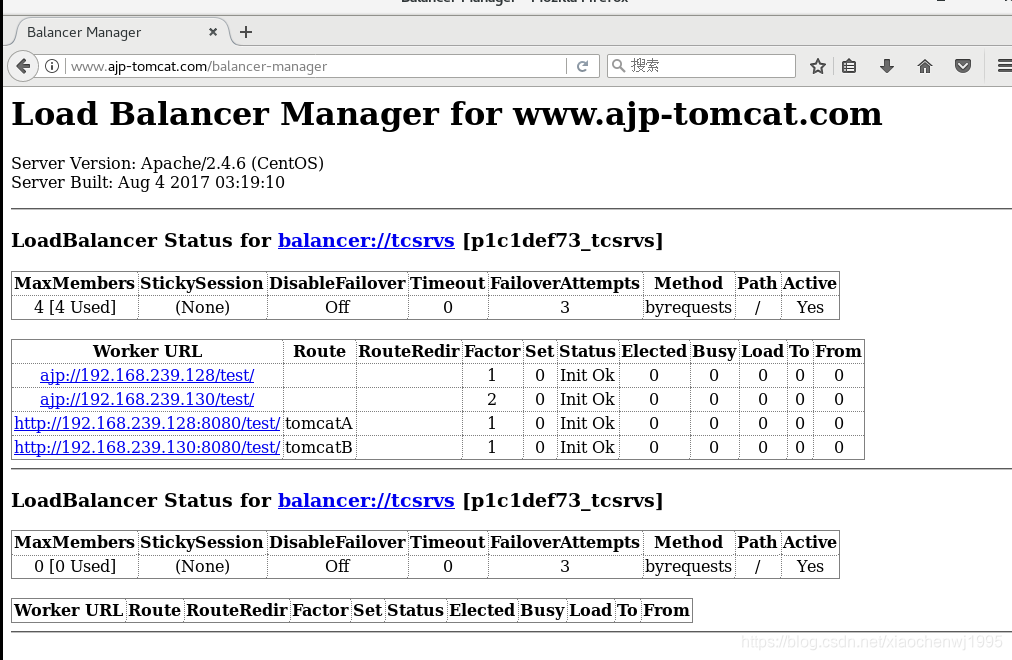
配置状态页信息。
[root@centos7 conf.d]# vim ajp_balancer.conf

#Header add Set-Cookie "ROUTEID=.%{BALANCER_WORKER_ROUTE}e; path=/" env=BALANCER_ROUTE_CHANGED
<proxy balancer://tcsrvs>
        BalancerMember ajp://192.168.239.128:8009/test/ loadfactor=1
        BalancerMember ajp://192.168.239.130:8009/test/ loadfactor=2
        ProxySet lbmethod=byrequests
#       ProxySet stickysession=ROUTEID
</Proxy>

<VirtualHost *:80>
        ServerName www.ajp-tomcat.com
        ProxyVia On
        ProxyRequests Off
        ProxyPreserveHost On
        <Proxy *>
                Require all granted
        </Proxy>
        ProxyPass / balancer://tcsrvs/
        ProxyPassReverse / balancer://tcsrvs/
        <Location />
                Require all granted
        </Location>
        <Location /balancer-manager>
                SetHandler balancer-manager
                ProxyPass !
                Require all granted
        </Location>
</VirtualHost>
三、nginx + tomcat cluster
1、配置nginx集群反代
编辑主配置文件,调用ngx_http_upstream_module模块用于将多个服务器定义成服务器组
[root@centos7 conf.d]# vim /etc/nginx/nginx.conf
...
http {
    ...
    upstream tcsrvs {  //定义服务器组
        server 192.168.239.128:8080;
        server 192.168.239.130:8080;
    }
...
}
在配置文件的子目录/etc/nginx/conf.d生成一个子配置文件,专门负责tomcat的反代及负载均衡。
[root@centos7 conf.d]# vim load-tomcat.conf
server {
listen 80;
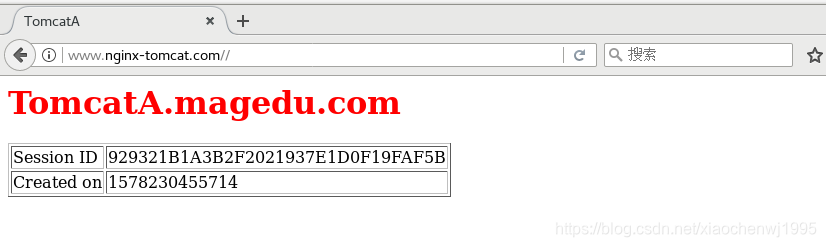
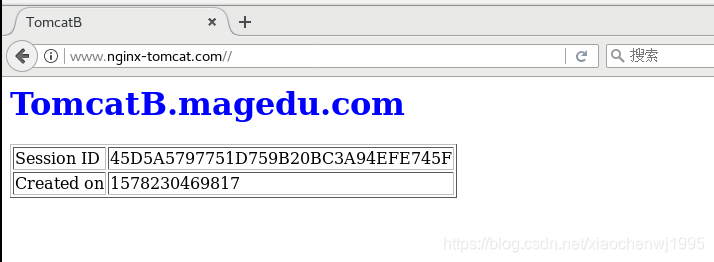
server_name www.nginx-tomcat.com;
location / {
proxy_pass http://tcsrvs/test/;
}
}
2、客户端访问,默认采用轮询调度。


 408
408

 被折叠的 条评论
为什么被折叠?
被折叠的 条评论
为什么被折叠?
 到【灌水乐园】发言


