


 本文详细介绍了在Linux环境下安装与配置Spark 2.1.0的全过程,包括JDK安装、Spark包上传及解压、配置文件修改等关键步骤。通过设置SPARK_MASTER_HOST、SPARK_MASTER_PORT等参数,实现Spark集群的正确部署。
1、准备工作,安装linux,jdk(1.8)等
2、上传spark包spark-2.1.0-bin-hadoop2.7.tgz到虚拟机并解压
tar -zxvf spark-2.1.0-bin-hadoop2.7.tgz -C /usr/local/src/
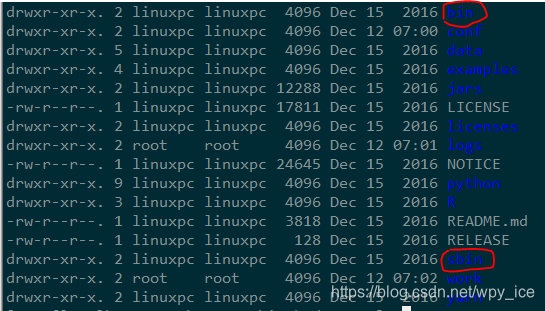
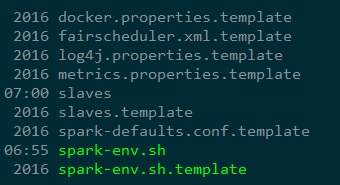
配置文件:spark-env.sh
cd conf
cp spark-env.sh.template spark-env.sh
cp slaves.template slaves
vim spark-env.sh
在最后添加:
# - SPARK_EXECUTOR_MEMORY, Memory per Executor (e.g. 1000M, 2G) (Default: 1G)
# - SPARK_DRIVER_MEMORY, Memory for Driver (e.g. 1000M, 2G) (Default: 1G)

# Options for the daemons used in the standalone deploy mode
# - SPARK_MASTER_HOST, to bind the master to a different IP address or hostname
# - SPARK_MASTER_PORT / SPARK_MASTER_WEBUI_PORT, to use non-default ports for the master
# - SPARK_MASTER_OPTS, to set config properties only for the master (e.g. "-Dx=y")
# - SPARK_WORKER_CORES, to set the number of cores to use on this machine
# - SPARK_WORKER_MEMORY, to set how much total memory workers have to give executors (e.g. 1000m, 2g)
# - SPARK_WORKER_PORT / SPARK_WORKER_WEBUI_PORT, to use non-default ports for the worker
# - SPARK_WORKER_INSTANCES, to set the number of worker processes per node
# - SPARK_WORKER_DIR, to set the working directory of worker processes
# - SPARK_WORKER_OPTS, to set config properties only for the worker (e.g. "-Dx=y")
# - SPARK_DAEMON_MEMORY, to allocate to the master, worker and history server themselves (default: 1g).
# - SPARK_HISTORY_OPTS, to set config properties only for the history server (e.g. "-Dx=y")
# - SPARK_SHUFFLE_OPTS, to set config properties only for the external shuffle service (e.g. "-Dx=y")
# - SPARK_DAEMON_JAVA_OPTS, to set config properties for all daemons (e.g. "-Dx=y")
# - SPARK_PUBLIC_DNS, to set the public dns name of the master or workers

# Generic options for the daemons used in the standalone deploy mode
# - SPARK_CONF_DIR      Alternate conf dir. (Default: ${SPARK_HOME}/conf)
# - SPARK_LOG_DIR       Where log files are stored.  (Default: ${SPARK_HOME}/logs)
# - SPARK_PID_DIR       Where the pid file is stored. (Default: /tmp)
# - SPARK_IDENT_STRING  A string representing this instance of spark. (Default: $USER)
# - SPARK_NICENESS      The scheduling priority for daemons. (Default: 0)
# - SPARK_NO_DAEMONIZE  Run the proposed command in the foreground. It will not output a PID file.

export JAVA_HOME=/usr/local/src/jdk1.8.0_191   //jdk
export SPARK_MASTER_HOST=192.168.200.128  //主机名或ip地址
export SPARK_MASTER_PORT=7077 //端口
slaves:
#
# Licensed to the Apache Software Foundation (ASF) under one or more
# contributor license agreements.  See the NOTICE file distributed with
# this work for additional information regarding copyright ownership.
# The ASF licenses this file to You under the Apache License, Version 2.0
# (the "License"); you may not use this file except in compliance with
# the License.  You may obtain a copy of the License at
#
#    http://www.apache.org/licenses/LICENSE-2.0
#
# Unless required by applicable law or agreed to in writing, software
# distributed under the License is distributed on an "AS IS" BASIS,
# WITHOUT WARRANTIES OR CONDITIONS OF ANY KIND, either express or implied.
# See the License for the specific language governing permissions and
# limitations under the License.
#

# A Spark Worker will be started on each of the machines listed below.
192.168.200.128 //主机名或ip地址
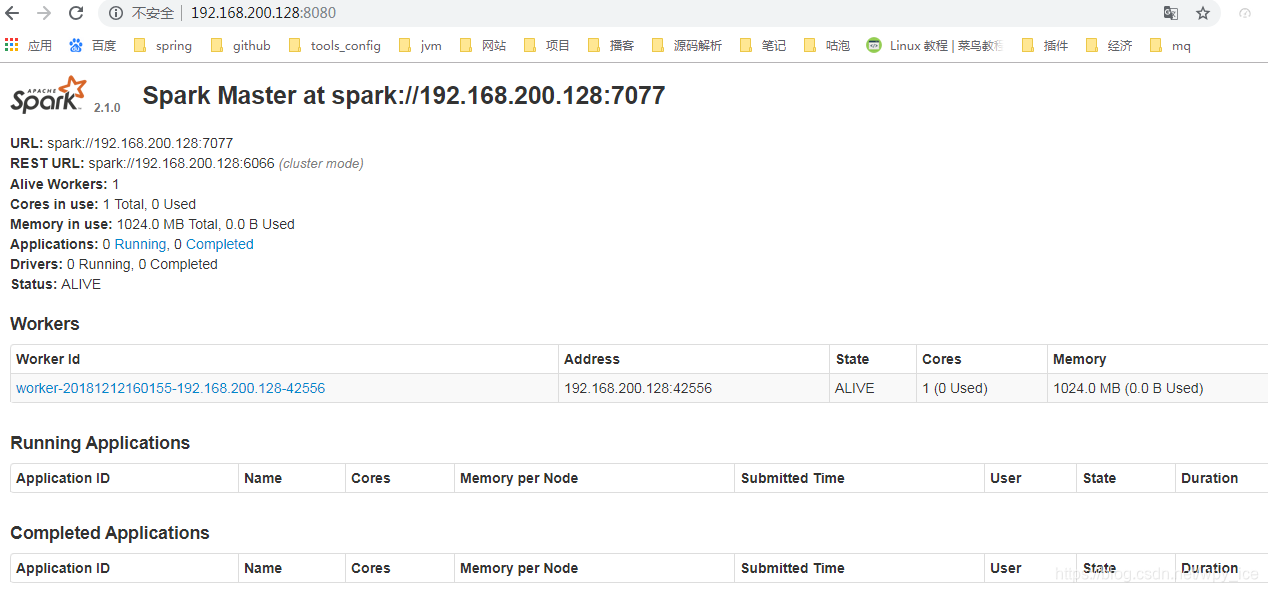
cd sbin目录下:./start-all.sh
spark web console (内置tomcat:8080)http://192.168.200.128:8080


 1288
1288

 被折叠的 条评论
为什么被折叠?
被折叠的 条评论
为什么被折叠?
 到【灌水乐园】发言


