So far over 600 readers have signed up the free iOS tutorials. First, thanks for those joining our community. Before we begin to talk about iOS programming, let’s go through the tools you need to build your first app.
1. Get a Mac
Yes, you need a Mac. It’s the basic requirement for iOS development. To develop an iPhone (or iPad) app, you need to first get a Mac with Intel-based processor running on Mac OS X version 10.7 (or up). Probably you still own a PC, the cheapest option is to purchase the Mac Mini. The retail price of the entry model is US$599 (if you purchase via Amazon, it’s just US$569). You can pair it with the monitor of your PC. The basic model of Mac mini comes with 2.3GHz dual-core Intel Core i5 processor and 2GB memory. It should be well enough to run the iOS development tool smoothly. Of course, if you have more budget, get the higher model or iMac with better processing power.
2. Register an Apple Developer Account
Don’t mix this up with the iOS Developer Program that we’re going to talk about in later section. Everyone can register as an Apple developer for free. By registering the developer account, you’re allowed to download Xcode, access documentation of the iOS SDK and other technical resources such as development videos.
You can go to Apple’s developer website for registration. The registration process is very straightforward. Simply create an Apple ID (if you don’t have) and fill in your personal profile.
3. Install Xcode
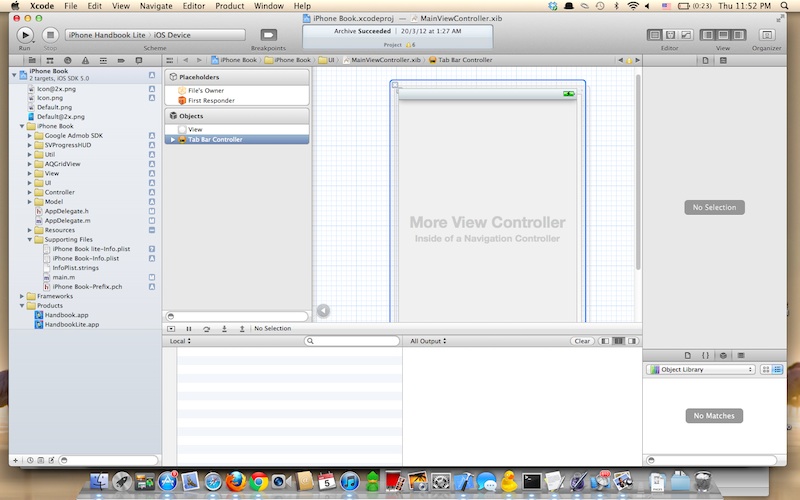
To start developing iPhone and iPad apps, Xcode is the only tool you need to download. Xcode is an integrated development environment (IDE) provided by Apple. Xcode provides everything you need to kick start your app development. It already bundles the latest version of iOS SDK (short for Software Development Kit), a built-in source code editor, graphic user interface (UI) editor, debugging tools and many more. Most importantly, Xcode comes with an iPhone (or iPad) simulator so you can test your app even without the physical devices.

To download Xcode, launch Mac App Store on your Mac. If you’re using the latest version of Mac OS, you should be able to open the Mac App Store from the icon in the dock. In case you can’t find it, you may need to upgrade the Mac OS.
![]()
In the Mac App Store, simply search “Xcode” and click “Free” button to download it.

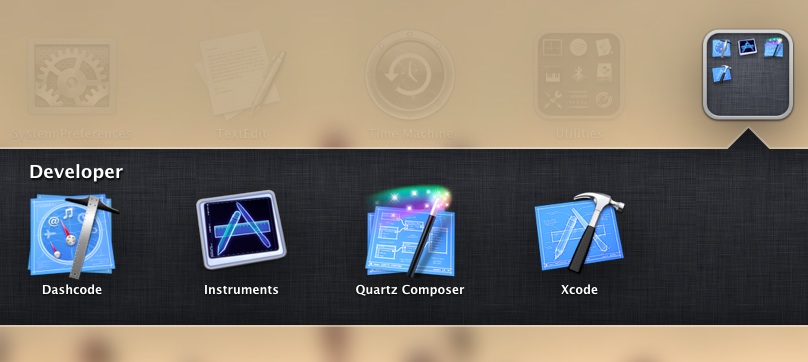
Once you complete the installation process, you’ll find the Xcode folder in the Launchpad.

At the time of this writing, the latest version of Xcode is 4.3.2, which adds the support of iOS 5.1. For the upcoming tutorials, they’ll be based on this version. Even you’ve installed Xcode before, I suggest you to upgrade to the latest version if you’re planning to follow our tutorials.
4. Enroll in iOS Developer Program (Optional)
A common question about developing iOS app is whether you need to enroll in the iOS Developer Program. The short answer is “optional”. As mentioned earlier, Xcode already includes a built-in iPhone and iPad simulator. You can develop and test out your app right on your Mac.
Without joining the iOS Developer Program, however, the simulator is the only mean to run your apps. You can’t deploy and test the app on your device. Needless to say, you’re not permitted to submit your app to App Store. In other words, you can’t sell your app!
So should you enroll in the program now? The iOS Developer Program costs US$99 per year. If you’re a new comer and just start exploring iOS development, you can rely on the simulator to test out your app first. You can wait until you have a solid plan to distribute your apps on App Store before enrolling in the program.
That’s all for today. Take some time to register your developer account and install Xcode. For the next post, we’ll start to build an app.
Got a question? Leave me a comment or ask it at our AppCoda Community Forum.


 本文介绍了iOS应用开发的基础步骤,包括获取Mac电脑、注册苹果开发者账号、安装Xcode以及选择性加入iOS开发者计划等内容。


 26
26

 被折叠的 条评论
为什么被折叠?


