


 本文详细介绍了Linux中的OpenSSH服务,包括其作用、服务信息、密钥认证方式以及安全配置。通过实验环境localhost.localdomain和node.westos.com,展示了如何进行SSH远程登录,并强调了端口修改、密码认证关闭、用户控制等关键安全措施。此外,还讨论了通过key认证提高安全性,以及如何远程执行命令和修改sshd登陆信息。
1、实验环境
①localhost.localdomain
172.25.254.10
②node.westos.com
172.25.254.20
基本命令:
- ifconfig 查看ip地址
- nm-connection-editor 设定ip地址
- hostnamectl set-hostname 设定主机名称
2、Openssh服务的基本信息
1.Openssh的作用:
在企业中的运维工作,不是1v1的运维
运维工程师基本都是1vN
在运维工程师对服务器进行管理时
需要通过网络登陆远程主机
需要通过网络在远程主机中开启shell来进程操作
远程主机必须提供这样的开启shell的方式
以上的需求由openssh服务来提供
远程主机中安装了openssh并开启了这个程序
那么我们就可以通过网络来连接这台主机了
2.软件包名称
openssh-server
3.服务名称
sshd
4.客户端
ssh
-
ssh 172.25.254.20 -l root
172.25.254.20 为远程主机的ip -
-l login 登陆
root: 远程主机的超级用户
[root@localhostt ~]# ssh 172.25.254.20 -l root
The authenticity of host '172.25.254.20 (172.25.254.20)' can't be established.
ECDSA key fingerprint is SHA256:+5Ikt8ZExrRdLzOg19xsL5PhAYPt8GB7umvLcSF/dlM.
Are you sure you want to continue connecting(yes/no)? yes#建立关系
Warning: Permanently added '172.25.254.20' (ECDSA) to the== list of known hosts.
root@172.25.254.20's password: #输入远程主机密码
Activate the web console with: systemctl enable--now cockpit.socket
Last login: Sat Apr 25 09:02:58 2020
[root@node ~]# #登陆成功
如图所示:因为我之前登陆过,所以直接登录成功
5.sshd服务端口
22/tcp
6.配置文件
/etc/ssh/sshd_config
3、Openssh服务的key认证
1.用户密码认证 (对称加密)
密码容易泄漏
容易忘记
2.密钥认证 (非对称加密)
安全
不会忘记密码
3.建立key认证的方式
- 建立key文件
172.25.254.10主机
[root@localhost ~]# ssh-keygen#建立认证key文件
Generating public/private rsa key pair.
Enter file in which to save the key (/root/.ssh/id_rsa):#加密字符保存位置
Enter passphrase (empty for no passphrase):#key认证密码,通常设定为空
Enter same passphrase again:#重复key认证密码
Your identification has been saved in /root/.ssh/id_rsa.
Your public key has been saved in /root/.ssh/id_rsa.pub.
The key fingerprint is:SHA256:Uh8cYTxqCShLnD3NUxpIQ4/NOtSVuyPuMzHuGnx
Sd1k
root@localhost.localdomain
The key's randomart image is:
如图所示:文件建立成功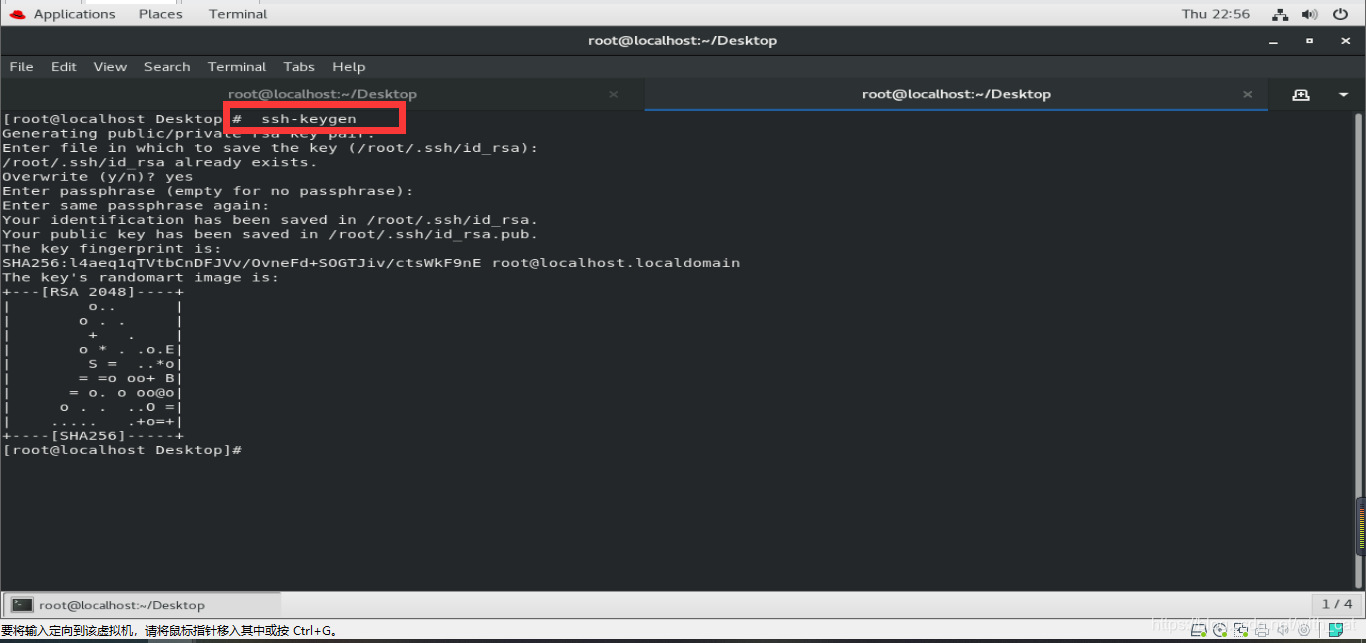
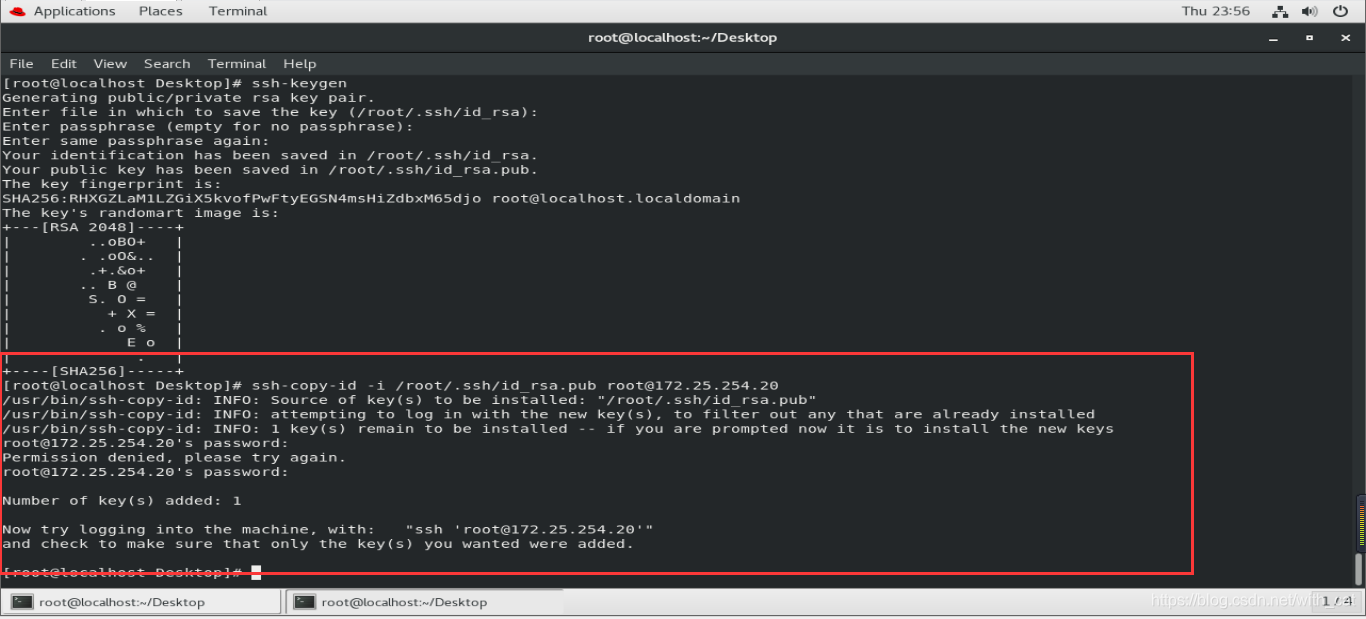
- 上传公钥 (加密远程主机)
[root@localhost ~]# ssh-copy-id -i /root/.ssh/id_rsa.pub root@172.25.254.20
- ssh-copy-id 上传密钥命令
- -i 指定公钥
- /root/.ssh/id_rsa.pub 公钥名称
- root 远程主机被加密用户
- @ 分割符
- 172.25.254.20 远程主机地址
[root@localhost Desktop]# ssh-copy-id -i /root/.ssh/id_rsa.pub root@172.25.254.20
/usr/bin/ssh-copy-id: INFO: Source of key(s) to be installed: "/root/.ssh/id_rsa.pub"
/usr/bin/ssh-copy-id: INFO: attempting to log in with the new key(s),to filter out any that are already installed
/usr/bin/ssh-copy-id: INFO: 1 key(s) remain to be installed --if you are prompted now it is to install the new keys
root@172.25.254.20's password:# 远程主机密码
Number of key(s) added: 1
Now try logging into the machine, with: "ssh'root@172.25.254.20'"and check to make sure that only the key(s) you wanted were added.
4.Openssh服务的安全配置
1.端口修改
vim /etc/ssh/sshd_config
修改17 port 22为 port 1111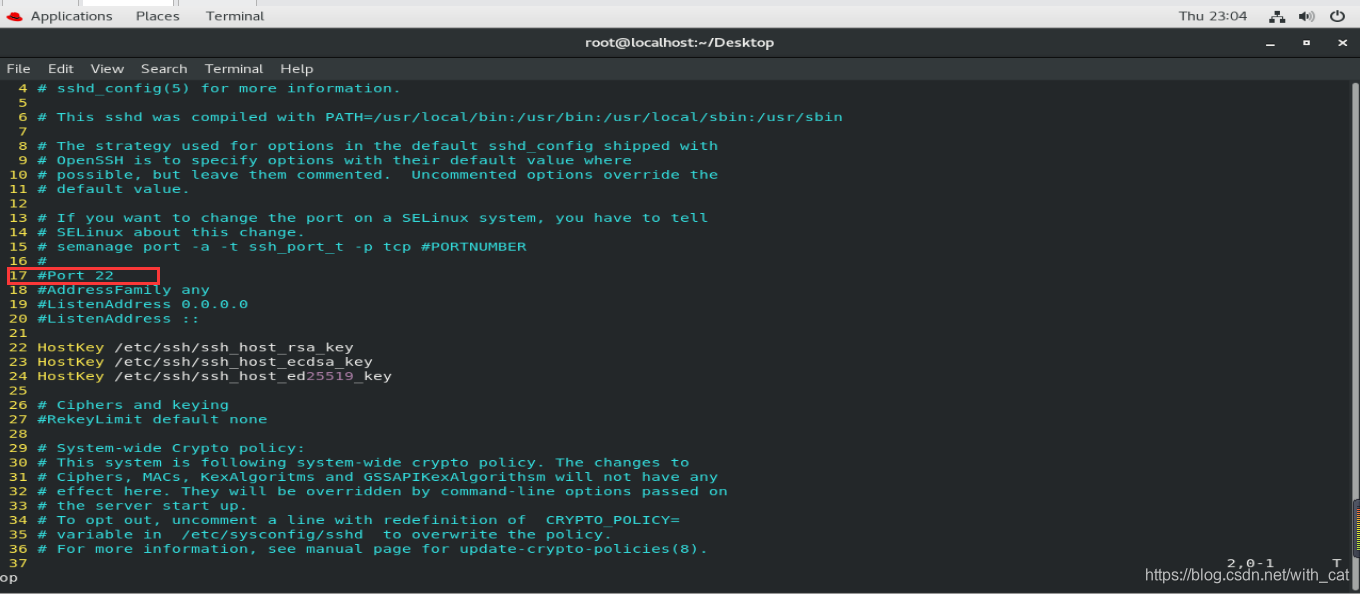
测试
[root@localhost ~]# ssh 172.25.254.20 -l root
ssh: connect to host 172.25.254.20 port 22: Connection refused #默认连接被拒绝
[root@localhost ~]# ssh 172.25.254.20 -l root -p 1111#指定的端口连接
Activate the web console with: systemctl enable --now cockpit.socket
Last login: Sat Apr 30 11:05:31 2020 from 172.25.254.10
[root@localhost ~]#
2. 端口绑定
vim /etc/ssh/sshd_config
修改19 ListenAddress 0.0.0.0 为 ListenAddress 172.25.254.20
测试:
在172.25.254.20主机中
参数发生变化:
ssh 172.25.254.20 -l root 可以
ssh 127.0.0.1 -l root 可以
参数发生变化
ssh 172.25.254.20 -l root 可以
ssh 127.0.0.1 -l root 拒绝
3.密码认证的关闭
vim /etc/ssh/sshd_config
73 PasswordAuthentication no 禁用密码认证
测试:
172.25.254.10 有密钥
172.25.254.20 无密钥
172.25.254.10 -----> ssh root@172.25.254.20 可以登陆
172.25.254.20 -----> ssh root@172.25.254.20 可以输入密码
参数更改并重启服务后
172.25.254.10 -----> ssh root@172.25.254.20 可以登陆
172.25.254.20 -----> ssh root@172.25.254.20 不可输入密码直接被拒绝
4. sshd服务的用户控制
在服务器中建立实验素材:
172.25.254.20
useradd westos
useradd lee
echo lee| passwd --stdin westos
echo lee| passwd --stdin lee
操作完成系统中存在至少3个用户
用户 密码
root 123
westos 123
lee 123
root用户的访问控制
vim /etc/ssh/sshd_config
46 PermitRootLogin yes —>PermitRootLogin no 禁止root用户使用ssh进行认证
测试:
172.25.254.20:
ssh 172.25.254.20 -l root 默认输入正确密码可以完成认证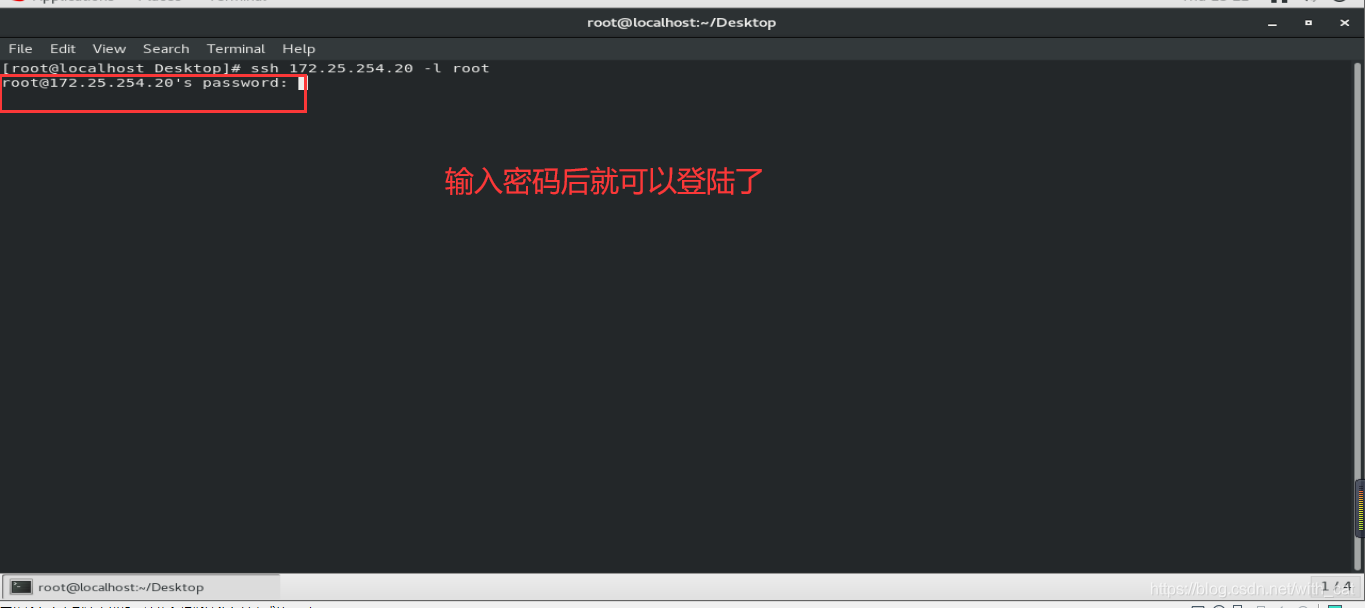
修改参数后
ssh 172.25.254.20 -l root 输入正确密码仍然不能登陆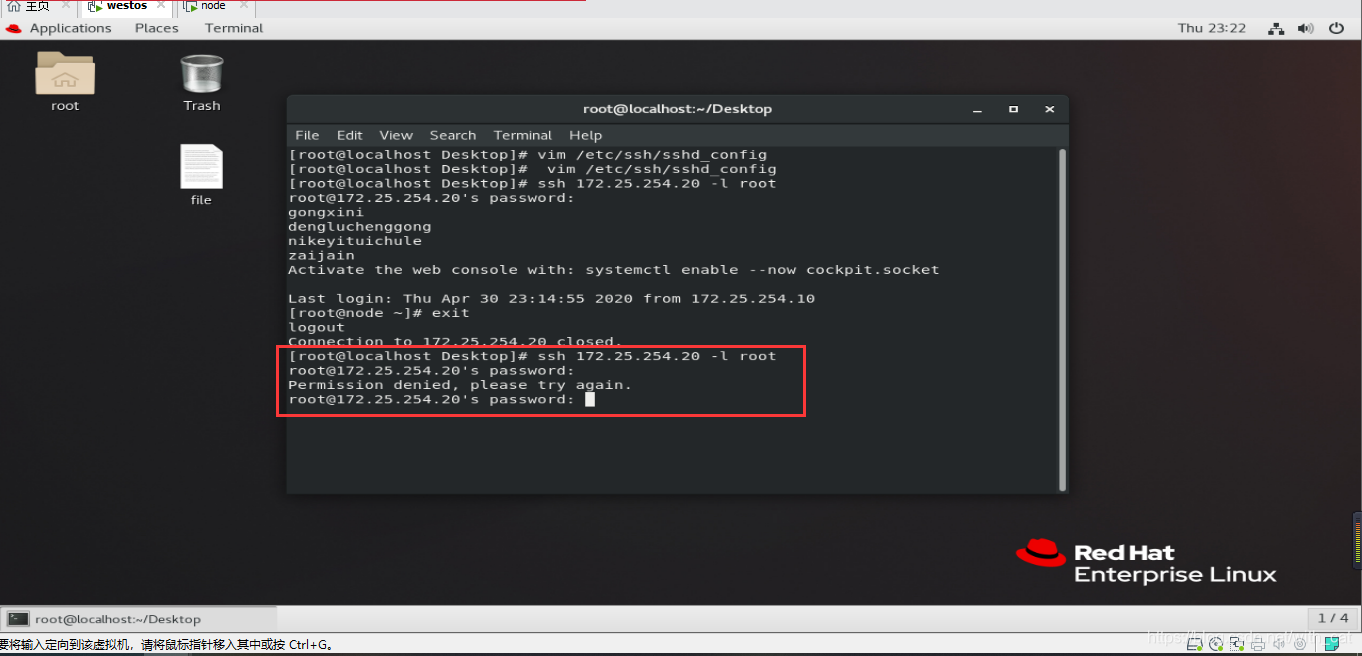
用户黑名单 (默认可以登陆,名单中的用户被禁止)
vim /etc/ssh/sshd_config
DenyUser lee lee用户不能使用sshd服务
实验:
172.25.254.20:
ssh 172.25.254.20 -l lee 默认可以登陆
ssh 172.25.254.20 -l westos 可以登陆
修改参数后
ssh 172.25.254.20 -l westos 可以登陆
ssh 172.25.254.20 -l lee 不可以登陆
用户白名单 (默认不可以登陆,名单中的用户被允许)
vim /etc/ssh/sshd_config
AllowUsers westos westos用户可以使用sshd服务,默认用户被禁止
实验:
172.25.254.20:
ssh 172.25.254.20 -l lee 默认可以登陆
ssh 172.25.254.20 -l westos 可以登陆
ssh 172.25.254.20 -l root 可以登陆
修改参数后
ssh 172.25.254.20 -l westos 可以登陆
ssh 172.25.254.20 -l lee 不可以登陆
ssh 172.25.254.20 -l root 不可以登陆
5、远程执行命令
172.25.254.20 登陆模式选择第二个(X11模式)
环境:172.25.254.10
ssh 172.25.254.20 -l root
此方法登陆时不能调用远程主机的图形命令
ssh -X 172.25.254.20 -l root
当前登陆可以调用图形 -X 代表启用x11图形连接
ssh 172.25.254.20 -l root touch /root/Desktop/westosfile{1…10}
直接在远程主机中执行命令
ssh 172.25.254.20 -l root -o StrictHostKeyChecking=no
在连接主机时不检测HOSTKEY(屏蔽yes、no的输入)
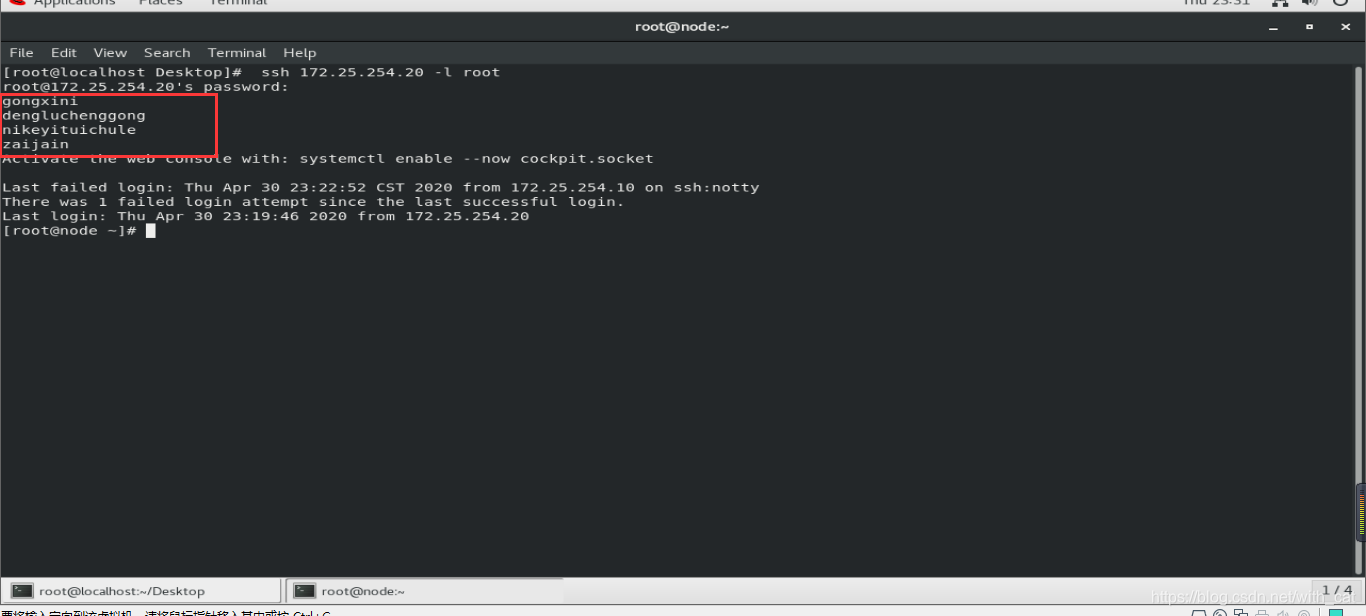
6、sshd登陆信息修改
172.25.254.20:
vim /etc/motd
在此文件中有什么字符在ssh登陆时就可以看到什么字符
如图所示:


 199
199

 被折叠的 条评论
为什么被折叠?
被折叠的 条评论
为什么被折叠?
 到【灌水乐园】发言


