


 本文介绍如何使用SaltStack结合Jinja2模板引擎动态修改Apache配置,包括端口、主机名等参数,通过grains和pillar获取动态信息,实现自动化部署和配置管理。
调用jinja模板修改apache端口号
1.修改配置文件
[root@server1 pillar]# pwd
/srv/pillar
[root@server1 pillar]# cd ../salt/
[root@server1 salt]# ls
apache  _grains  nginx  top.sls
[root@server1 salt]# cd _a
-bash: cd: _a: No such file or directory
[root@server1 salt]# cd _grains/
[root@server1 _grains]# ls
my_grains.py
[root@server1 _grains]# cd ..
[root@server1 salt]# pwd
/srv/salt
[root@server1 salt]# cd apache
[root@server1 apache]# ls
files  install.sls
[root@server1 apache]# vim install.sls
[root@server1 apache]# cat install.sls
httpd:
  pkg.installed:
    - pkgs:
      - httpd
      - php
      - httpd-tools
  service.running:
    - name: httpd
    - enable: true

  file.managed:
    - name: /etc/httpd/conf/httpd.conf
    - source: salt://apache/files/httpd.conf
    - user: root
    - group: root
    - mode: 644
    - template: jinja
    - context:
        port: 80
        host: 172.25.32.2
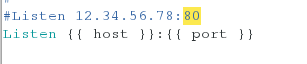
[root@server1 apache]# vim files/httpd.conf

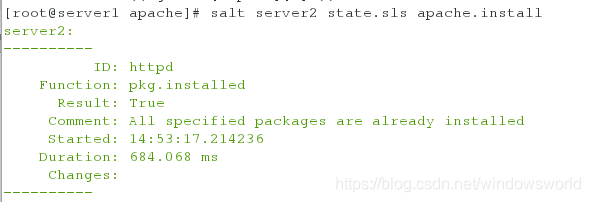
- 推送测试
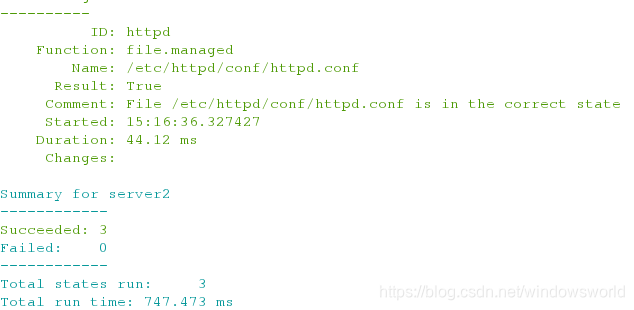
[root@server1 apache]# salt server2 state.sls apache.install
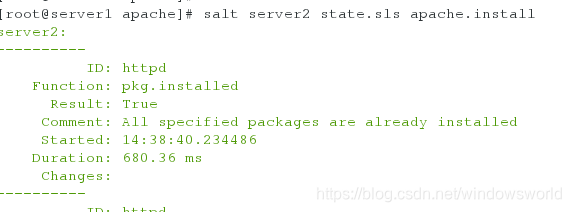
查看server2的apache配置文件:
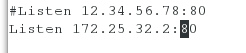
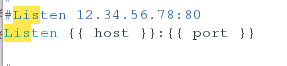
2.在文件中定义主机名并注释推送文件中的主机名
[root@server1 apache]# pwd
/srv/salt/apache
[root@server1 apache]# ls
files  install.sls
[root@server1 apache]# vim lib.sls
[root@server1 apache]# cat lib.sls
{% set host = '172.25.32.2' %}
[root@server1 apache]# vim install.sls
[root@server1 apache]# cat install.sls
httpd:
  pkg.installed:
    - pkgs:
      - httpd
      - php
      - httpd-tools
  service.running:
    - name: httpd
    - enable: true

  file.managed:
    - name: /etc/httpd/conf/httpd.conf
    - source: salt://apache/files/httpd.conf
    - user: root
    - group: root
    - mode: 644
    - template: jinja
    - context:
        port: 80
#        host: 172.25.32.2
[root@server1 apache]# vim files/httpd.conf


- 推送
[root@server1 apache]# salt server2 state.sls apache.install
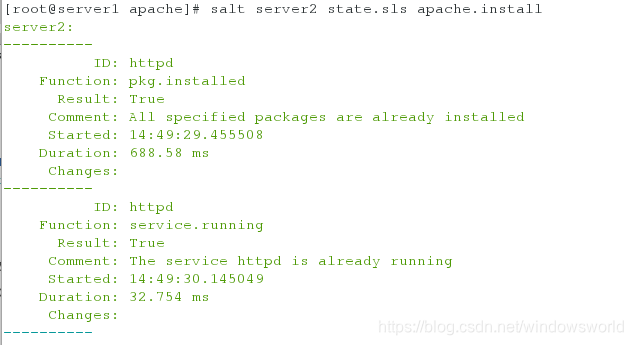
3.jinja结合grains使用
[root@server1 apache]# vim install.sls
[root@server1 apache]# cat install.sls
httpd:
  pkg.installed:
    - pkgs:
      - httpd
      - php
      - httpd-tools
  service.running:
    - name: httpd
    - enable: true

  file.managed:
    - name: /etc/httpd/conf/httpd.conf
    - source: salt://apache/files/httpd.conf
    - user: root
    - group: root
    - mode: 644
    - template: jinja
    - context:
        port: 80
        host: {{ grains['ipv4'][1] }}
[root@server1 apache]# vim files/httpd.conf

- 推送

4.jinja和pillar的使用
[root@server1 apache]# vim install.sls
[root@server1 apache]# cat install.sls
httpd:
  pkg.installed:
    - pkgs:
      - httpd
      - php
      - httpd-tools
  service.running:
    - name: httpd
    - enable: true

  file.managed:
    - name: /etc/httpd/conf/httpd.conf
    - source: salt://apache/files/httpd.conf
    - user: root
    - group: root
    - mode: 644
    - template: jinja
    - context:
      host: {{ pillar['ip'] }}
      port: {{ pillar['port'] }}
[root@server1 apache]# vim files/httpd.conf
删除之前注释的第一行引入的变量,我虽然注释了,但推送一直报错,显示第一行有错,删除后可以正常推送

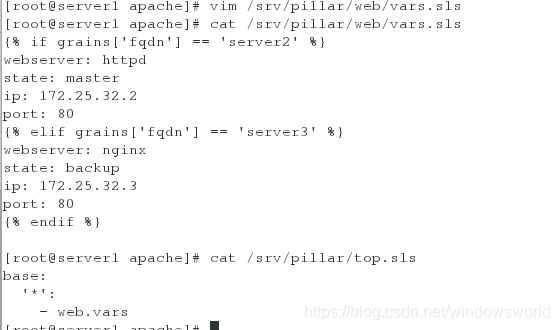
[root@server1 apache]# vim /srv/pillar/web/vars.sls
[root@server1 apache]# cat /srv/pillar/web/vars.sls
{% if grains['fqdn'] == 'server2' %}
webserver: httpd
state: master
ip: 172.25.32.2
port: 80
{% elif grains['fqdn'] == 'server3' %}
webserver: nginx
state: backup
ip: 172.25.32.3
port: 80
{% endif %}

[root@server1 apache]# cat /srv/pillar/top.sls
base:
  '*':
    - web.vars
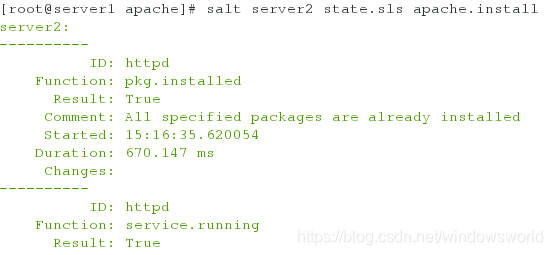
- 推送
[root@server1 apache]# salt server2 state.sls apache.install


 1469
1469

 被折叠的 条评论
为什么被折叠?
被折叠的 条评论
为什么被折叠?
 到【灌水乐园】发言


