


0..在nexus新建私有仓库的坑
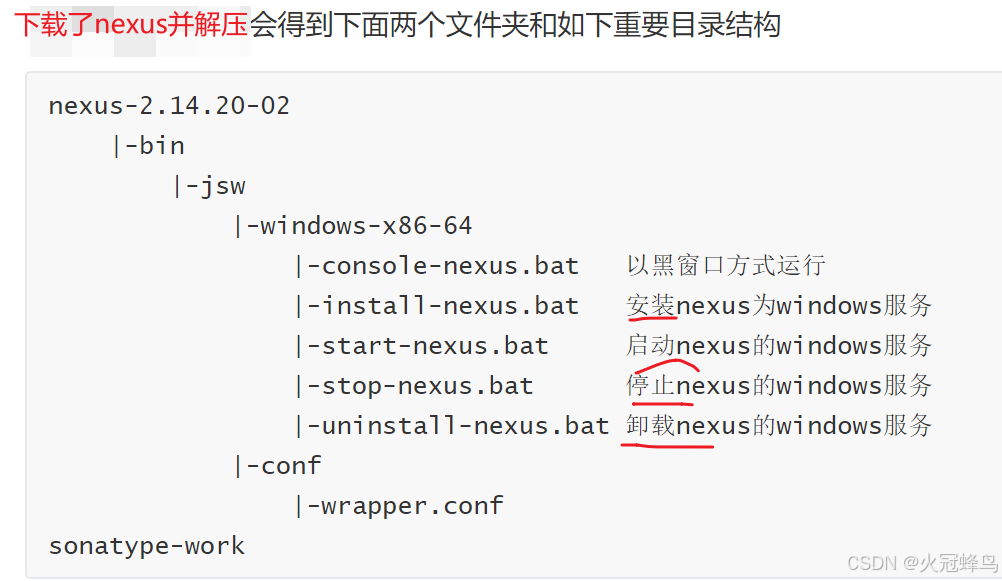
前提:我下载的nexus版本是2.11.4
坑一:1.私有仓库nexus软件网页启动了,怎么把我本地的5.6个G的Maven依赖上传到nexus上去,
答: 因为我用的是nexus2.0版本,所以直接把本地依赖复制粘贴到nexus软件放依赖的文件夹就行, 只有nexus3.0及以上版本才需要写脚本去上传,
真几把坑啊,老子手敲了几百个字母的脚本,结果用不了,真几把坑
2.为什么我新建了仓库,把我的本地依赖也全部上传了,但还是在项目里拉不了依赖,
答: 配置没问题,是因为我新建的仓库没有 加到public group组里. 真几把坑
3.为什么我的browse index刷新不出来,
答: 这个虽然刷新不出来,是空的,但是对我的使用没有影响, 因此先不管他
下面是正文:注意:我用的是2.几版本的,不是3.几版本的.
一.环境搭建:
1、配置环境变量:(不用命令的话就不用配置)
Nexus E:\Program Files\nexus-2.8.1-01
Paht:%Nexus%\bin;
2、修改根目录\bin\jsw\conf\wrapper.conf文件中的(不用命令的话就不用修改)
wrapper.java.command=E:\Program Files\jdk1.7.0_15\bin\java.exe(2.6版本以后,要求jdk1.7以上)
3. 其它配置:8081为默认的端口号,要修改端口号可进入nexus-2.1.2-bundle\nexus-2.1.2\conf\打开nexus.properties文件,修改application-port属性值就可以了
二.安装启动:
1.配置好环境后用命令启动的方式.
1.nexus

2.nexus install

3.nexus start

2.没有配置环境的,就直接双击nexus文件夹里的启动文件
注意:要以管理员的方式运行.
三.登录
1.登录(http://localhost:8081/nexus/#welcome 默认的用户名和密码:admin/admin123)

1.首次登陆nexus后可以看到以下一个仓库组和多个仓库(nexus的仓库类型分为以下四种)。
- group: 仓库组
- hosted:宿主
- proxy:代理
- virtual:虚拟

Public Repositories: 仓库组
3rd party: 无法从公共仓库获得的第三方发布版本的构件仓库
Apache Snapshots: 用了代理ApacheMaven仓库快照版本的构件仓库
Central: 用来代理maven中央仓库中发布版本构件的仓库
Central M1 shadow: 用于提供中央仓库中M1格式的发布版本的构件镜像仓库
Codehaus Snapshots: 用来代理CodehausMaven 仓库的快照版本构件的仓库
Releases: 用来部署管理内部的发布版本构件的宿主类型仓库
Snapshots:用来部署管理内部的快照版本构件的宿主类型仓库
四.新建Nexus宿主仓库


将创建的仓库加入分组


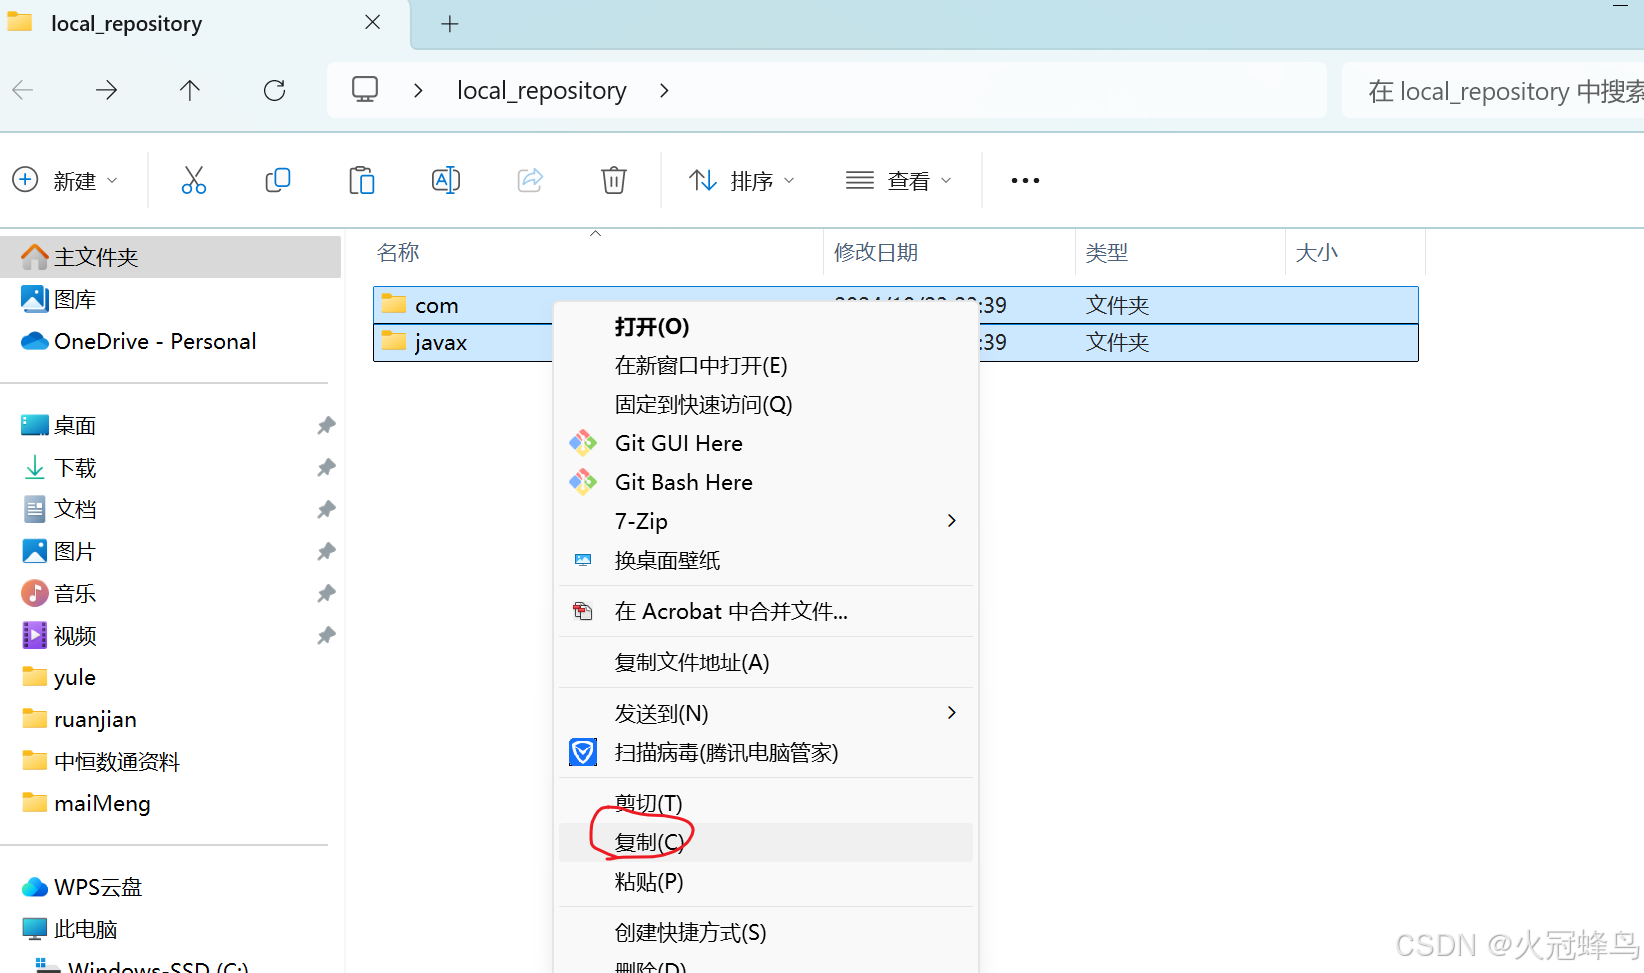
五,将6个多G大小的所有本地依赖上传到私有仓库里.
如,nexus的一个仓库的存放依赖的地址是
直接将你本地maven仓库依赖复制粘贴到上面的地址文件夹就行了
六.setting文件配置使用私有仓库
本地maven的setting文件里需要做一些私服的配置,才能使用搭建好的nexus私服 mave的setting文件里默认会有很多注释掉的东西,下面是我把注释掉的内容删除后,我本地setting文件的完整配置.
<?xml version="1.0" encoding="UTF-8"?>
<settings xmlns="http://maven.apache.org/SETTINGS/1.0.0"
          xmlns:xsi="http://www.w3.org/2001/XMLSchema-instance"
          xsi:schemaLocation="http://maven.apache.org/SETTINGS/1.0.0 http://maven.apache.org/xsd/settings-1.0.0.xsd">

<!-- 配置的本地仓库的地址 -->
<localRepository>E:\maven\repr</localRepository>

  <pluginGroups>

  </pluginGroups>

  <proxies>

  </proxies>
<!-- 配置的私有仓库的其中的两个仓库的账号和密码 -->
  <servers>
	<server>
      <id>cj-releases</id>
      <username>admin</username>
      <password>admin123</password>
    </server>
	<server>
      <id>cj-snapshots</id>
      <username>admin</username>
      <password>admin123</password>
    </server>
  </servers>
<!-- 配置的用阿里云代替中央仓库的镜像 -->
  <mirrors>
     <mirror>
		 <id>alimaven</id>
		 <mirrorOf>central</mirrorOf>
		 <name>aliyun maven</name>
		 <url>http://maven.aliyun.com/nexus/content/groups/public/</url>
	</mirror>
  </mirrors>

  <!-- 配置的用阿里云代替中央仓库的镜像 -->
  <profiles>
	<profile>
		<id>jdk-1.8</id>
		<activation>
			<activeByDefault>true</activeByDefault>
			<jdk>1.8</jdk>
		</activation>
		<properties>
			<maven.compiler.source>1.8</maven.compiler.source>
			<maven.compiler.target>1.8</maven.compiler.target>
			<maven.compiler.compilerVersion>1.8</maven.compiler.compilerVersion>
		</properties>
	</profile>
	<profile>
      <id>cj</id>
      <activation>
        <activeByDefault>false</activeByDefault>
      </activation>
      <!-- 配置的私有库地址-->
      <repositories>
        <repository>
          <id>cj</id>
          <url>http://192.168.56.20:8081/repository/maven-public/</url>
          <releases>
            <enabled>true</enabled>
          </releases>
          <snapshots>
            <enabled>true</enabled>
          </snapshots>
        </repository>
      </repositories>
      <!--配置的插件用的库的地址(和上面的其实就是一个仓库地址)-->
      <pluginRepositories>
        <pluginRepository>
          <id>cj</id>
          <url>http://192.168.56.20:8081/repository/maven-public/</url>
          <releases>
            <enabled>true</enabled>
          </releases>
          <snapshots>
            <enabled>true</enabled>
          </snapshots>
        </pluginRepository>
      </pluginRepositories>
    </profile>

  </profiles>

<!-- 配置激活id为cj的profile -->
  <activeProfiles>
    <activeProfile>cj</activeProfile>
  </activeProfiles>

</settings>七.新建其它类型仓库配置
创建Nexus代理仓库 : 点击菜单栏上的Add按钮后选择Proxy Repository,看到如下所示配置界面:

创建Nexus仓库组:仓库组和仓库关系是一对多的关系,一个 仓库组可以指向多个仓库 . 点击菜单栏上的 Add 按钮选择 Repository Group 就可以看到仓库组的配置界面,如下所示

点击save后就可在仓库列表中看到新增的仓库组了,项目中如果要下载构件的话,配置文件中一般都用仓库组的URL。


 588
588

 被折叠的 条评论
为什么被折叠?
被折叠的 条评论
为什么被折叠?
 到【灌水乐园】发言


